Connecting SAML-enabled IDP
Instructions on how to connect a SAML-compliant IDP to ACP
Note
You can use the generic SAML-enabled IDP if you cannot find your connector among the templates available in the ACP administrator portal.
Prerequisites
To configure the connector, you need to retrieve metadata from your IDP.
Connect IDP
-
Go to https://localhost:8443/app/default/admin for the ACP administrator portal and log in with your credentials.
Result
The administrator portal is displayed.
-
Make sure you are in the Consumer workspace (selectable from the left sidebar) and select ADD IDENTITIES to add a new connection.

Result
The pop-up dialog box shows and lists available predefined IDP templates.
-
Select the SAML template, enter the name for your new identity provider, and click Next.
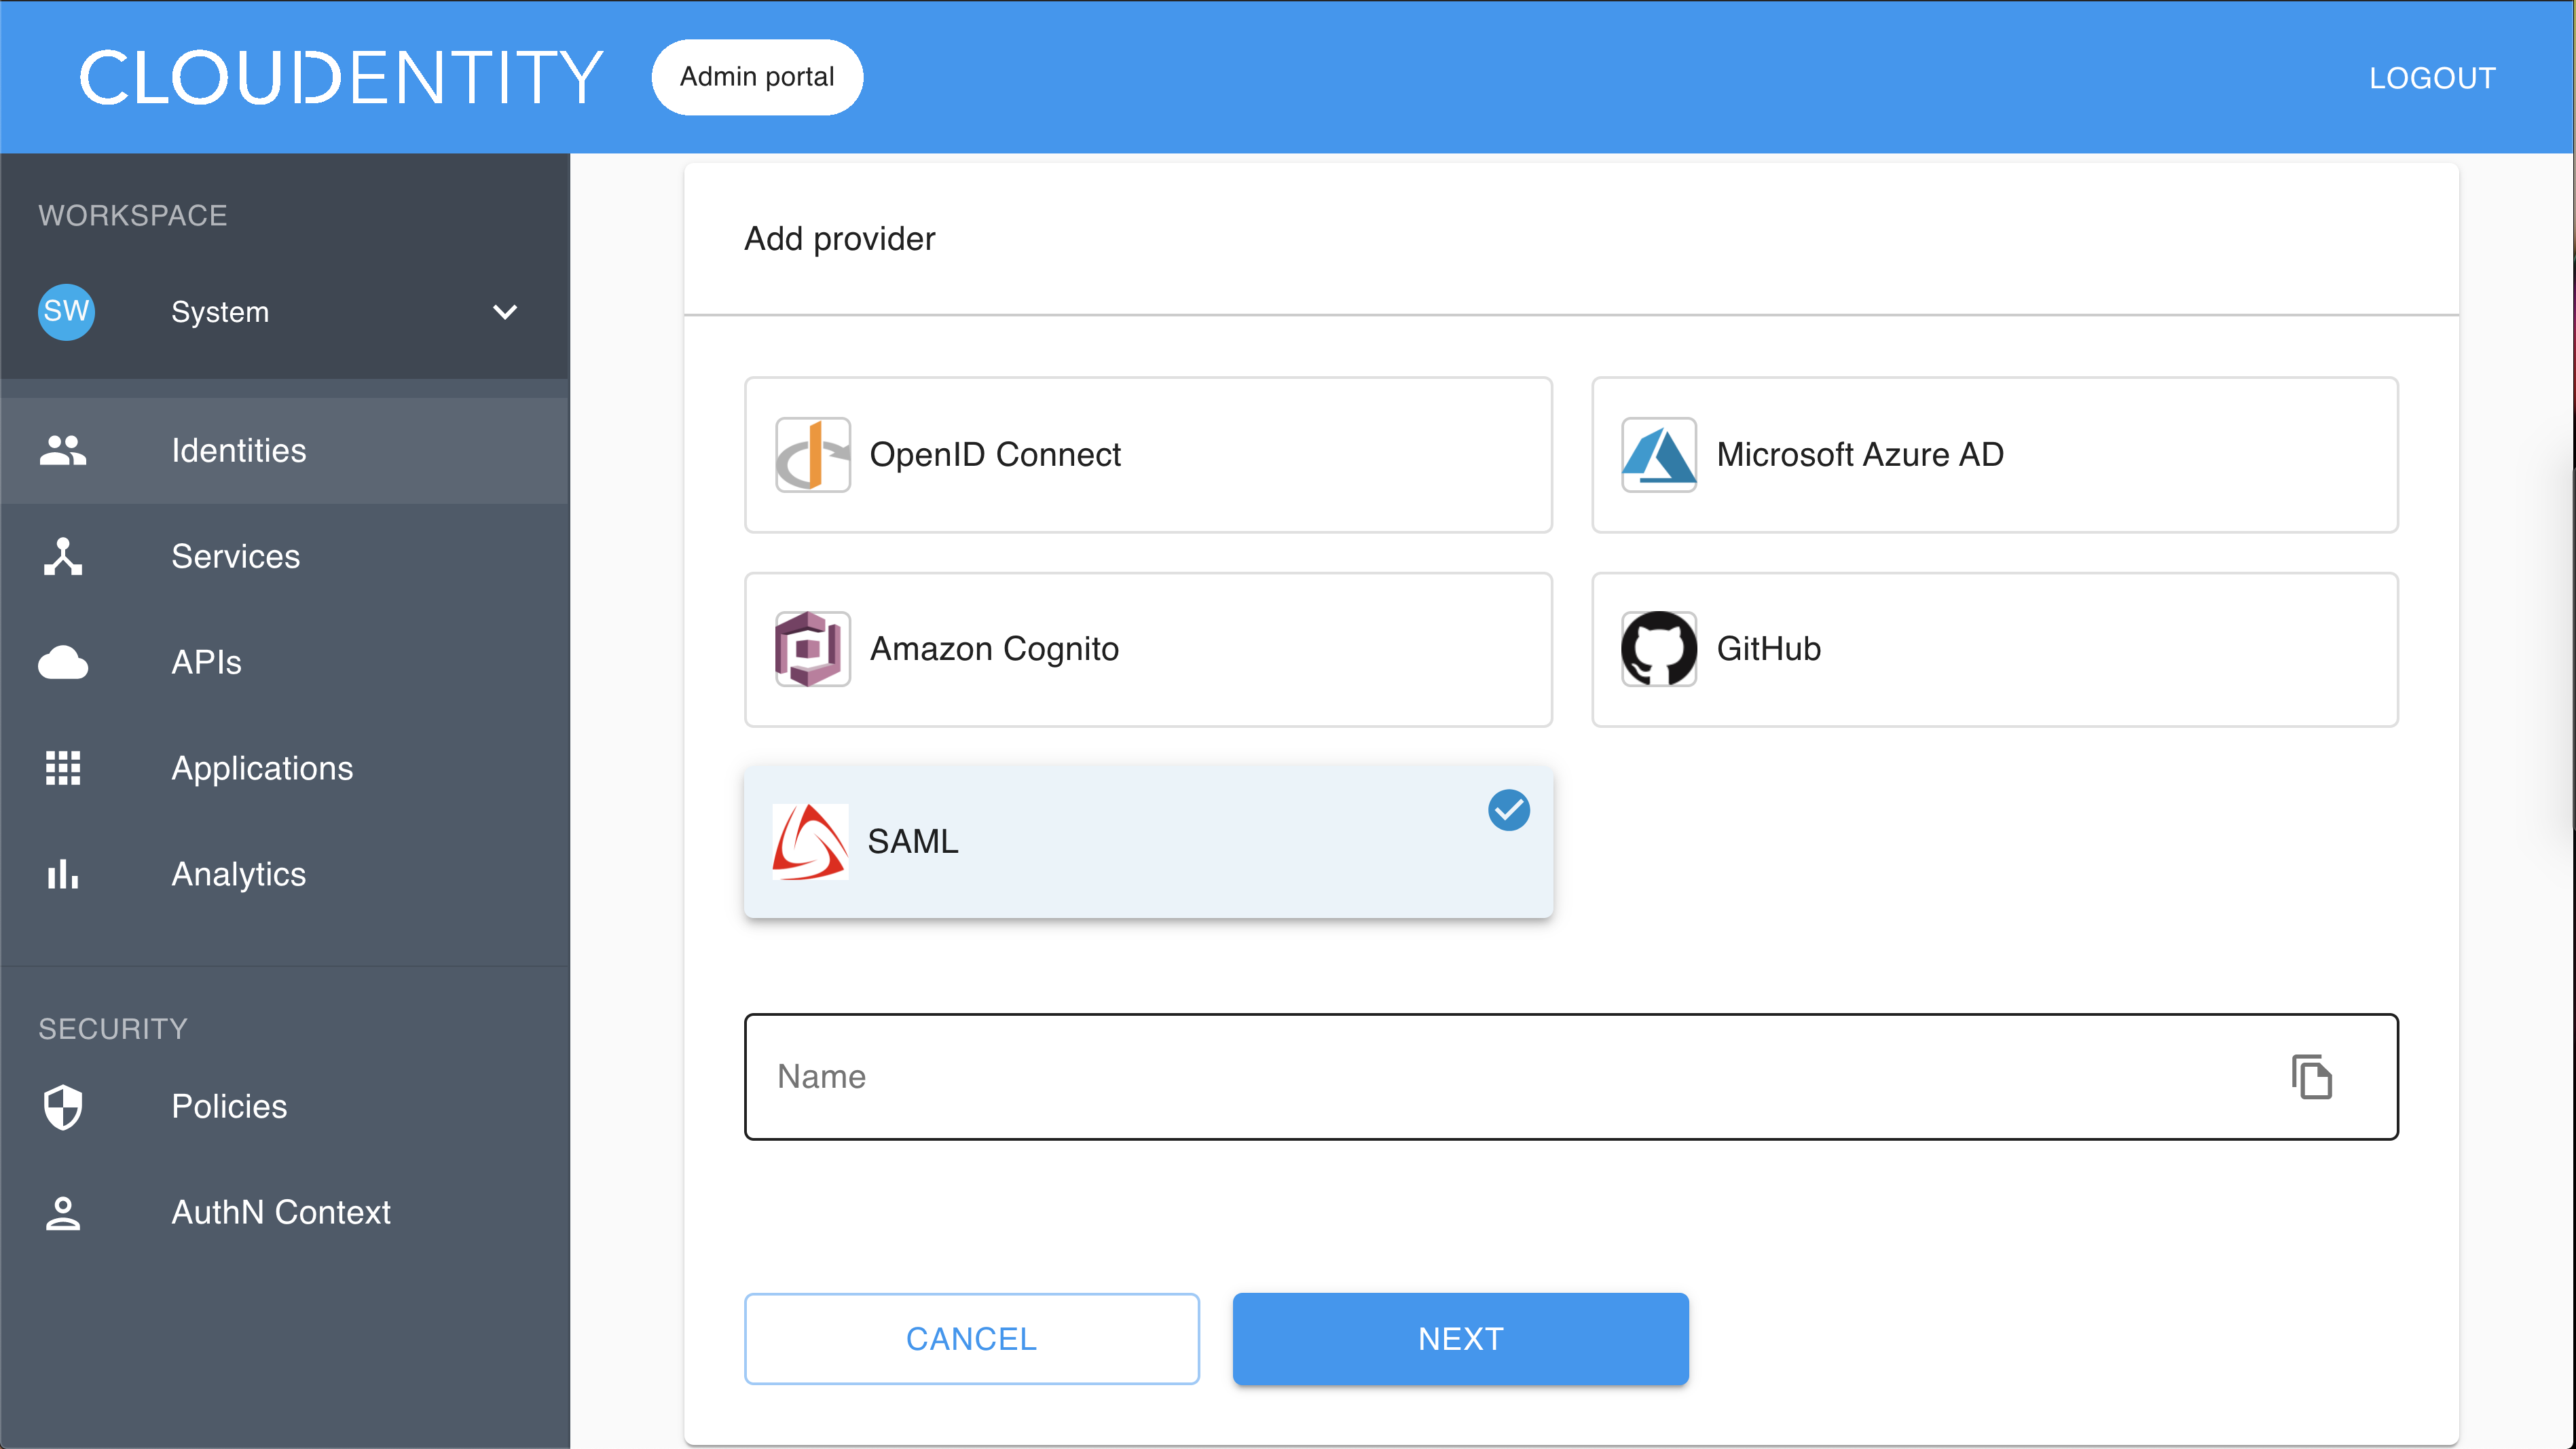
Result
The Register SAML fill-in form opens with the redirect URL for registering your application.
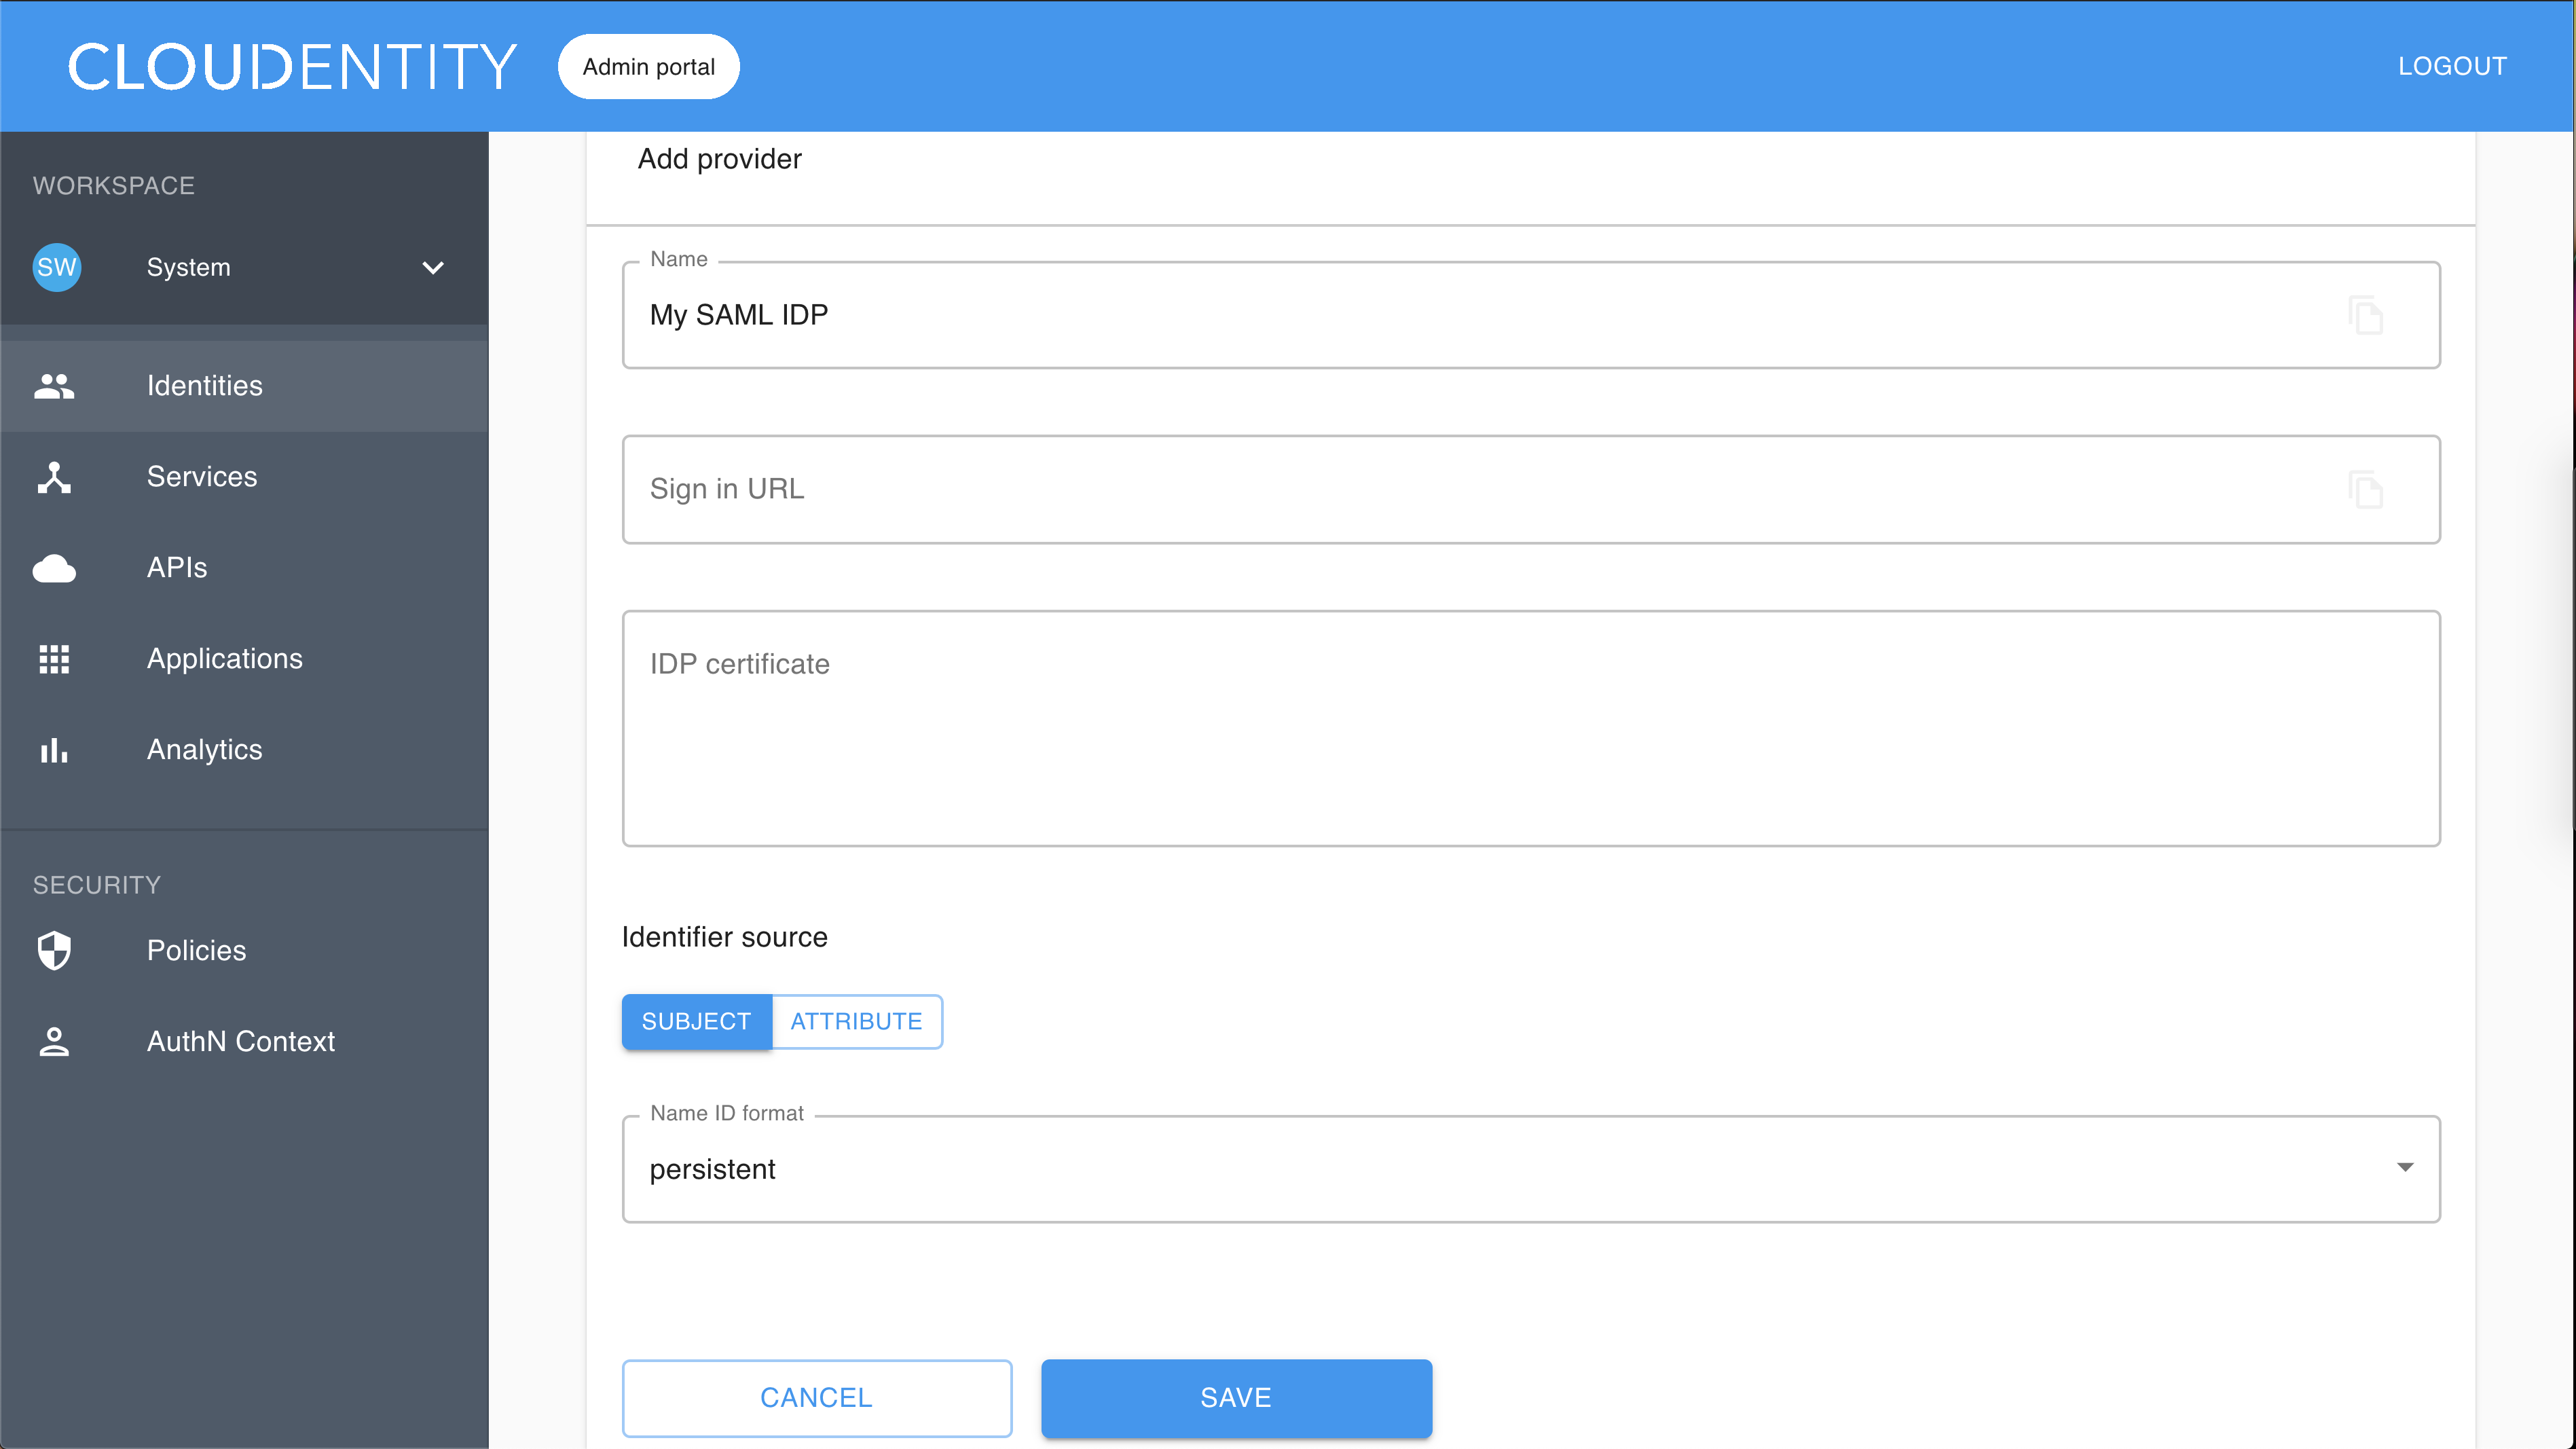
-
Fill in Sign in URL (URL where SAMLRequest is sent).
Example
https://test-dev-ed.my.salesforce.com/idp/endpoint/HttpPostCopy
Note
The HTTP POST binding is supported.
-
Enter a certificate text into the IDP certificate field starting with —–BEGIN CERTIFICATE—– and ending with —–END CERTIFICATE—–.
Example
—–BEGIN CERTIFICATE—– MIIErDCCA5SgAwIBAgIOAXHuhl04AAAAAC1SH+cwDQYJKoZIhvcNAQELBQAwgZAx KDAmBgNVBAMMH1NlbGZTaWduZWRDZXJ0XzA3TWF5MjAyMF8wOTQ1MTUxGDAWBgNV BAsMDzAwRDVJMDAwMDAydUpDdDEXMBUGA1UECgwOU2FsZXNmb3JjZS5jb20xFjAU BgNVBAcMDVNhbiBGcmFuY2lzY28xCzAJBgNVBAgMAkNBMQwwCgYDVQQGEwNVU0Ew HhcNMjAwNTA3MDk0NTE1WhcNMjEwNTA3MDAwMDAwWjCBkDEoMCYGA1UEAwwfU2Vs ZlNpZ25lZENlcnRfMDdNYXkyMDIwXzA5NDUxNTEYMBYGA1UECwwPMDBENUkwMDAw MDJ1SkN0MRcwFQYDVQQKDA5TYWxlc2ZvcmNlLmNvbTEWMBQGA1UEBwwNU2FuIEZy YW5jaXNjbzELMAkGA1UECAwCQ0ExDDAKBgNVBAYTA1VTQTCCASIwDQYJKoZIhvcN AQEBBQADggEPADCCAQoCggEBAMzbEd+lV4trjBOVa0uoTReCVIB2UjEoyVPsABVv /VTUc/iMXSSLlSQc00ffrqMjlNB4zxMnH3f8/MQsFpGT9A/5To2vCGoY5G8WmfaC xIavytLR39tz7sh2LVEb9y9bjjezxdVf1ifr7veQVYneFEDjmyIT122eO8VYmKKG mp5Zv3D7BVEjc4LYo42jdNp8tWB7xEOyHRKVFayK+amx+vgdoDxpE52pCuk1hIPS rvo4c3YZ3RagnsPa6P6RpTvrqmpnYDpp6iUAeYA8CrH+vPaViA4nP7eHnaGvJmnb Q3pvFldOL2nP5wQjaprmSxGpvp0o7UdqFfXcwup2E5ELnUcCAwEAAaOCAQAwgf0w HQYDVR0OBBYEFIvbQr9IUw2TwcgQ5Udf4XtLYwGCMA8GA1UdEwEB/wQFMAMBAf8w gcoGA1UdIwSBwjCBv4AUi9tCv0hTDZPByBDlR1/he0tjAYKhgZakgZMwgZAxKDAm BgNVBAMMH1NlbGZTaWduZWRDZXJ0XzA3TWF5MjAyMF8wOTQ1MTUxGDAWBgNVBAsM DzAwRDVJMDAwMDAydUpDdDEXMBUGA1UECgwOU2FsZXNmb3JjZS5jb20xFjAUBgNV BAcMDVNhbiBGcmFuY2lzY28xCzAJBgNVBAgMAkNBMQwwCgYDVQQGEwNVU0GCDgFx 7oZdOAAAAAAtUh/nMA0GCSqGSIb3DQEBCwUAA4IBAQA2D339Ov7lcn7DEhjmE+yS HV2Yz0DQO2v8TepjnOLYU3hkwDUI2qQ1D/gOM7OLZlf7TEqftFQAPX4ZBIudT+cd zIOTs3CXyV1SBqnvx/nhOf3RsZ4diFkkyEGl/aY1XEKSbKkBLK7zmCxPN0nCpjdT qfxFW7ANBSBf5zErYwISXQSt8aGbR0OP5xsbL1BH5IaPQ9RRBTcKizR2MiV17ZYm Mmu3L9F1IdAptqGpzB0ztV2j5JQALZqEmOZCQmIXYXDeBYlpZz4F9pZsE5JFJJb3 7oHi2ldk9AApArf6jMd76gaUCUwJF1GLI9NtQuWm4UVHMZ982SmPHhAPXkSviS0w
—–END CERTIFICATE—– -
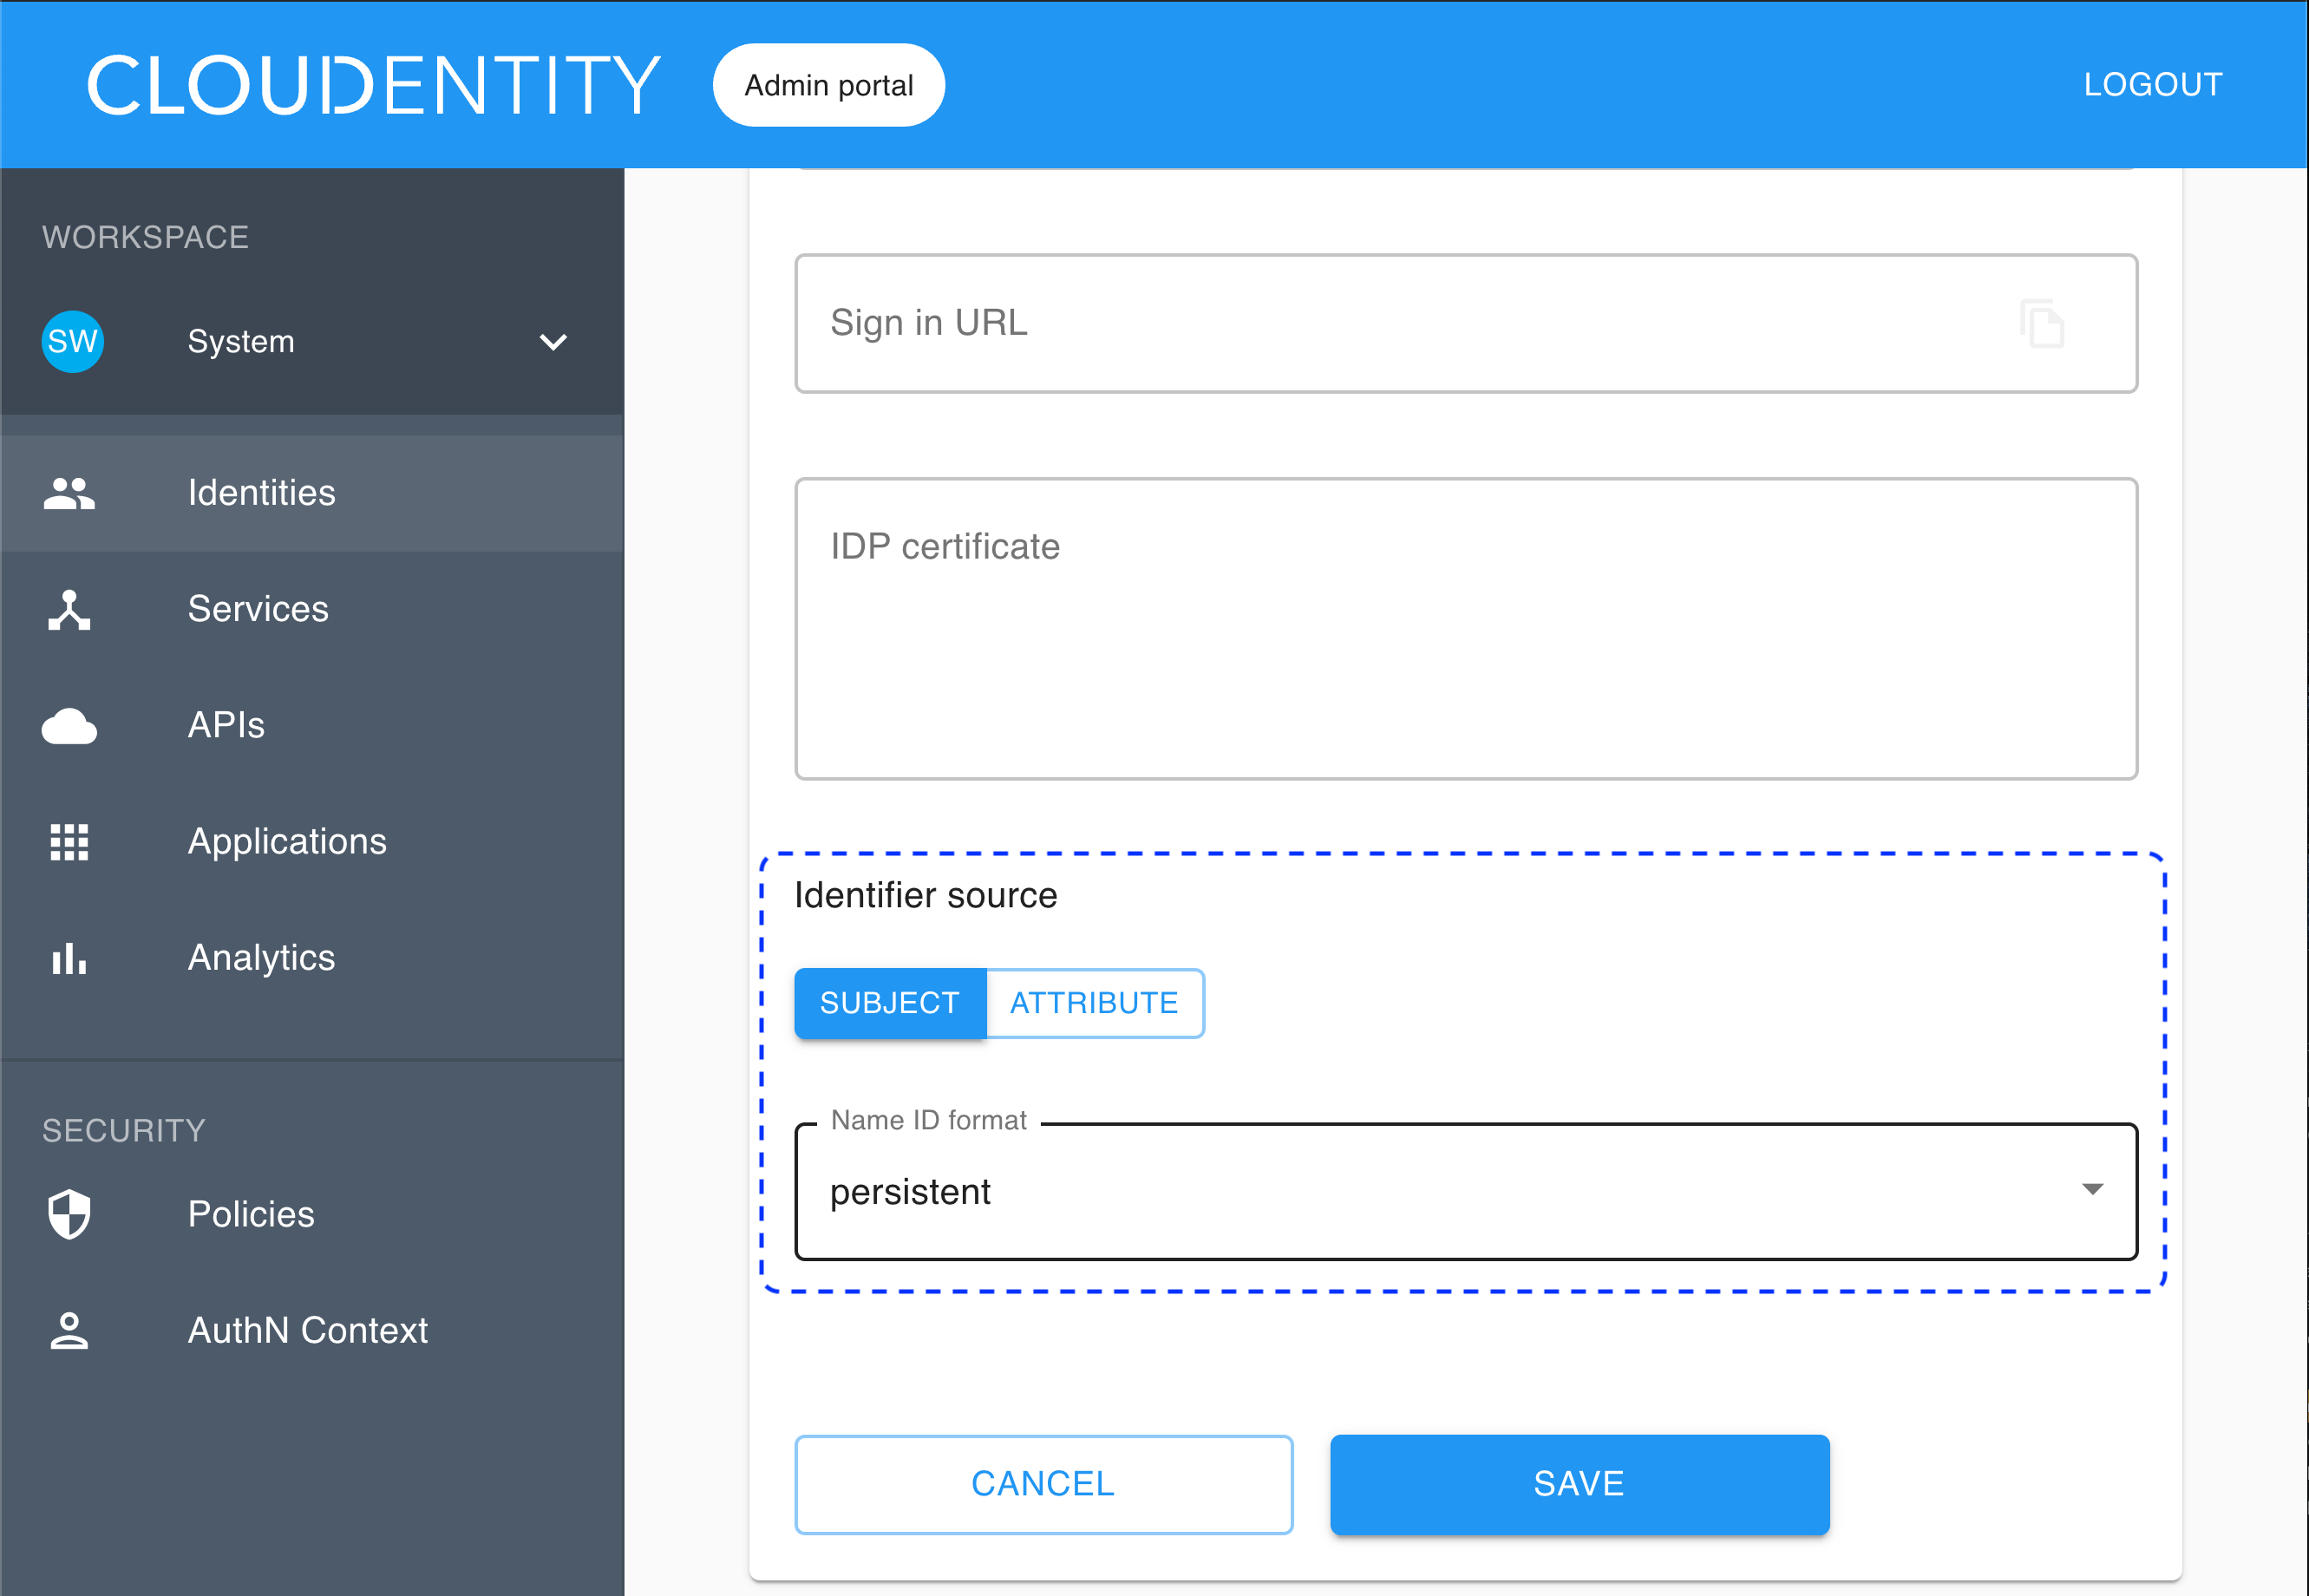
To specify Identifier source, first choose between SUBJECT and ATTRIBUTE.
Note
- The identifier source is a unique user attribute that you want to use as an identifier in ACP, for example user ID.
- IDP sends back SAMLResponse, which is a base64-encoded XML that includes
<AttributeStatement>and<Subject>tags.
-
If you choose SUBJECT, you need to select Name ID format from the drop-down list (to be checked from your IDP).
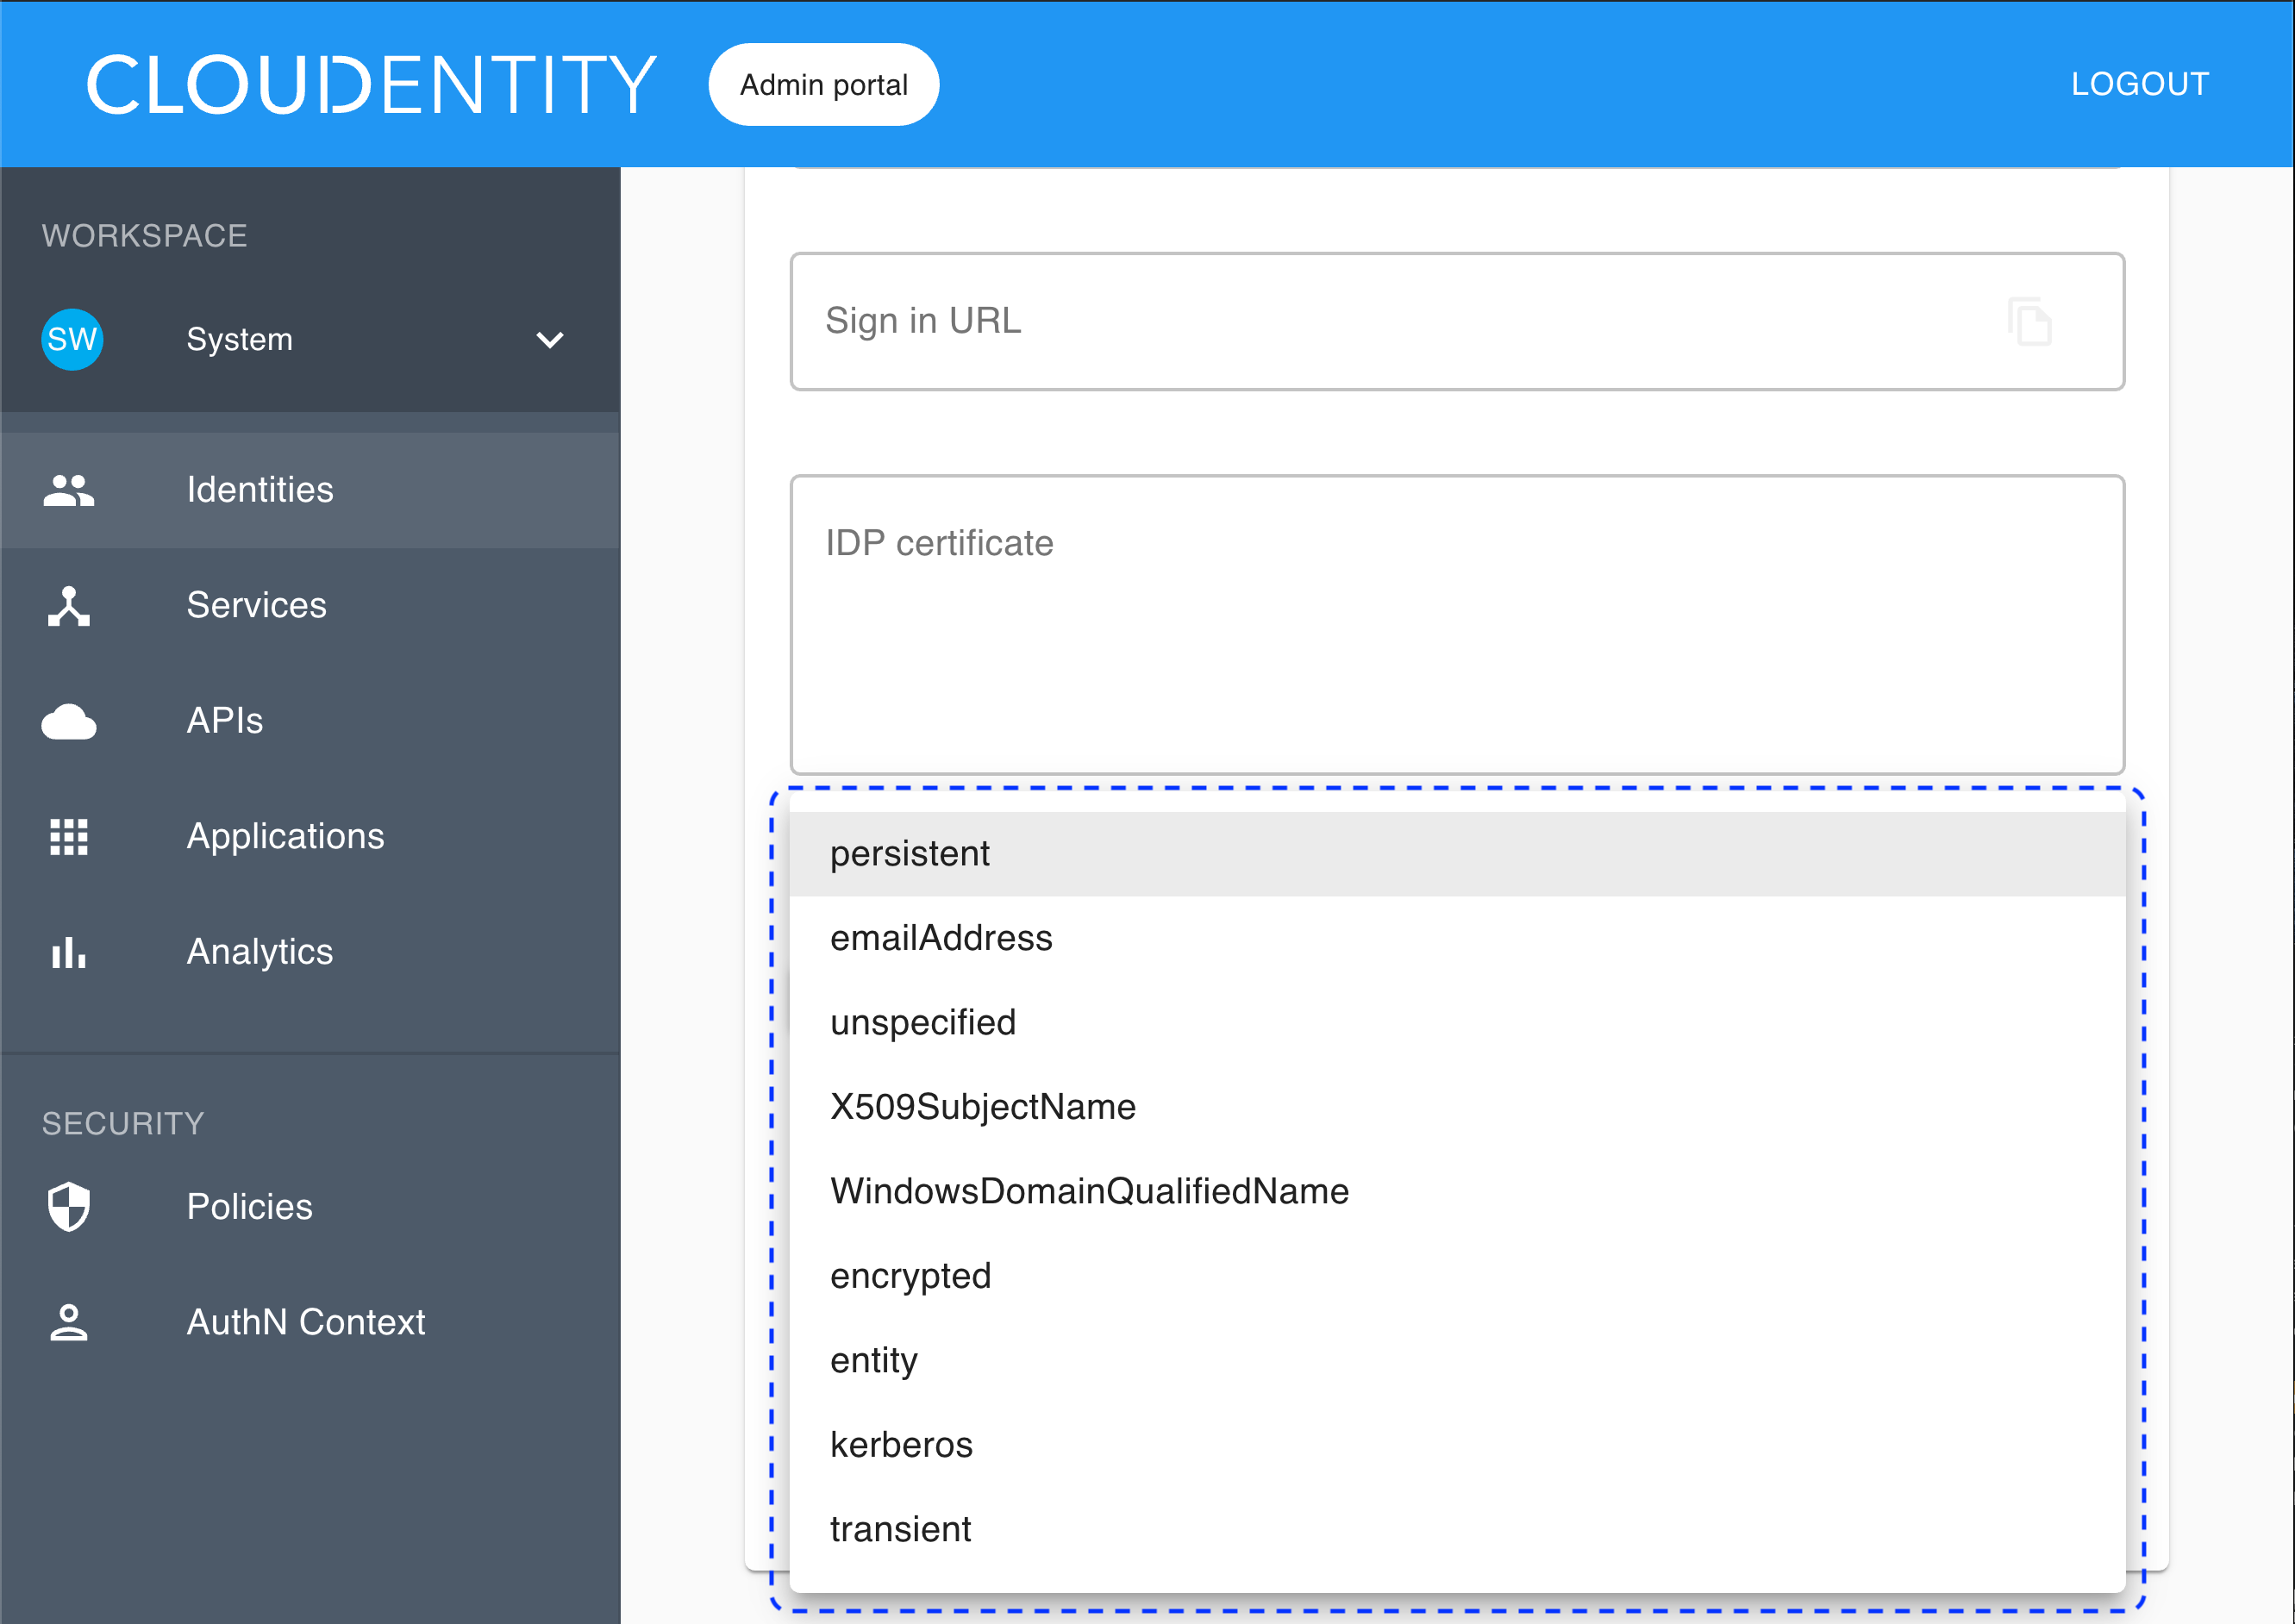
If you select the subject as the identifier source, the identifier is retrieved from
SAMLResponse <Subject>. -
If you choose ATTRIBUTE, you need to enter a user attribute name into the Identifier attribute field.
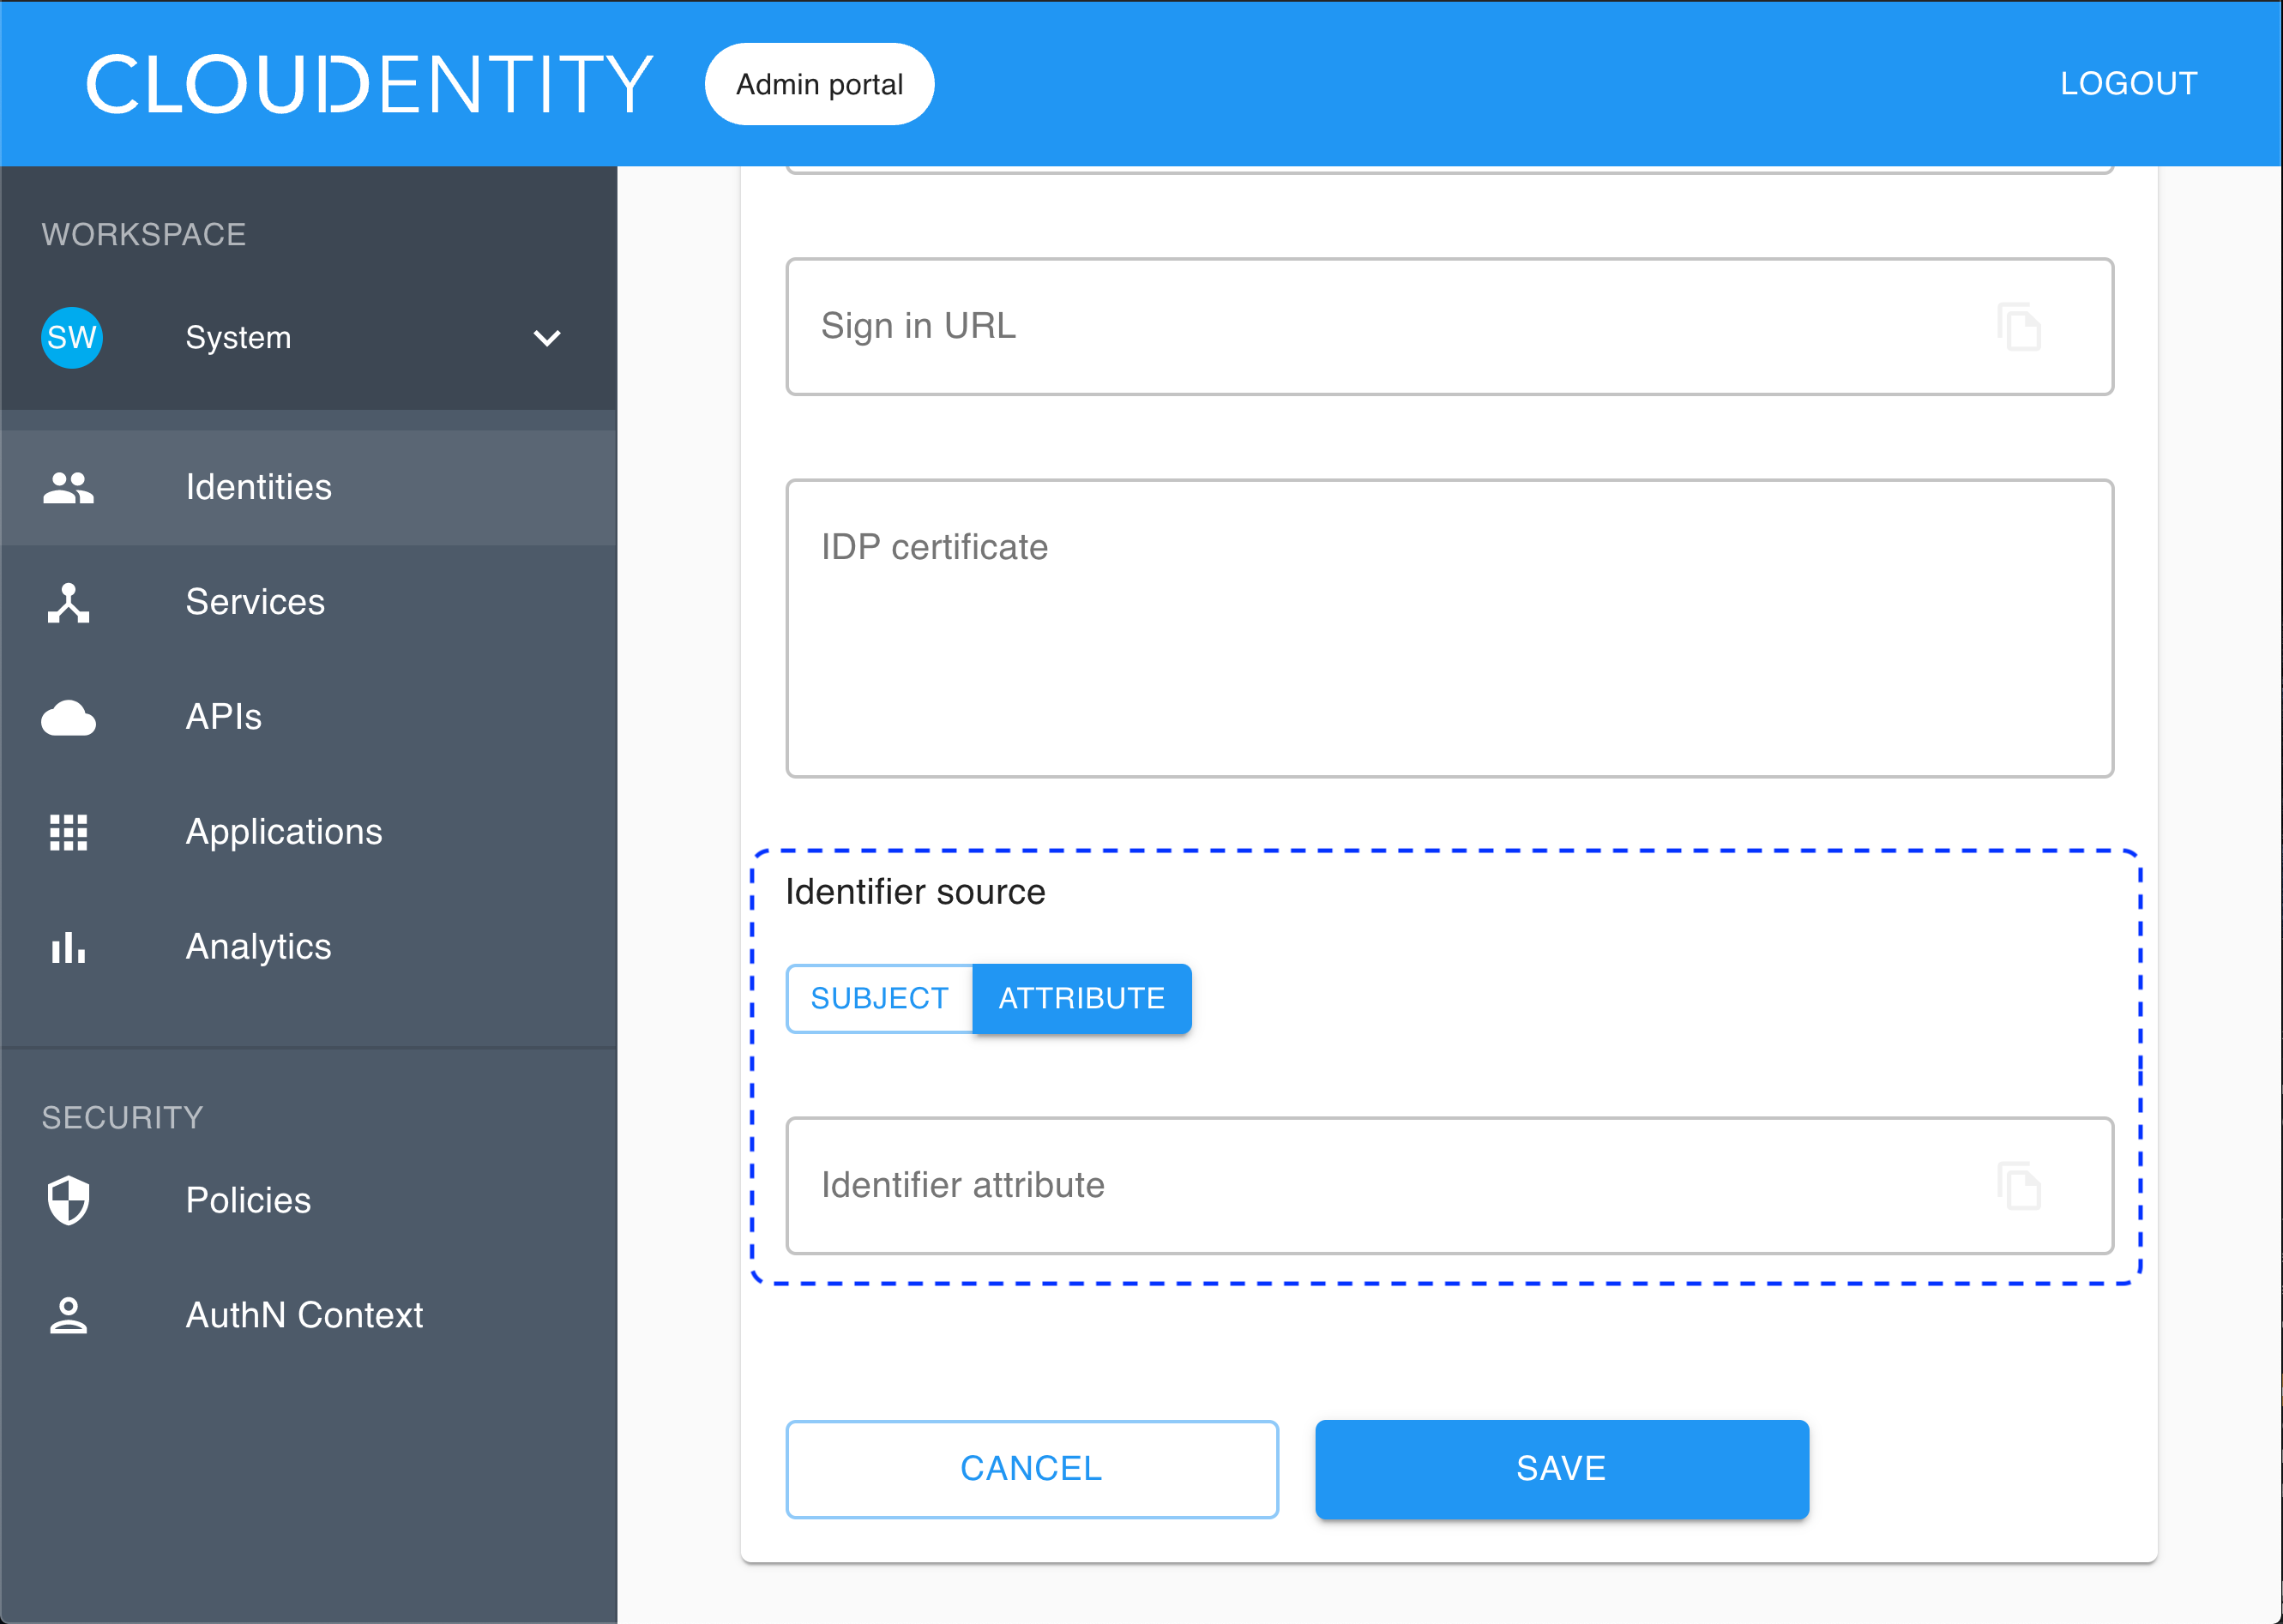
If you select the attribute as the identifier source, the identifier is retrieved from
SAMLResponse <AttributeStatement>. Any attribute fromSAMLResponse <AttributeStatement>can be used for that purpose.
-
Select Save.
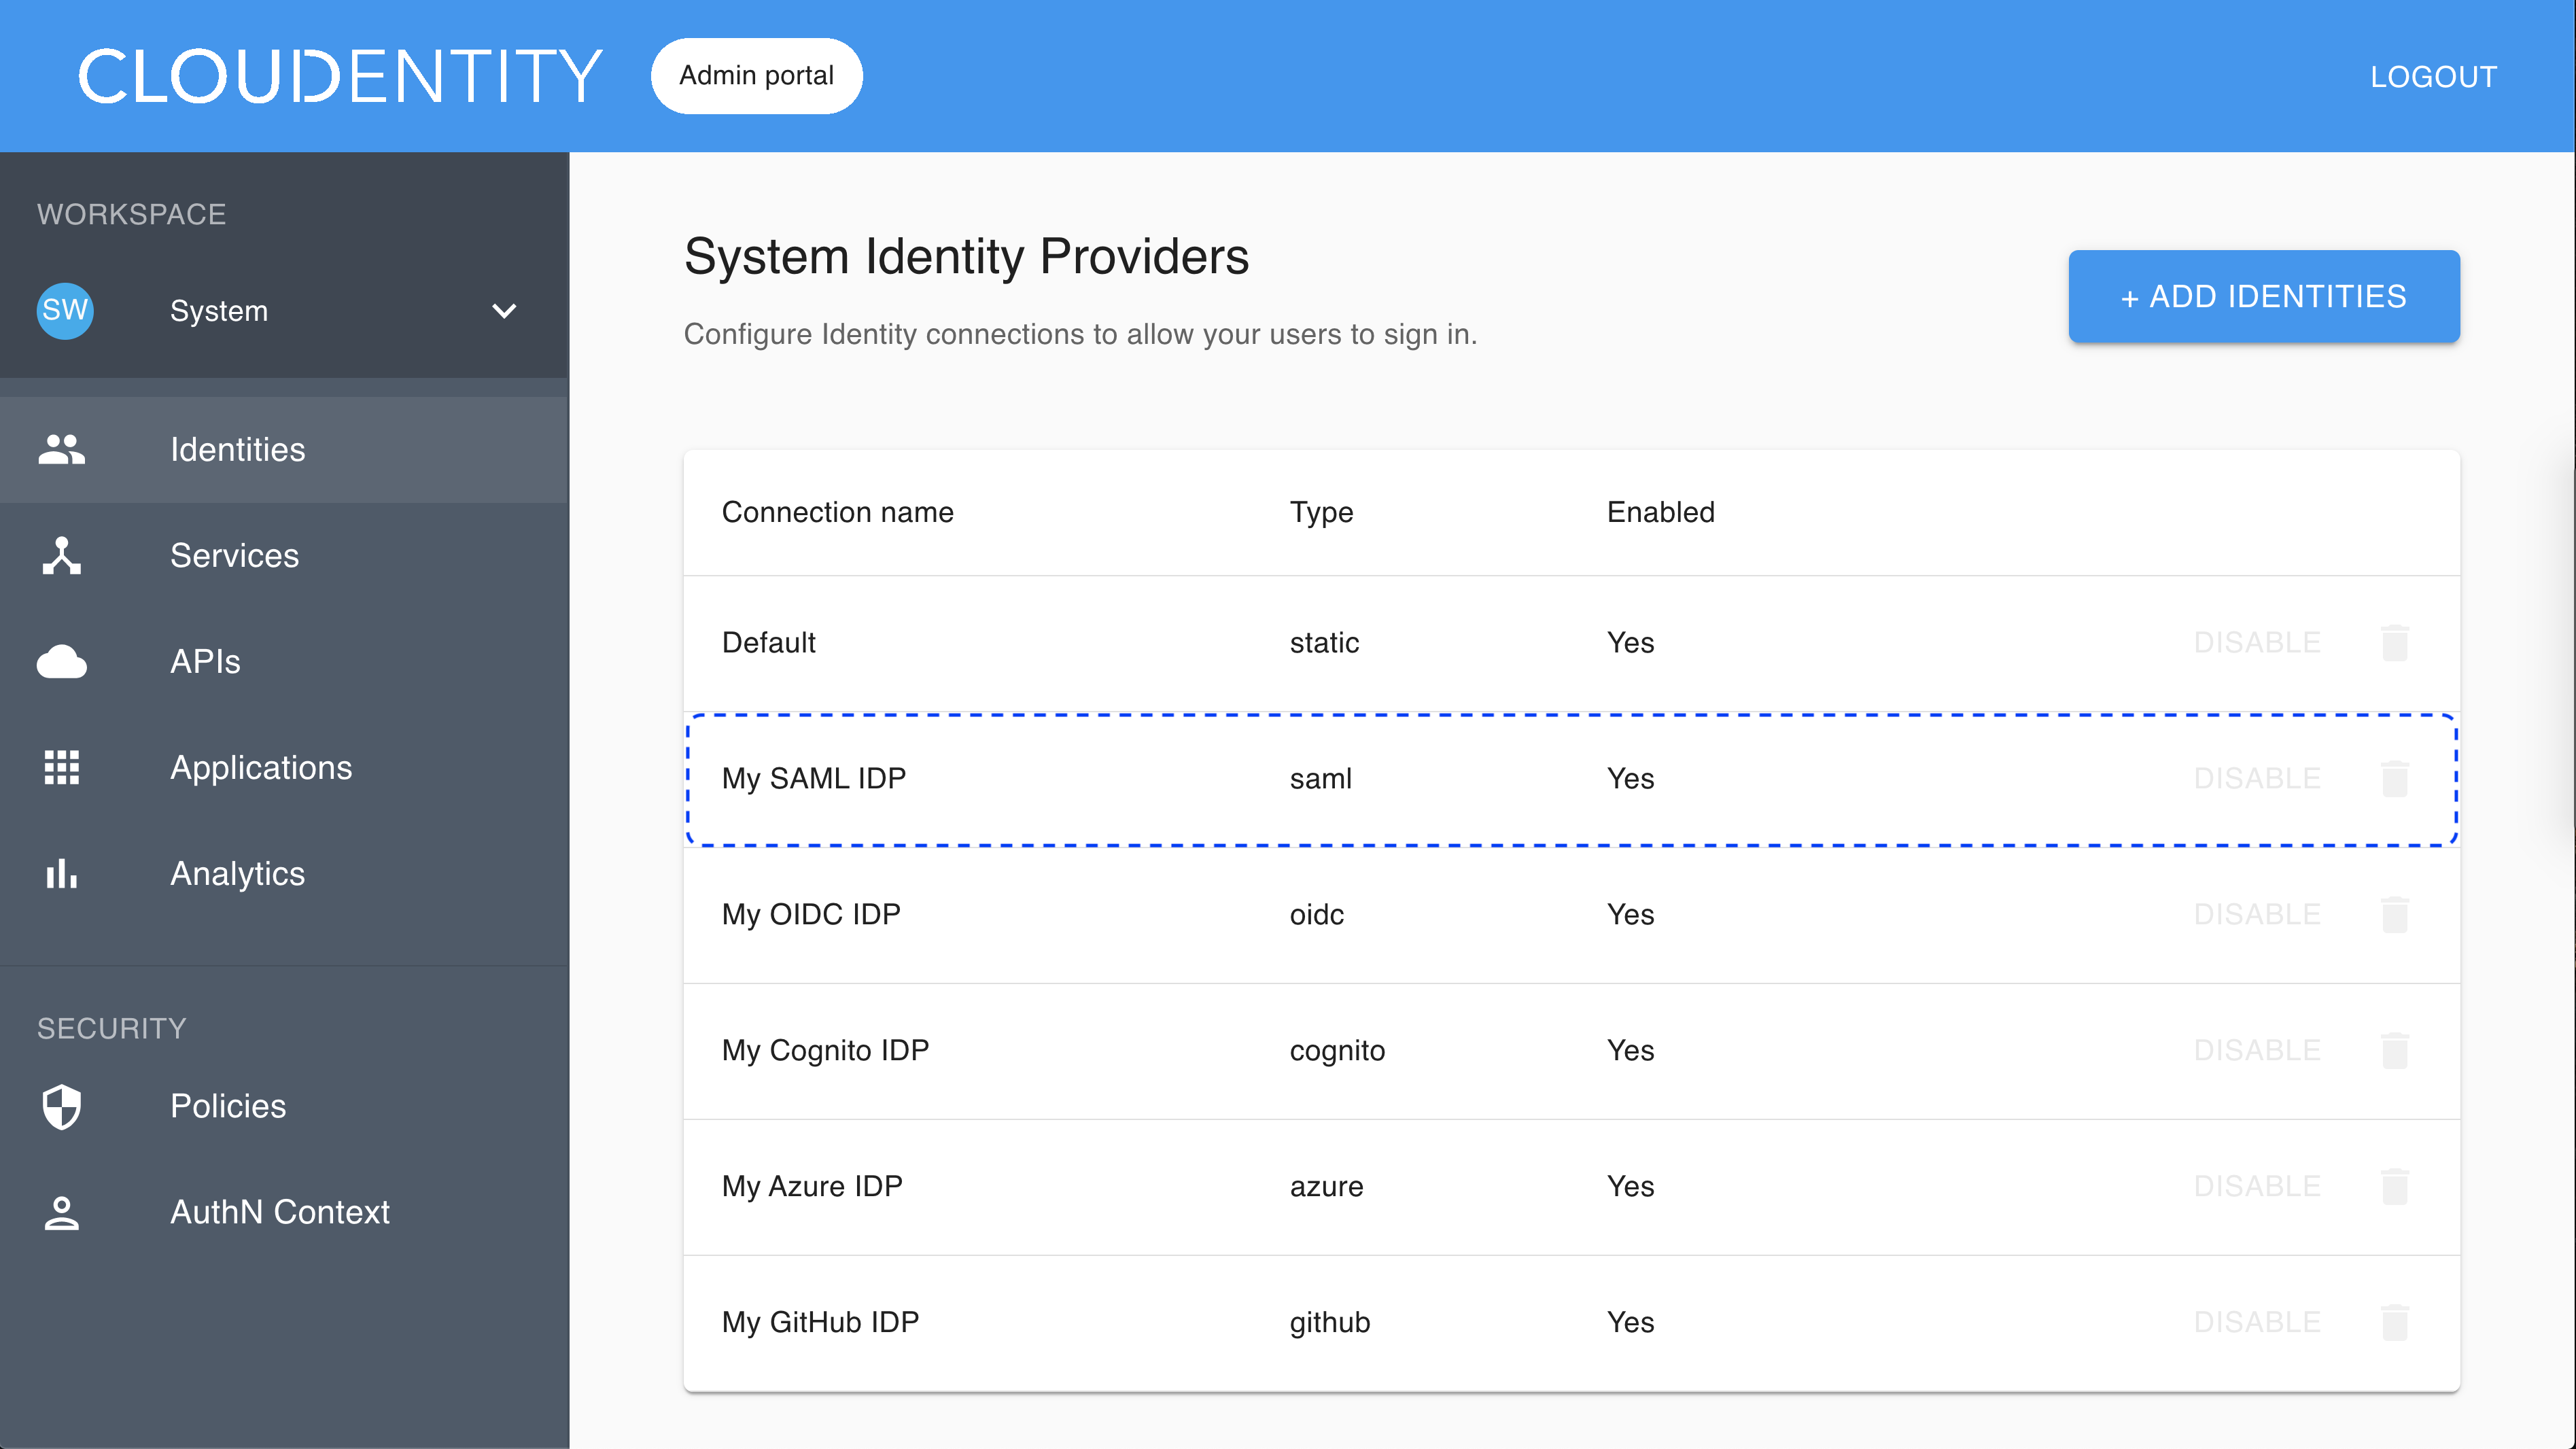
Result
Your new identity provider has been created and listed in the Consumer Identity Providers view.
Values for Entity issuer and Redirect URL have been generated for your IDP. To preview the values, select the new identity provider from the list in the Consumer Identity Providers view and go to the CONFIGURATION tab.
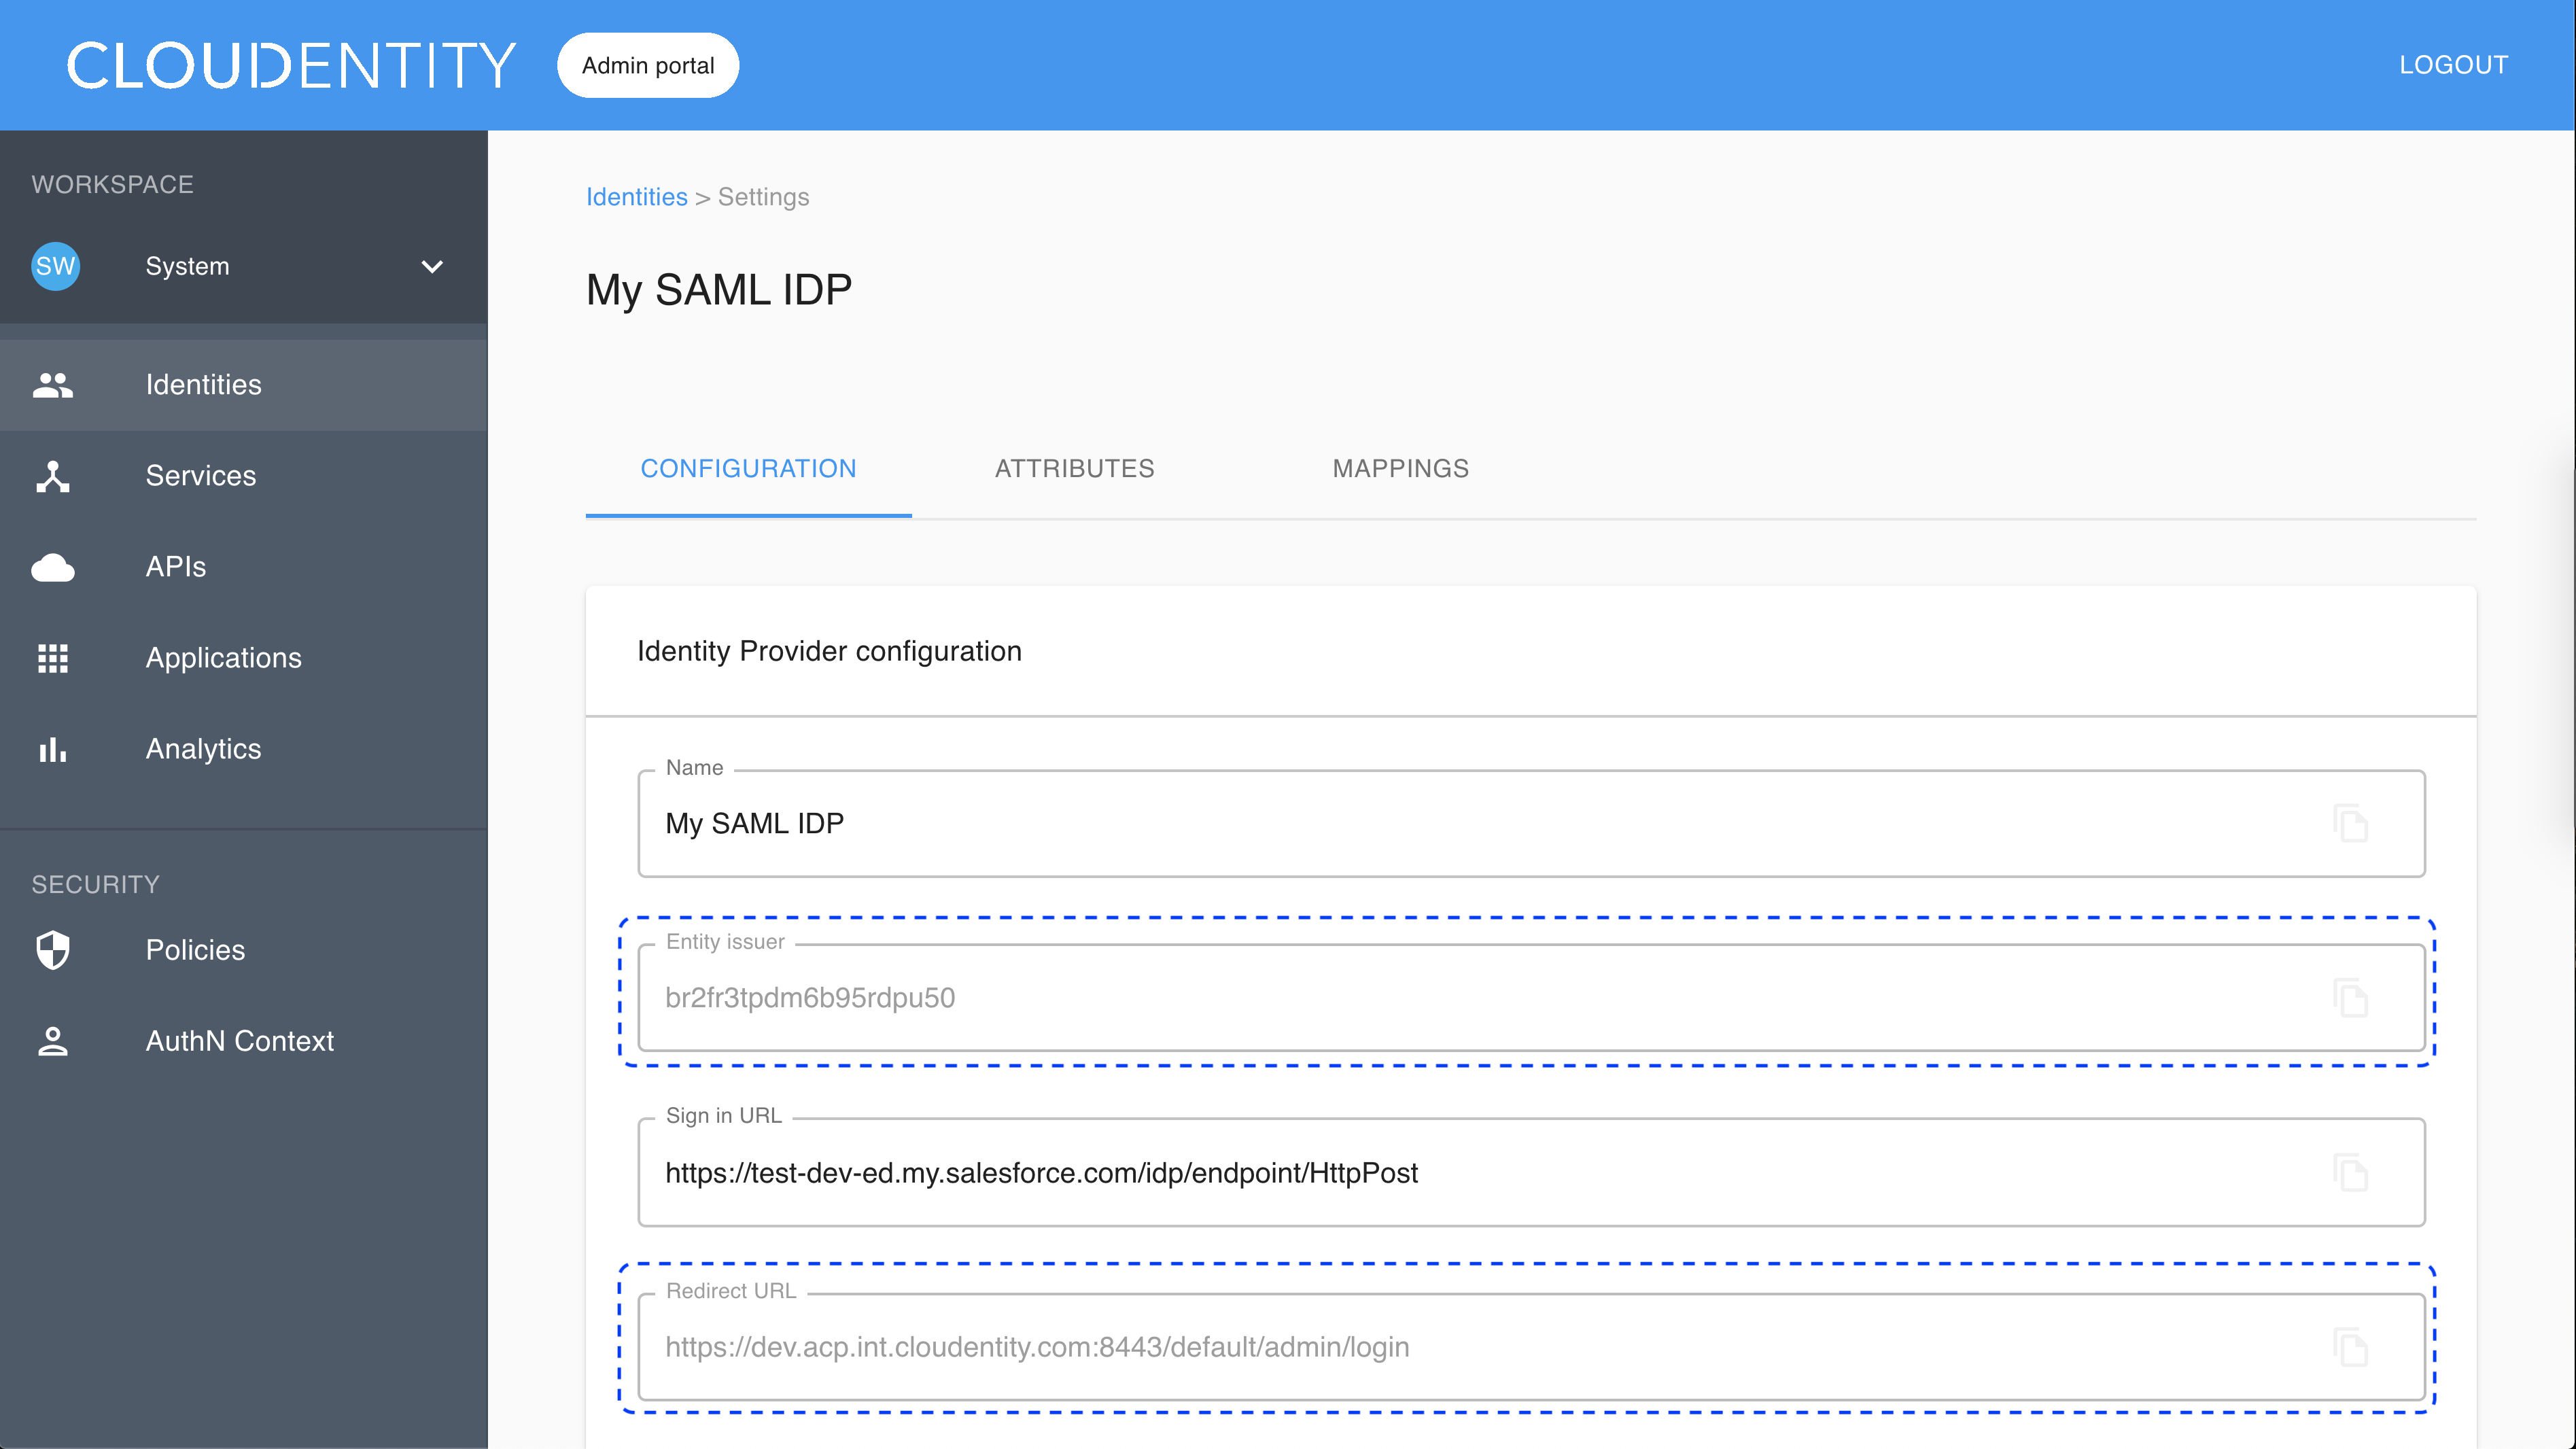
Note
Another name for the redirect URL in the SAML terminology is Assertion Consumer Service (ACS) URL.
Enable the stateful authorization
This step is optional.
To have the user’s data cached in ACP and avoid re-authenticating within one use’s session, follow the instruction in Enable the stateful authZ in ACP.
Attributes settings
Attributes of your IDP correspond to the contents of the assertion (the xml received from IDP).
Example
Here’s a SAMLResponse with the
<saml:AttributeStatement>tag and attributes issued by IDP:
<saml:AttributeStatement>
         <saml:Attribute Name="userId" NameFormat="urn:oasis:names:tc:SAML:2.0:attrname-format:unspecified">
            <saml:AttributeValue xmlns:xs="http://www.w3.org/2001/XMLSchema" xmlns:xsi="http://www.w3.org/2001/XMLSchema-instance" xsi:type="xs:anyType">0011I000000fVAf</saml:AttributeValue>
         </saml:Attribute>
         <saml:Attribute Name="username" NameFormat="urn:oasis:names:tc:SAML:2.0:attrname-format:unspecified">
            <saml:AttributeValue xmlns:xs="http://www.w3.org/2001/XMLSchema" xmlns:xsi="http://www.w3.org/2001/XMLSchema-instance" xsi:type="xs:anyType">test@cloudentity.com</saml:AttributeValue>
         </saml:Attribute>
         <saml:Attribute Name="email" NameFormat="urn:oasis:names:tc:SAML:2.0:attrname-format:unspecified">
            <saml:AttributeValue xmlns:xs="http://www.w3.org/2001/XMLSchema" xmlns:xsi="http://www.w3.org/2001/XMLSchema-instance" xsi:type="xs:anyType">test@cloudentity.com</saml:AttributeValue>
         </saml:Attribute>
         <saml:Attribute Name="is_portal_user" NameFormat="urn:oasis:names:tc:SAML:2.0:attrname-format:unspecified">
            <saml:AttributeValue xmlns:xs="http://www.w3.org/2001/XMLSchema" xmlns:xsi="http://www.w3.org/2001/XMLSchema-instance" xsi:type="xs:anyType">false</saml:AttributeValue>
         </saml:Attribute>
      </saml:AttributeStatement>
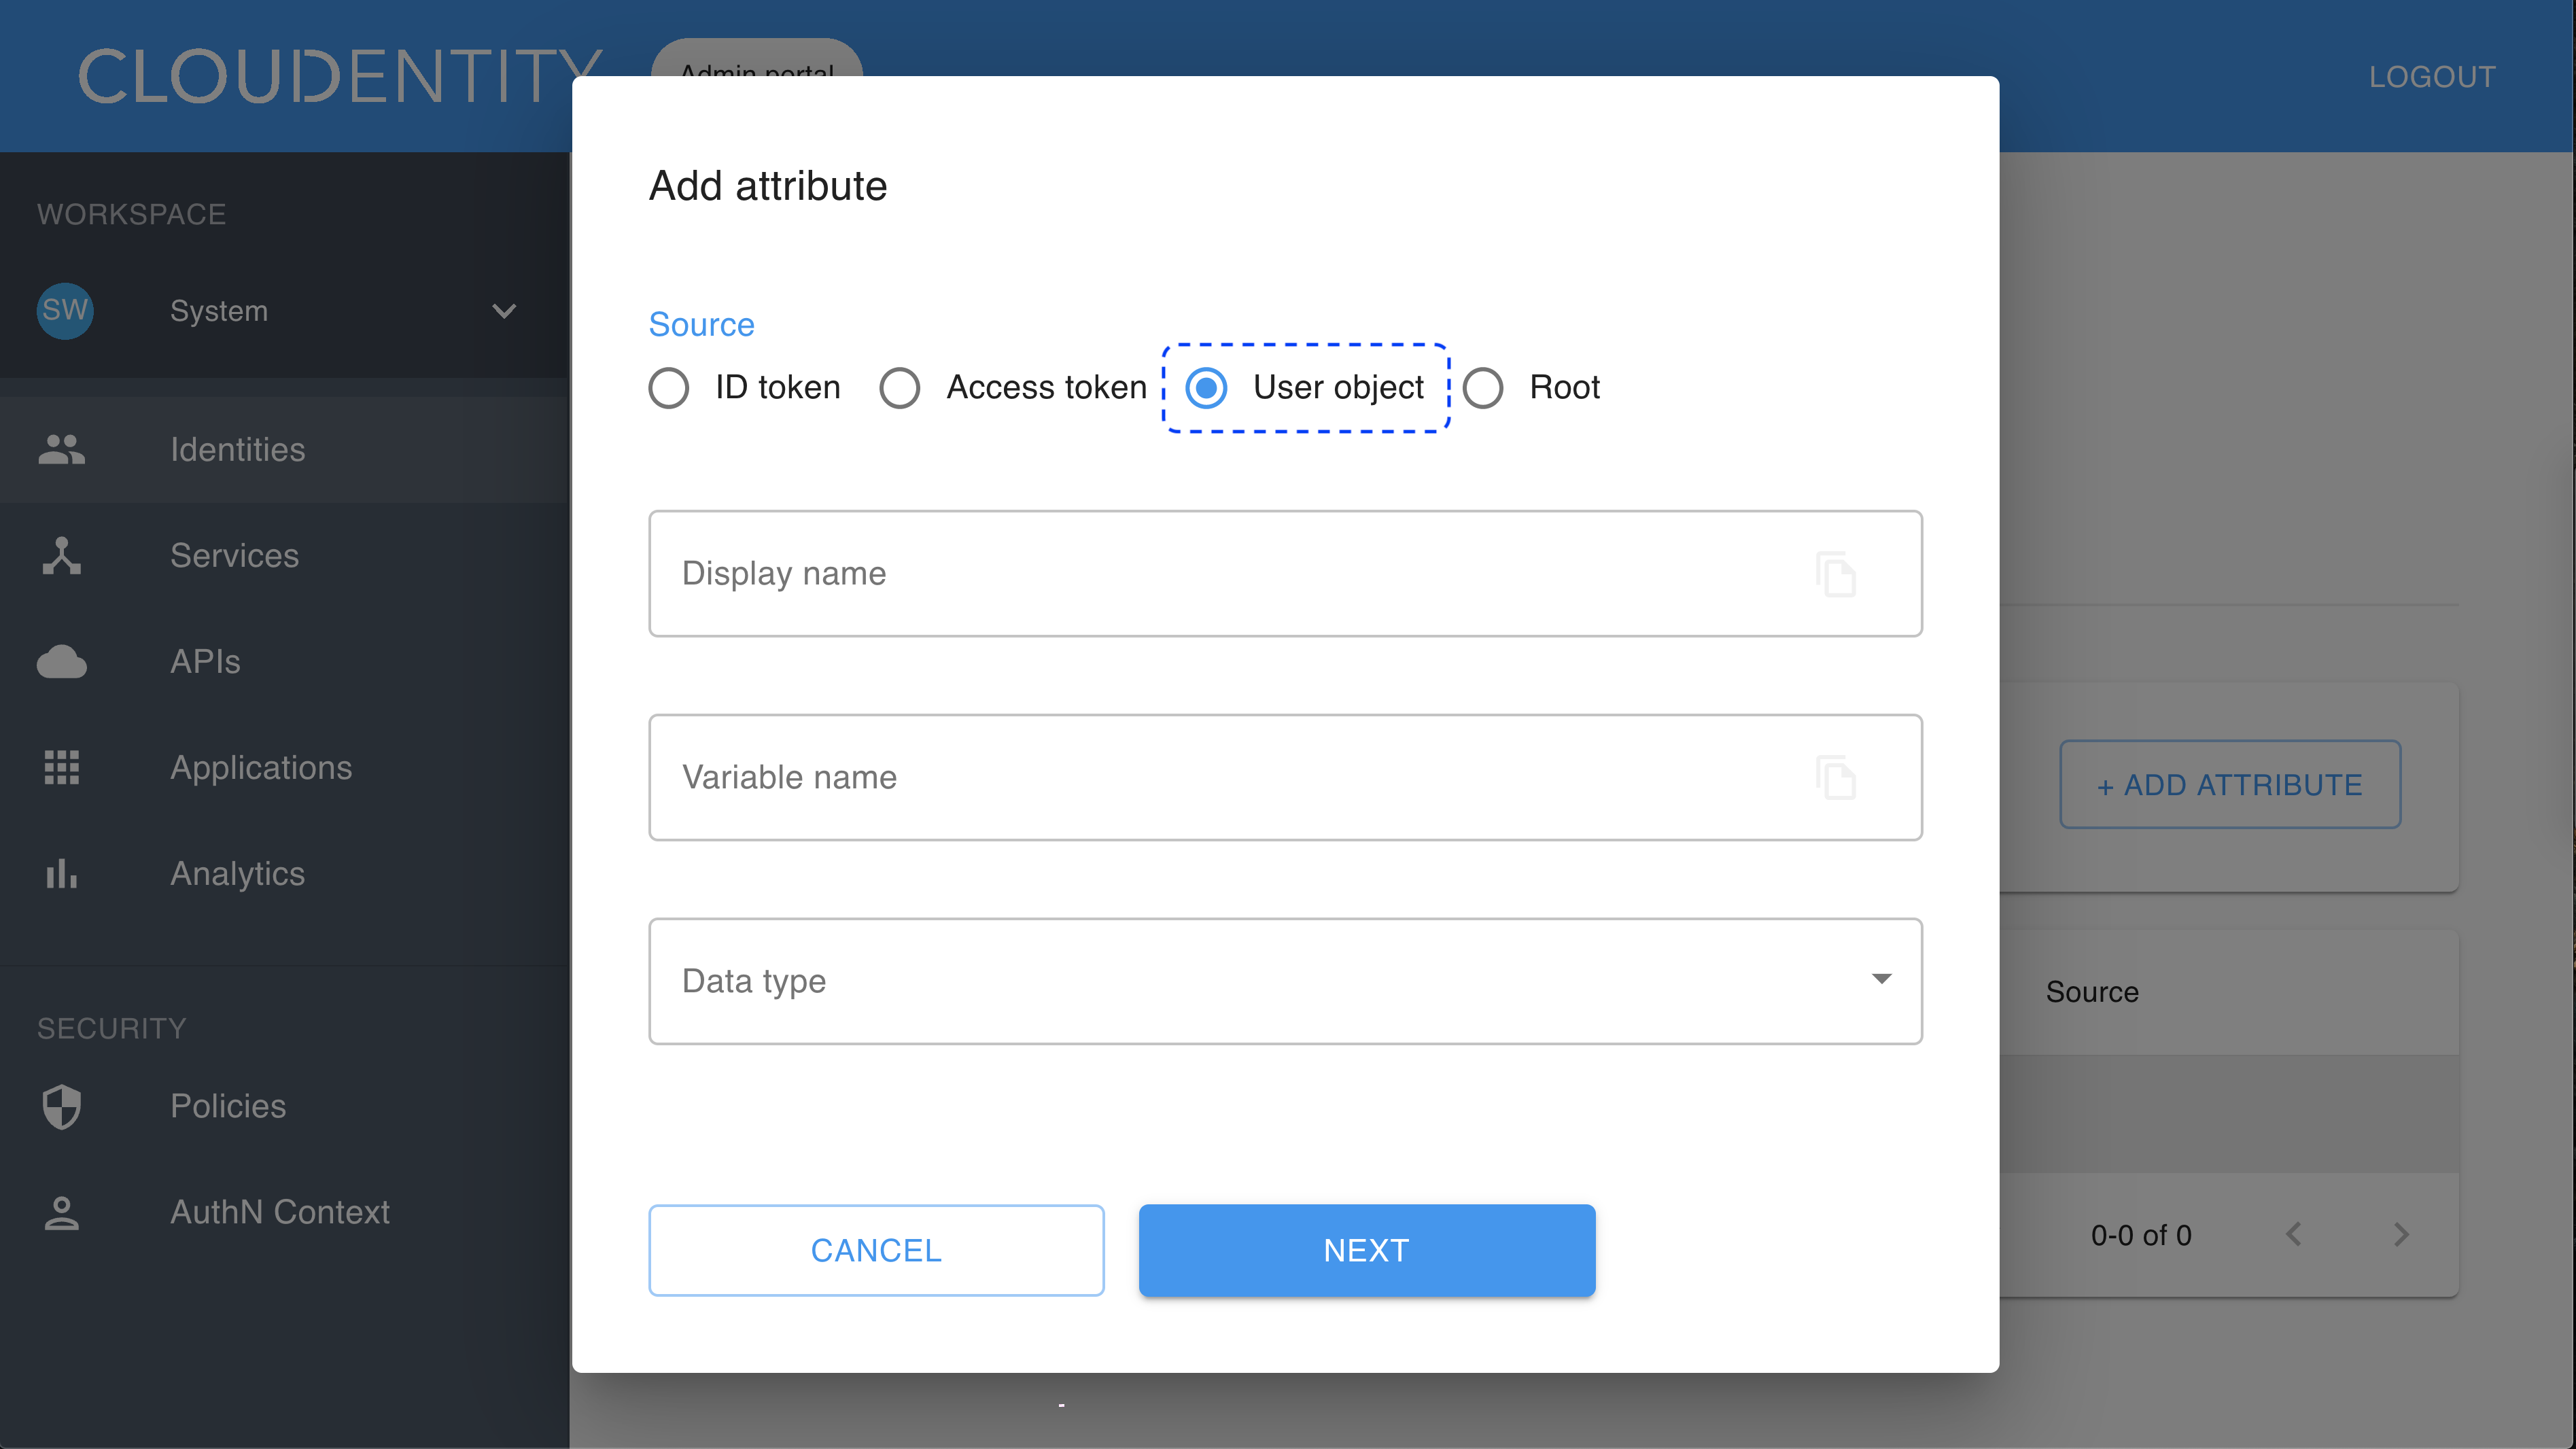
Add attributes
To configure attributes for your new IDP, select the identity provider from the list in the Consumer Identity Providers view and go to the ATTRIBUTES tab. Next, select ADD ATTRIBUTE and use the user object as a source.
Map attributes
To map attributes of your IDP to authentication context attributes, select the identity provider from the list in the Consumer Identity Providers view and go to the MAPPINGS tab. Next, select ADD MAPPING and configure the source name and the target name by selecting values from the drop-down lists.
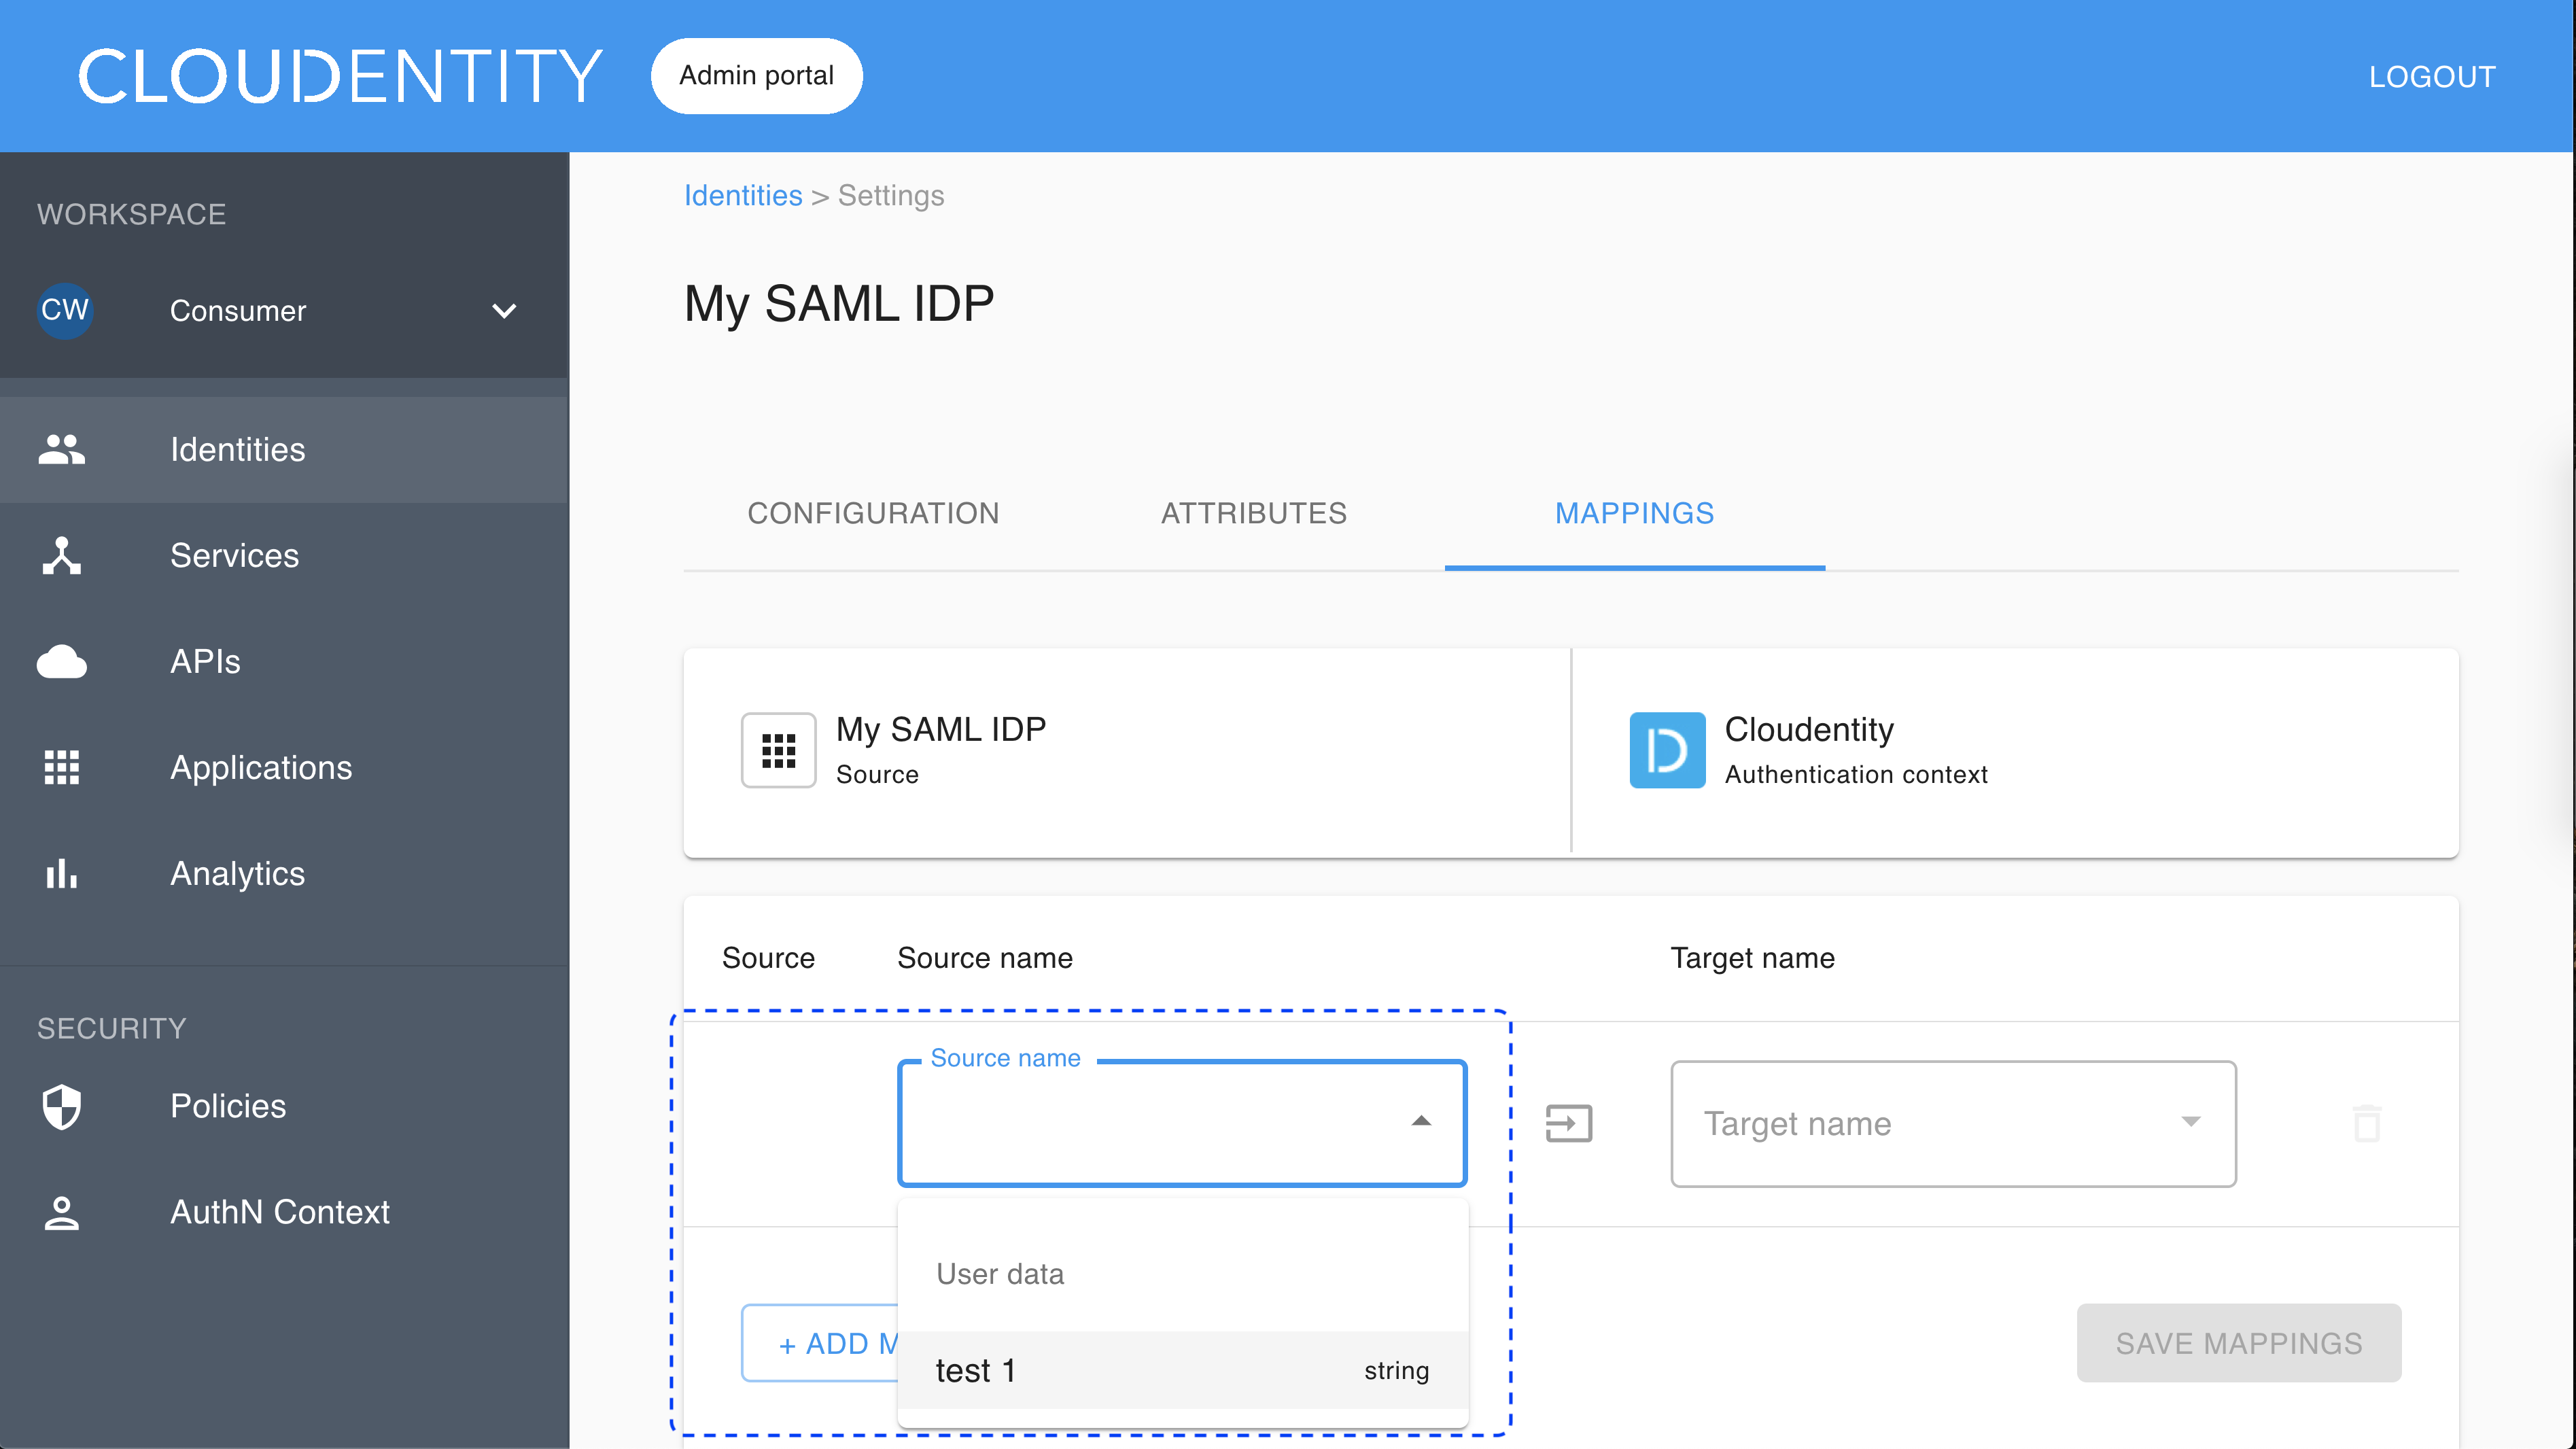
Note
All attributes from
SAMLResponse <AttributeStatement>have the user data as a source.
Register SP
-
Create a service provider (SP) with your identity provider (IDP).
-
Configure your SP with Entity issuer and Redirect URL generated for your new identity provider in the ACP administrator portal.
Result
After user authentication, IDP should send back the POST request to the specified redirect URL.
User’s test
Purpose
Test your new IDP as a user
Prerequisite
Your provider is configured as a user-authentication method by your administrator.
Test
-
Go to https://localhost:8443/default/default/demo and select LOG IN TO DEMO APP.
-
Select your configured IDP (if you have multiple ones) and, next, authenticate in IDP.
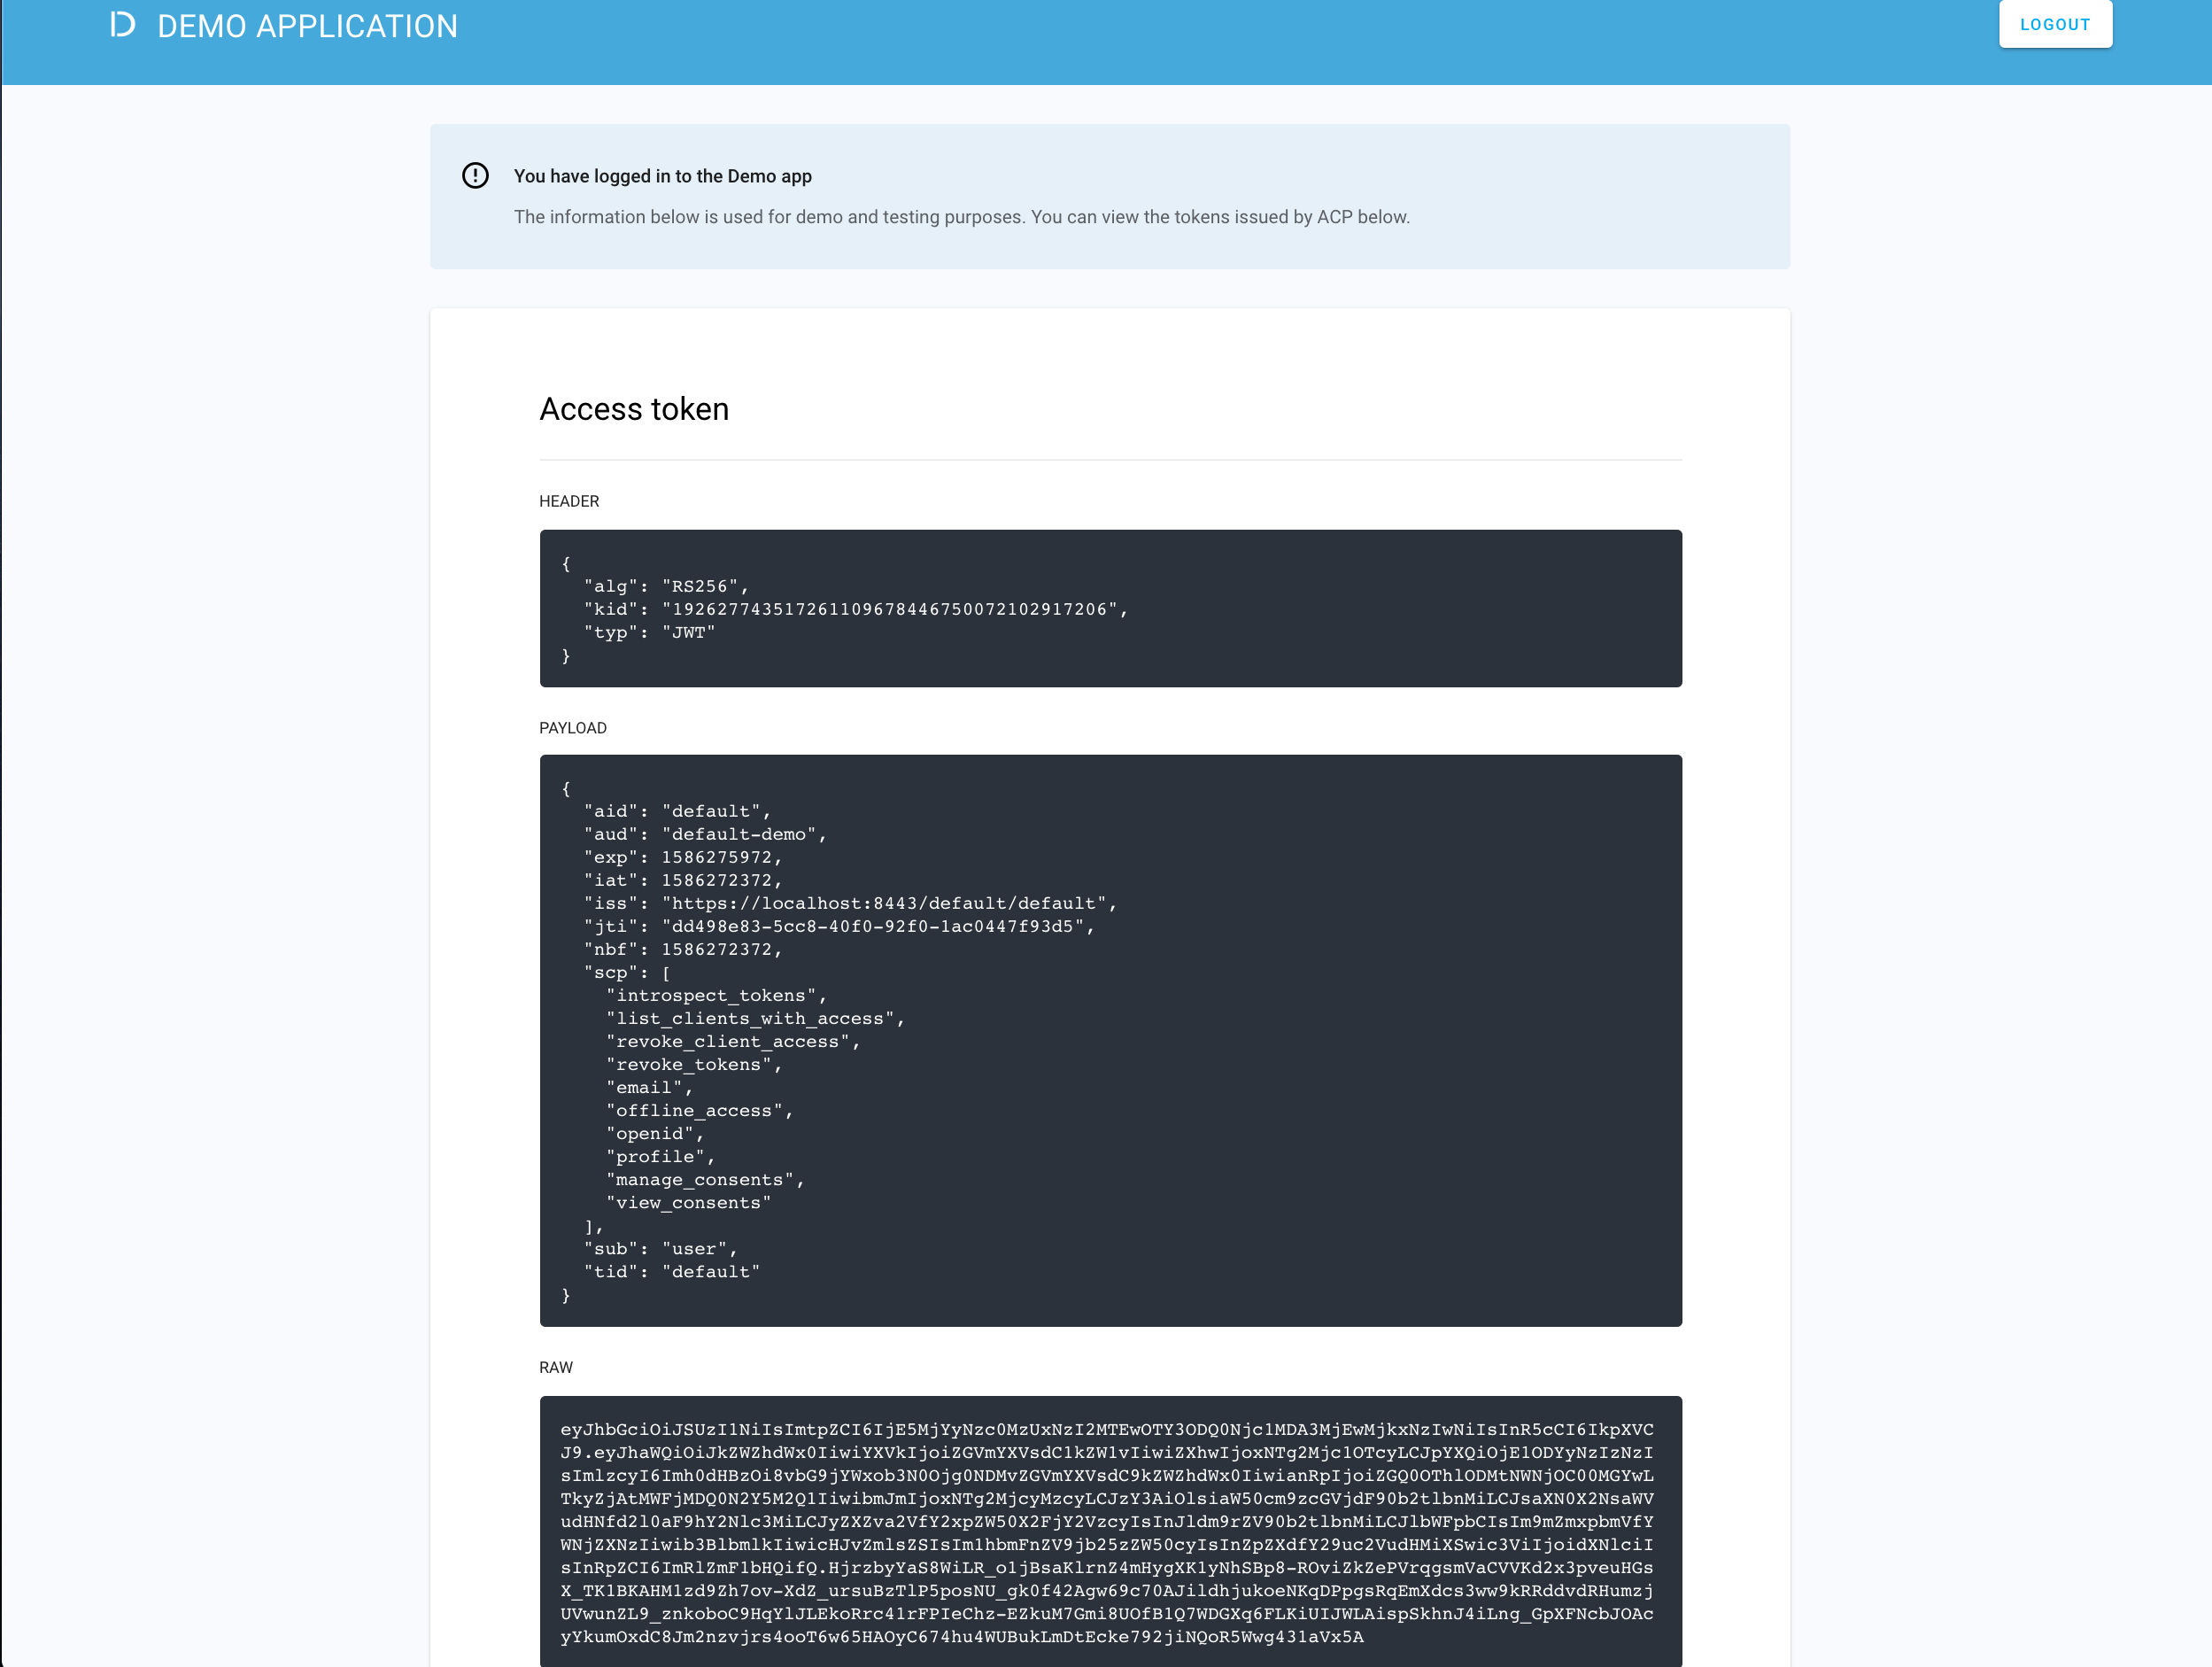
Result
ACP displays the consent page that lists data scopes to be shared with the application. When you proceed to the application (ALLOW ACCESS), the PII data coming from IDP is delivered through the access token and the ID token generated by ACP.
Read more
For information on granting and managing ACP consents, see ACP OAuth consents.
Developer’s test
Purpose
Test your new IDP as a developer
Prerequisite
Your provider is configured as a developer-authentication method by your administrator. To register your IDP for the developer, follow instructions in Connect IDP, this time selecting the Developer workspace in step 2.
Test
-
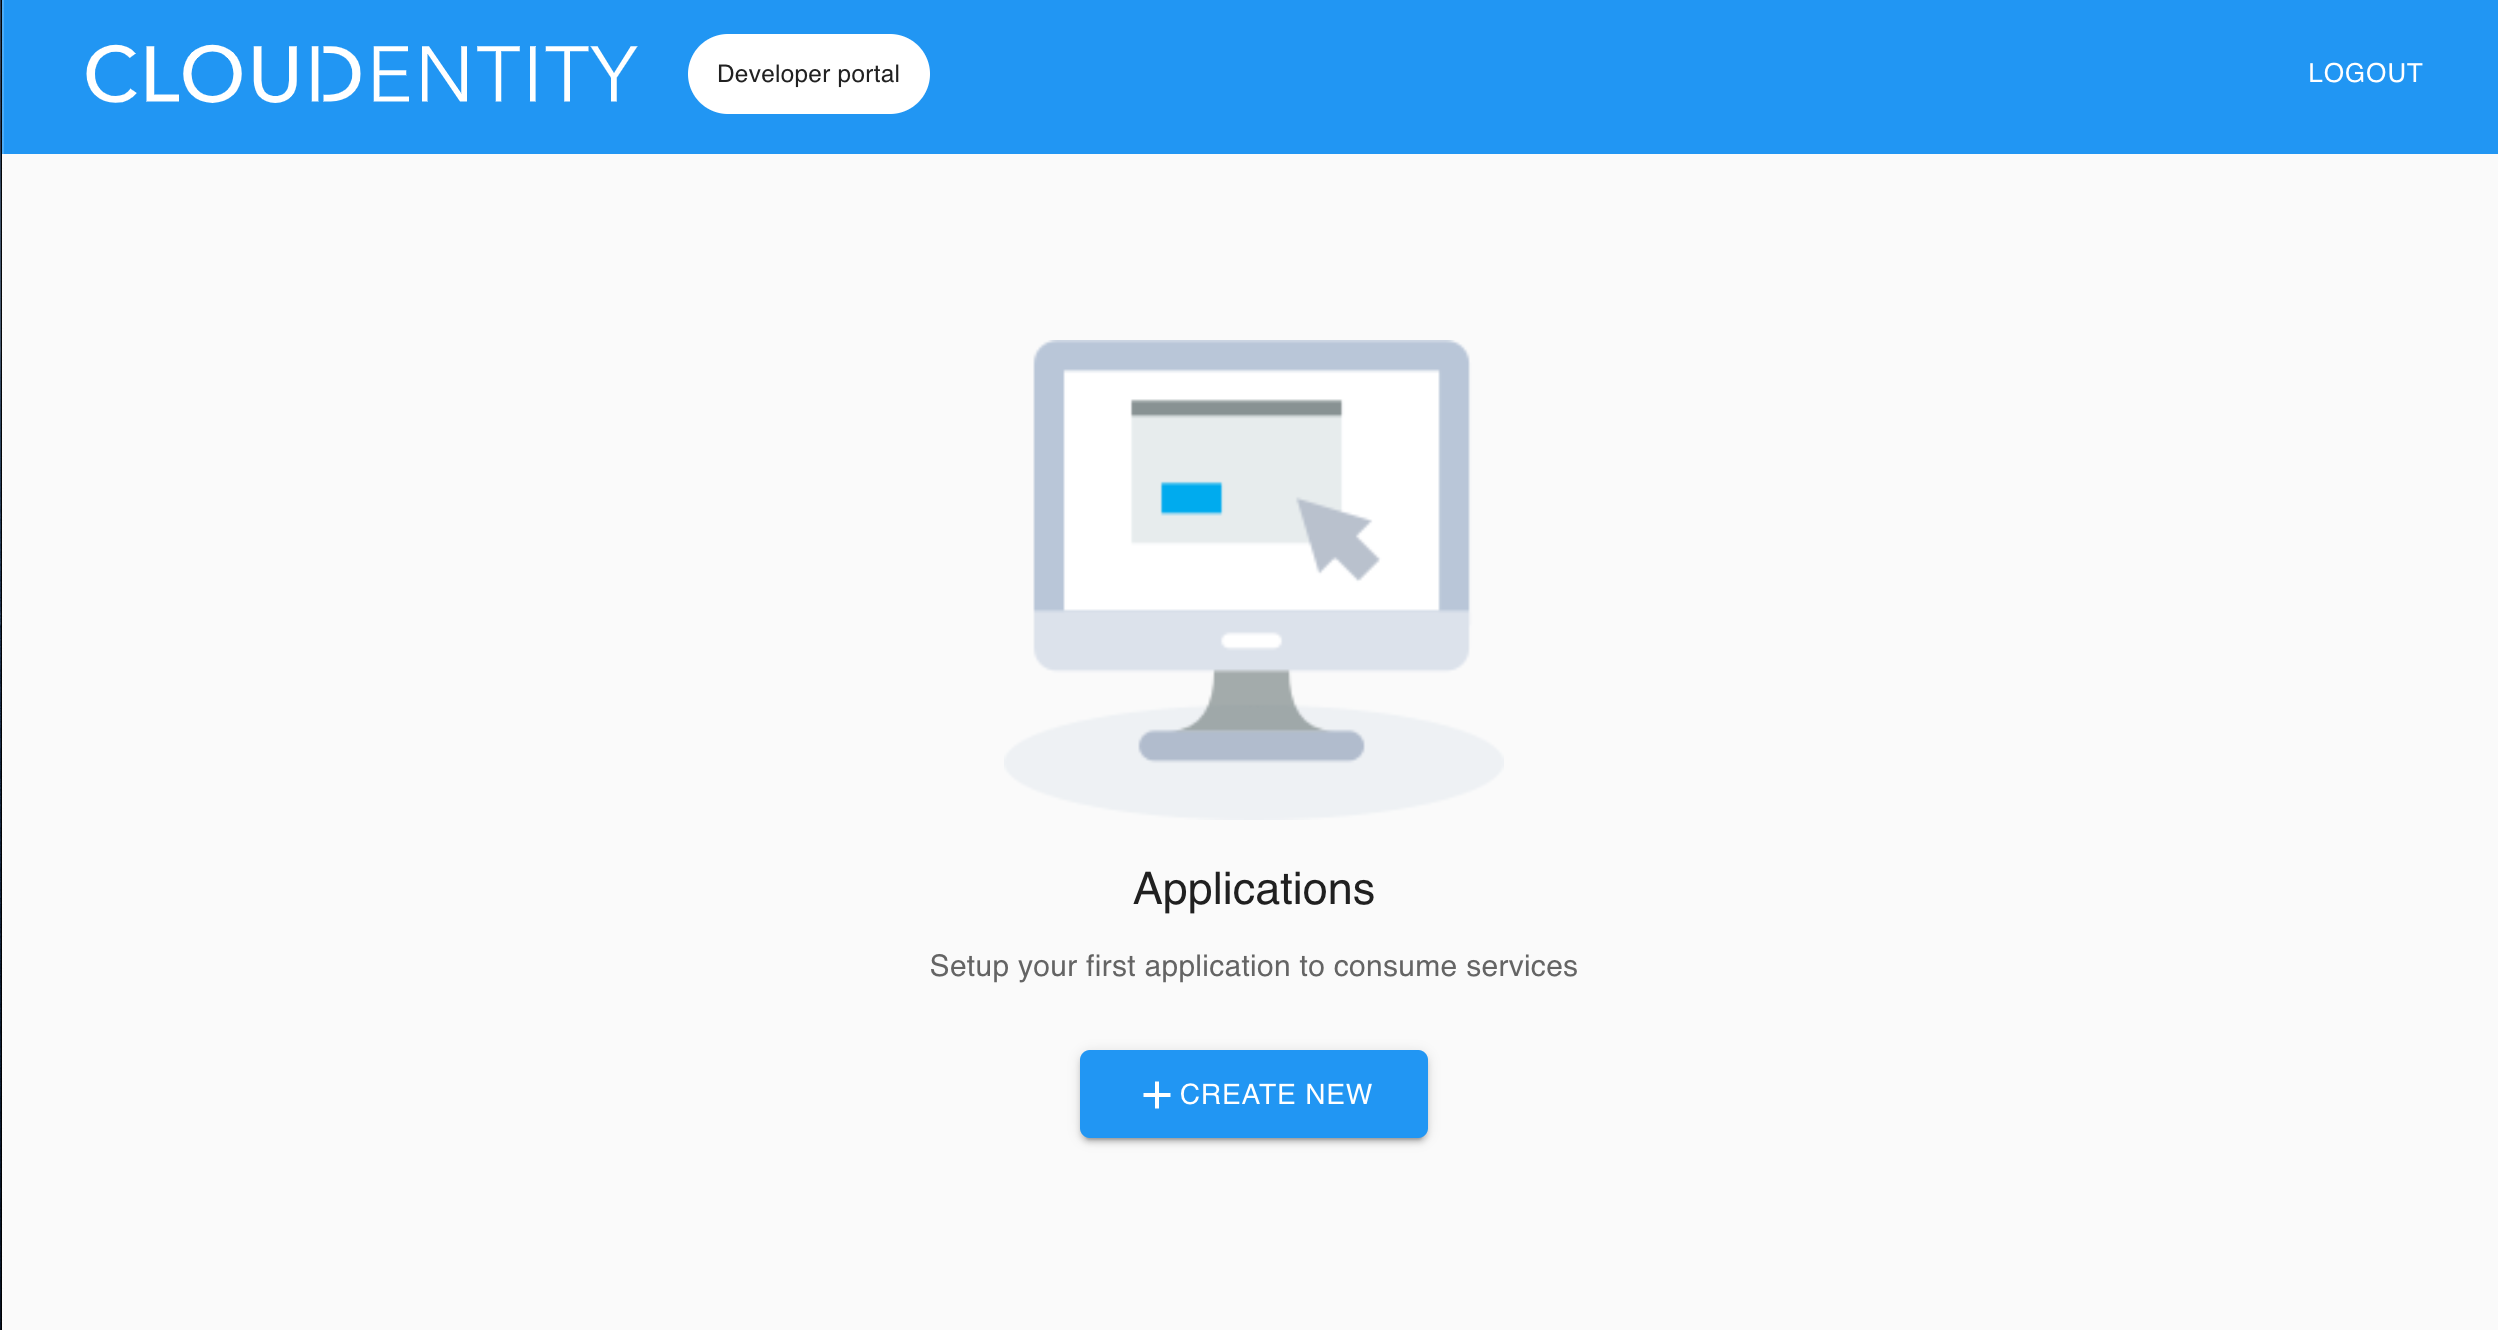
Go to https://localhost:8443/app/default/developer to access the ACP developer portal.
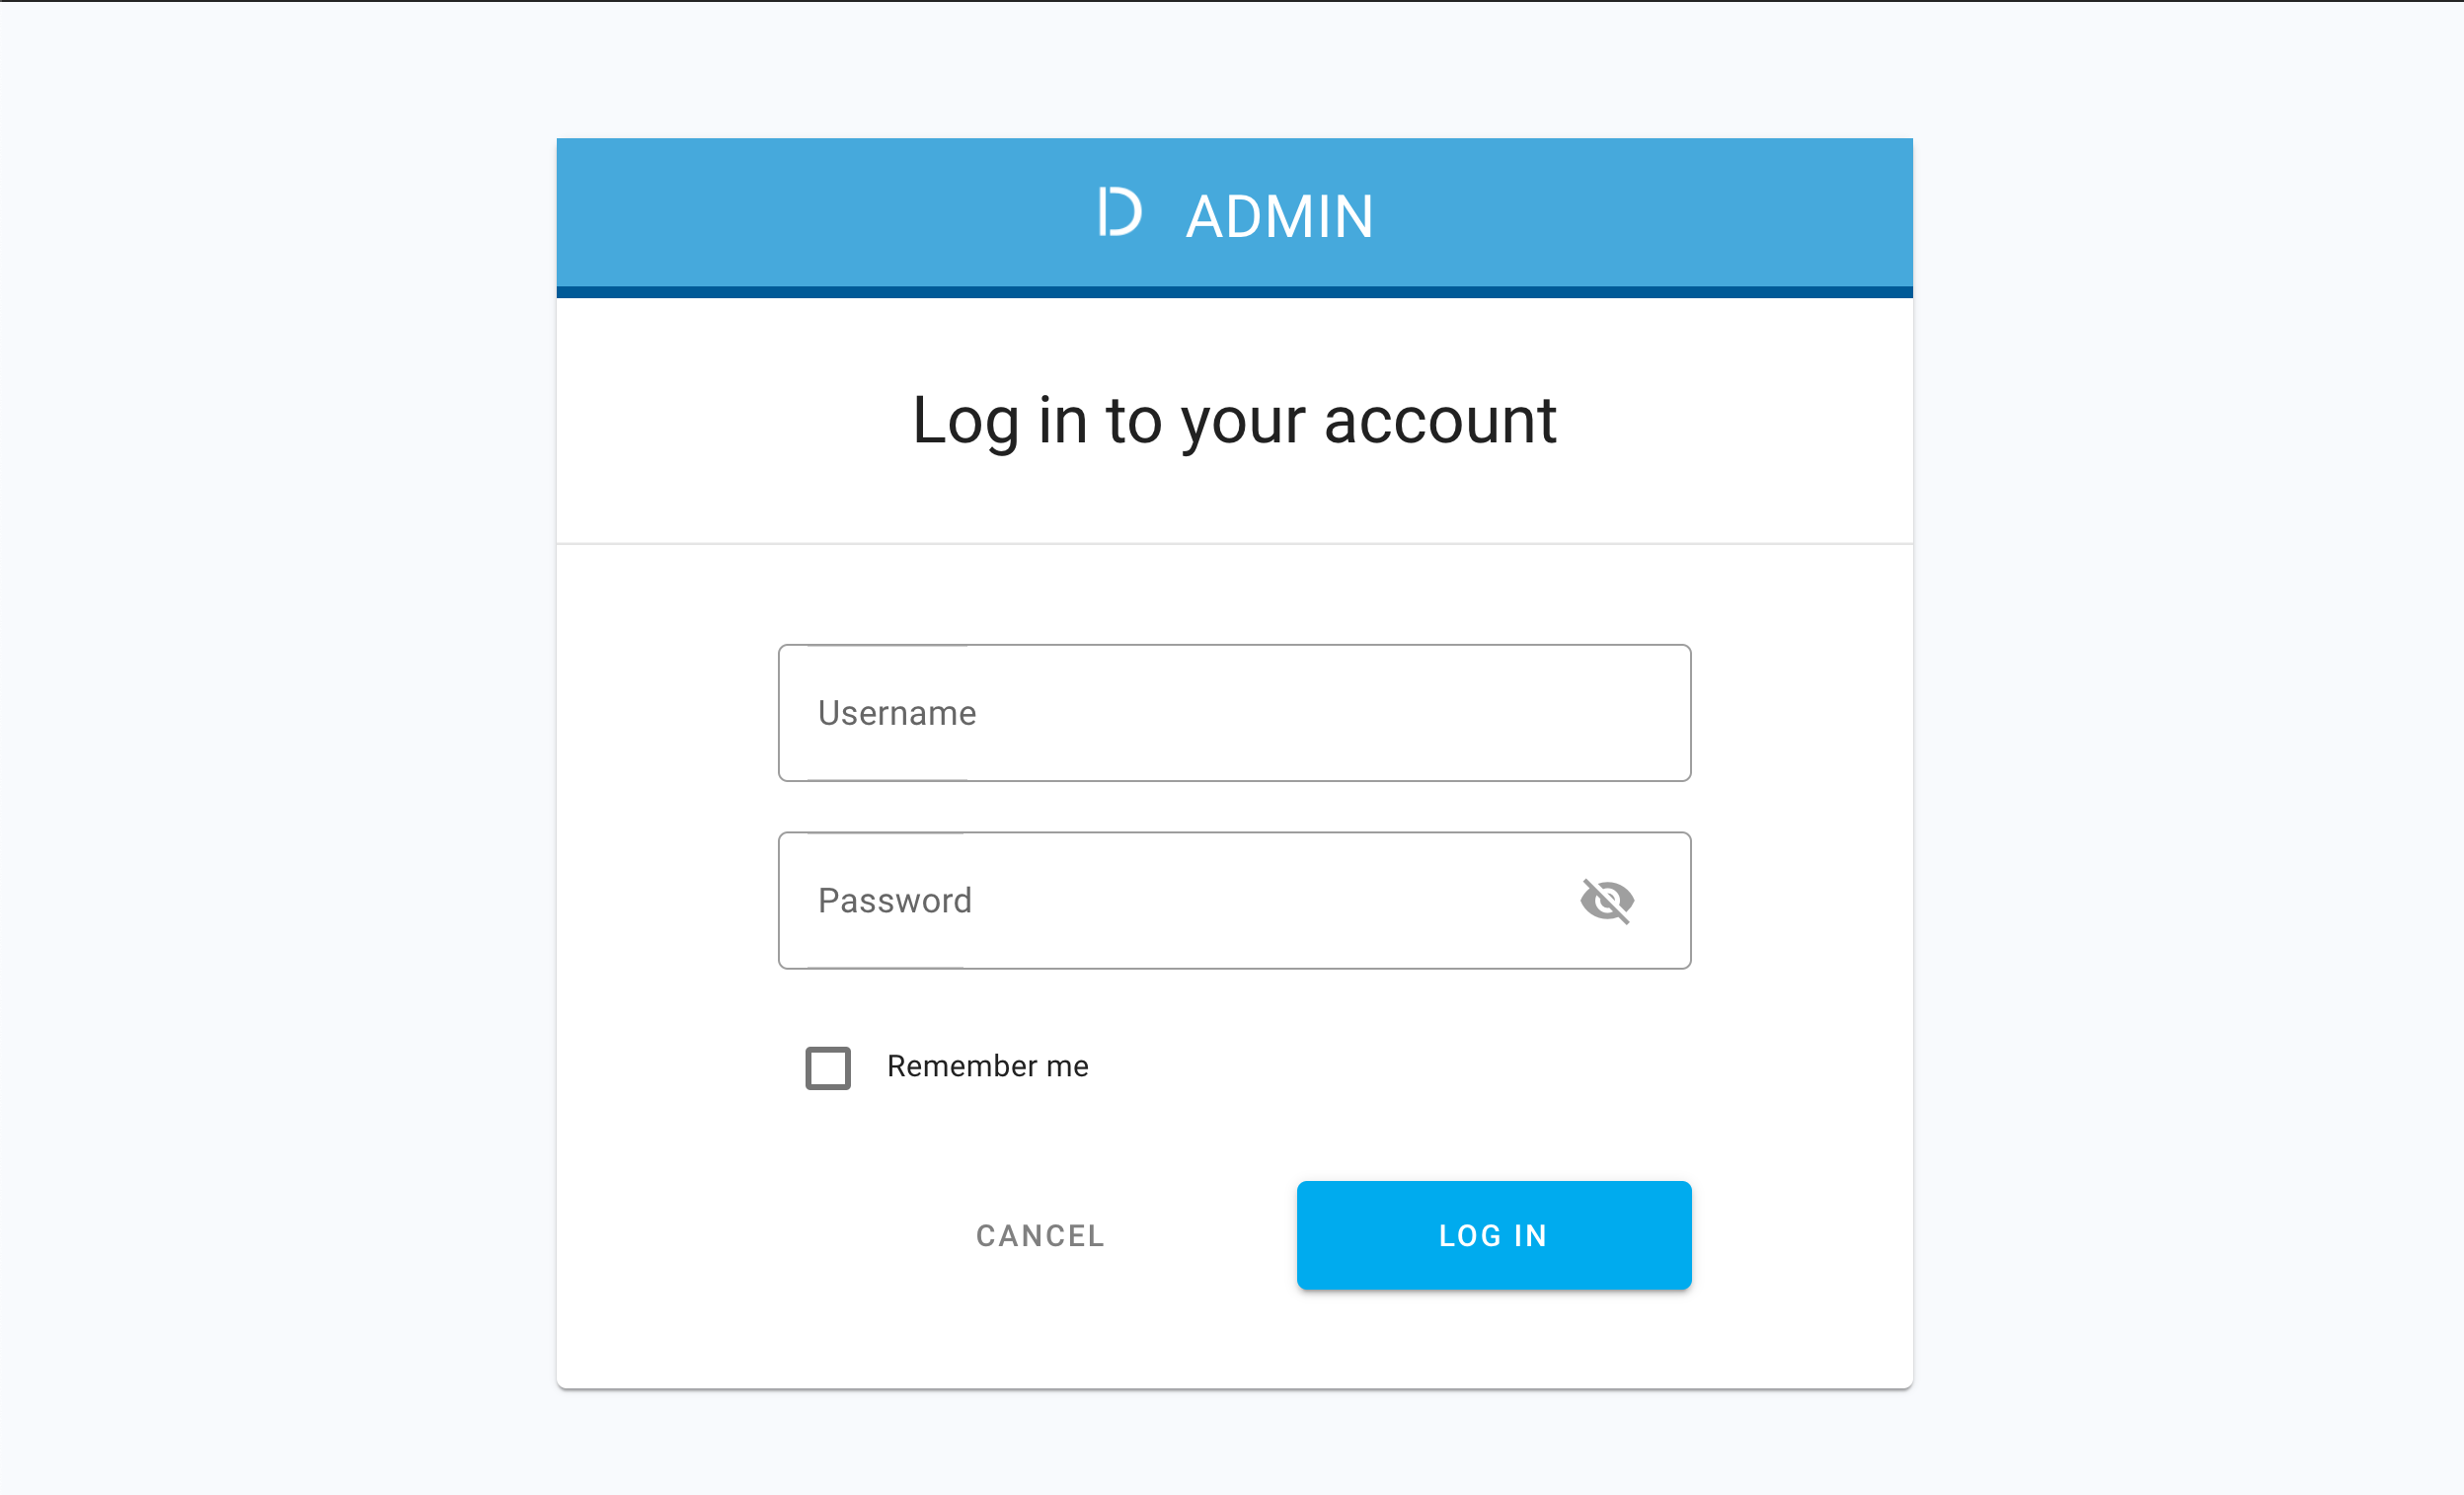
-
Log in to your account by entering your login credentials and selecting LOG IN.
Result
You are logged in to the ACP developer portal with the newly-configured IDP.