Configuring claims for ID tokens and access tokens
Instructions on configuring claims using authentication context attributes
With claims you can control which authentication context attributes are included in ID tokens and access tokens.
Steps
-
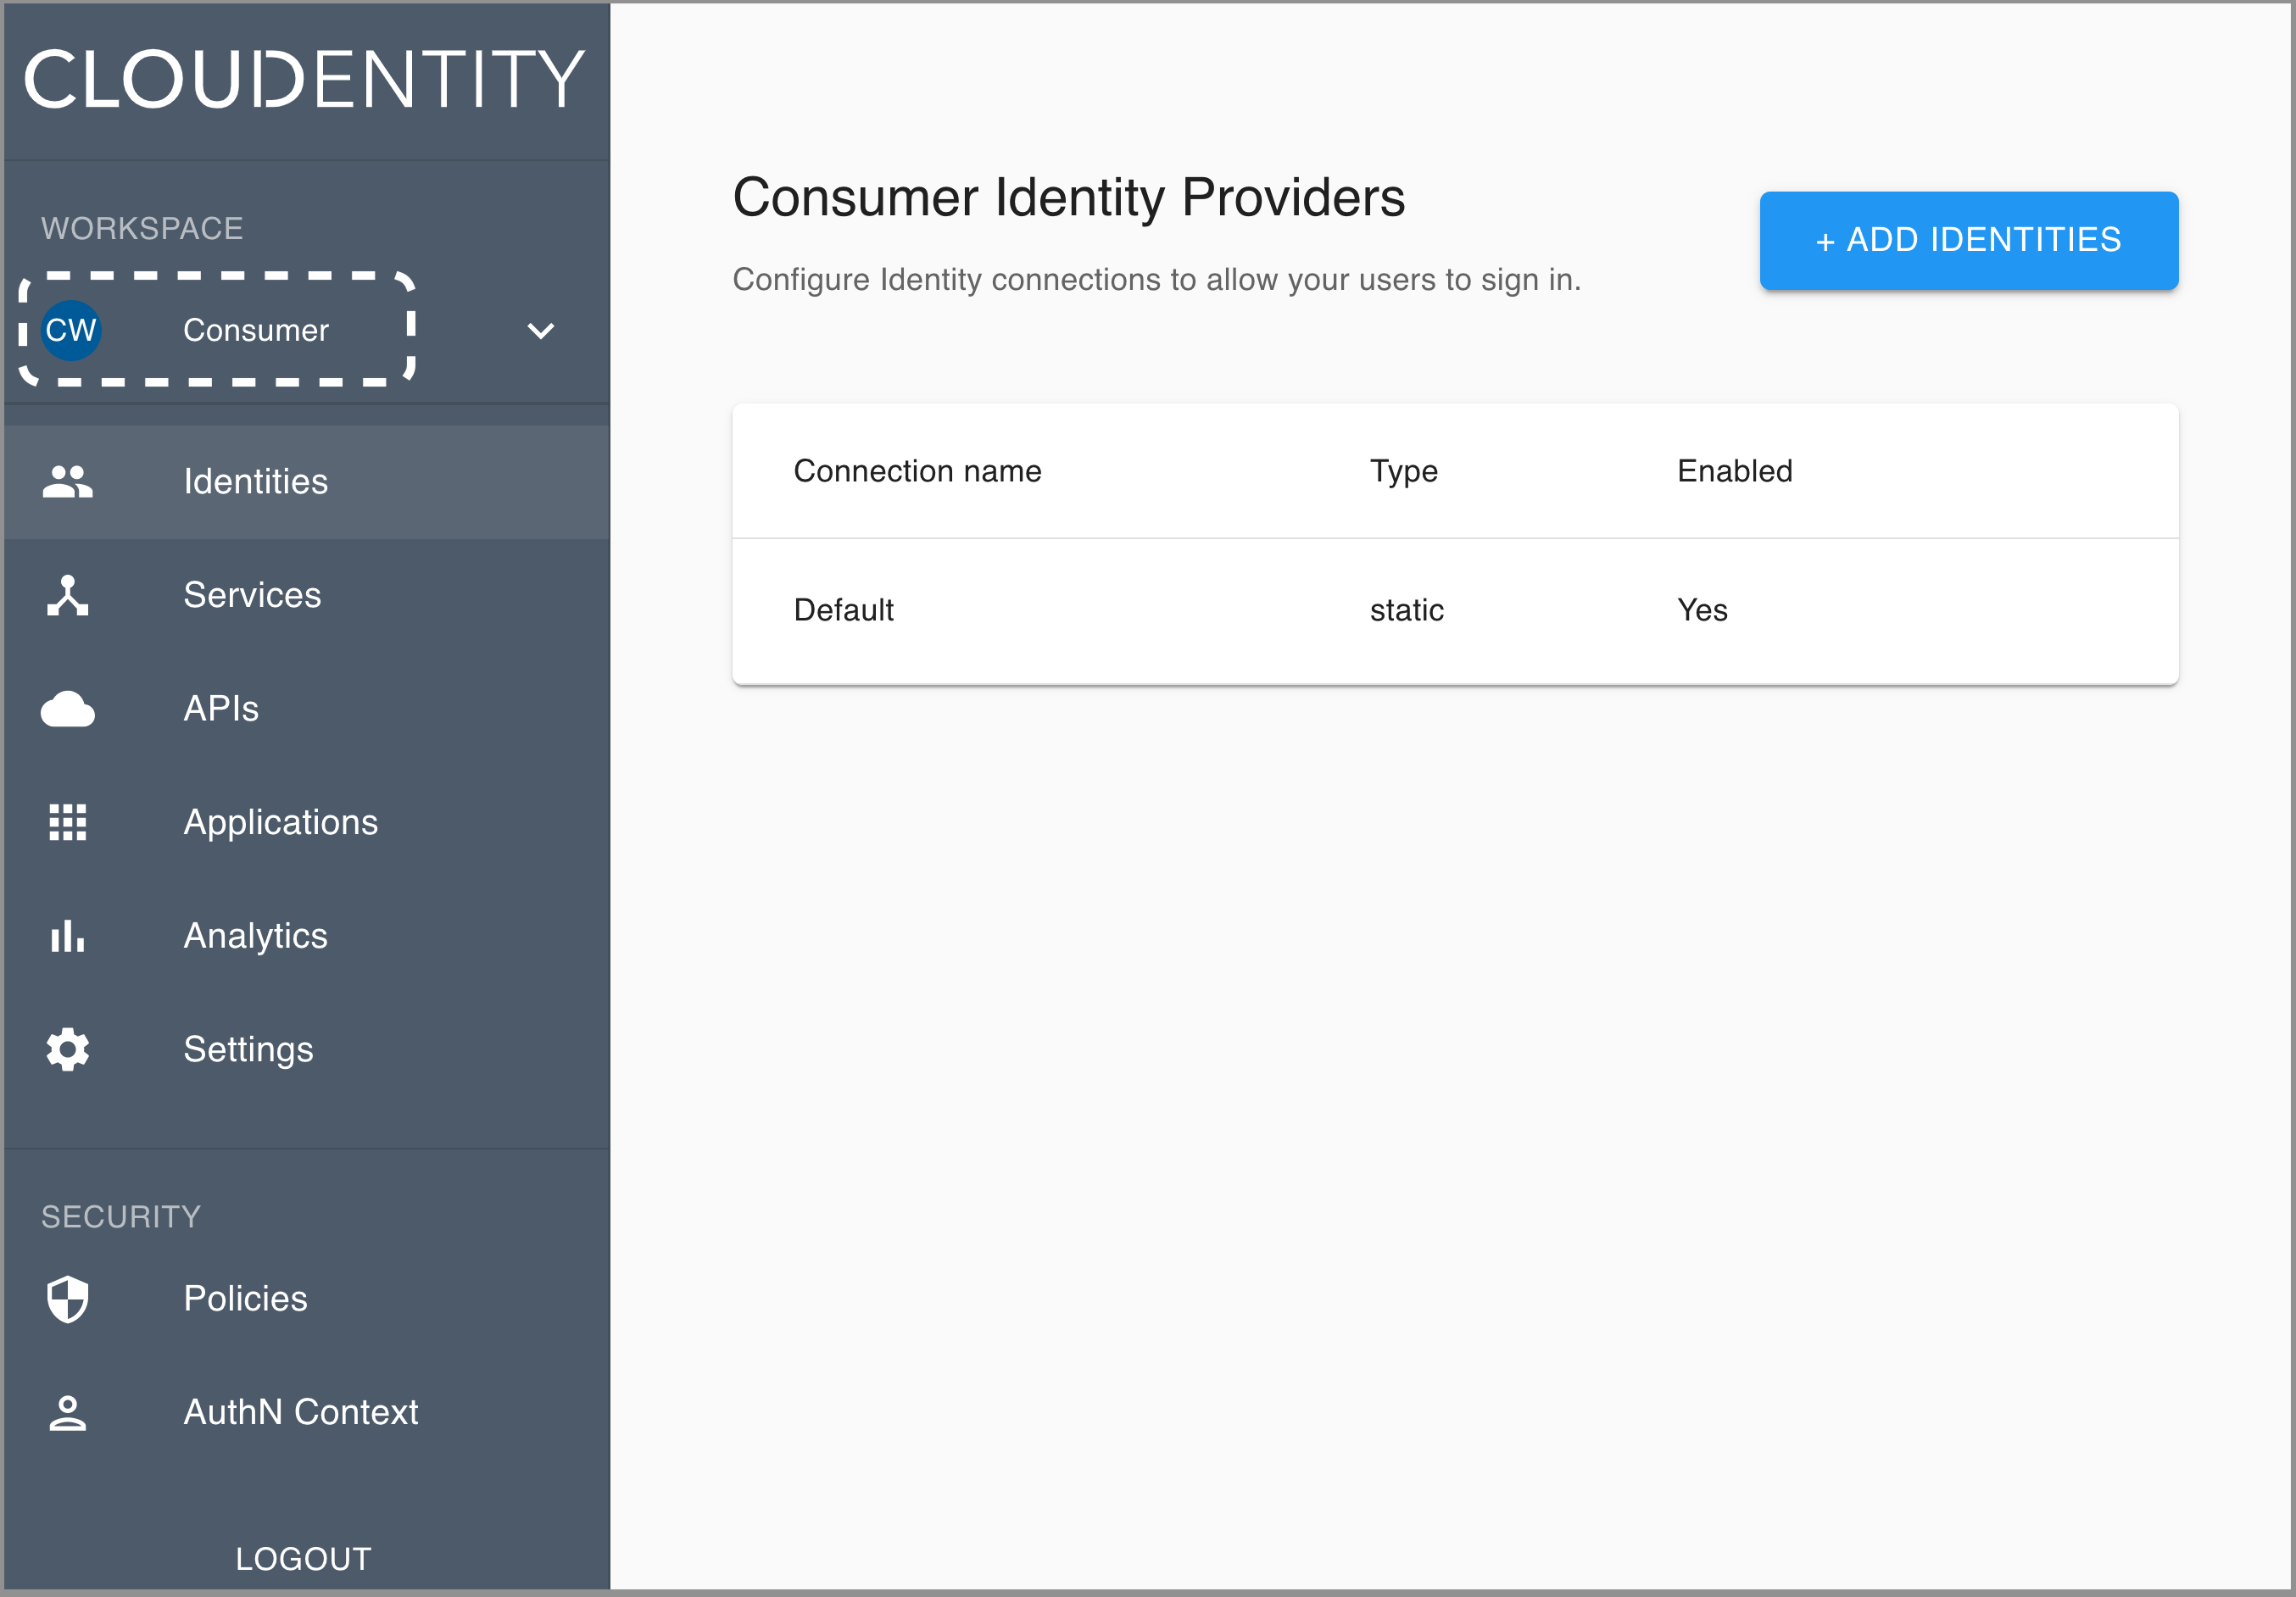
Log in to the ACP Administrator Portal with your credentials and make sure that you are in the Consumer workspace.
-
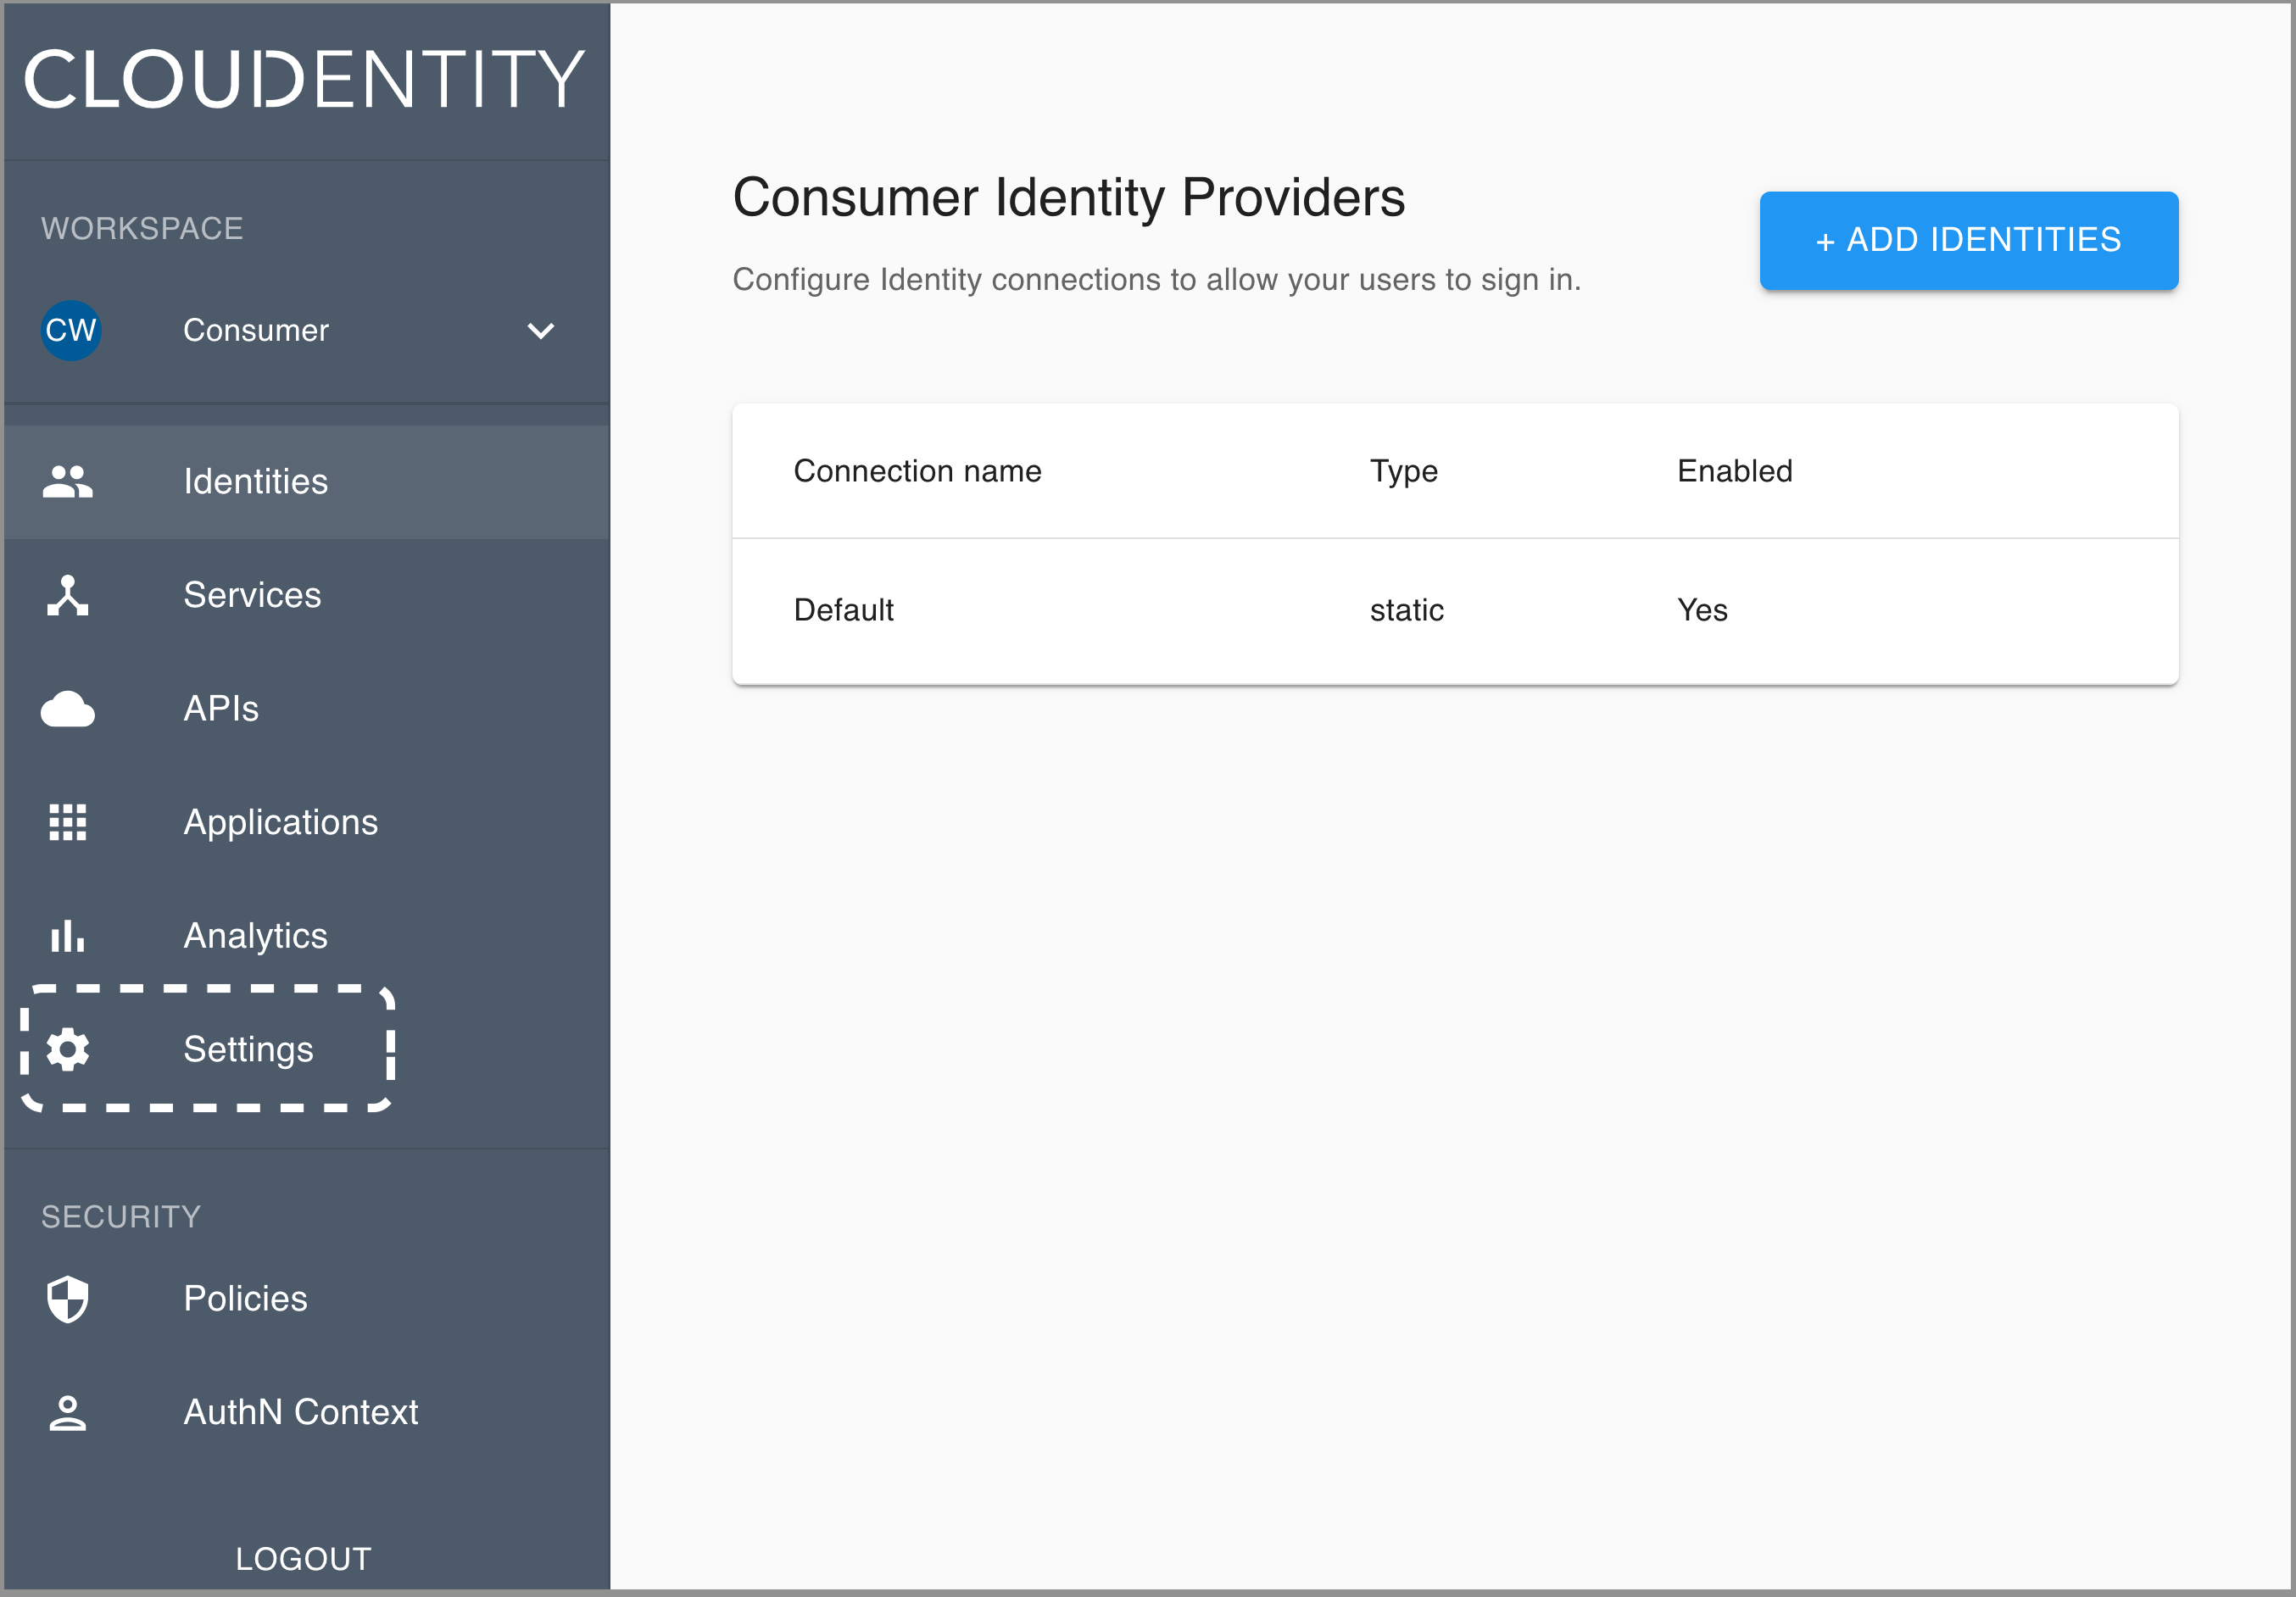
From the sidebar, select Settings to preview settings for the Consumer workspace.
-
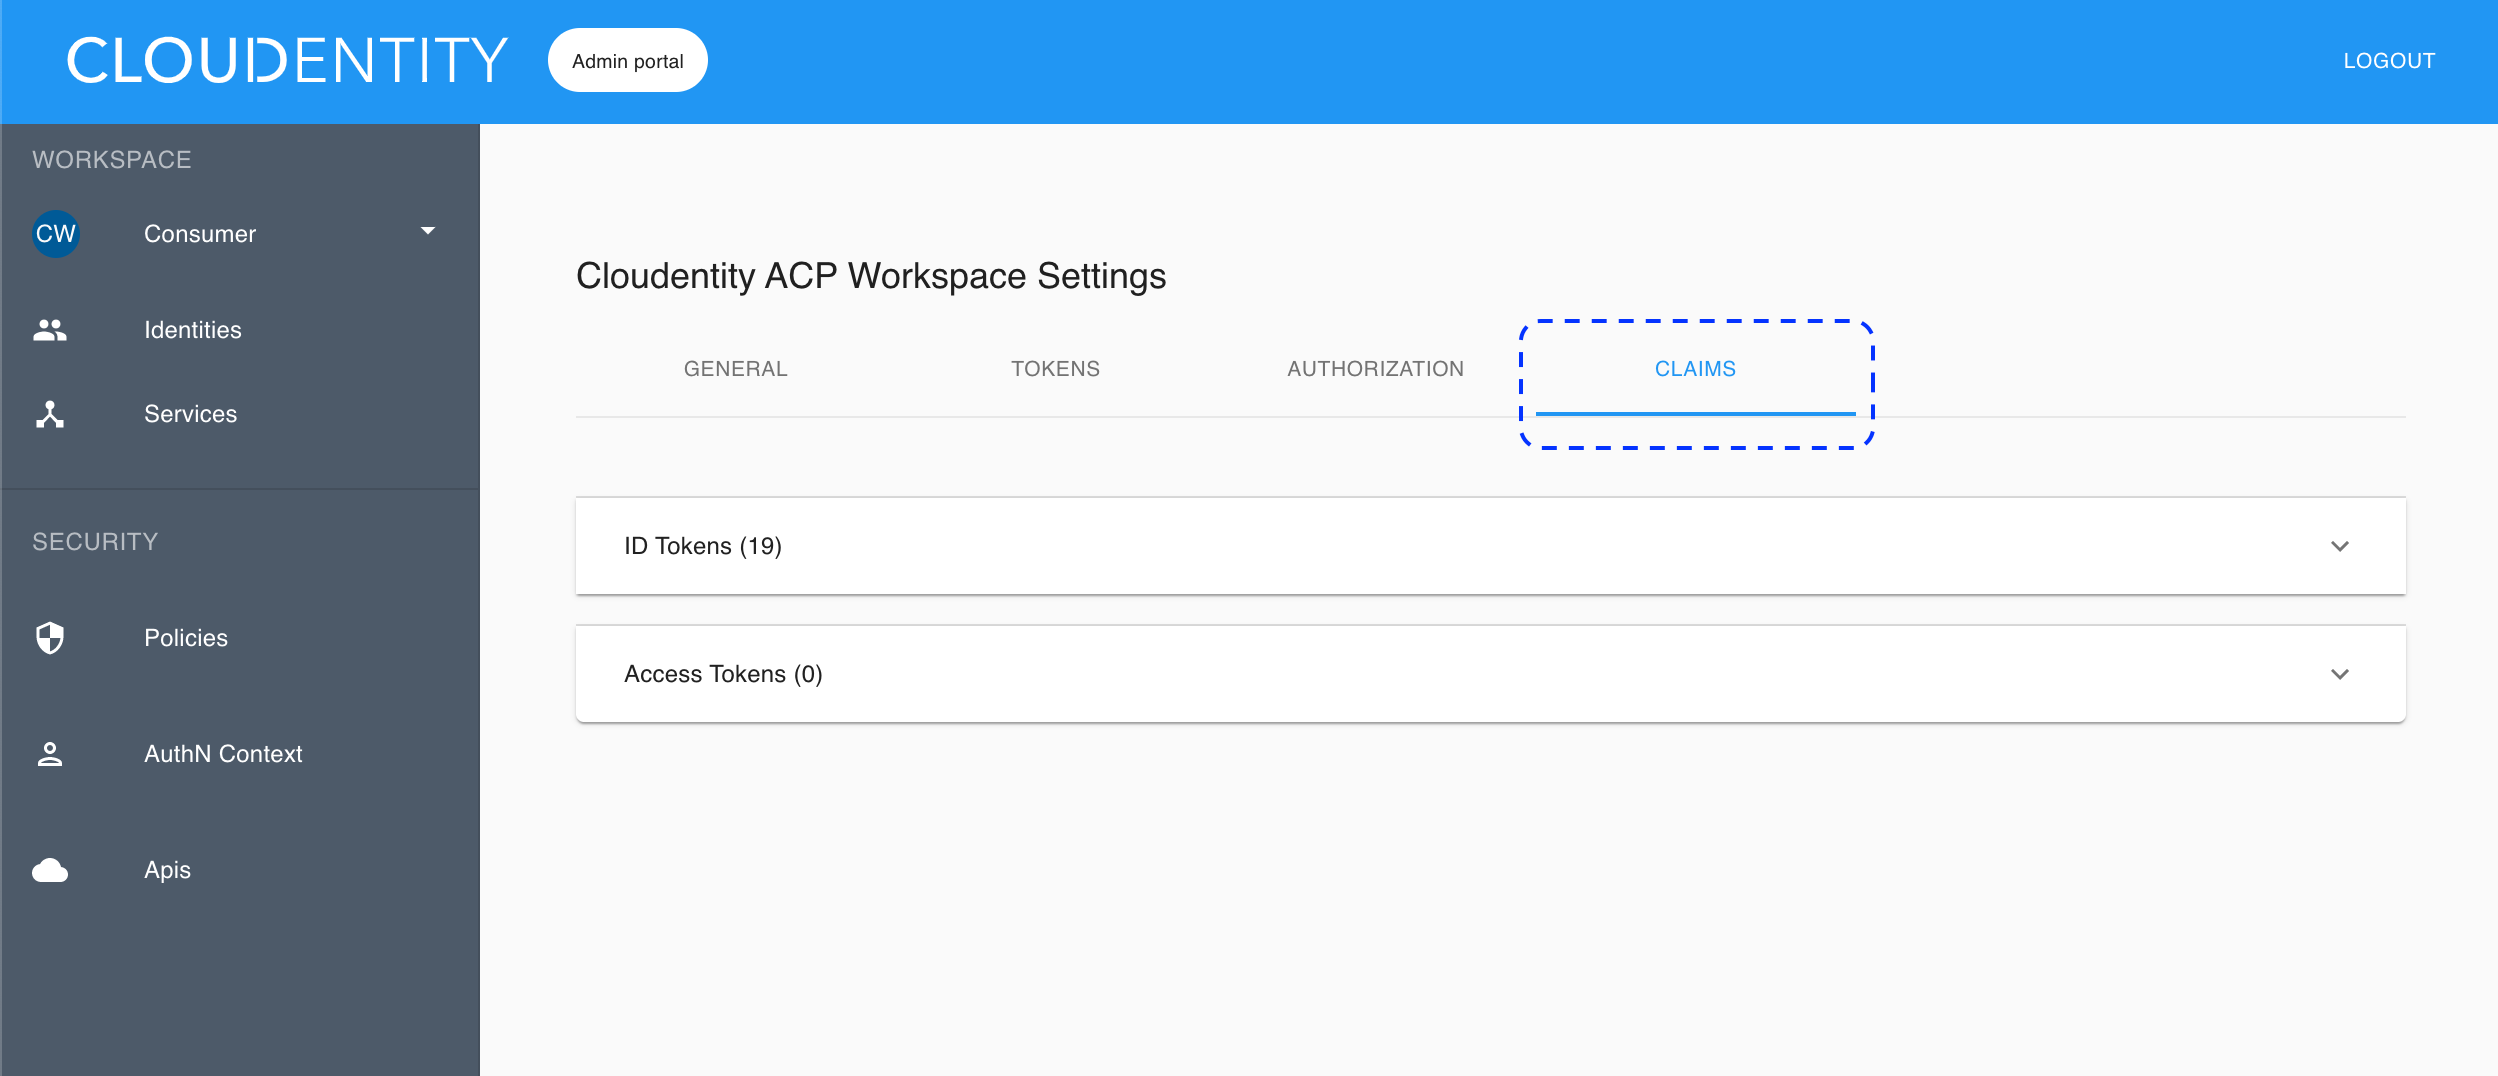
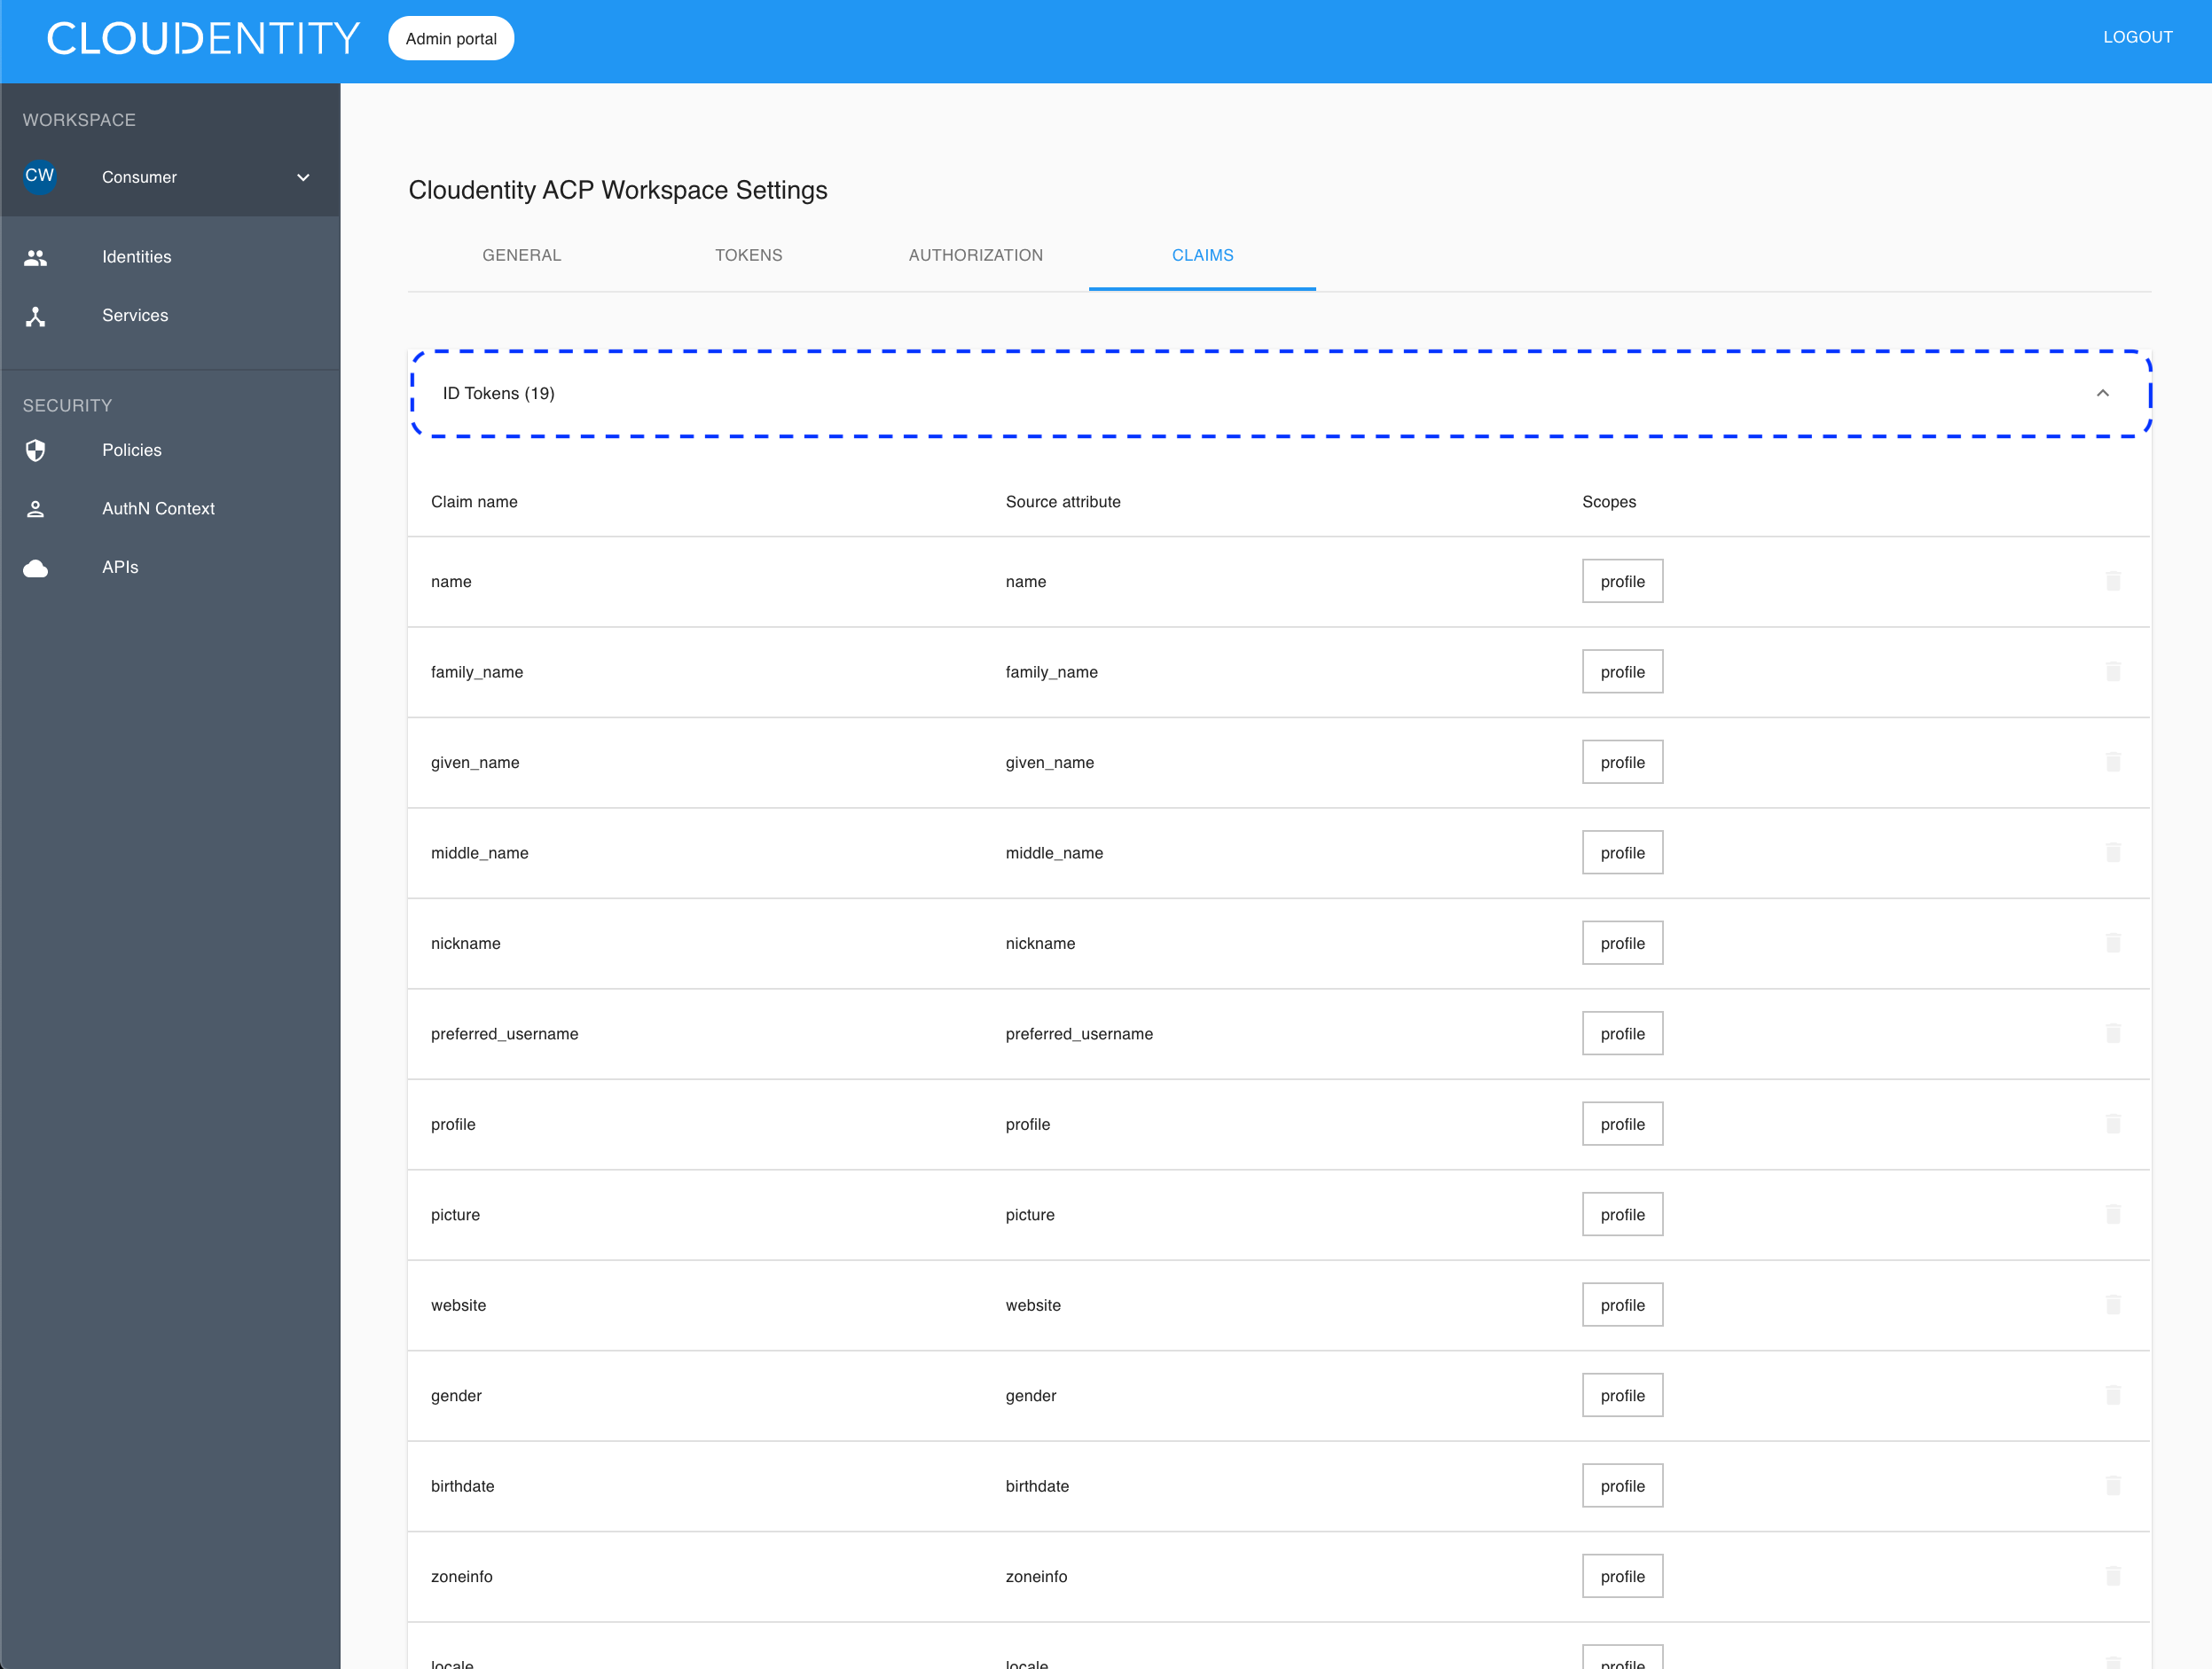
In the Cloudentity ACP Workspace Settings view, select CLAIMS from the top menu.
Result
Predefined lists of claims get displayed: one claims list for each token type (ID tokens or Access tokens).
-
Select a list label to toggle the display of claims on the list.
-
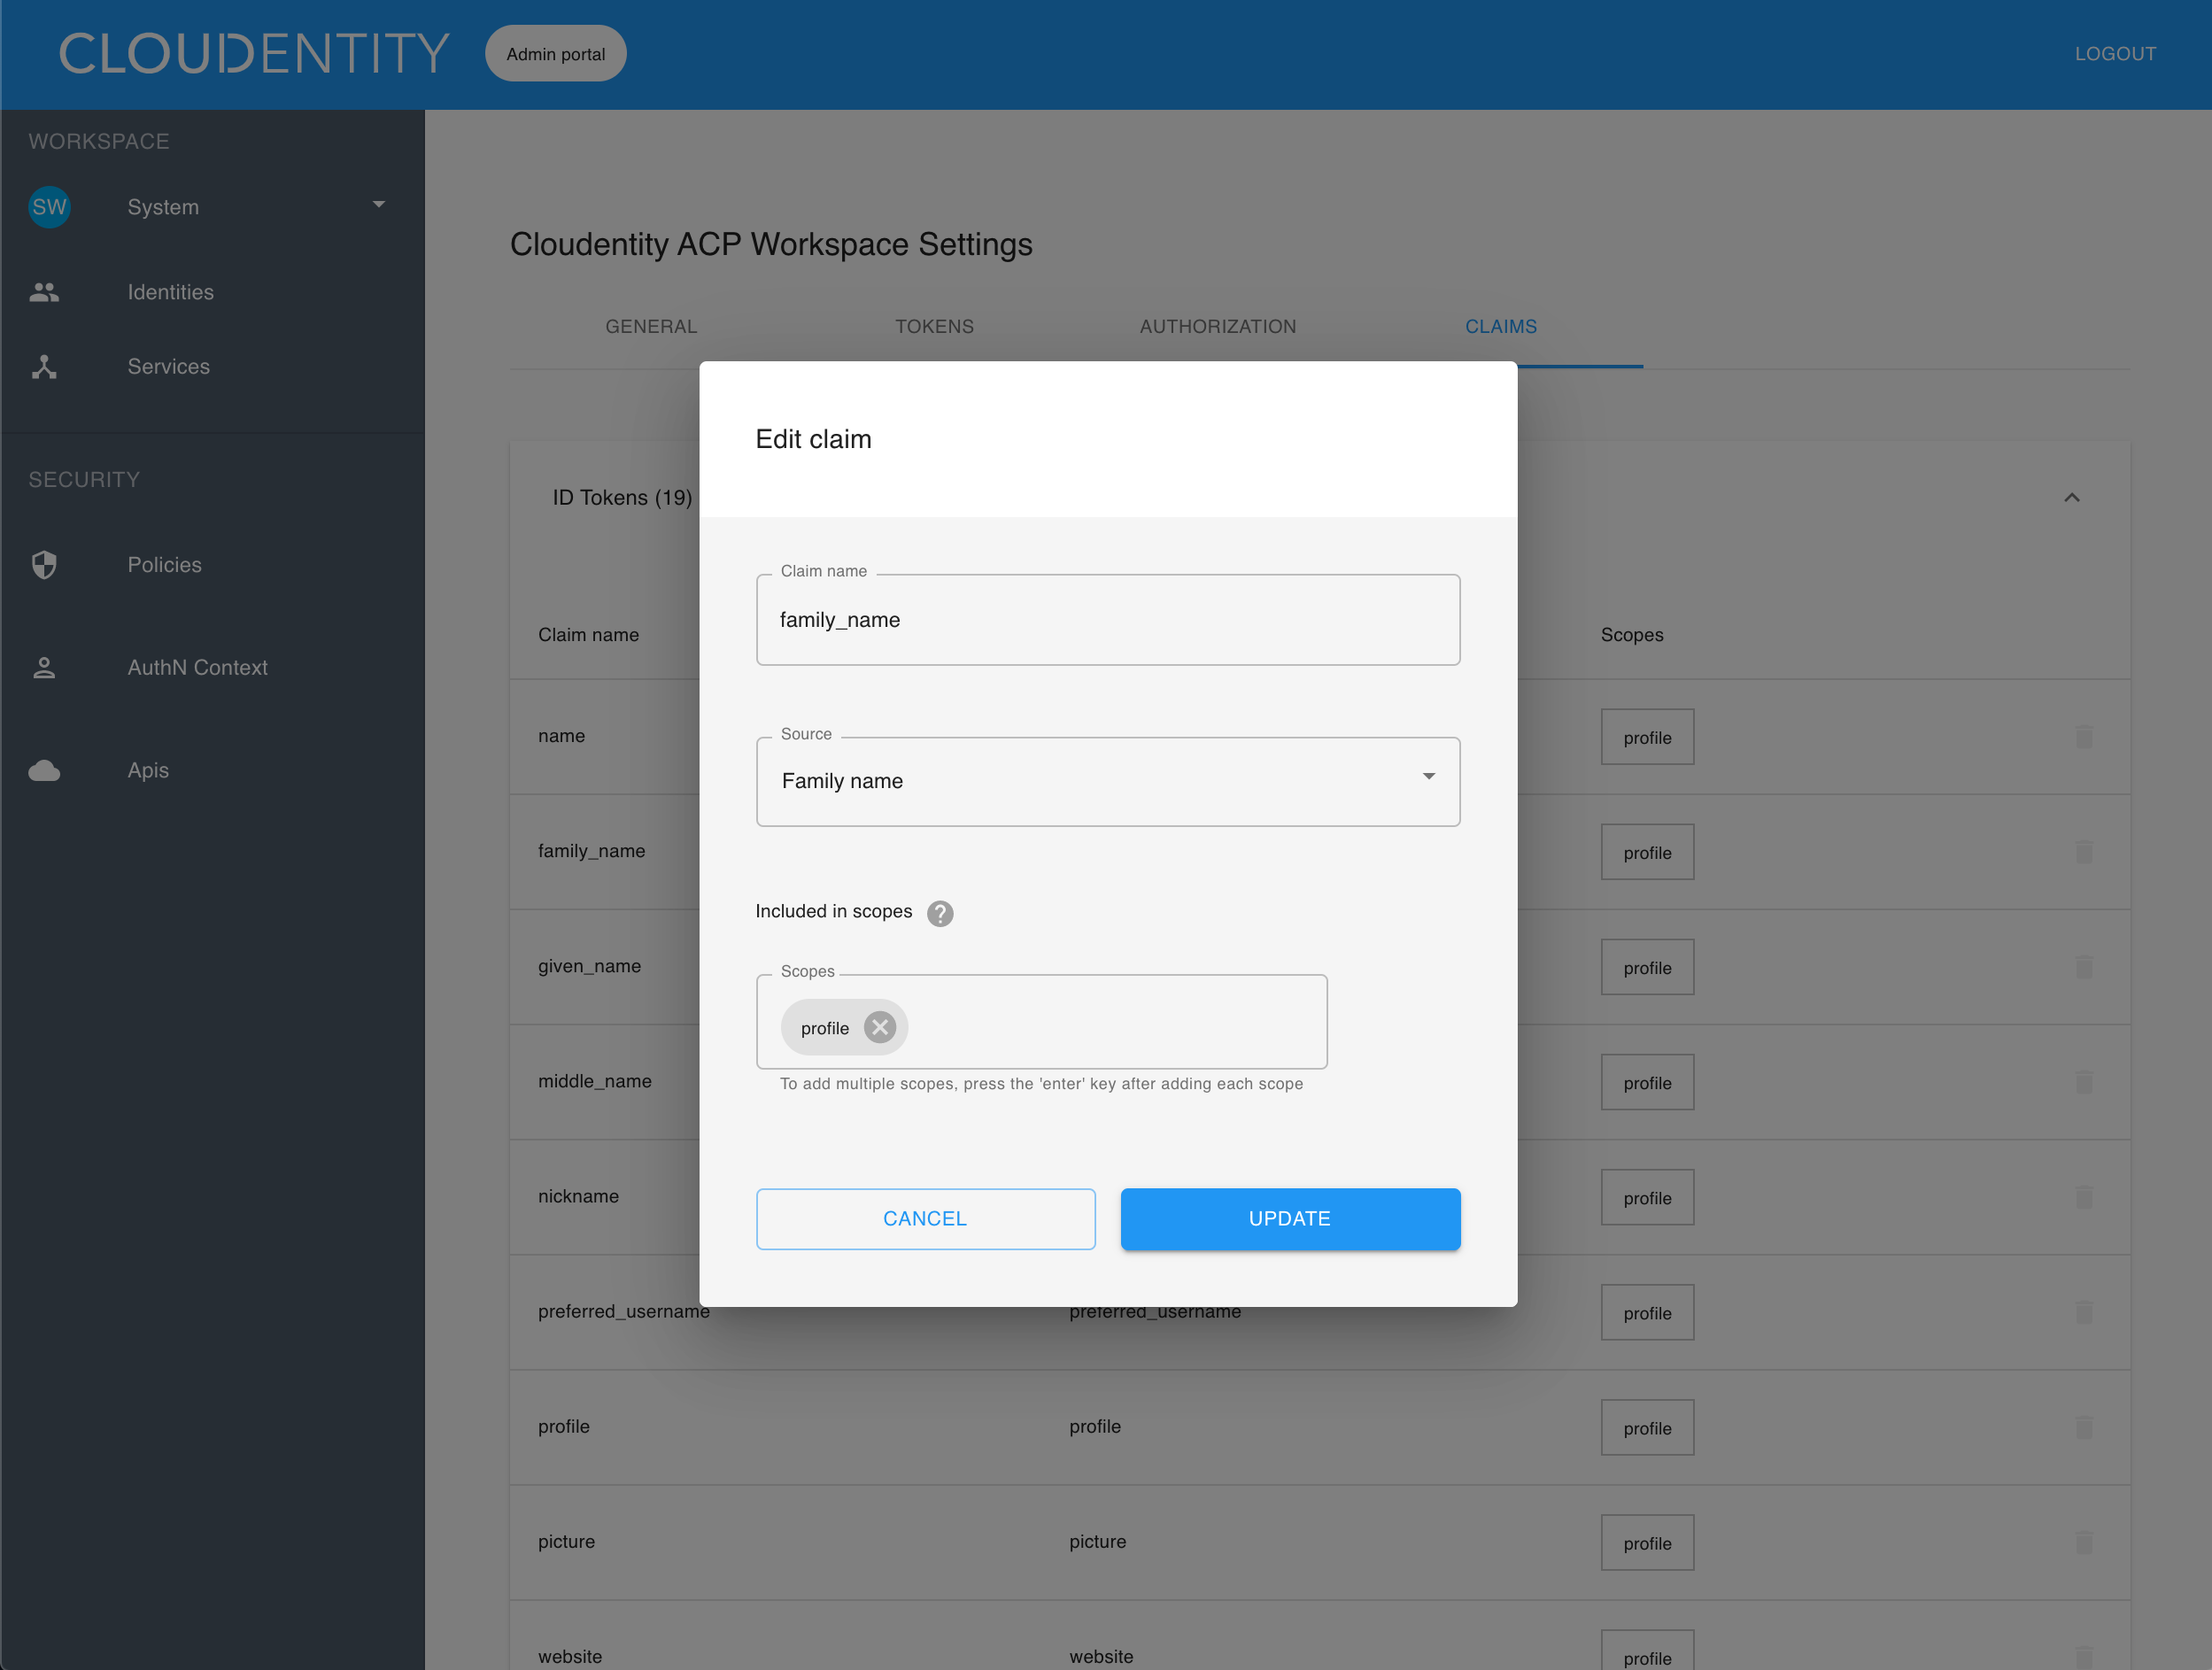
To preview claim details, select a claim from the list.
Result
The Edit claim dialog box opens and displays claim details: Claim name, Source, and Scopes.
Note
In the Edit claim dialog box, you can also edit claim details. Source values are defined in the authentication context.
-
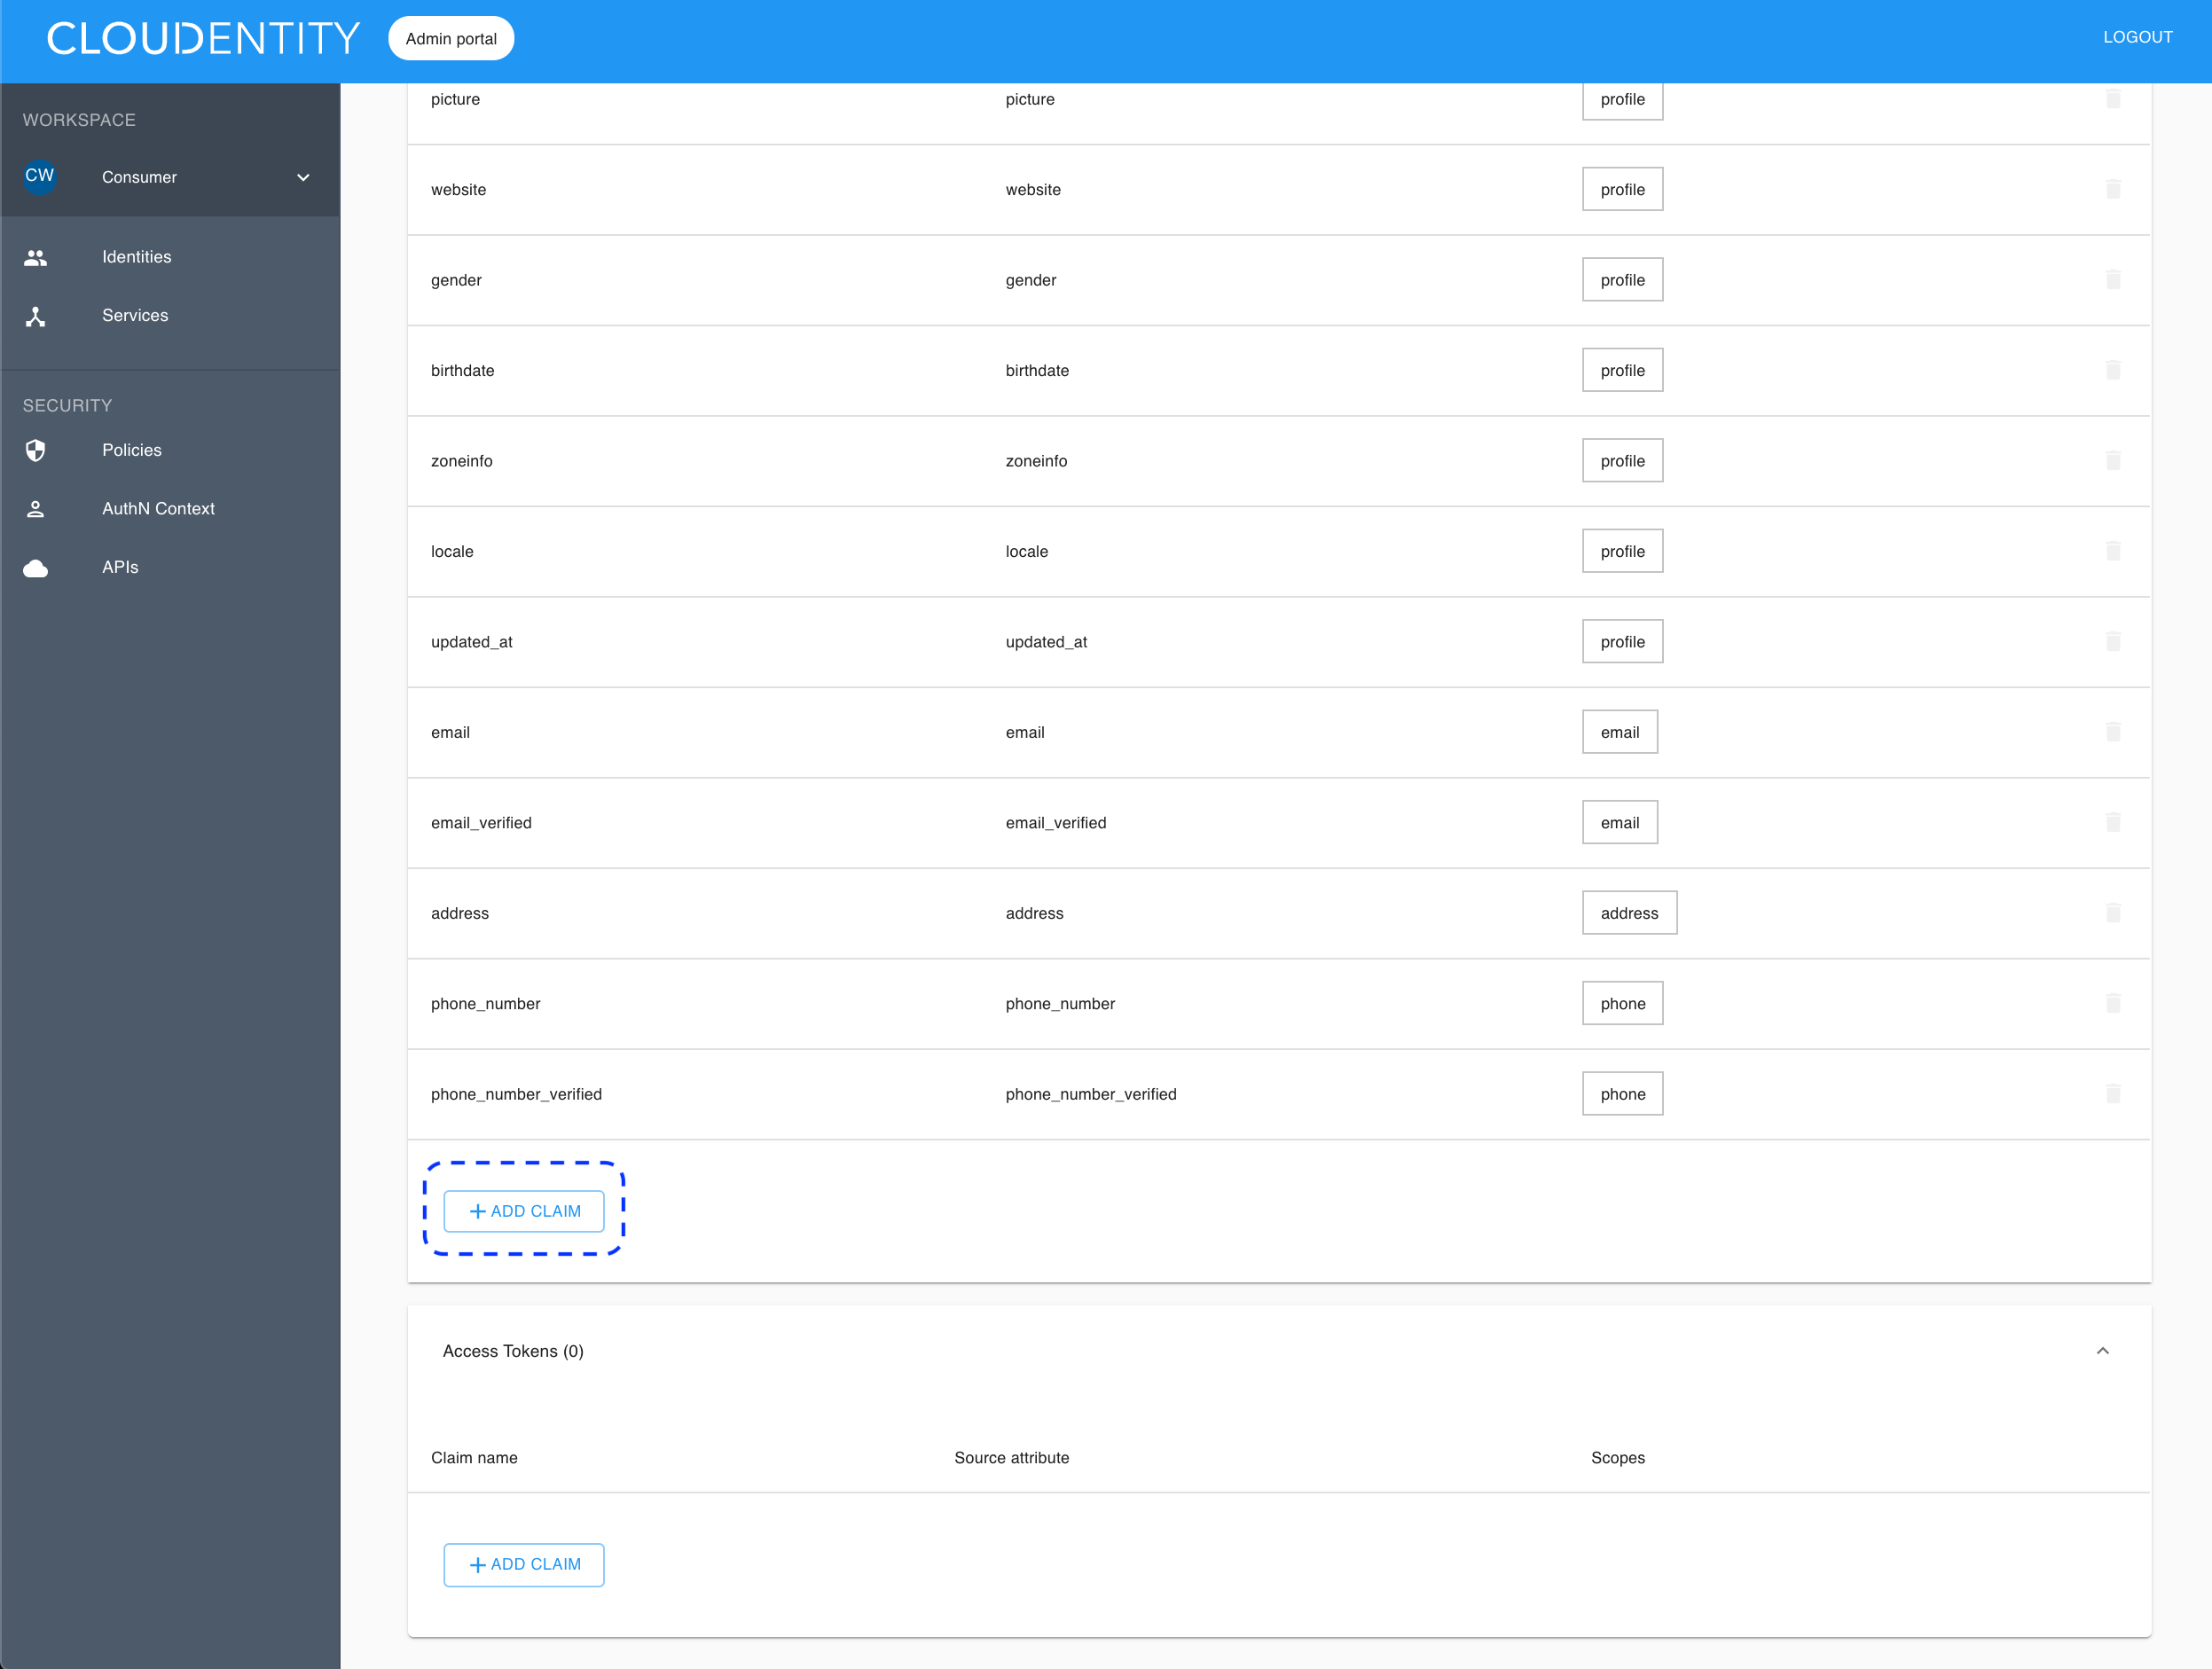
To create a new claim:
-
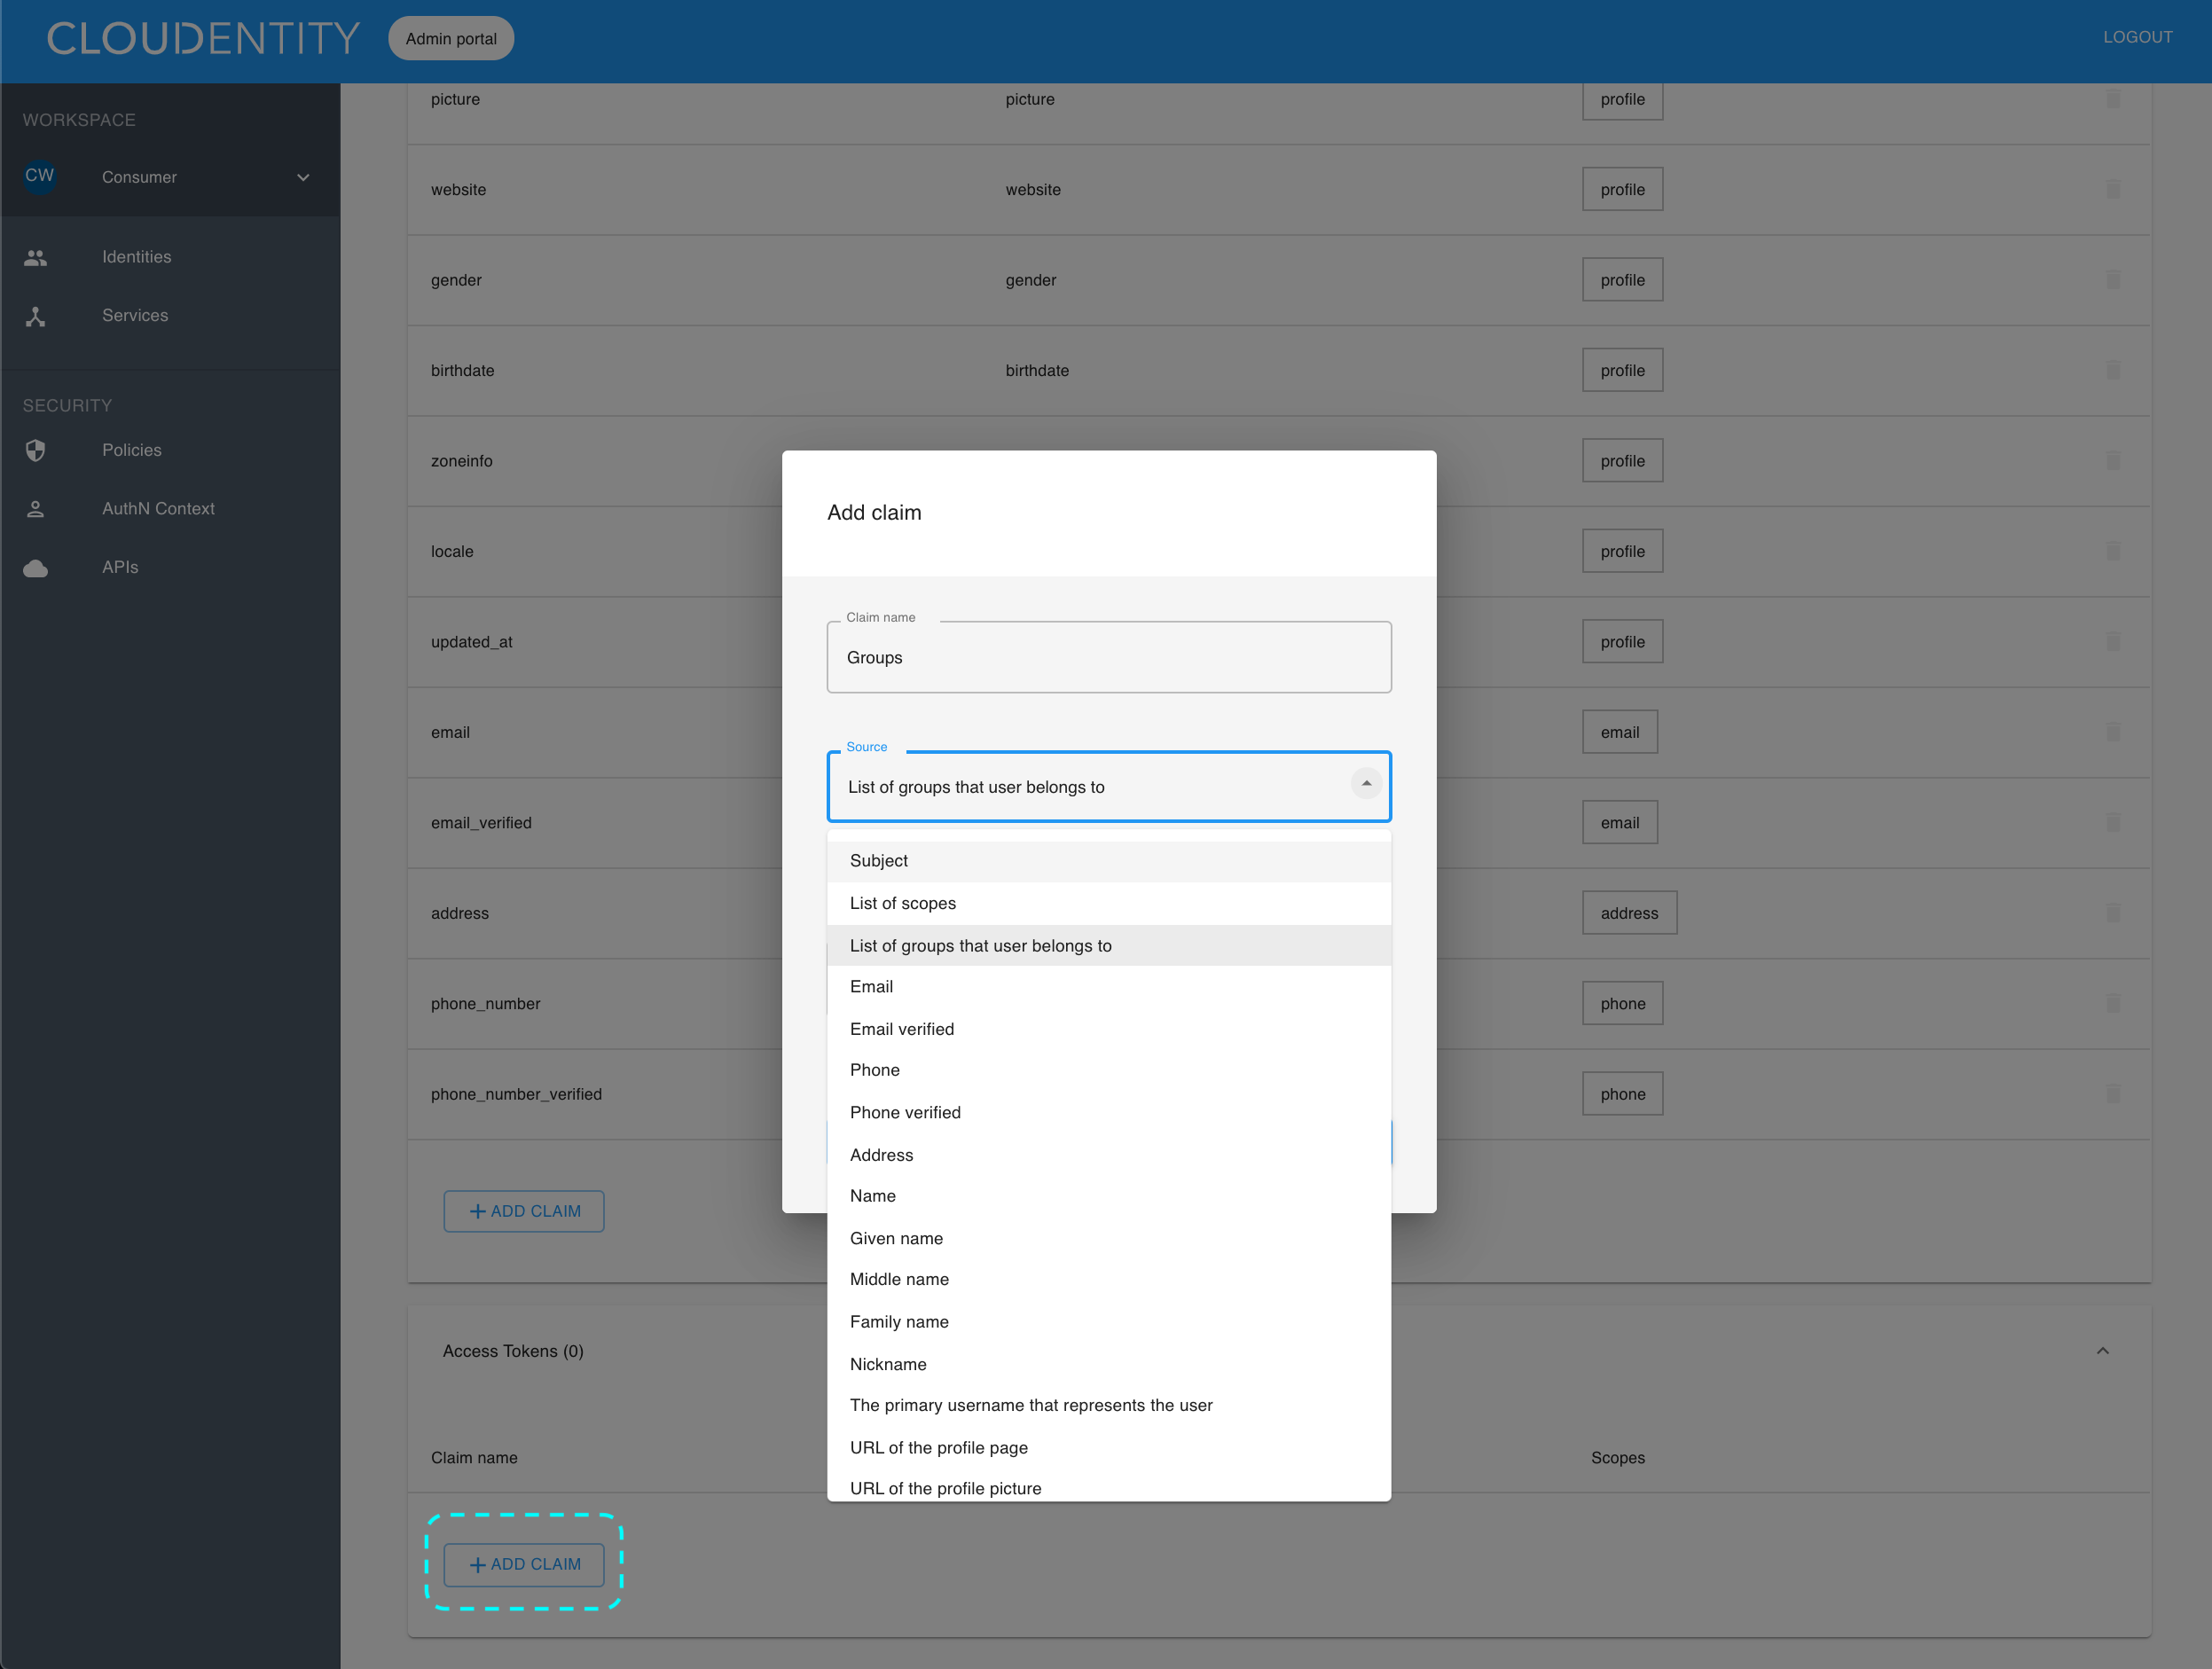
Select ADD CLAIM from the bottom of the list.
Result
The Add claim dialog box gets displayed.
-
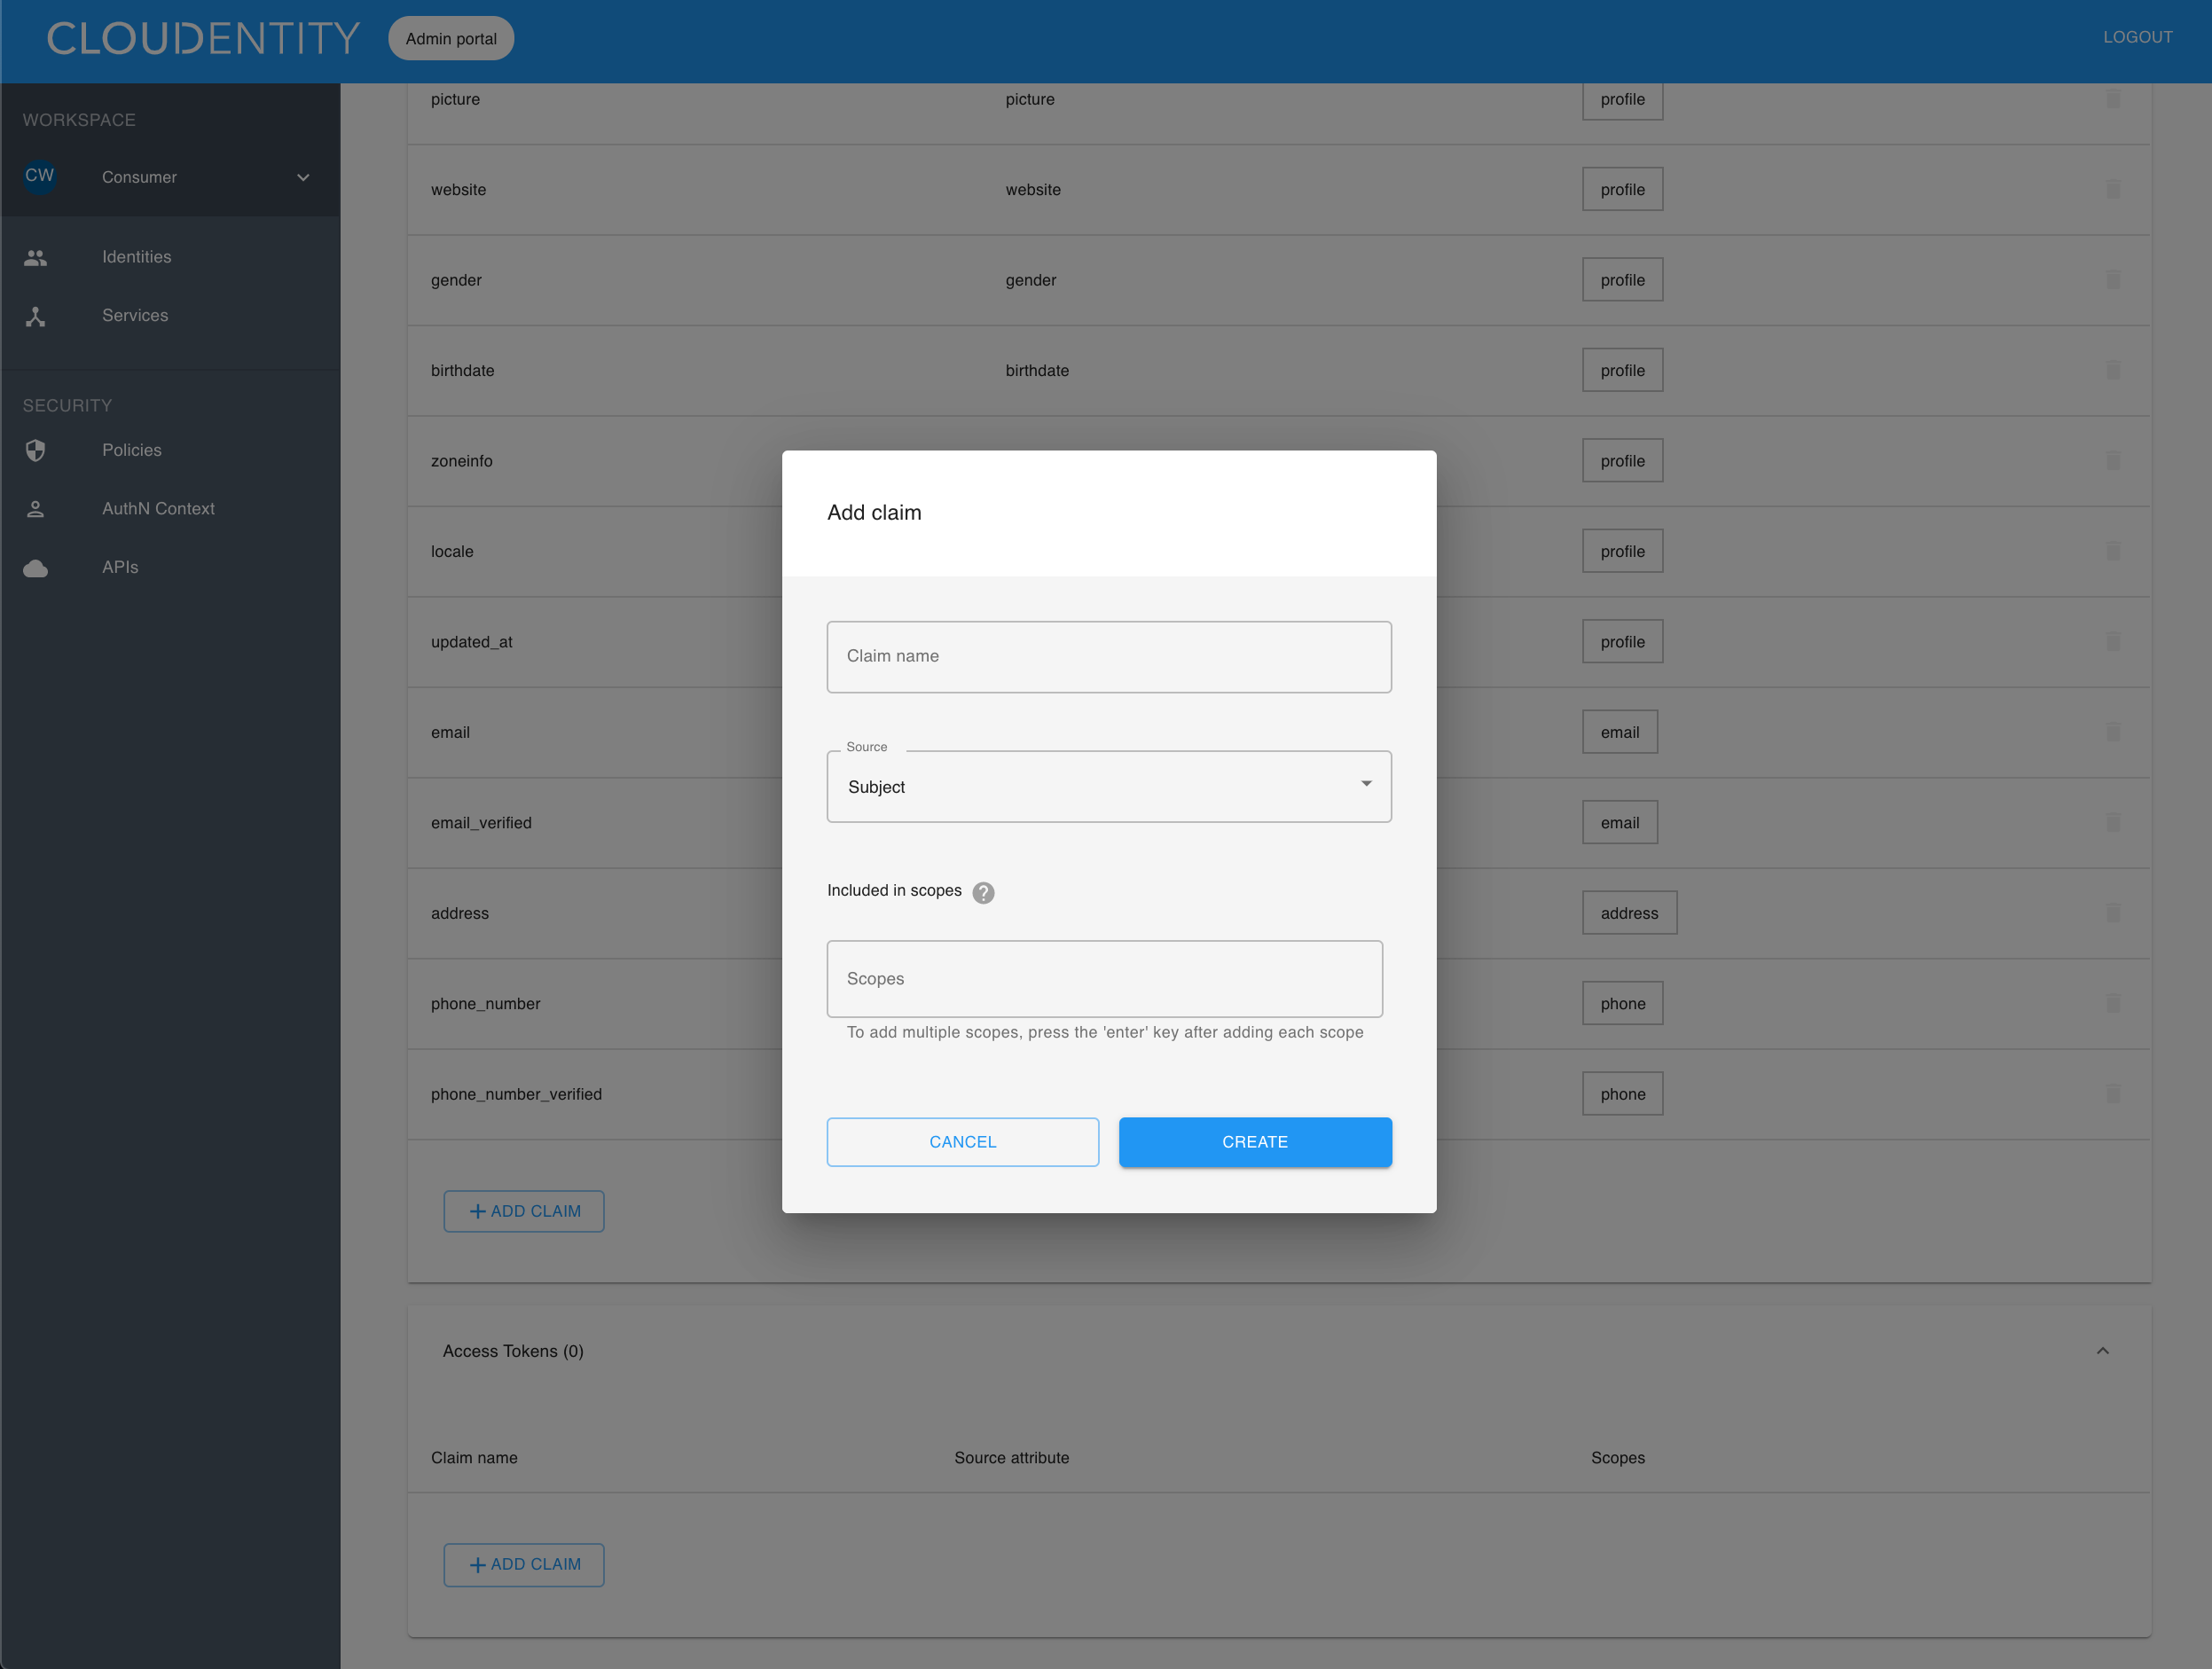
In the Add claim dialog box, set claim details: Claim name, Source, and Scopes.
Note
- If you leave out the Scopes field, your claim is always added to the token.
- If you specify one scope, your claim is added only if the user grants the client access to the specified scope.
- If you specify more than one scope, the claim is added if the user grants the client access to one of the specified scopes.
- Source values are defined in the authentication context.
-
Select CREATE to save your new claim.
-
Example
For the access token, let’s have a new claim named
groupswith Source value set toList of groups that user belongs to(selected from the dropdown list of sources predefined in the authentication context).