Connecting AWS Cognito IDP
Instructions on how to configure AWS Cognito as IDP
Purpose
Enable users to log in to ACP and applications with an AWS Cognito identity provider (IDP).
Prerequisites
You have a configured Cognito user pool.
Configure AWS Cognito
-
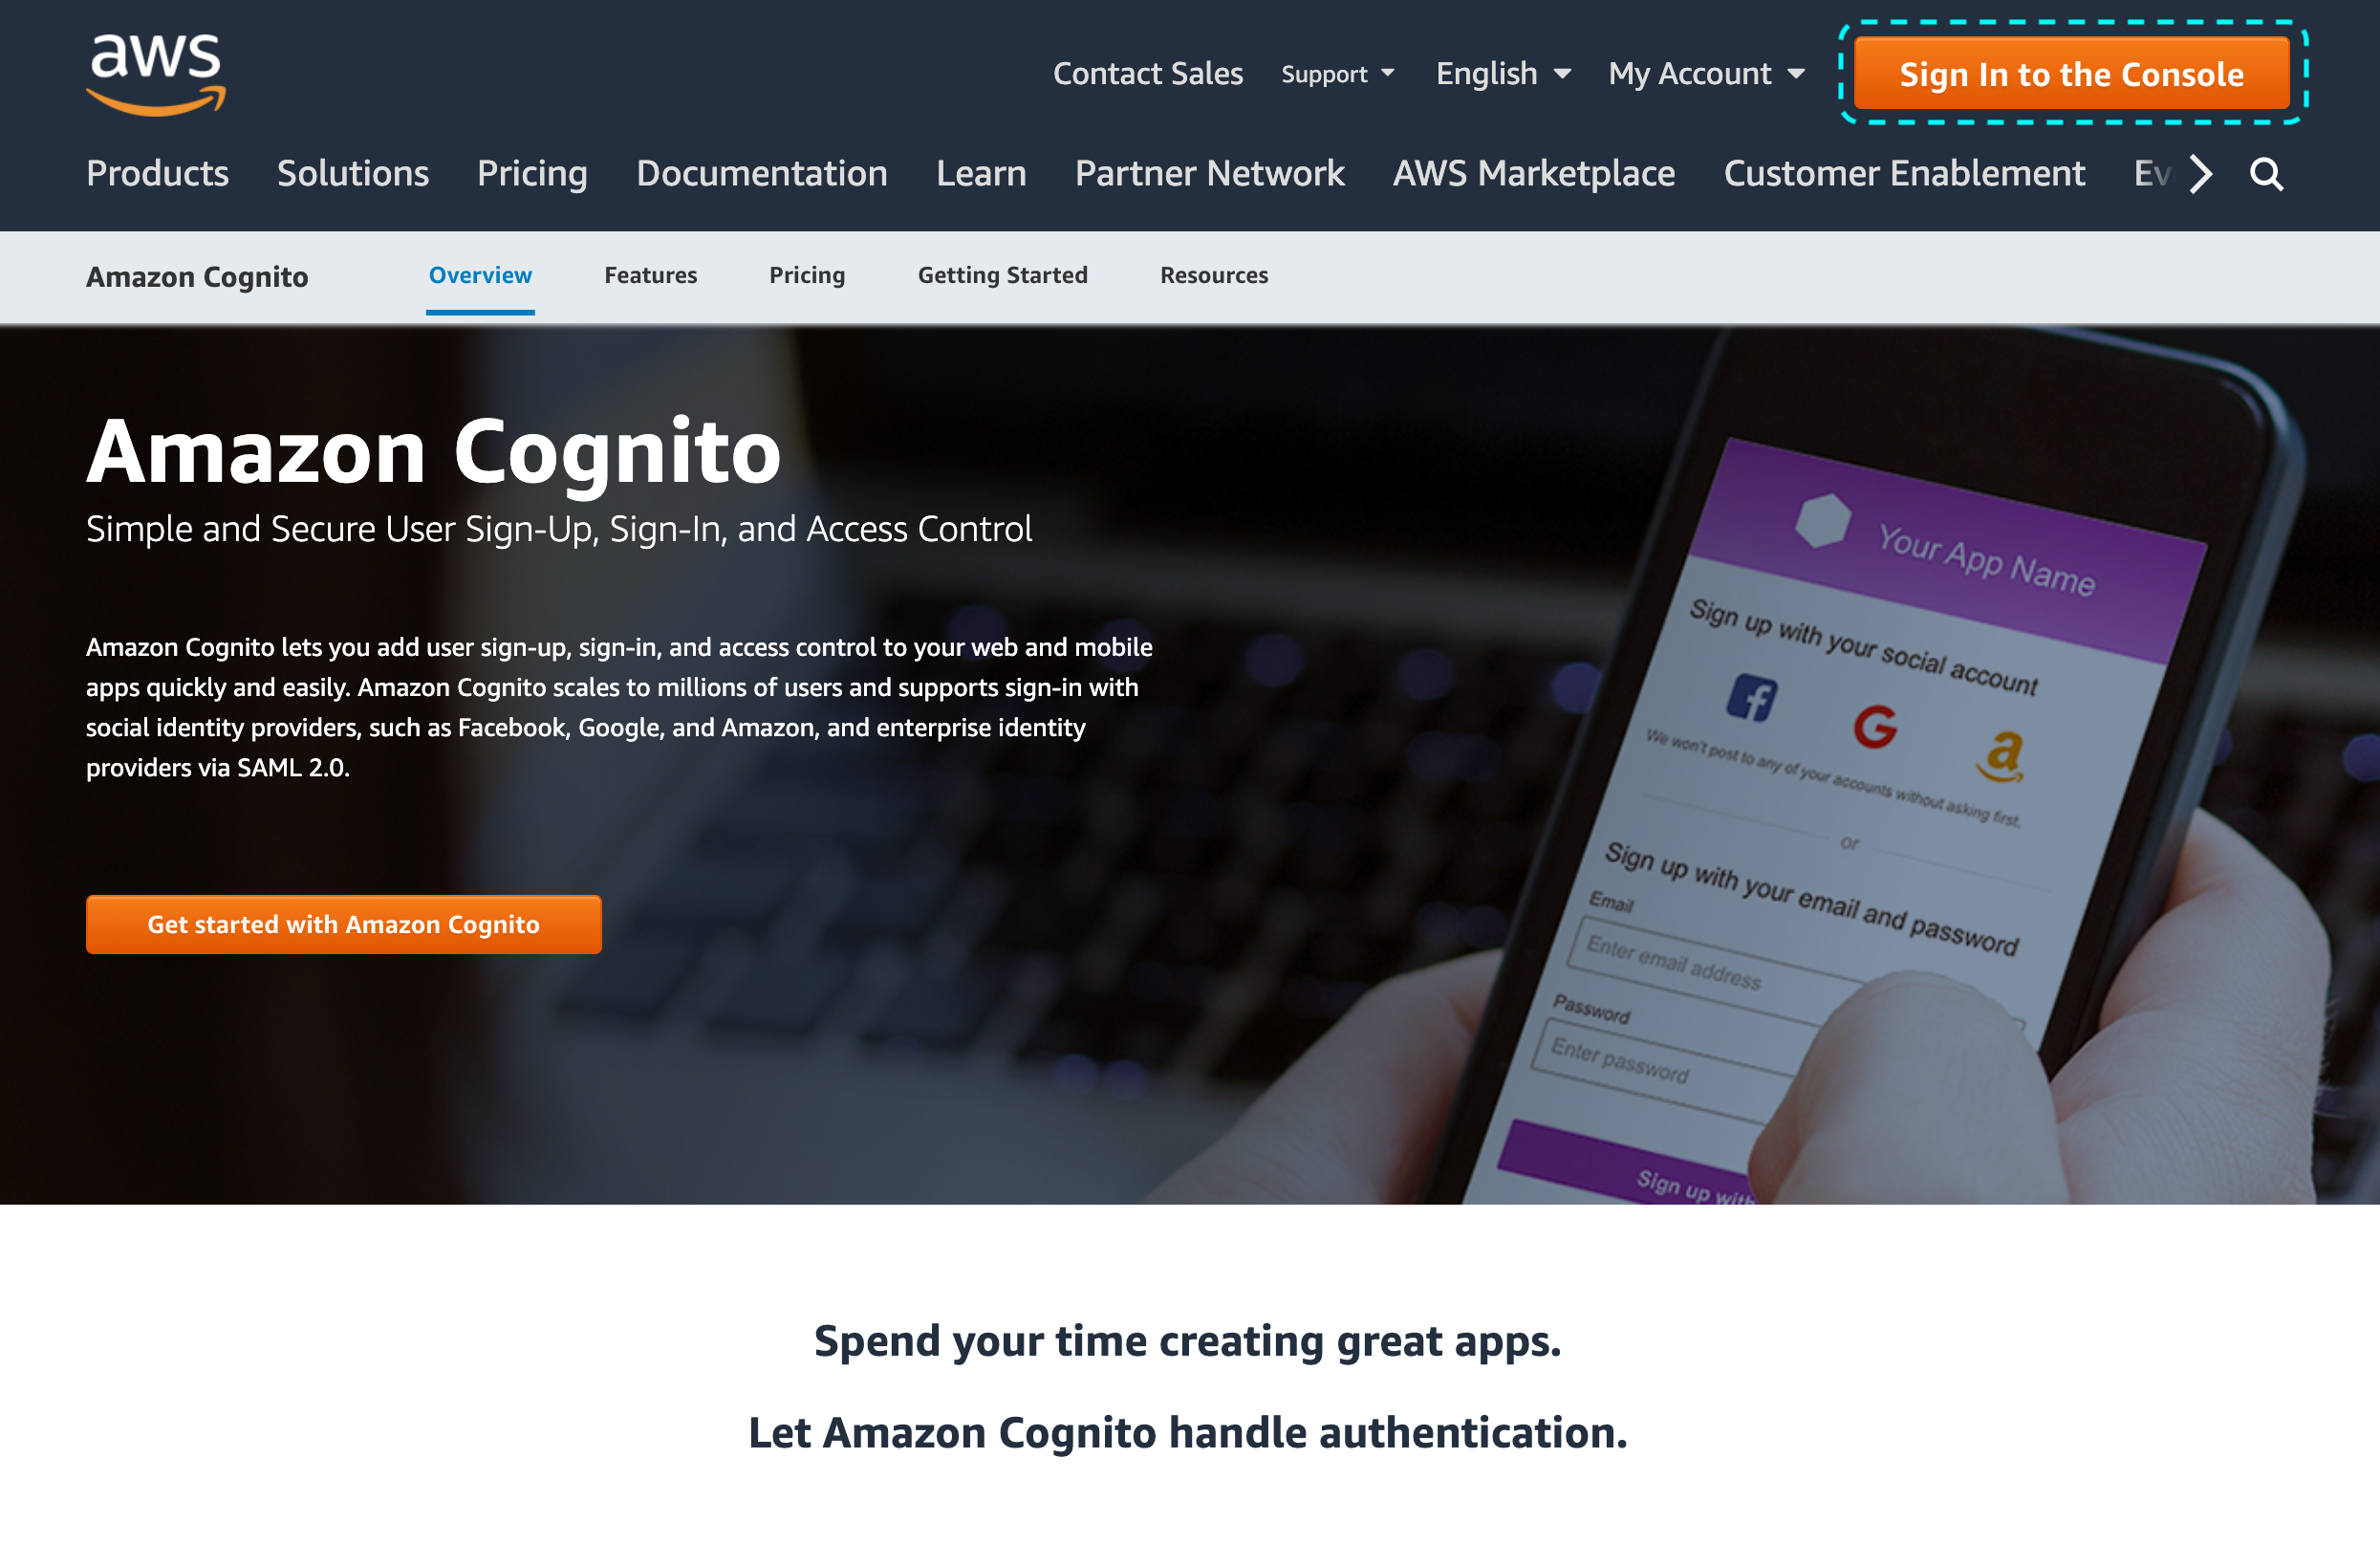
Go to https://aws.amazon.com/cognito/ and select Sign In to the Console.
-
From the top right corner, select the AWS region where your user pool is hosted, for example, US East (Ohio) us-east-2.
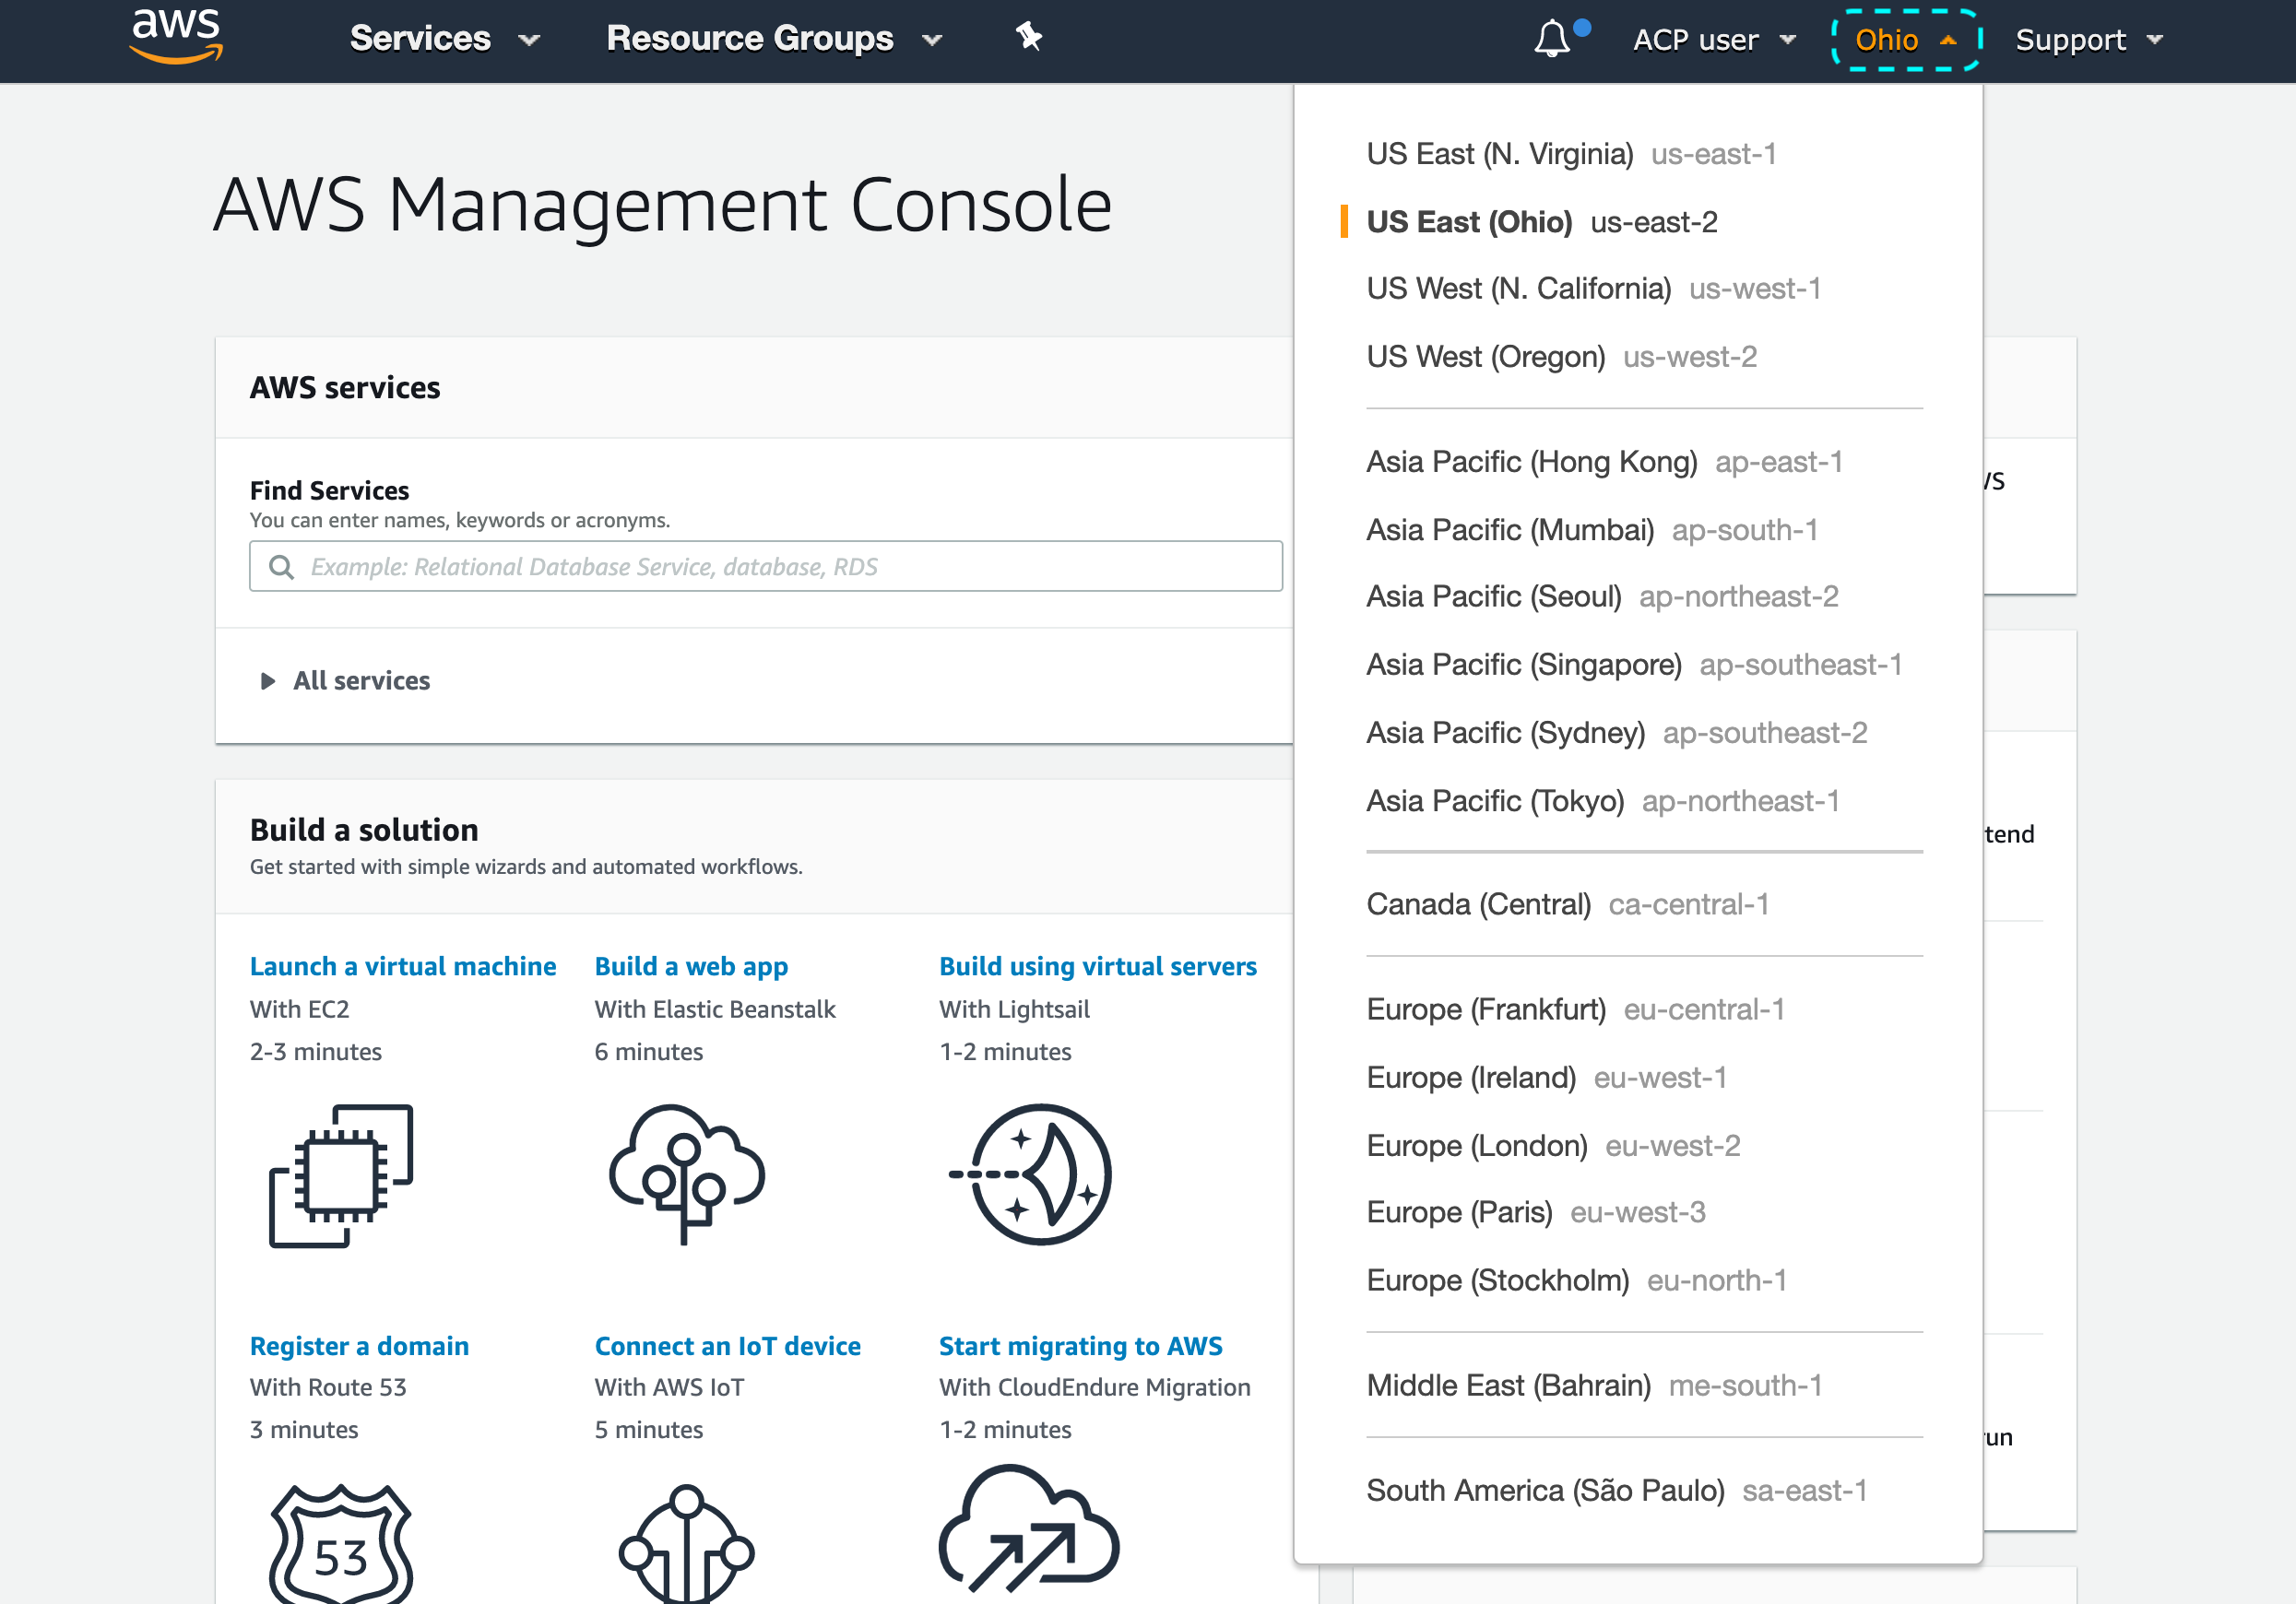
Note
You’ll need the region name to fill in the Register Cognito form in the ACP administrator portal when you get to Connect Cognito IDP in this instruction.
-
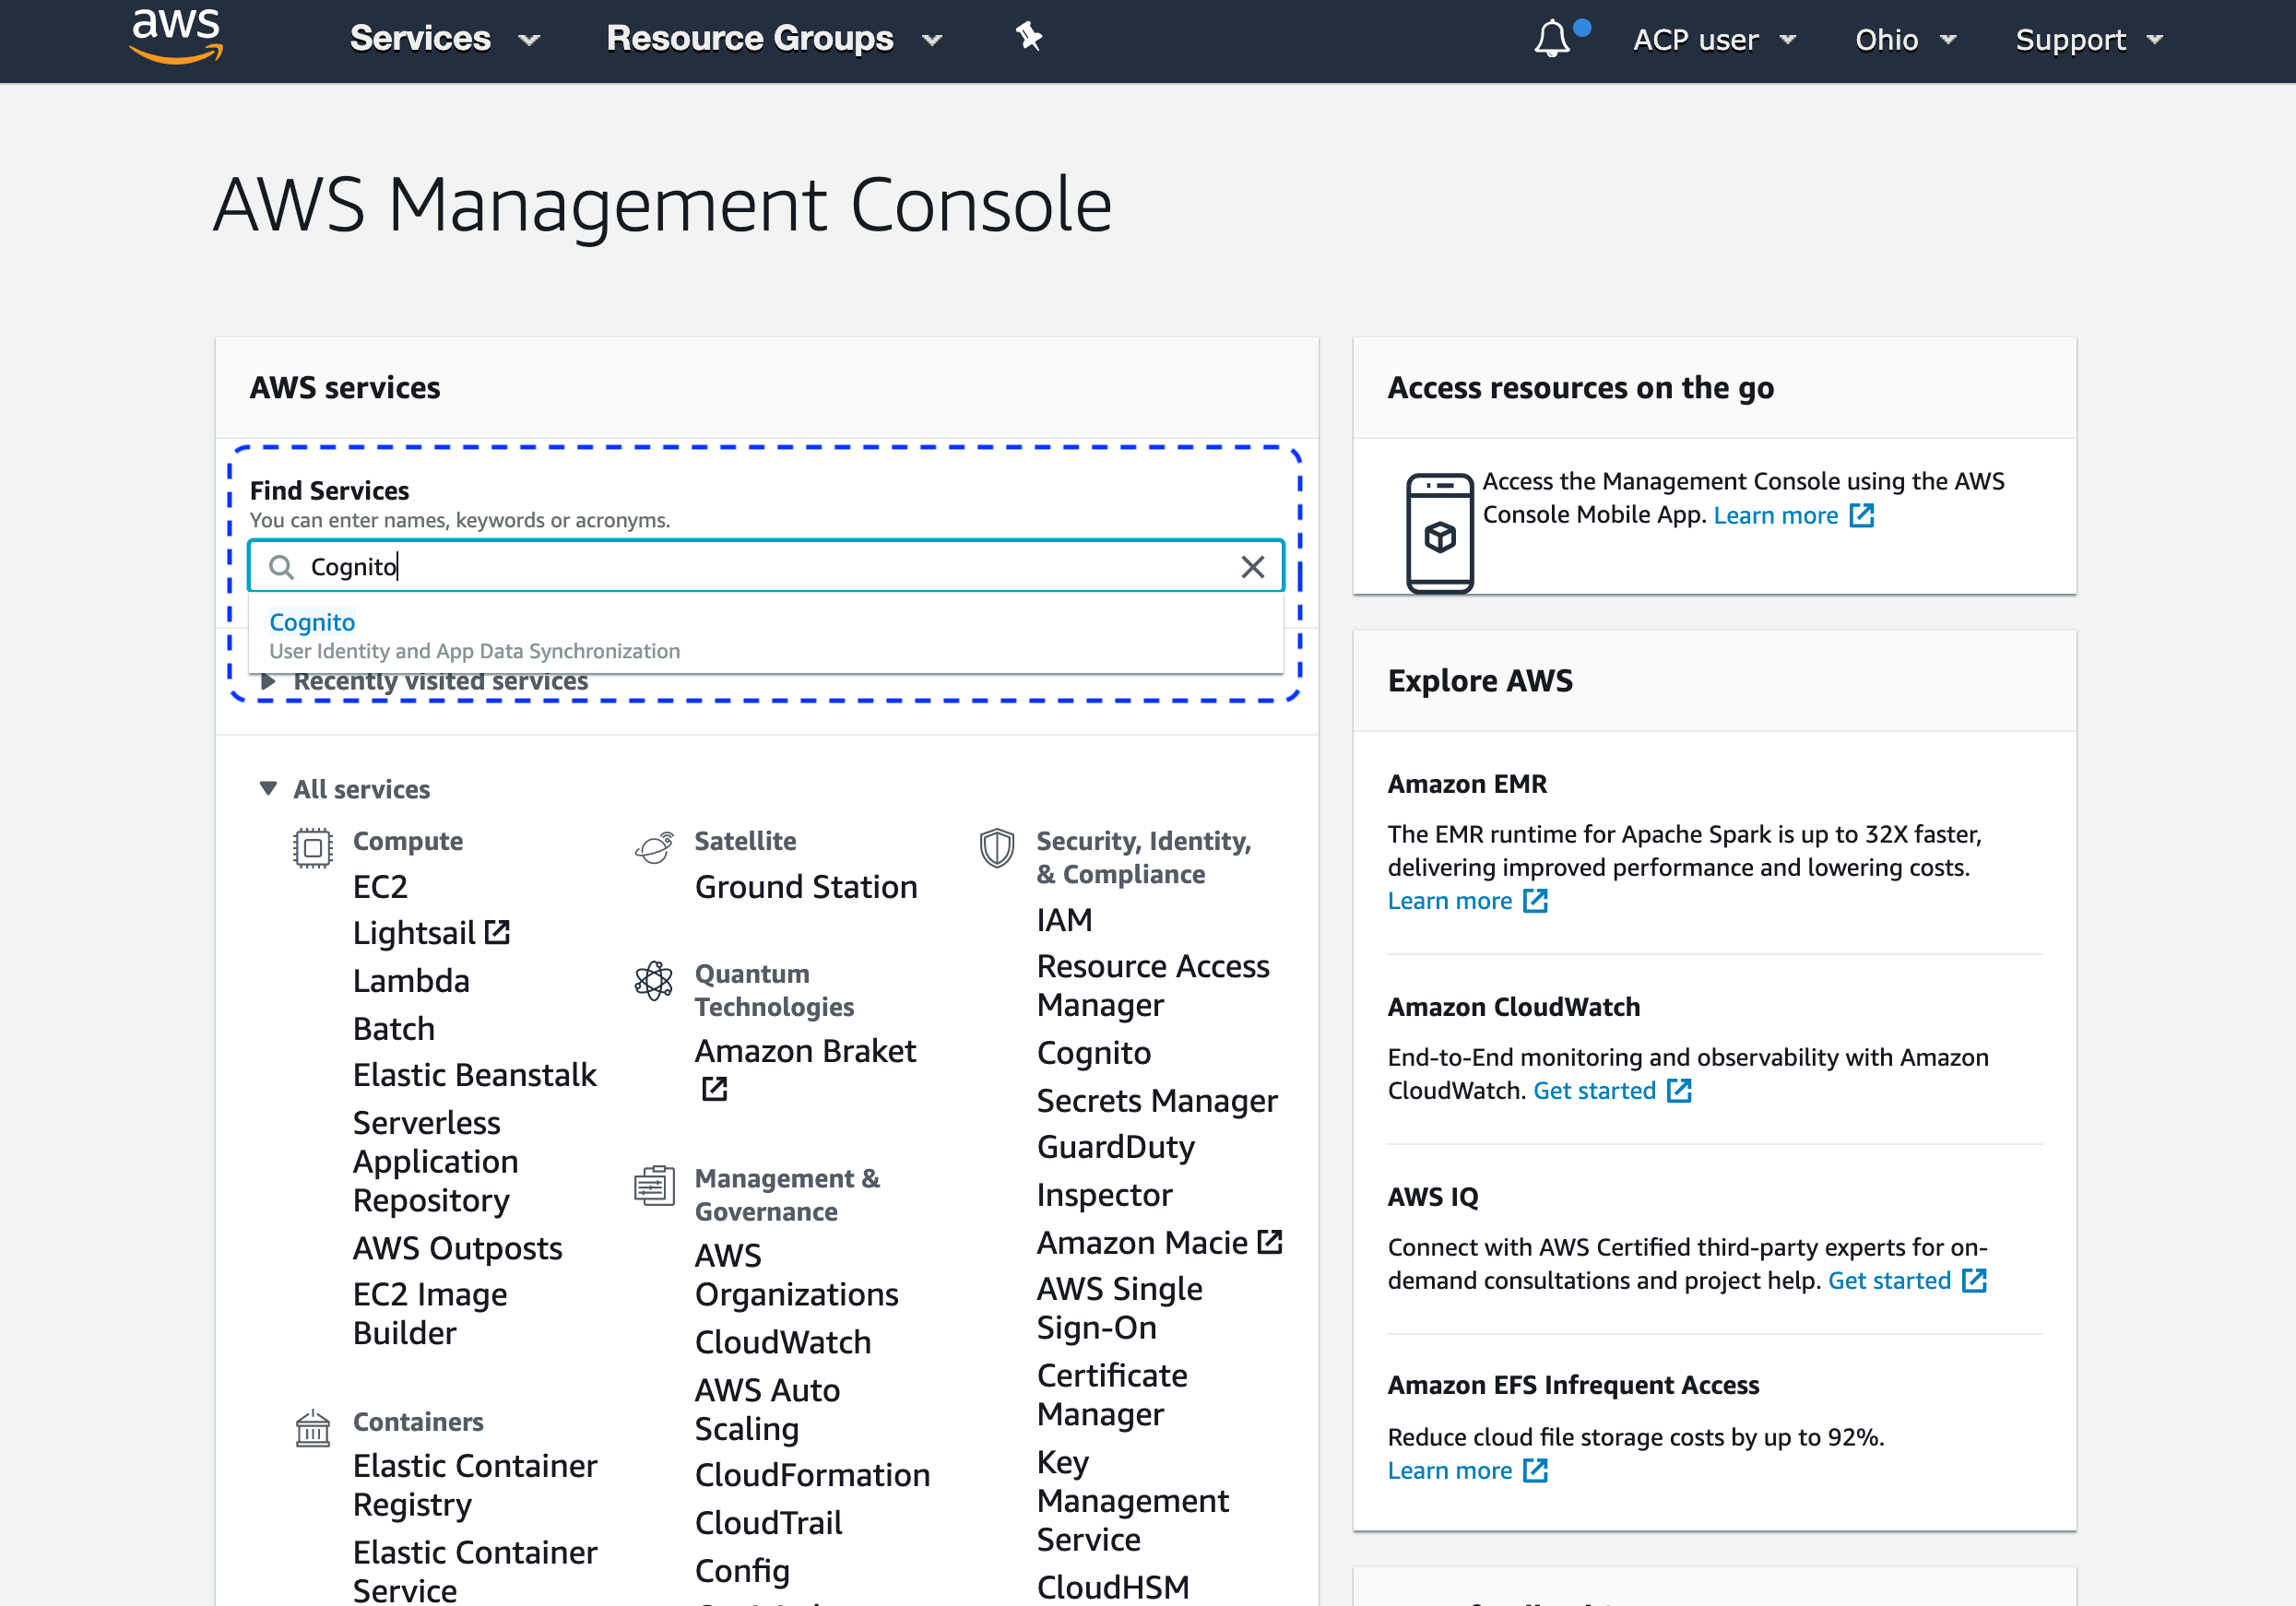
Enter Cognito into the Find Services search field and follow up to the Amazon Cognito portal.
-
Select Manage User Pools and the user pool that you want to follow up on.
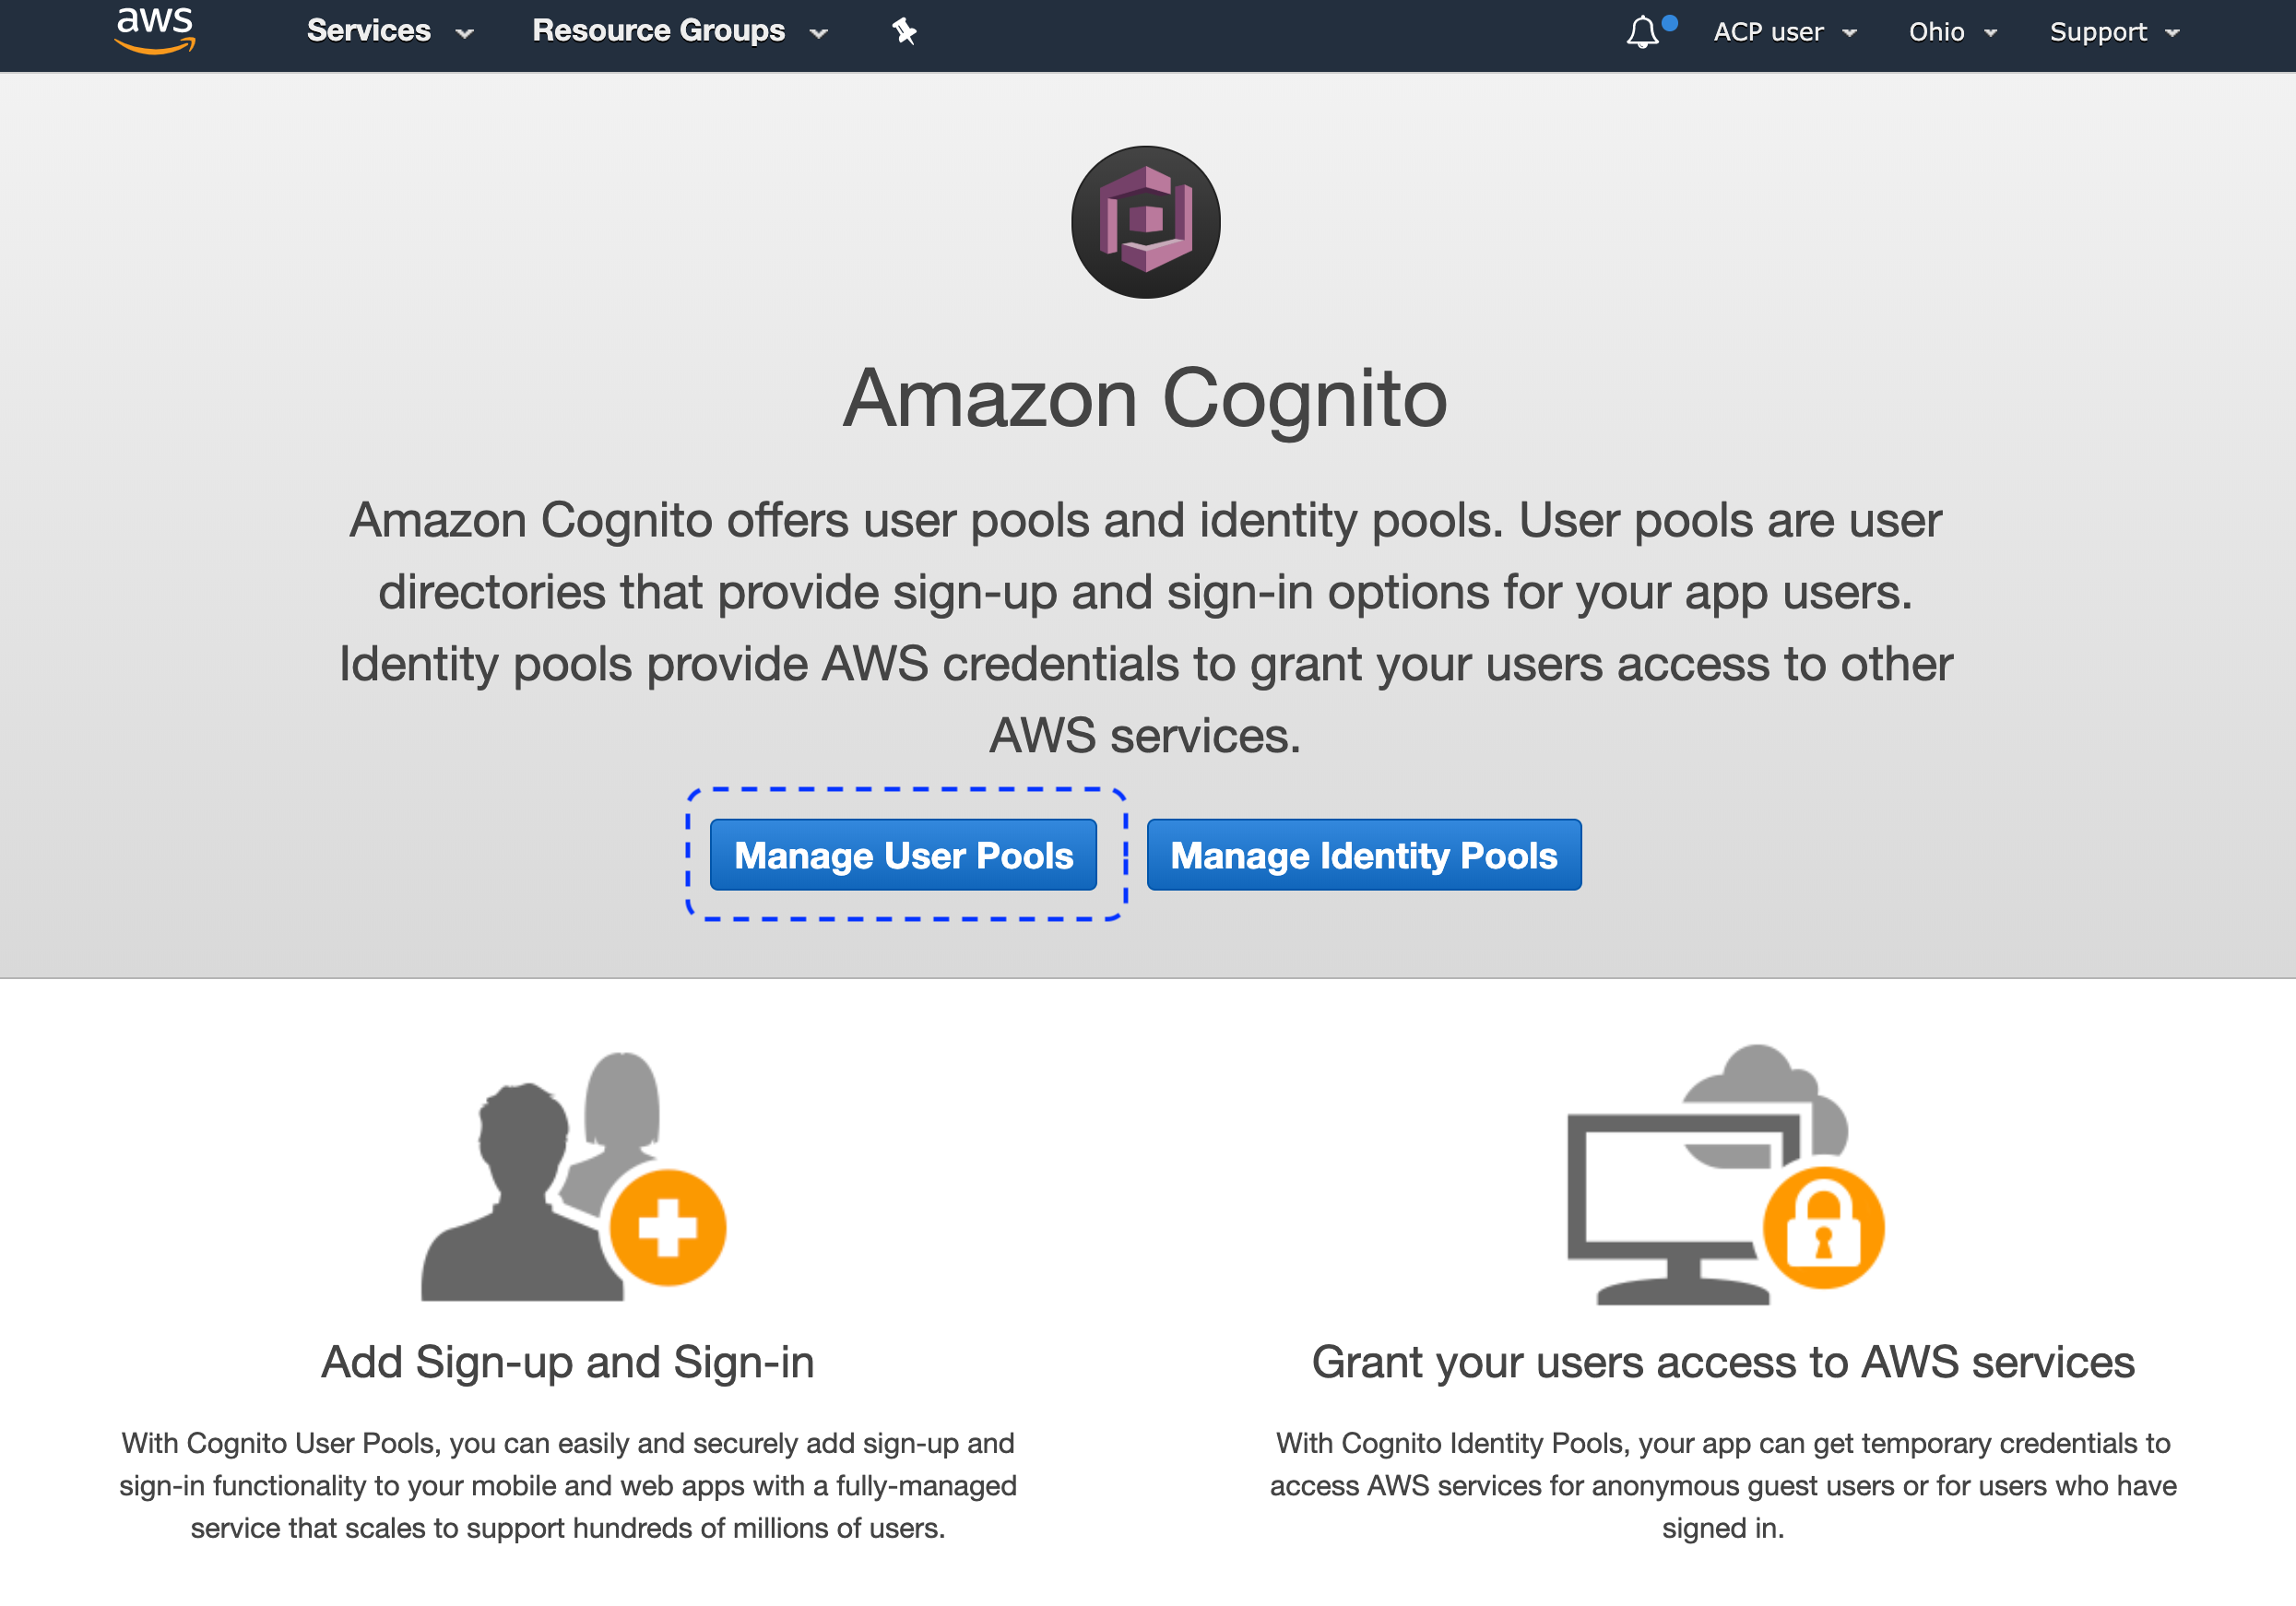
Result
The detailed view for the selected pool gets displayed.
-
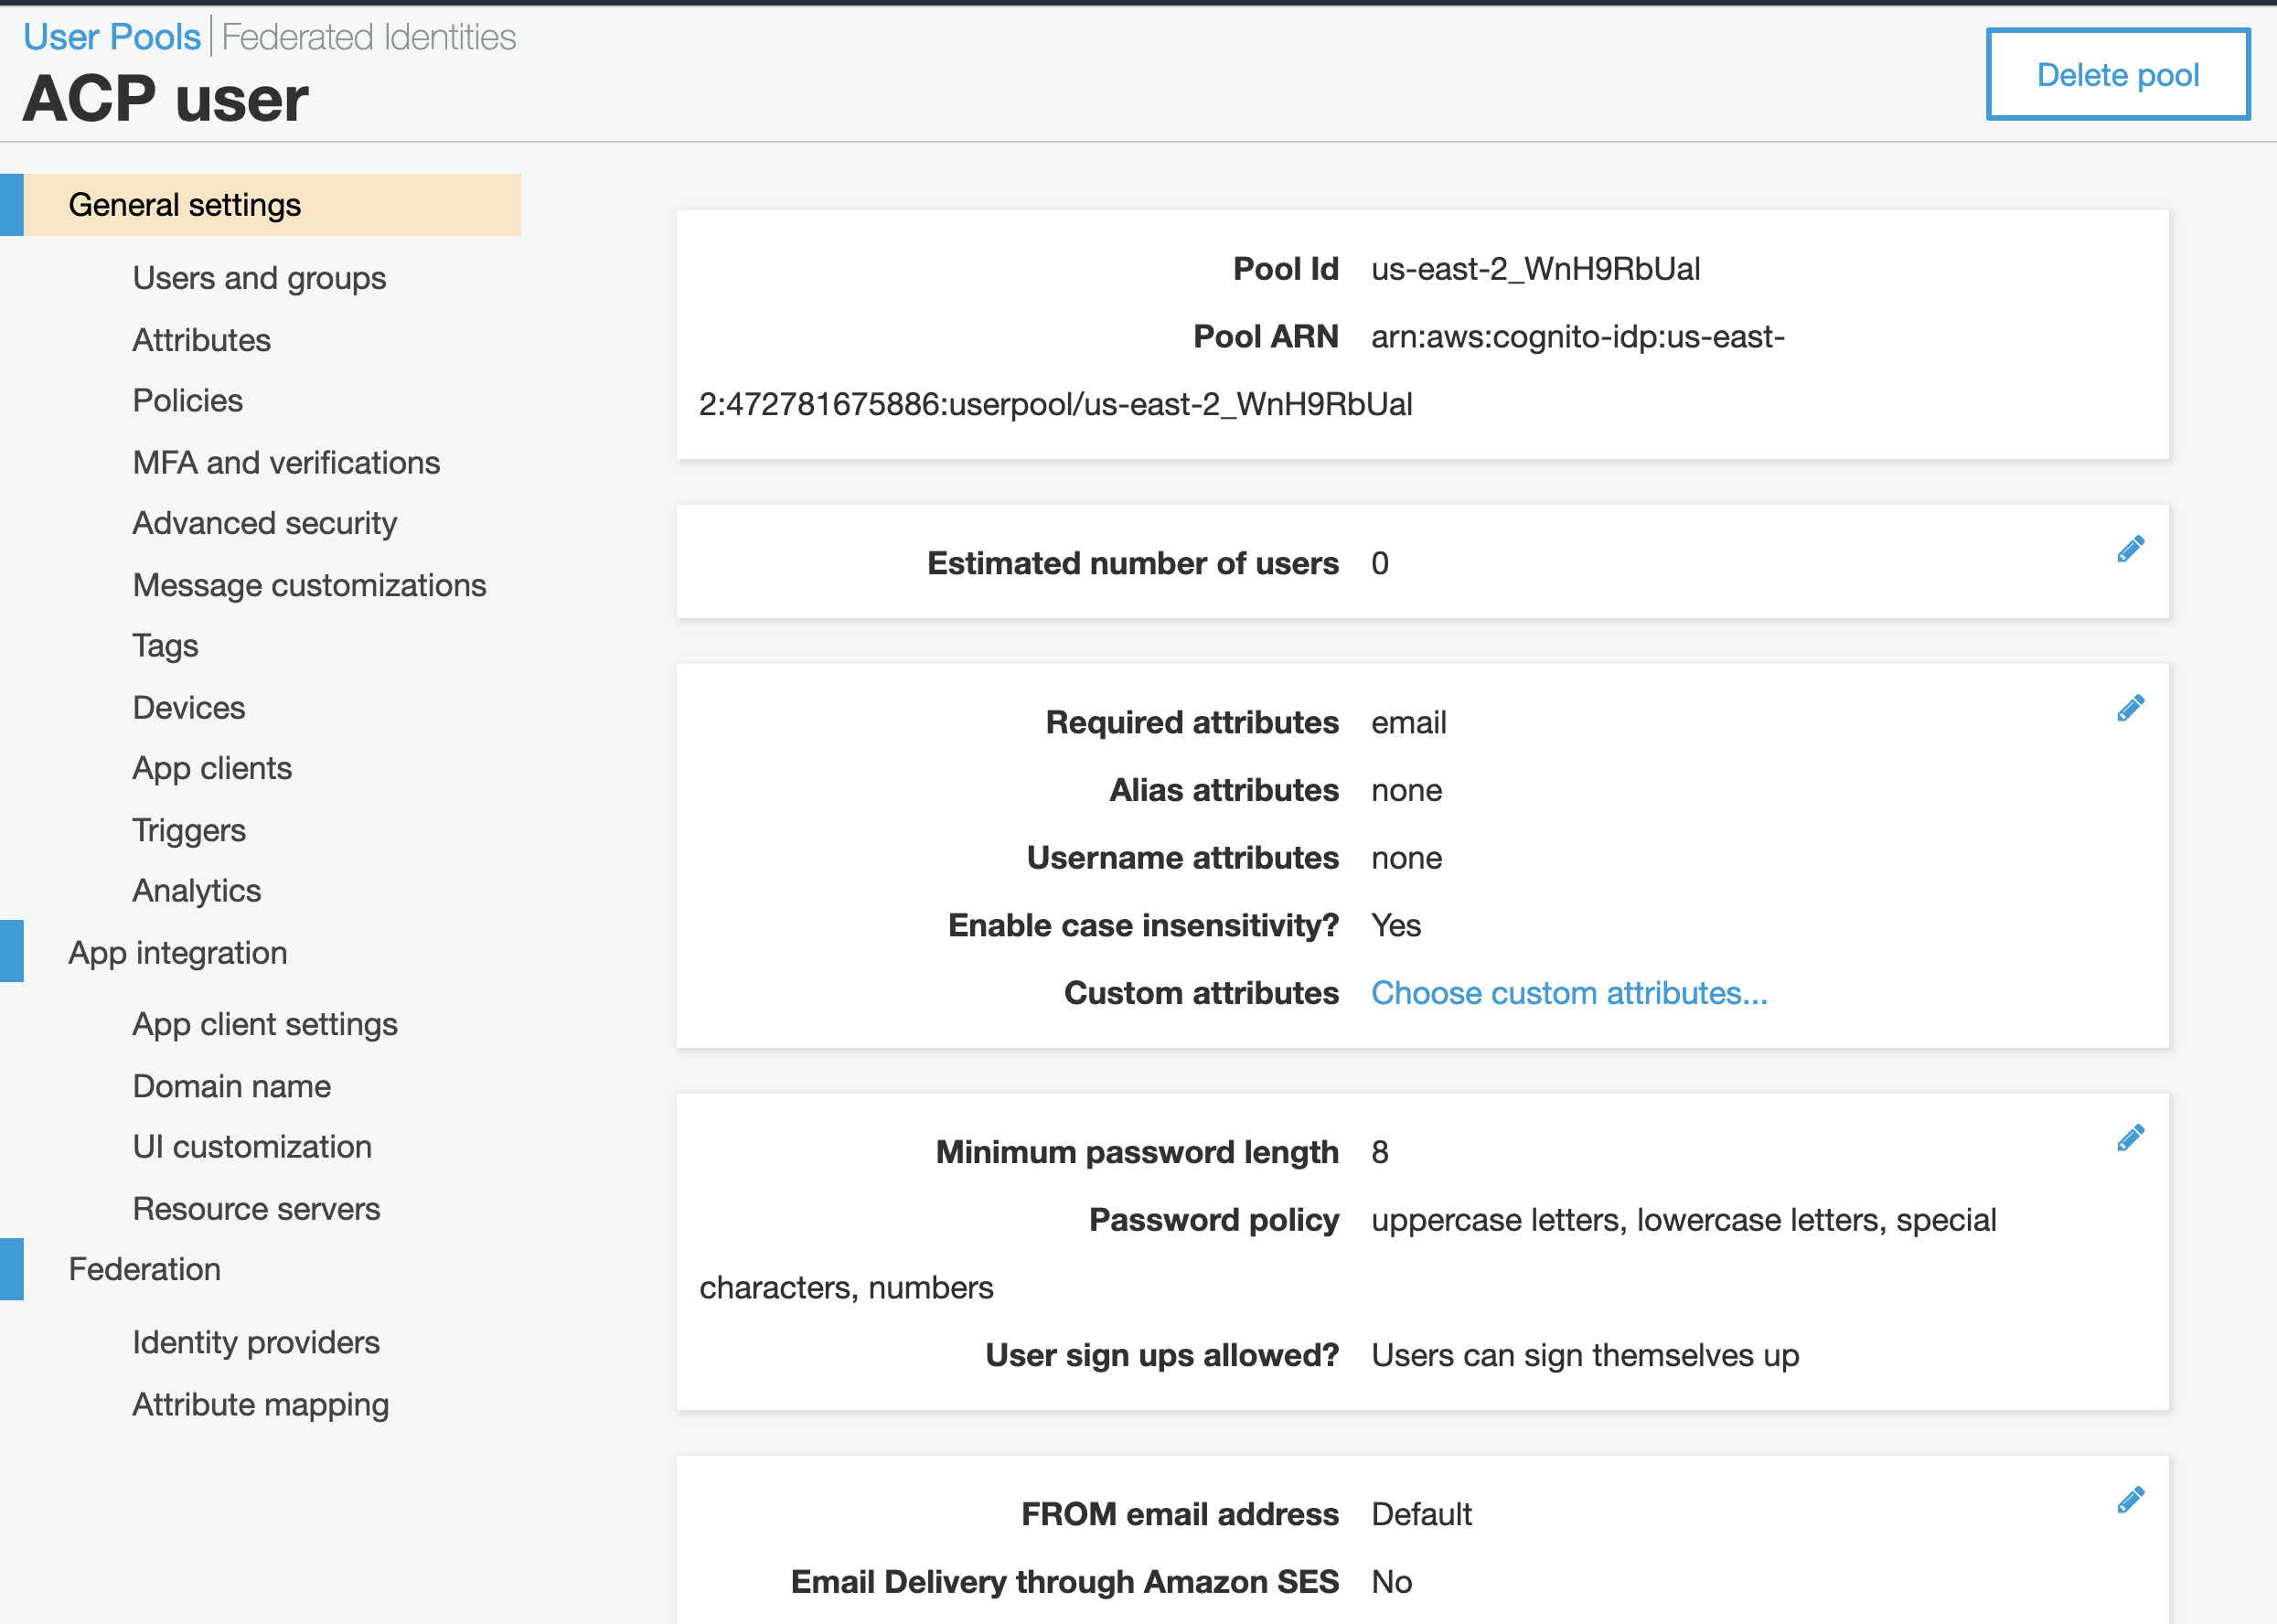
From the left sidebar, select General settings to preview details on your pool, including the pool ID.
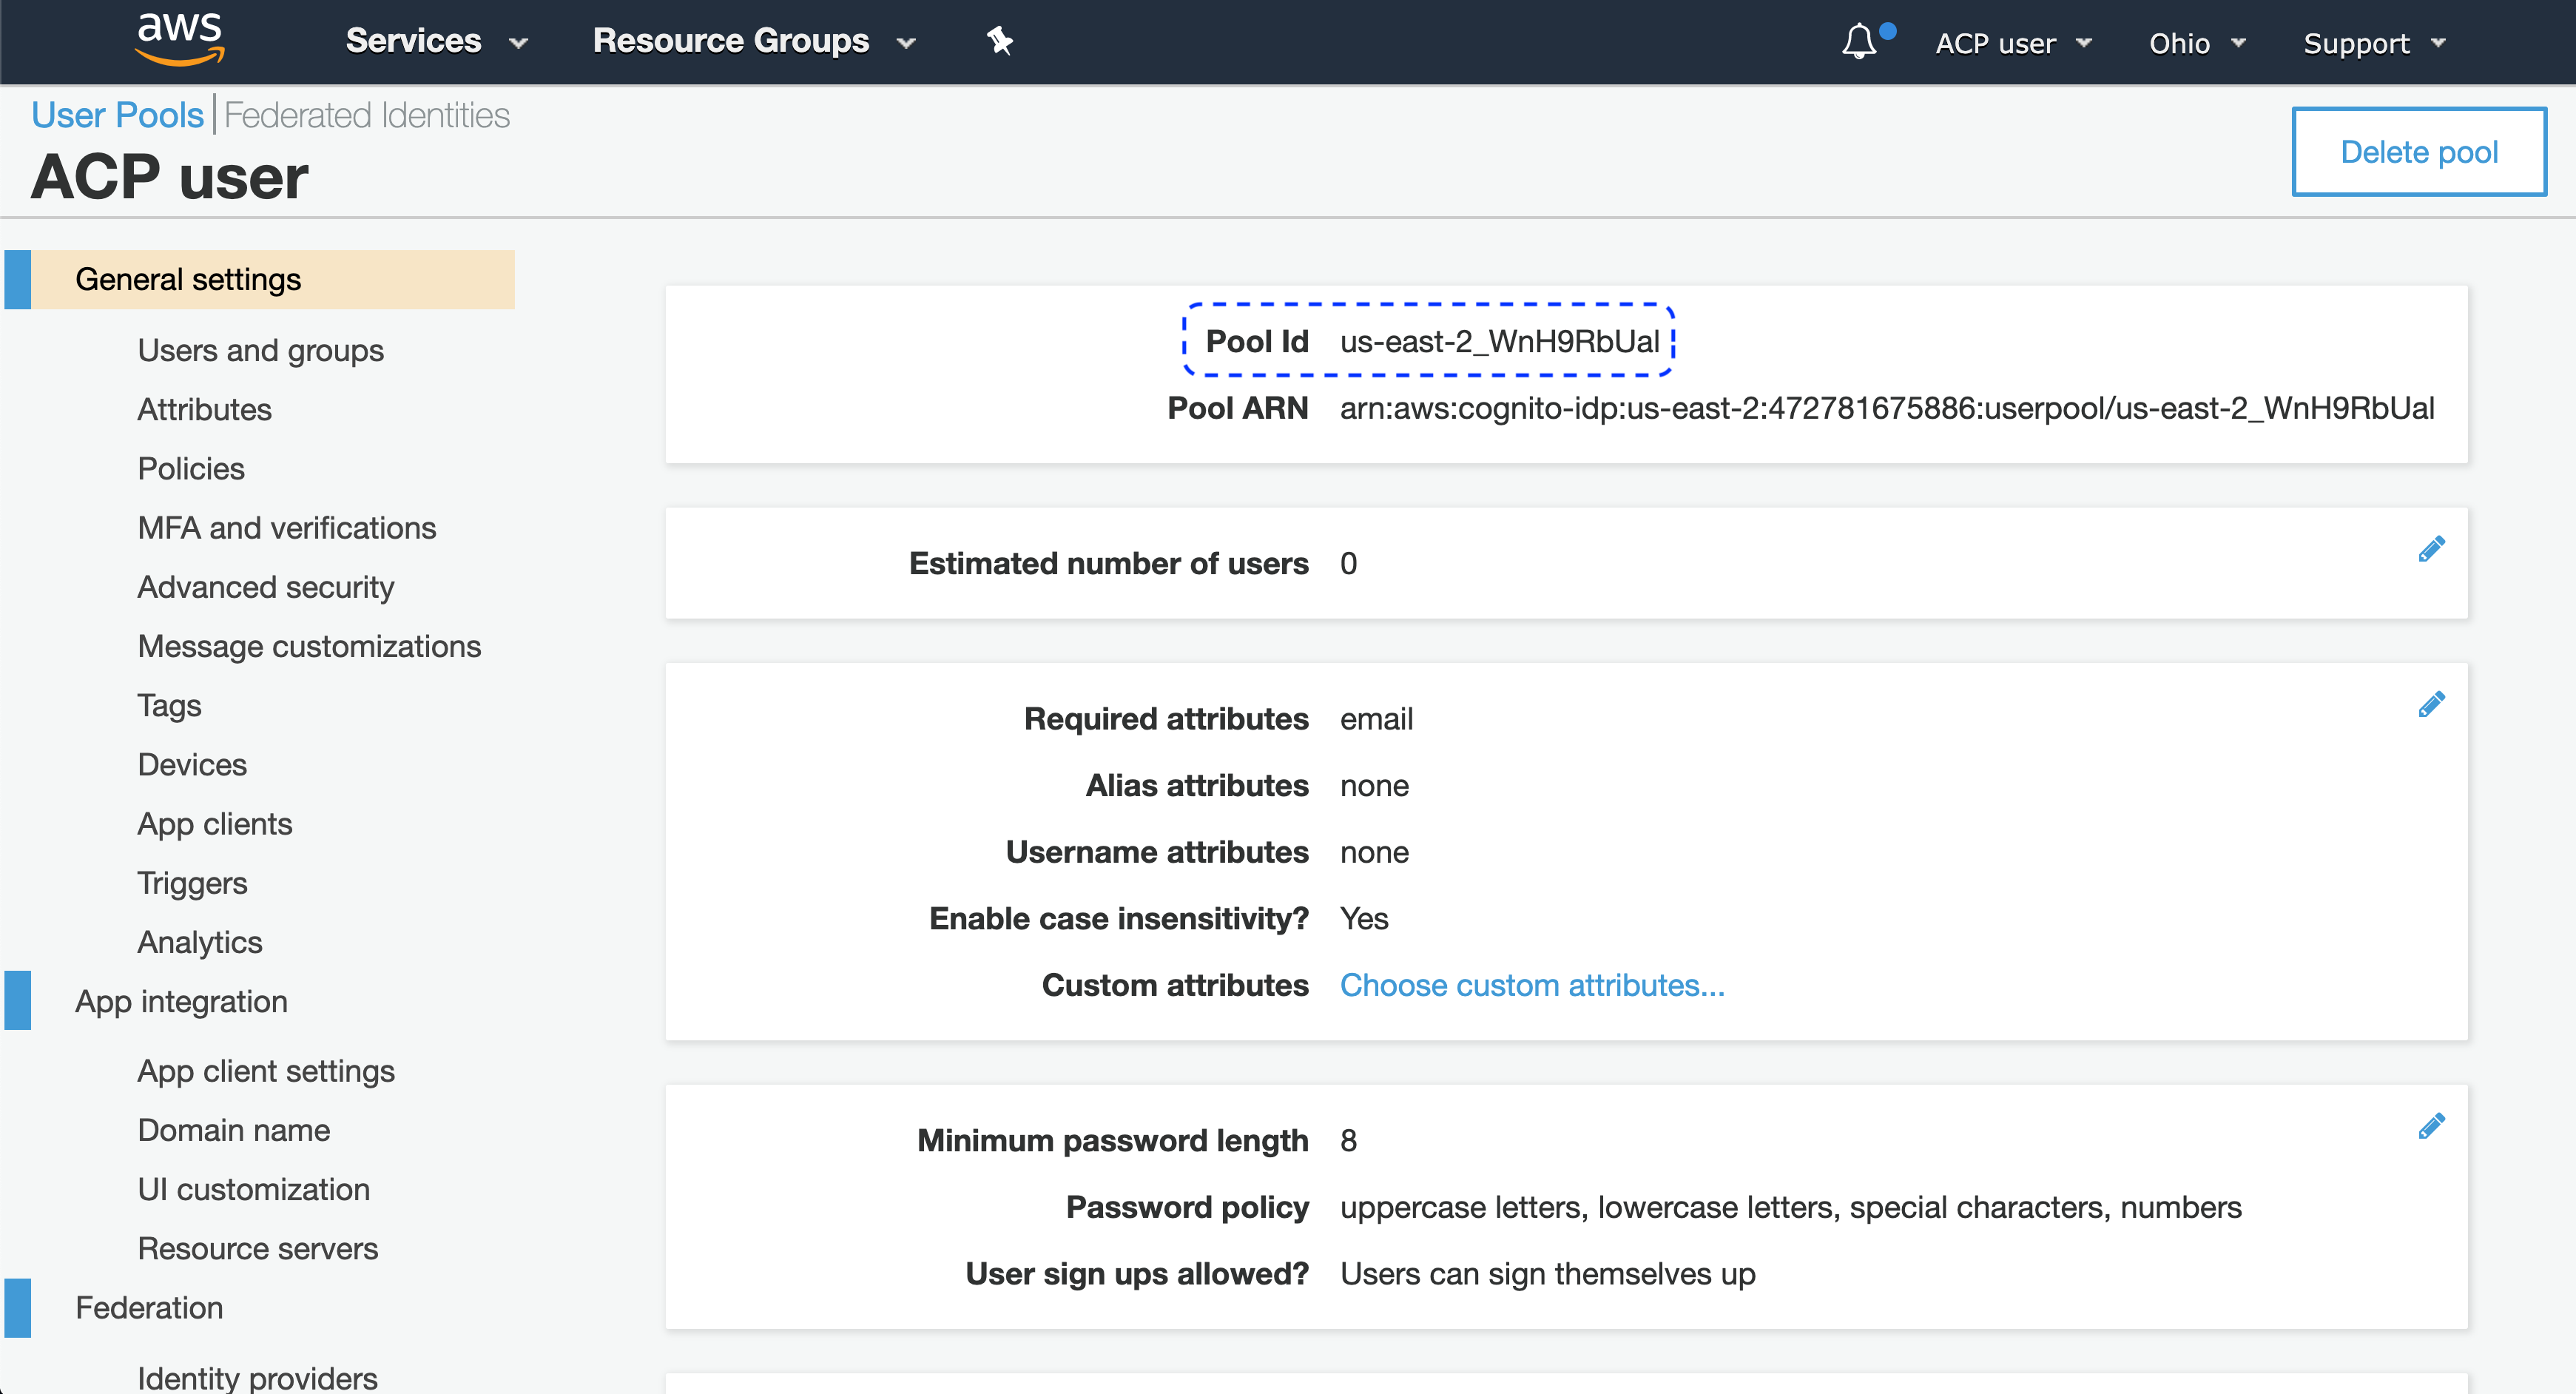
Note
You’ll need the pool ID to fill in the Register Cognito form in the ACP administrator portal when you get to Connect Cognito IDP in this instruction.
-
From the left sidebar, go to App clients and select Add an app client from the App clients view.
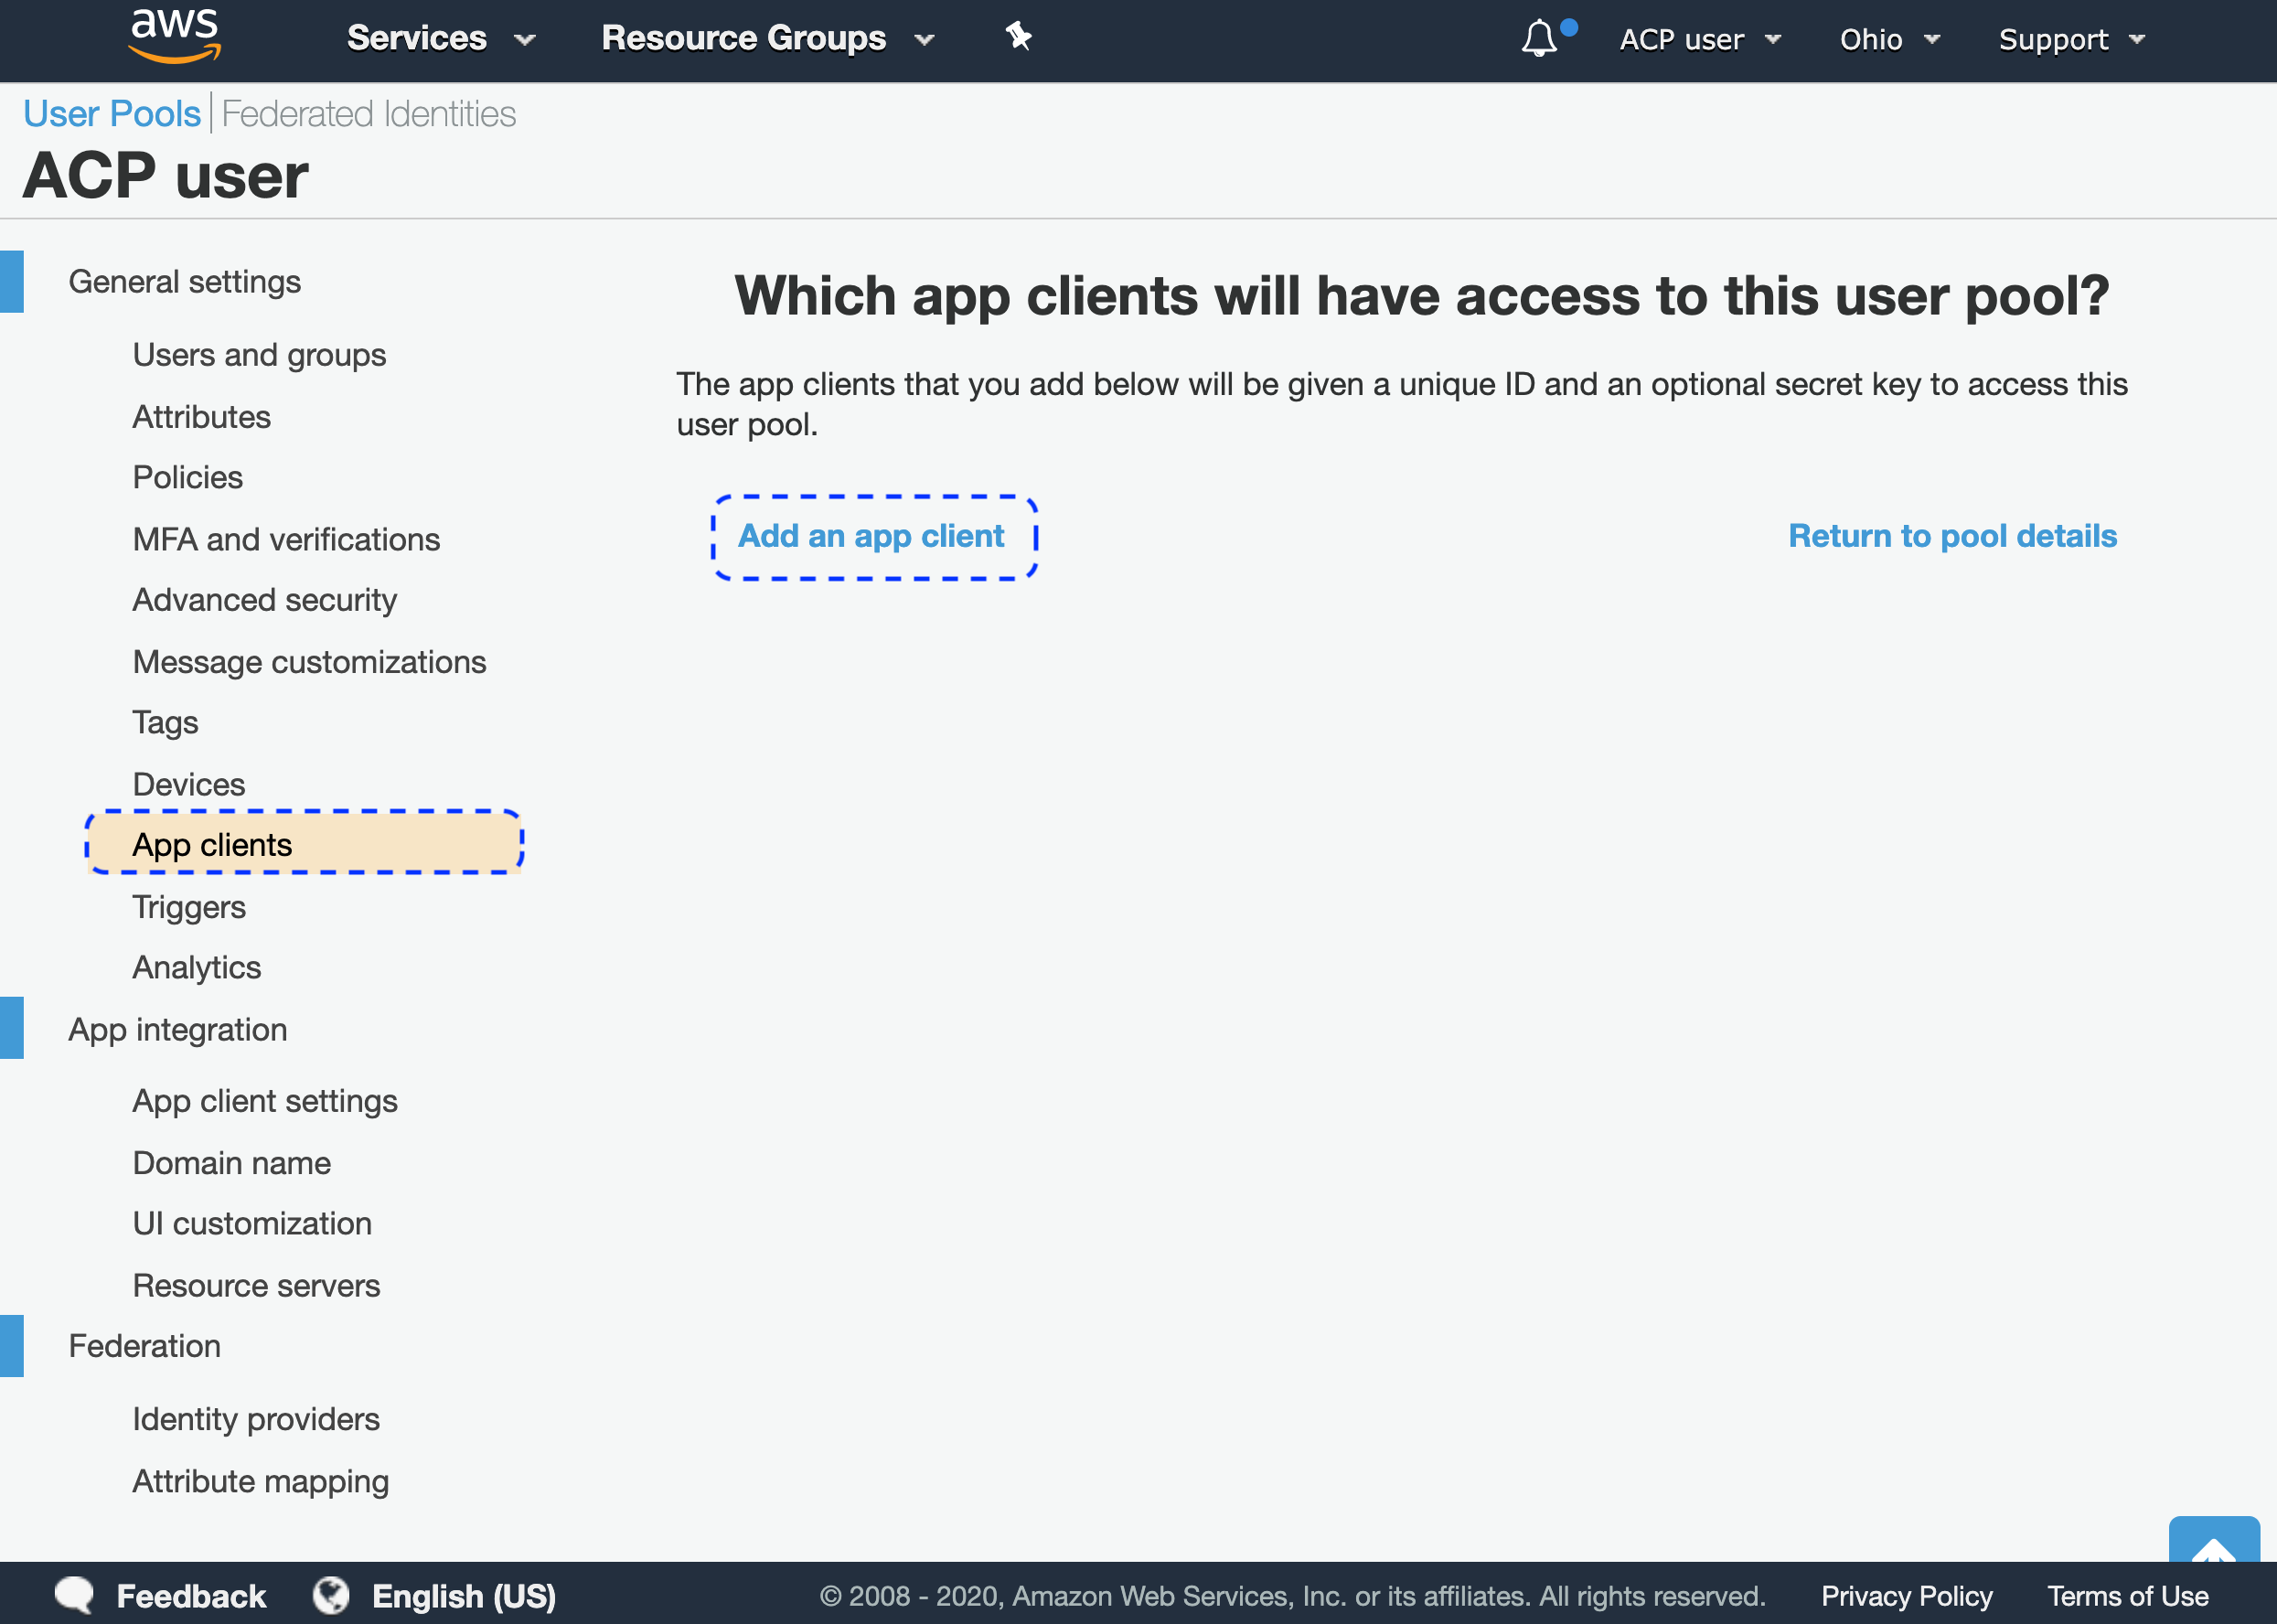
Tip
If you already have clients, you can edit them or select Add another app client.
-
To create your client
- Enter the client name.
- Make sure that option Generate client secret is enabled.
- Select Create app client.
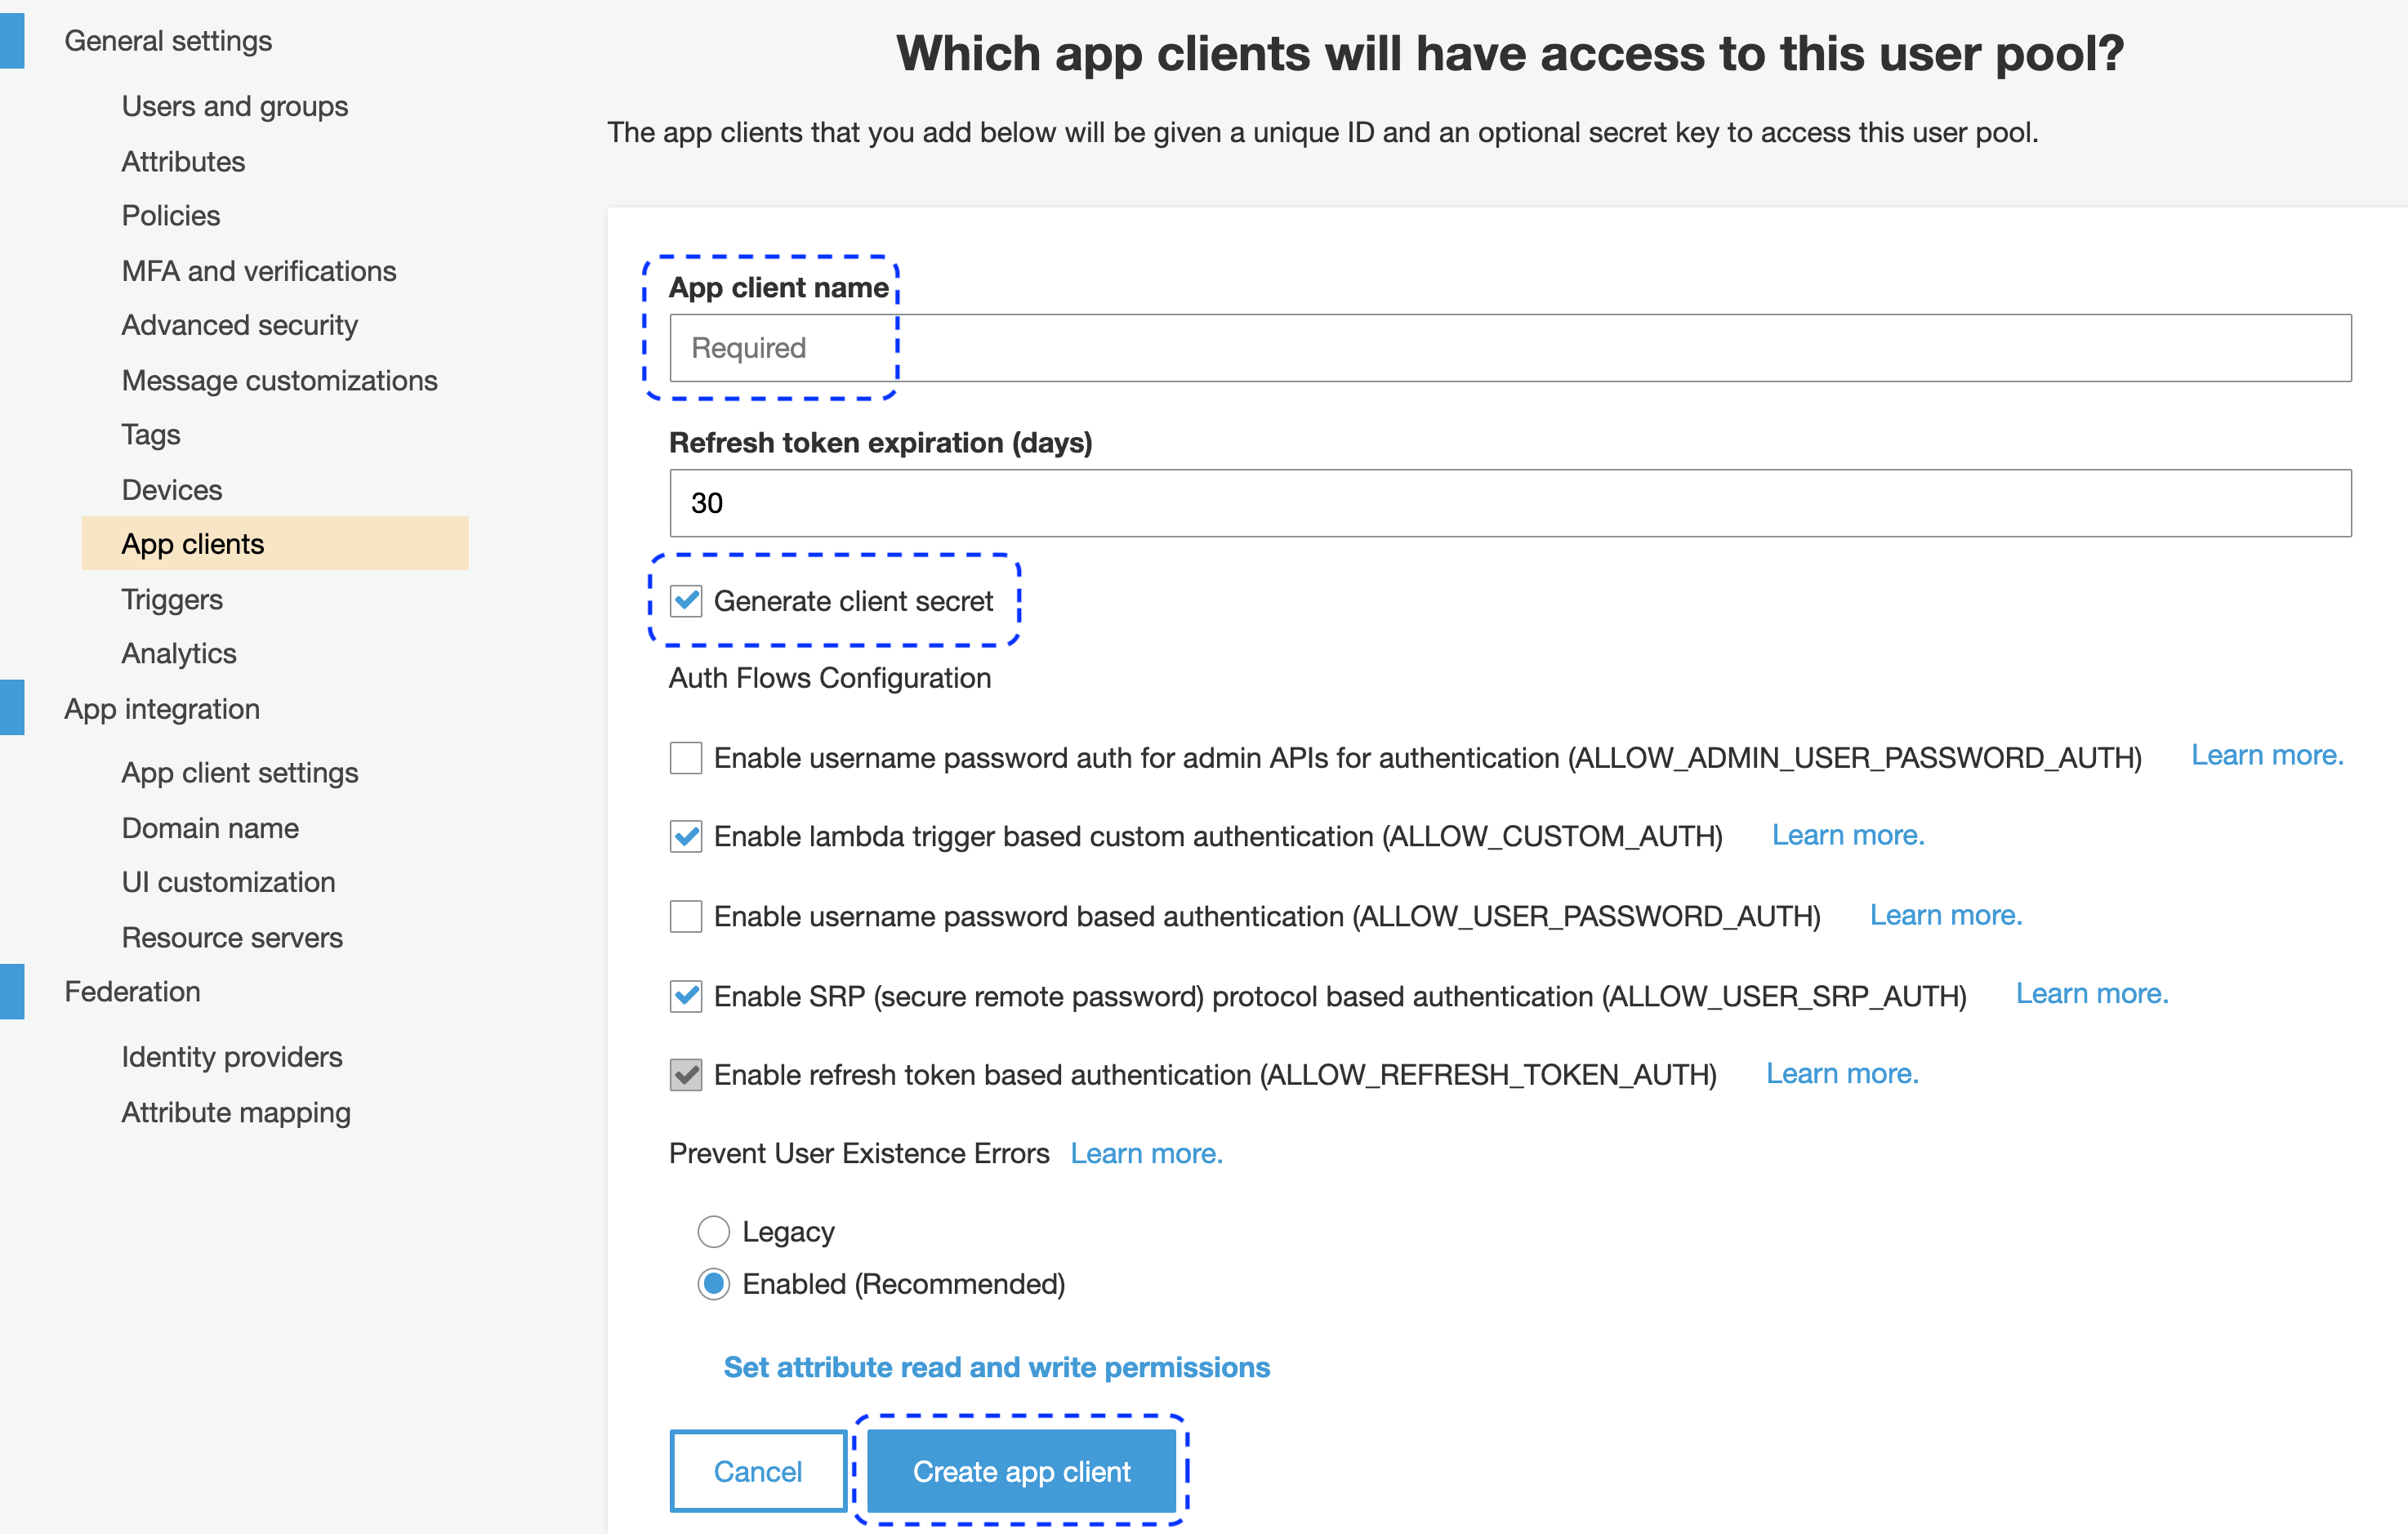
Result
Your new client is ready with its details available upon selecting Show Details.
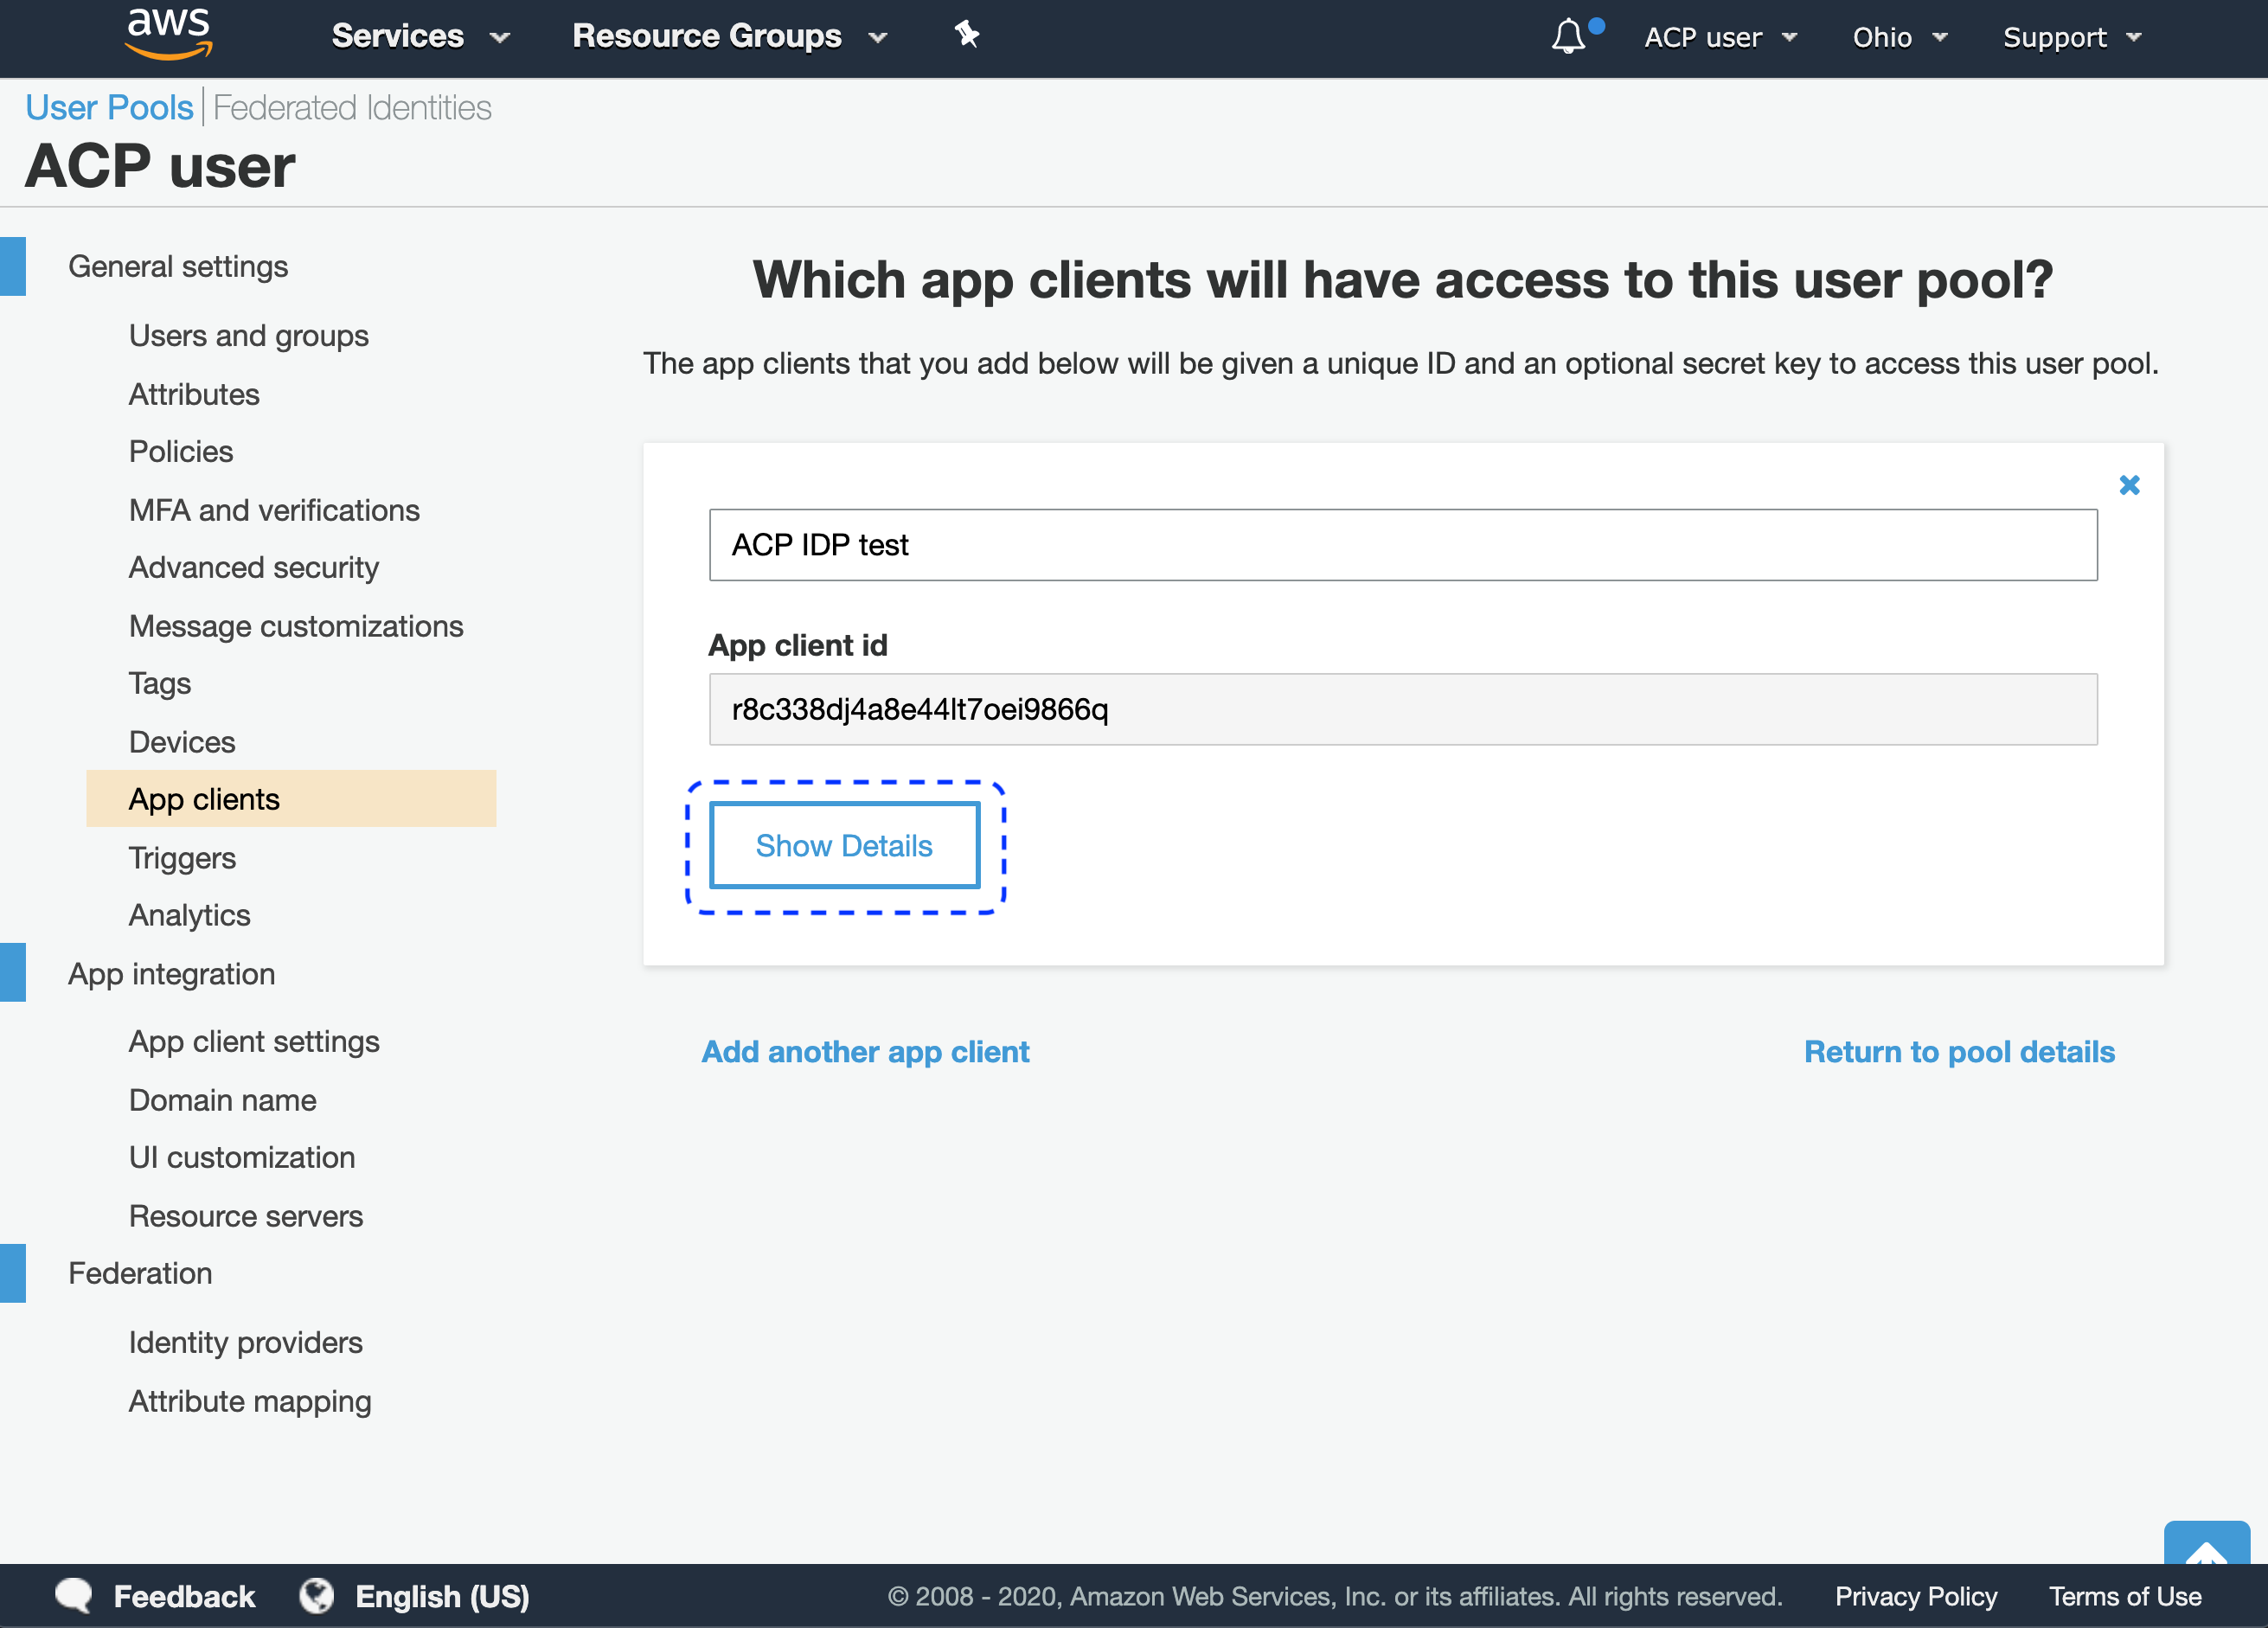
-
Select Show Details to identify the client secret and the client ID.
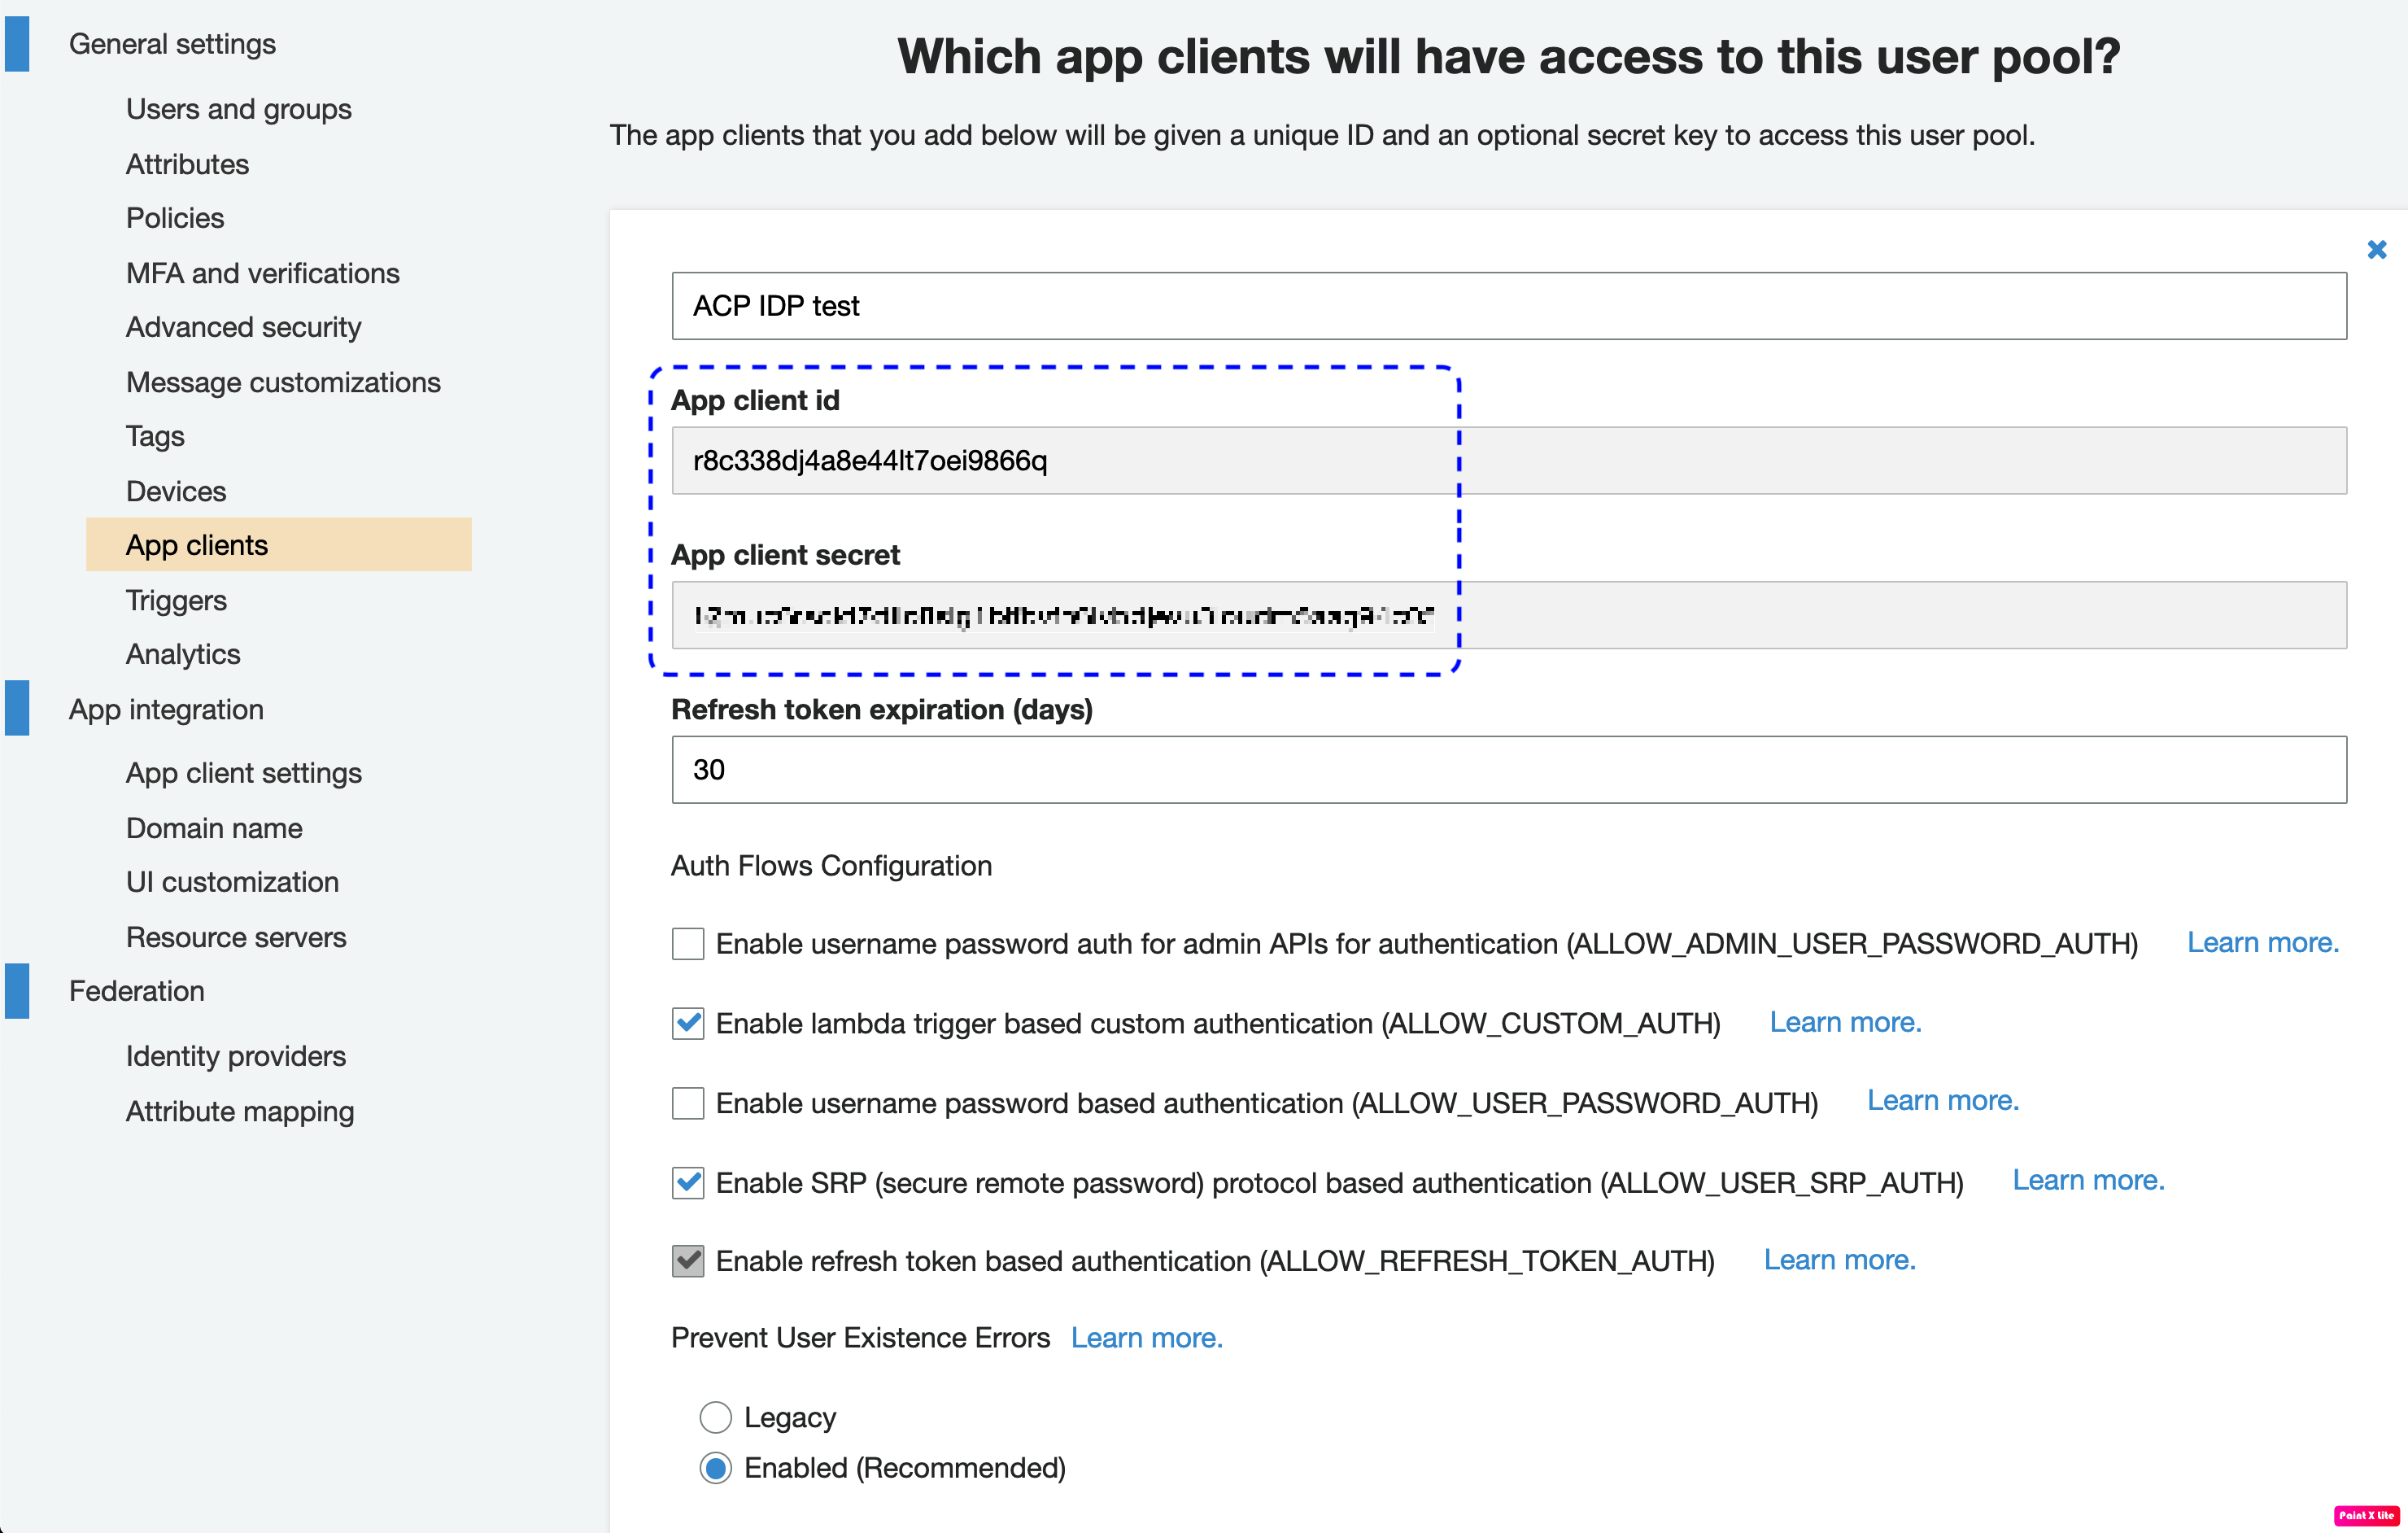
Note
You’ll need the client secret and the client ID to fill in the Register Cognito form in the ACP administrator portal when you get to Connect Cognito IDP in this instruction.
-
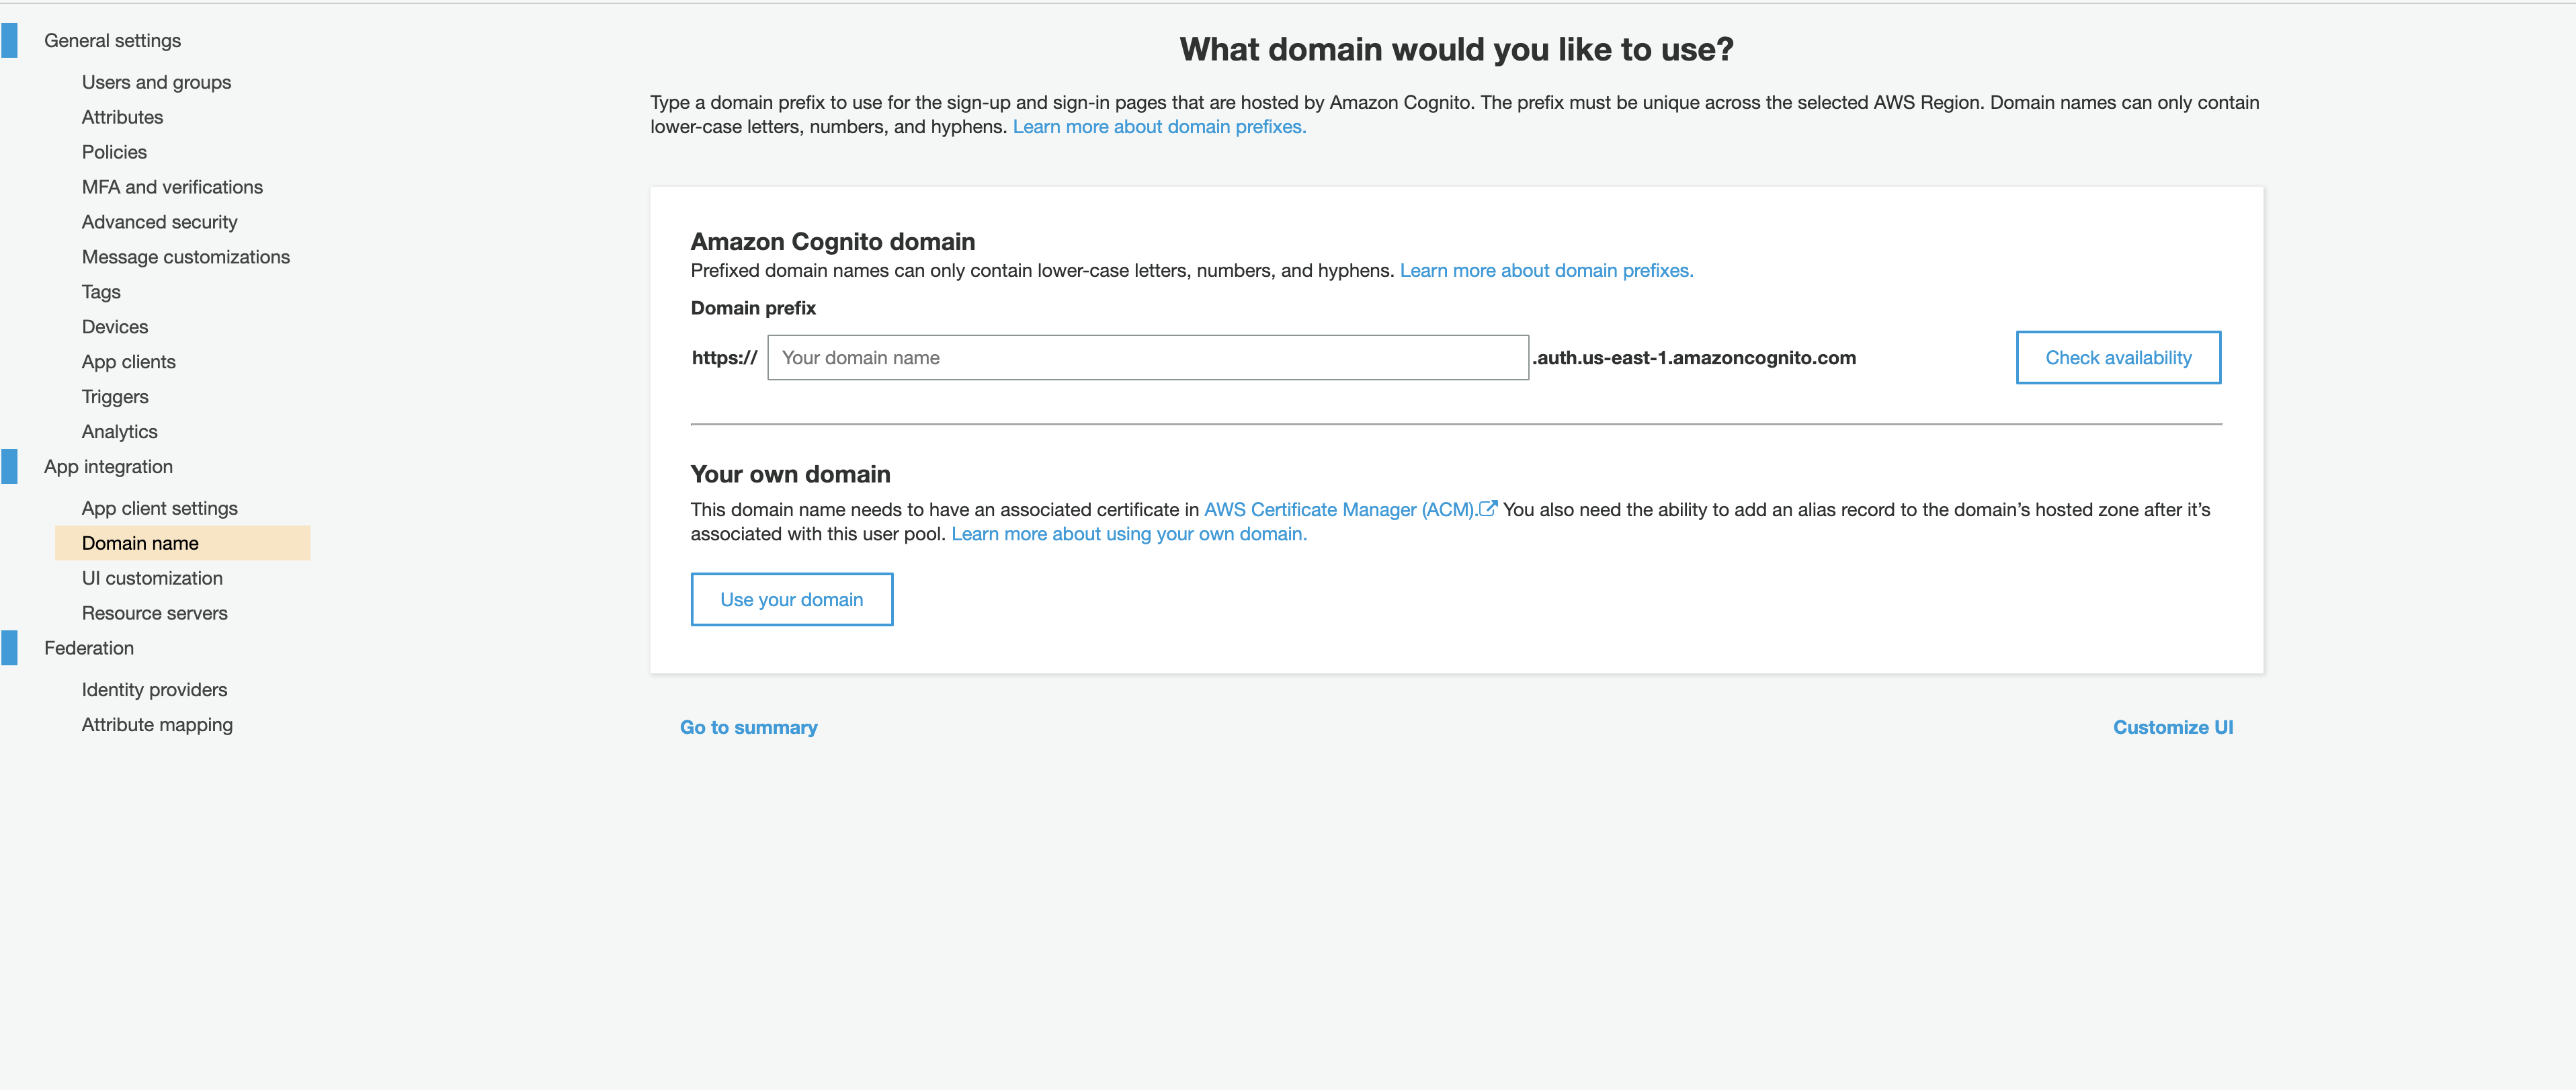
Select Domain name from the sidebar.
-
In the Domain name view, either set up an Amazon Cognito domain or use your own.
-
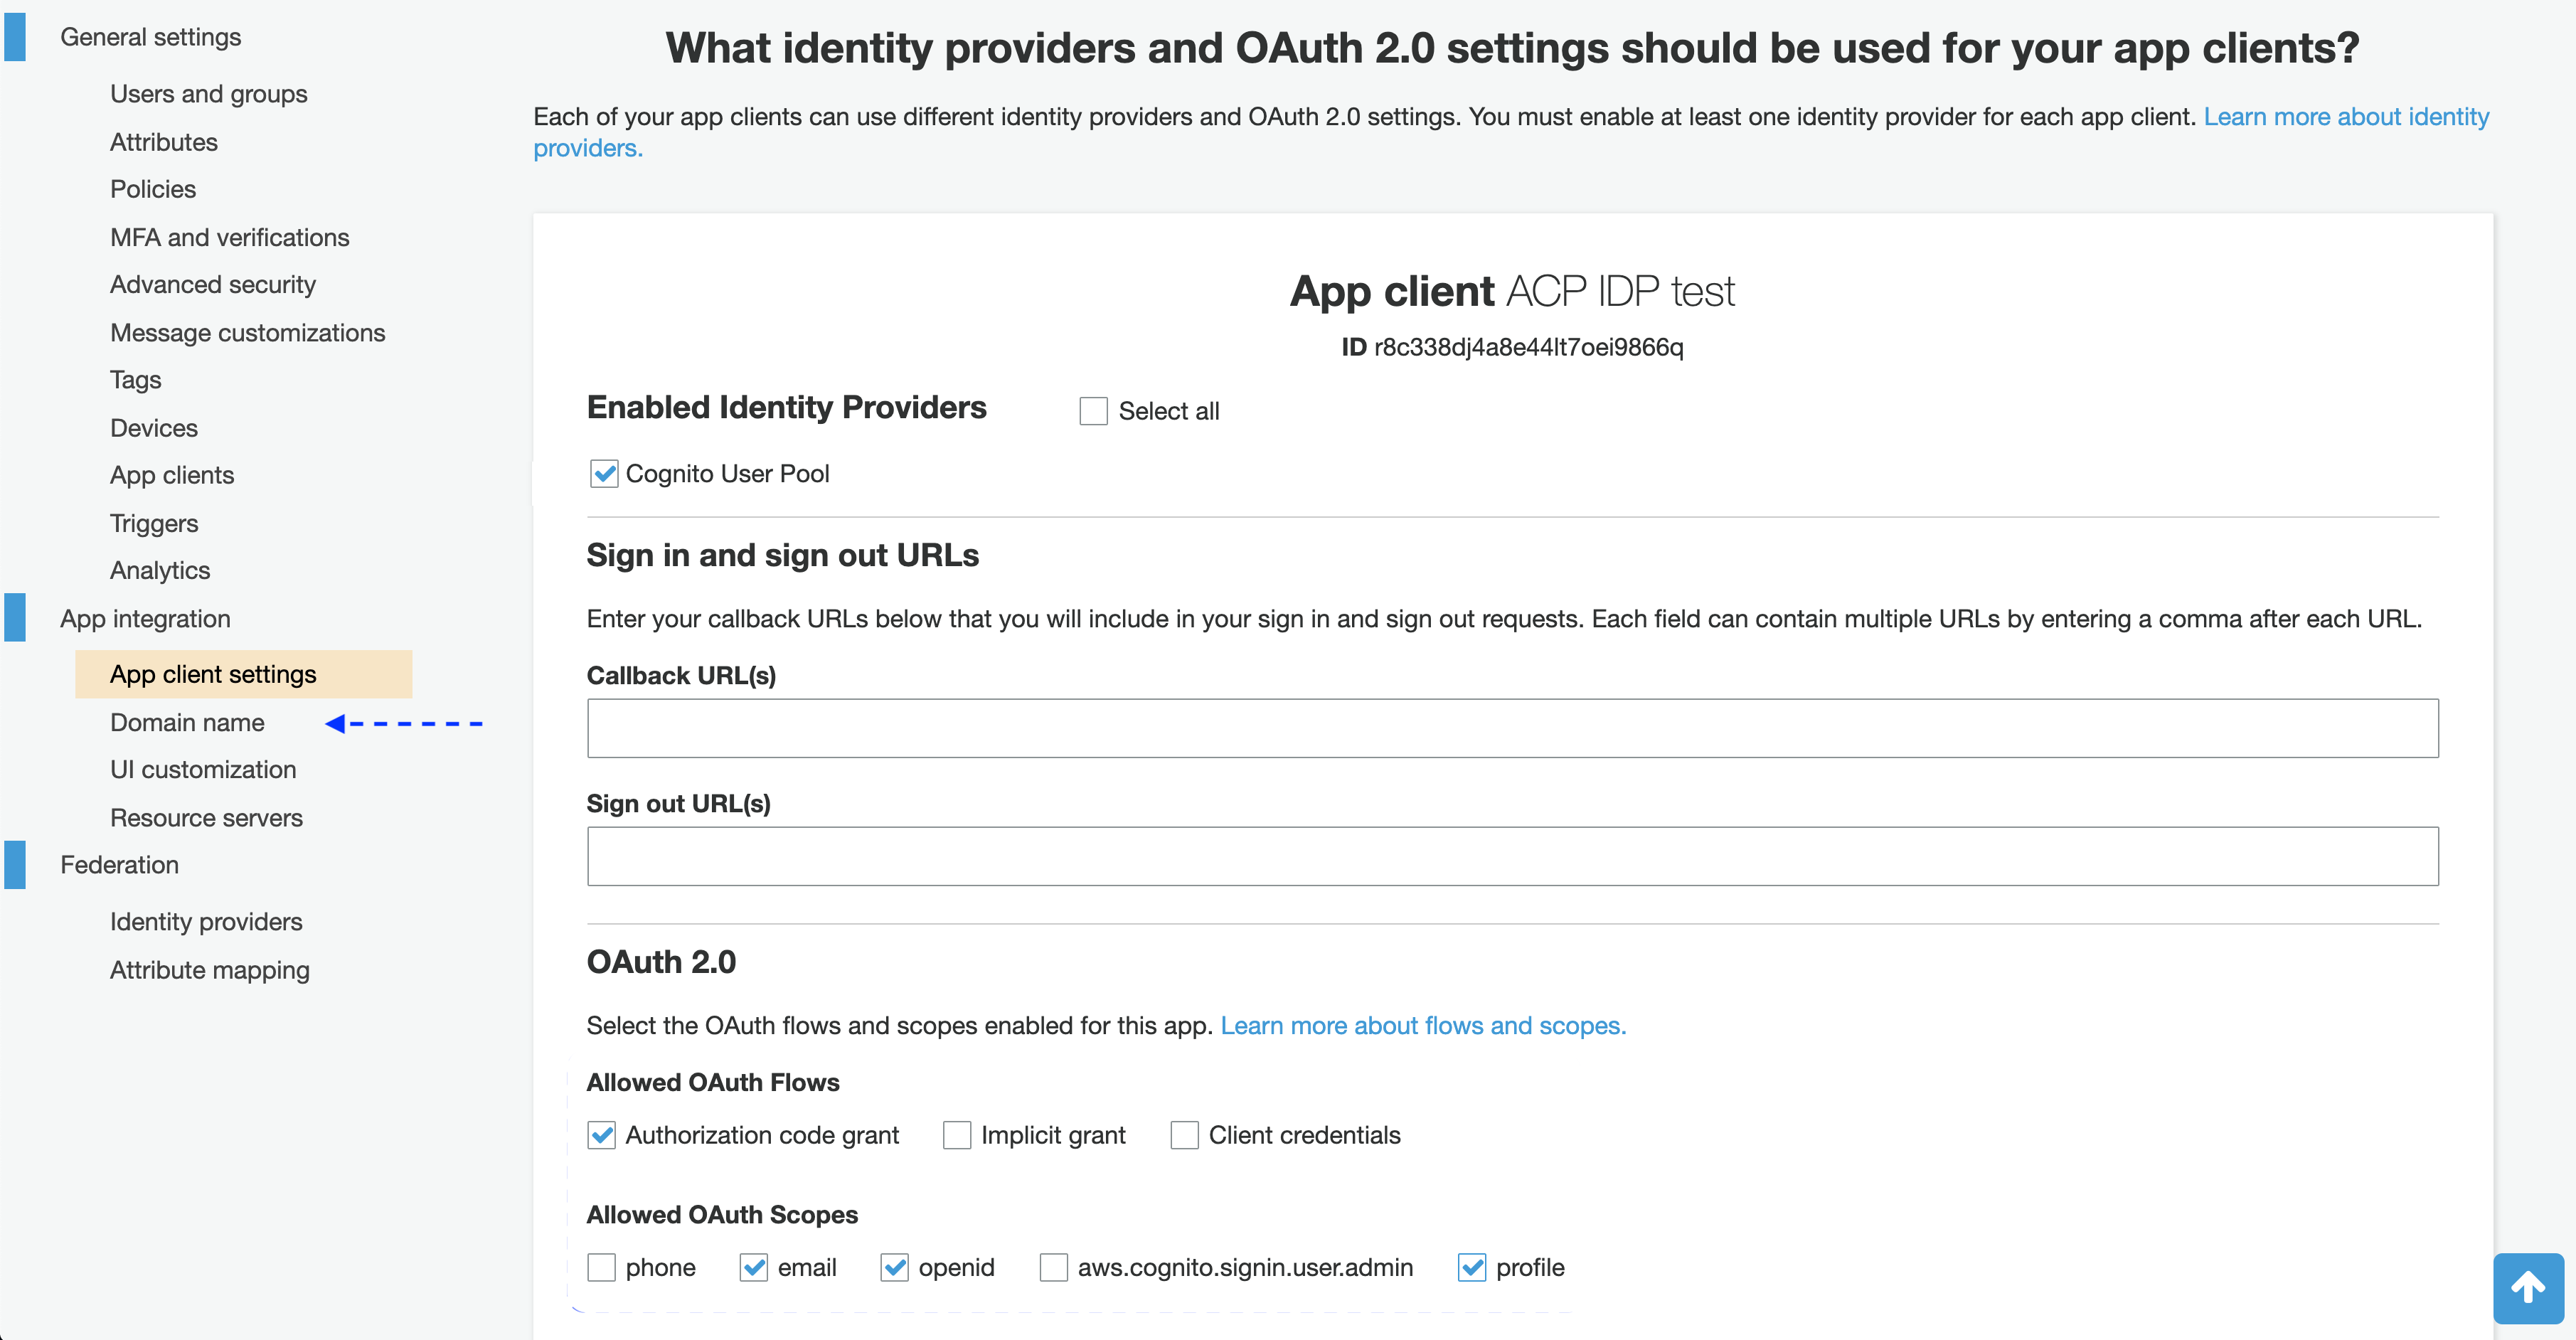
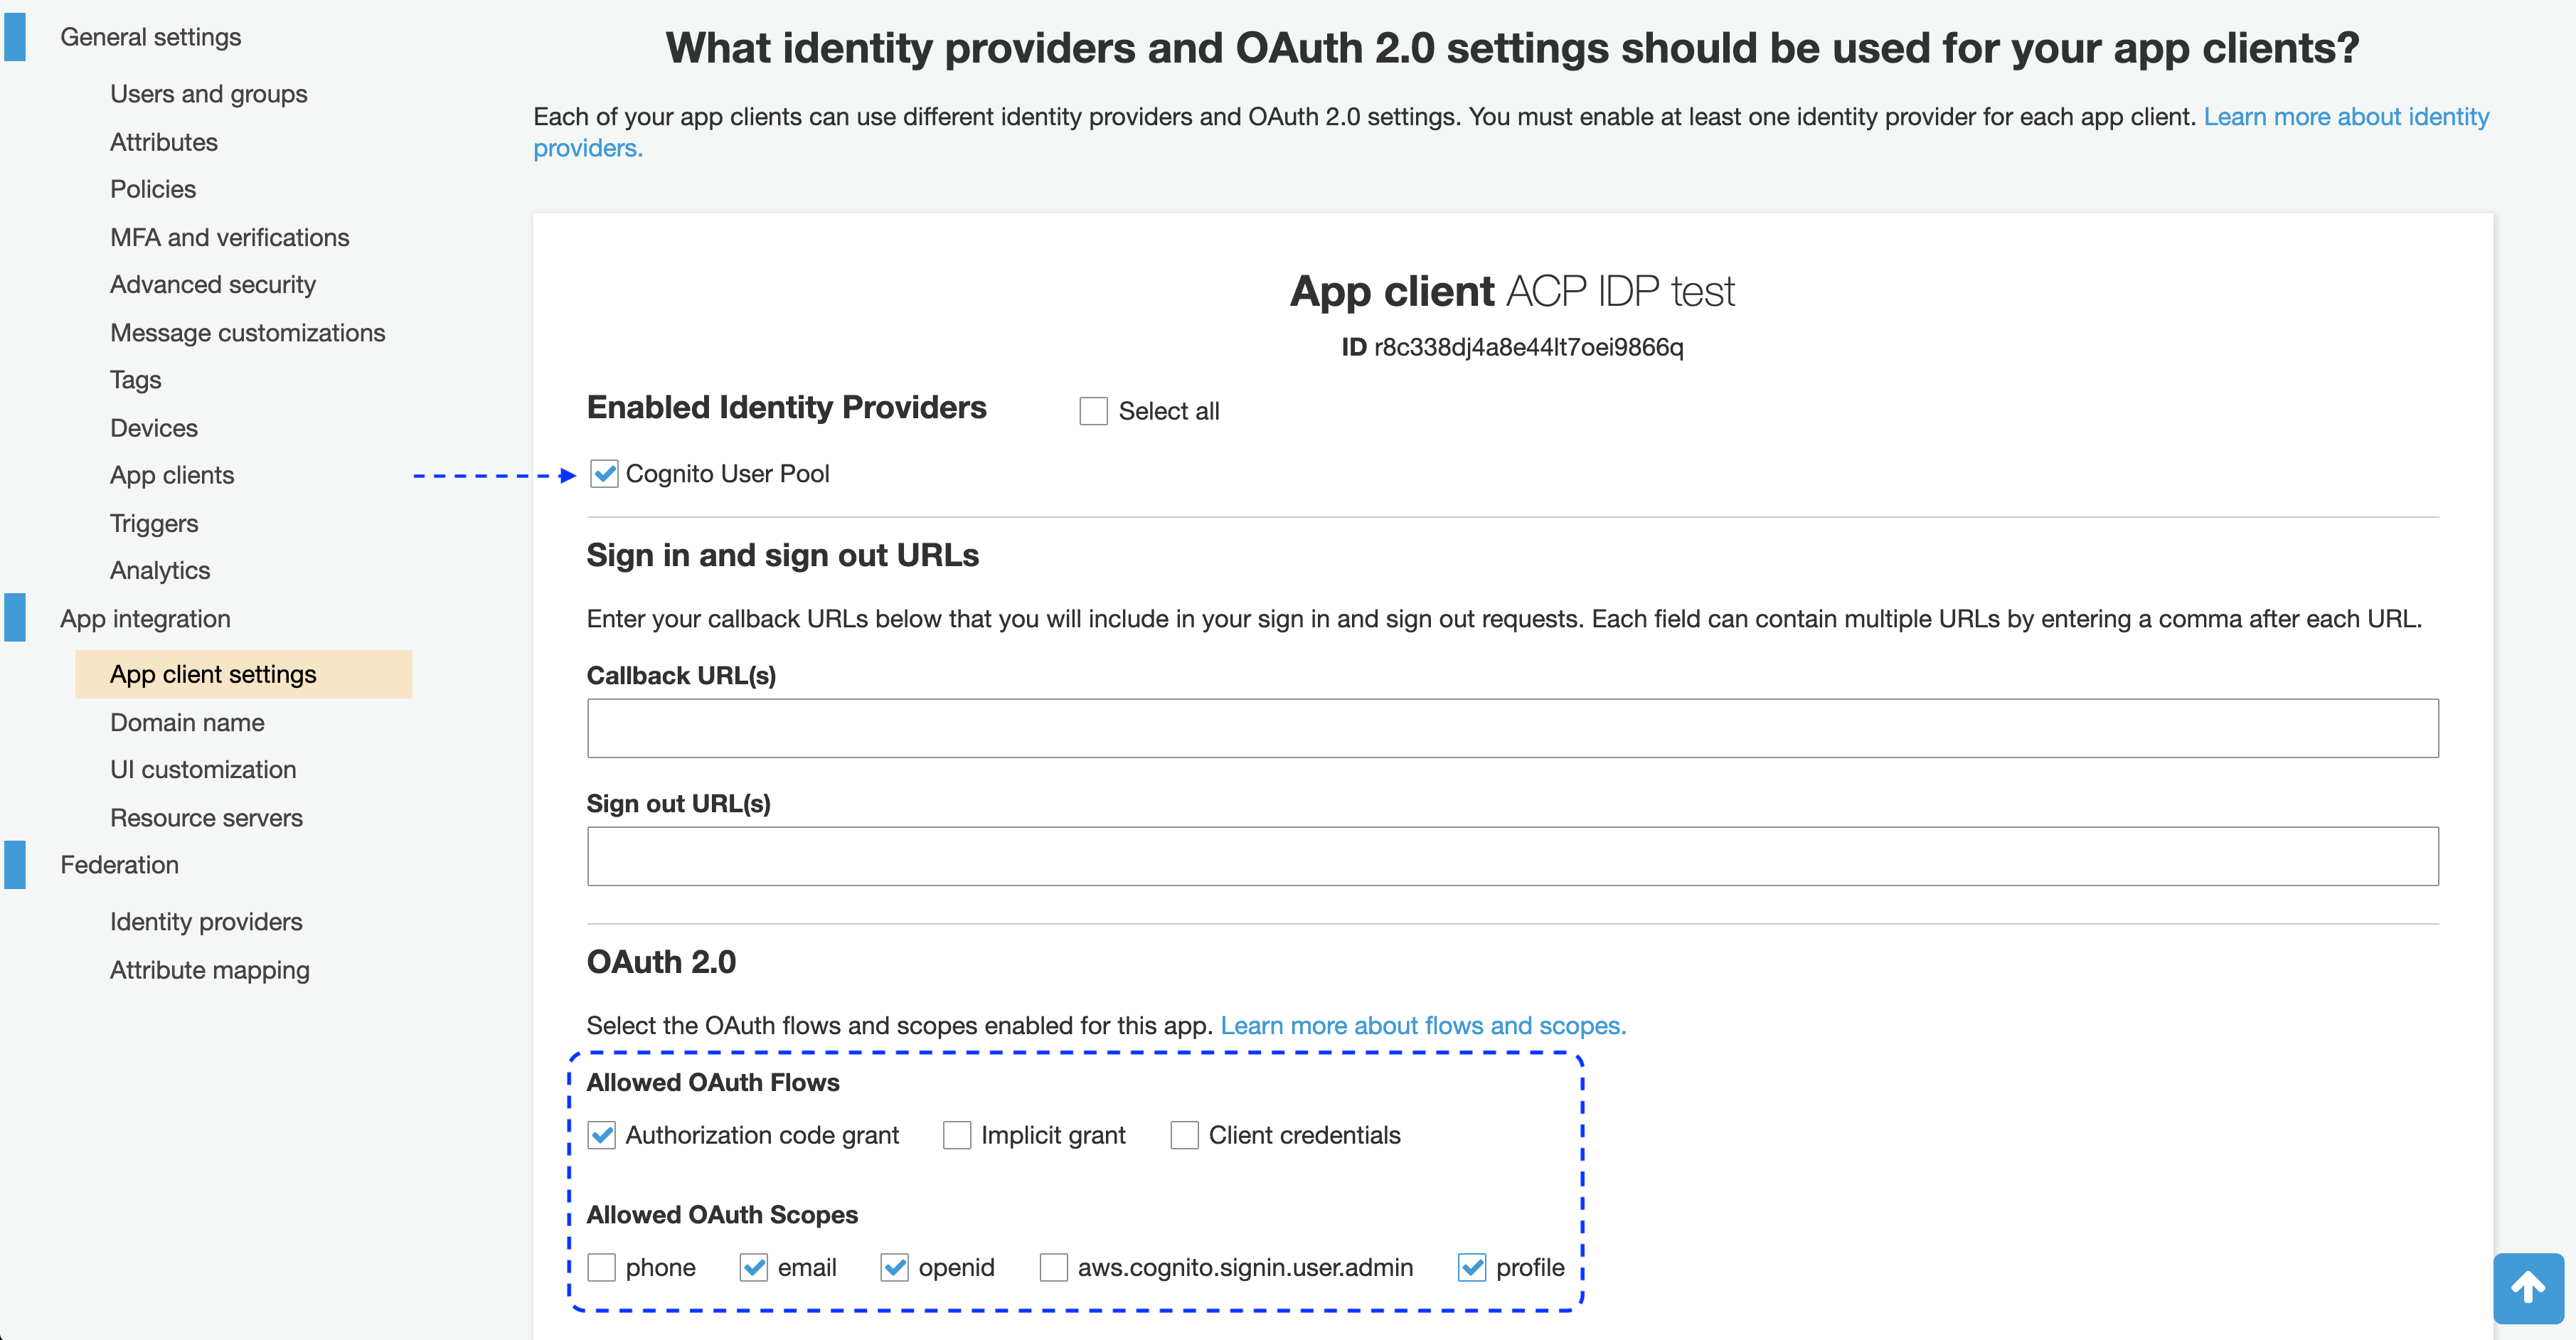
From the sidebar, select App client settings and go to your new client.

-
In App client settings for your new client
-
Leave out the Callback URL(s) for now. You’ll be back here when you get to steps 8-9 of Connect Cognito IDP in this instruction.
-
In the Enabled Identity Providers section, enable Cognito User Pool.
-
In the OAuth 2.0 section
- For Allowed OAuth Flows, select the authorization code grant.
- For Allowed OAuth Scopes, select email, profile, and openid.
Note
You’re going to need scopes names to fill in the Register Cognito form in the ACP administrator portal when you get to Connect Cognito IDP in this instruction.
Keep this session open.
Do not close the App client settings view: You’ll be back here as soon as you get to step 8 in Connect Cognito IDP.
-
Connect Cognito IDP
-
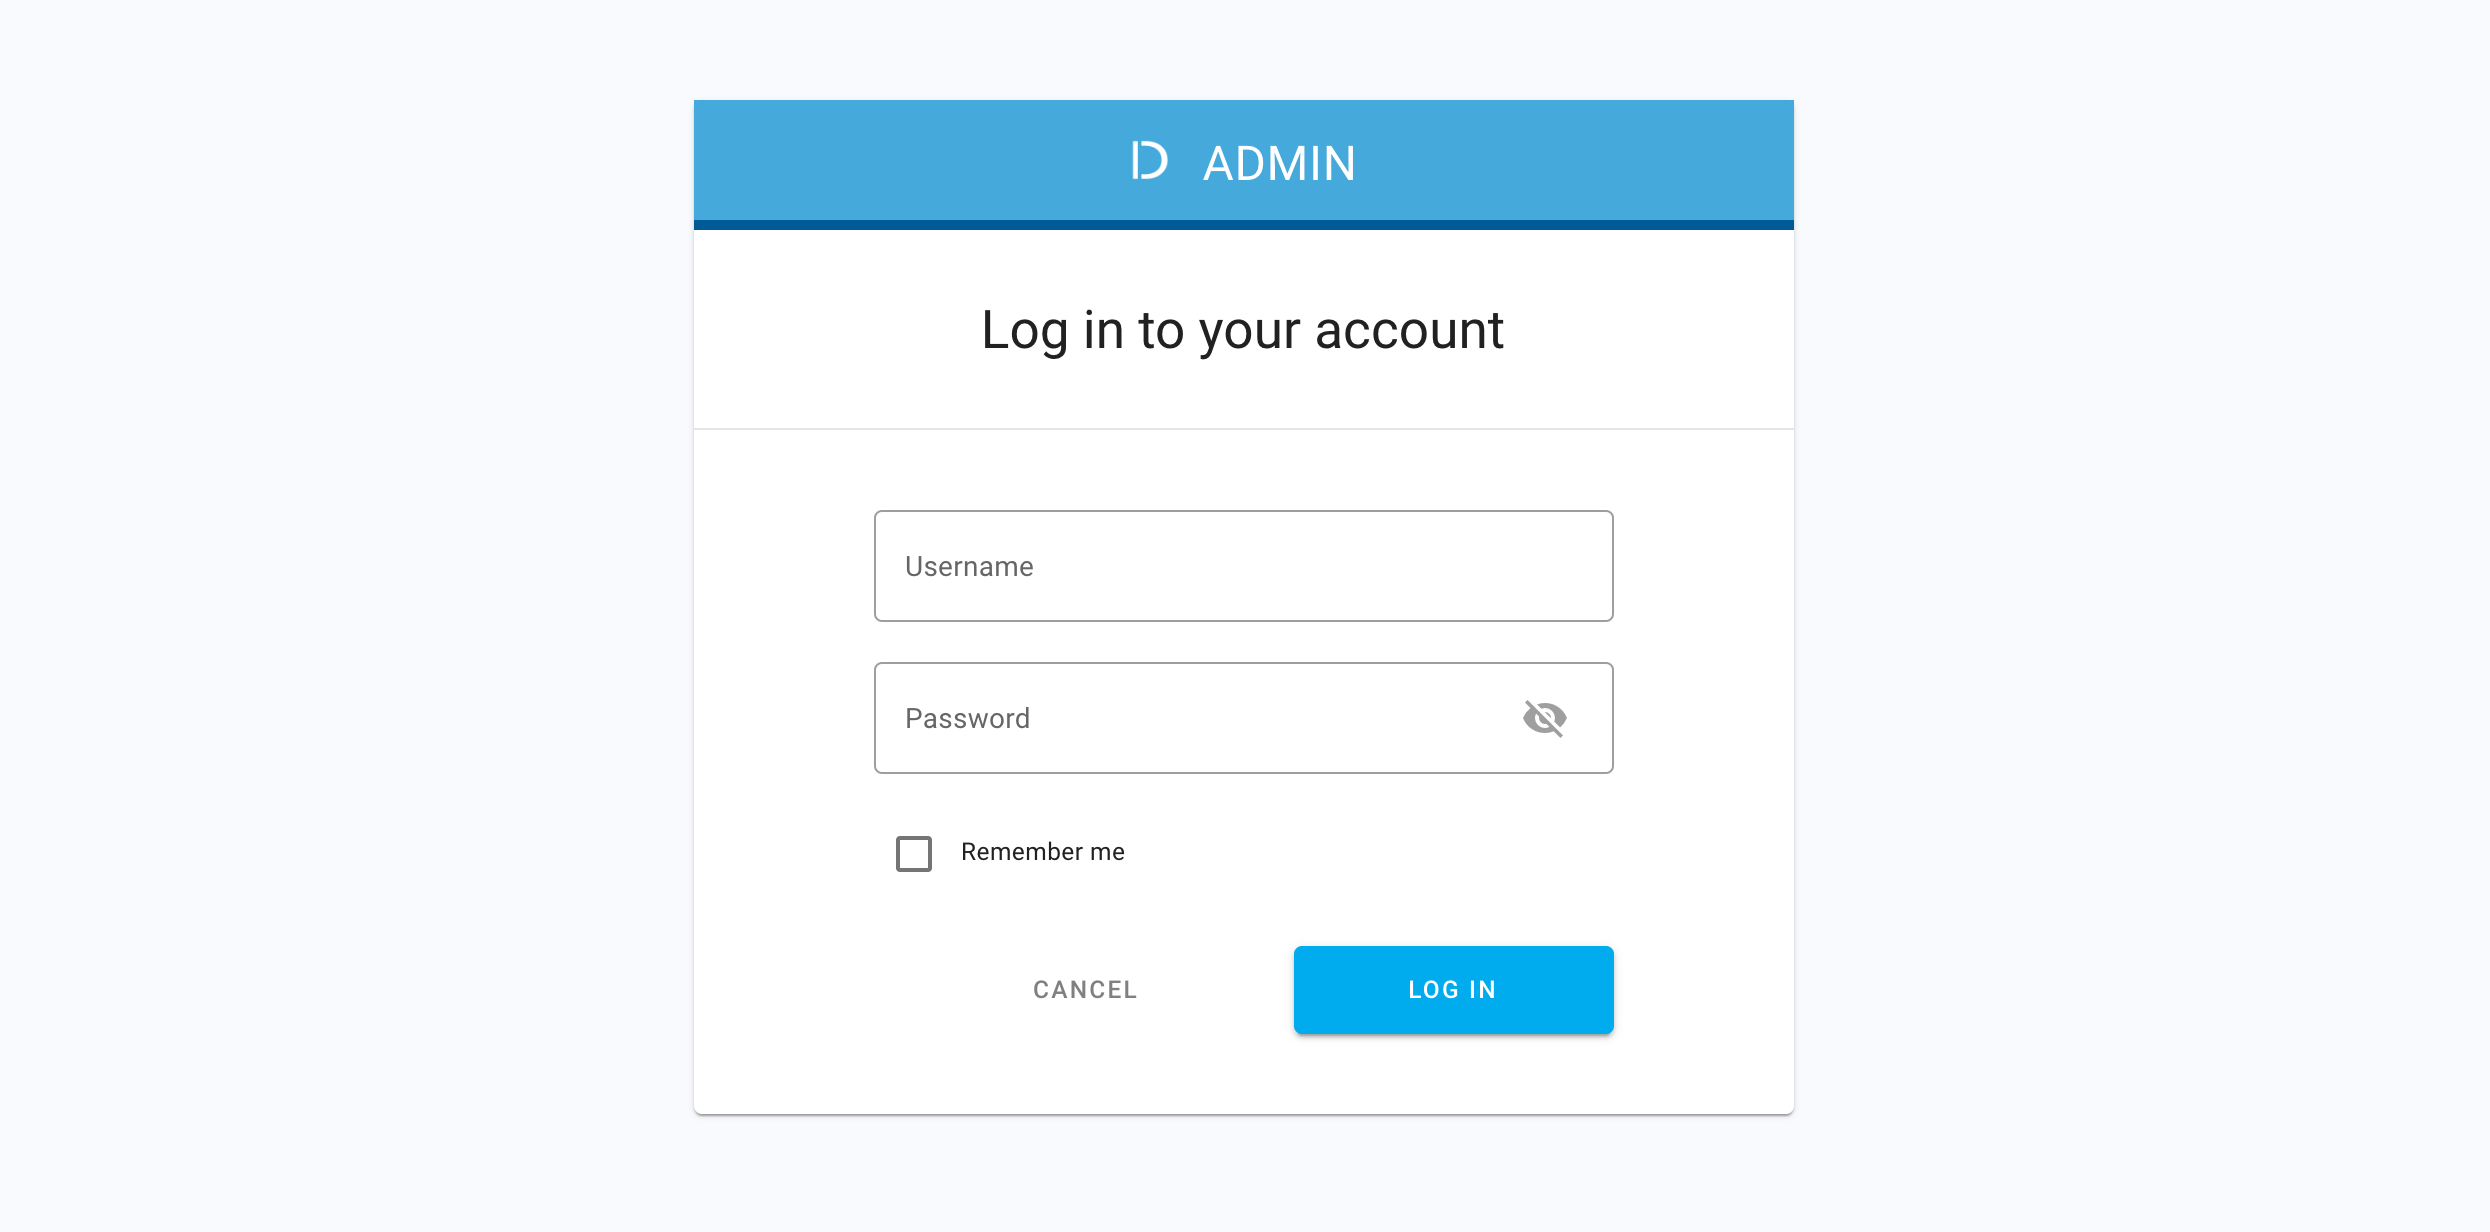
Go to https://localhost:8443/app/default/admin/ for the administrator login page.
-
Enter your login credentials.
-
Select Log in.
Result
The administrator portal is displayed.

-
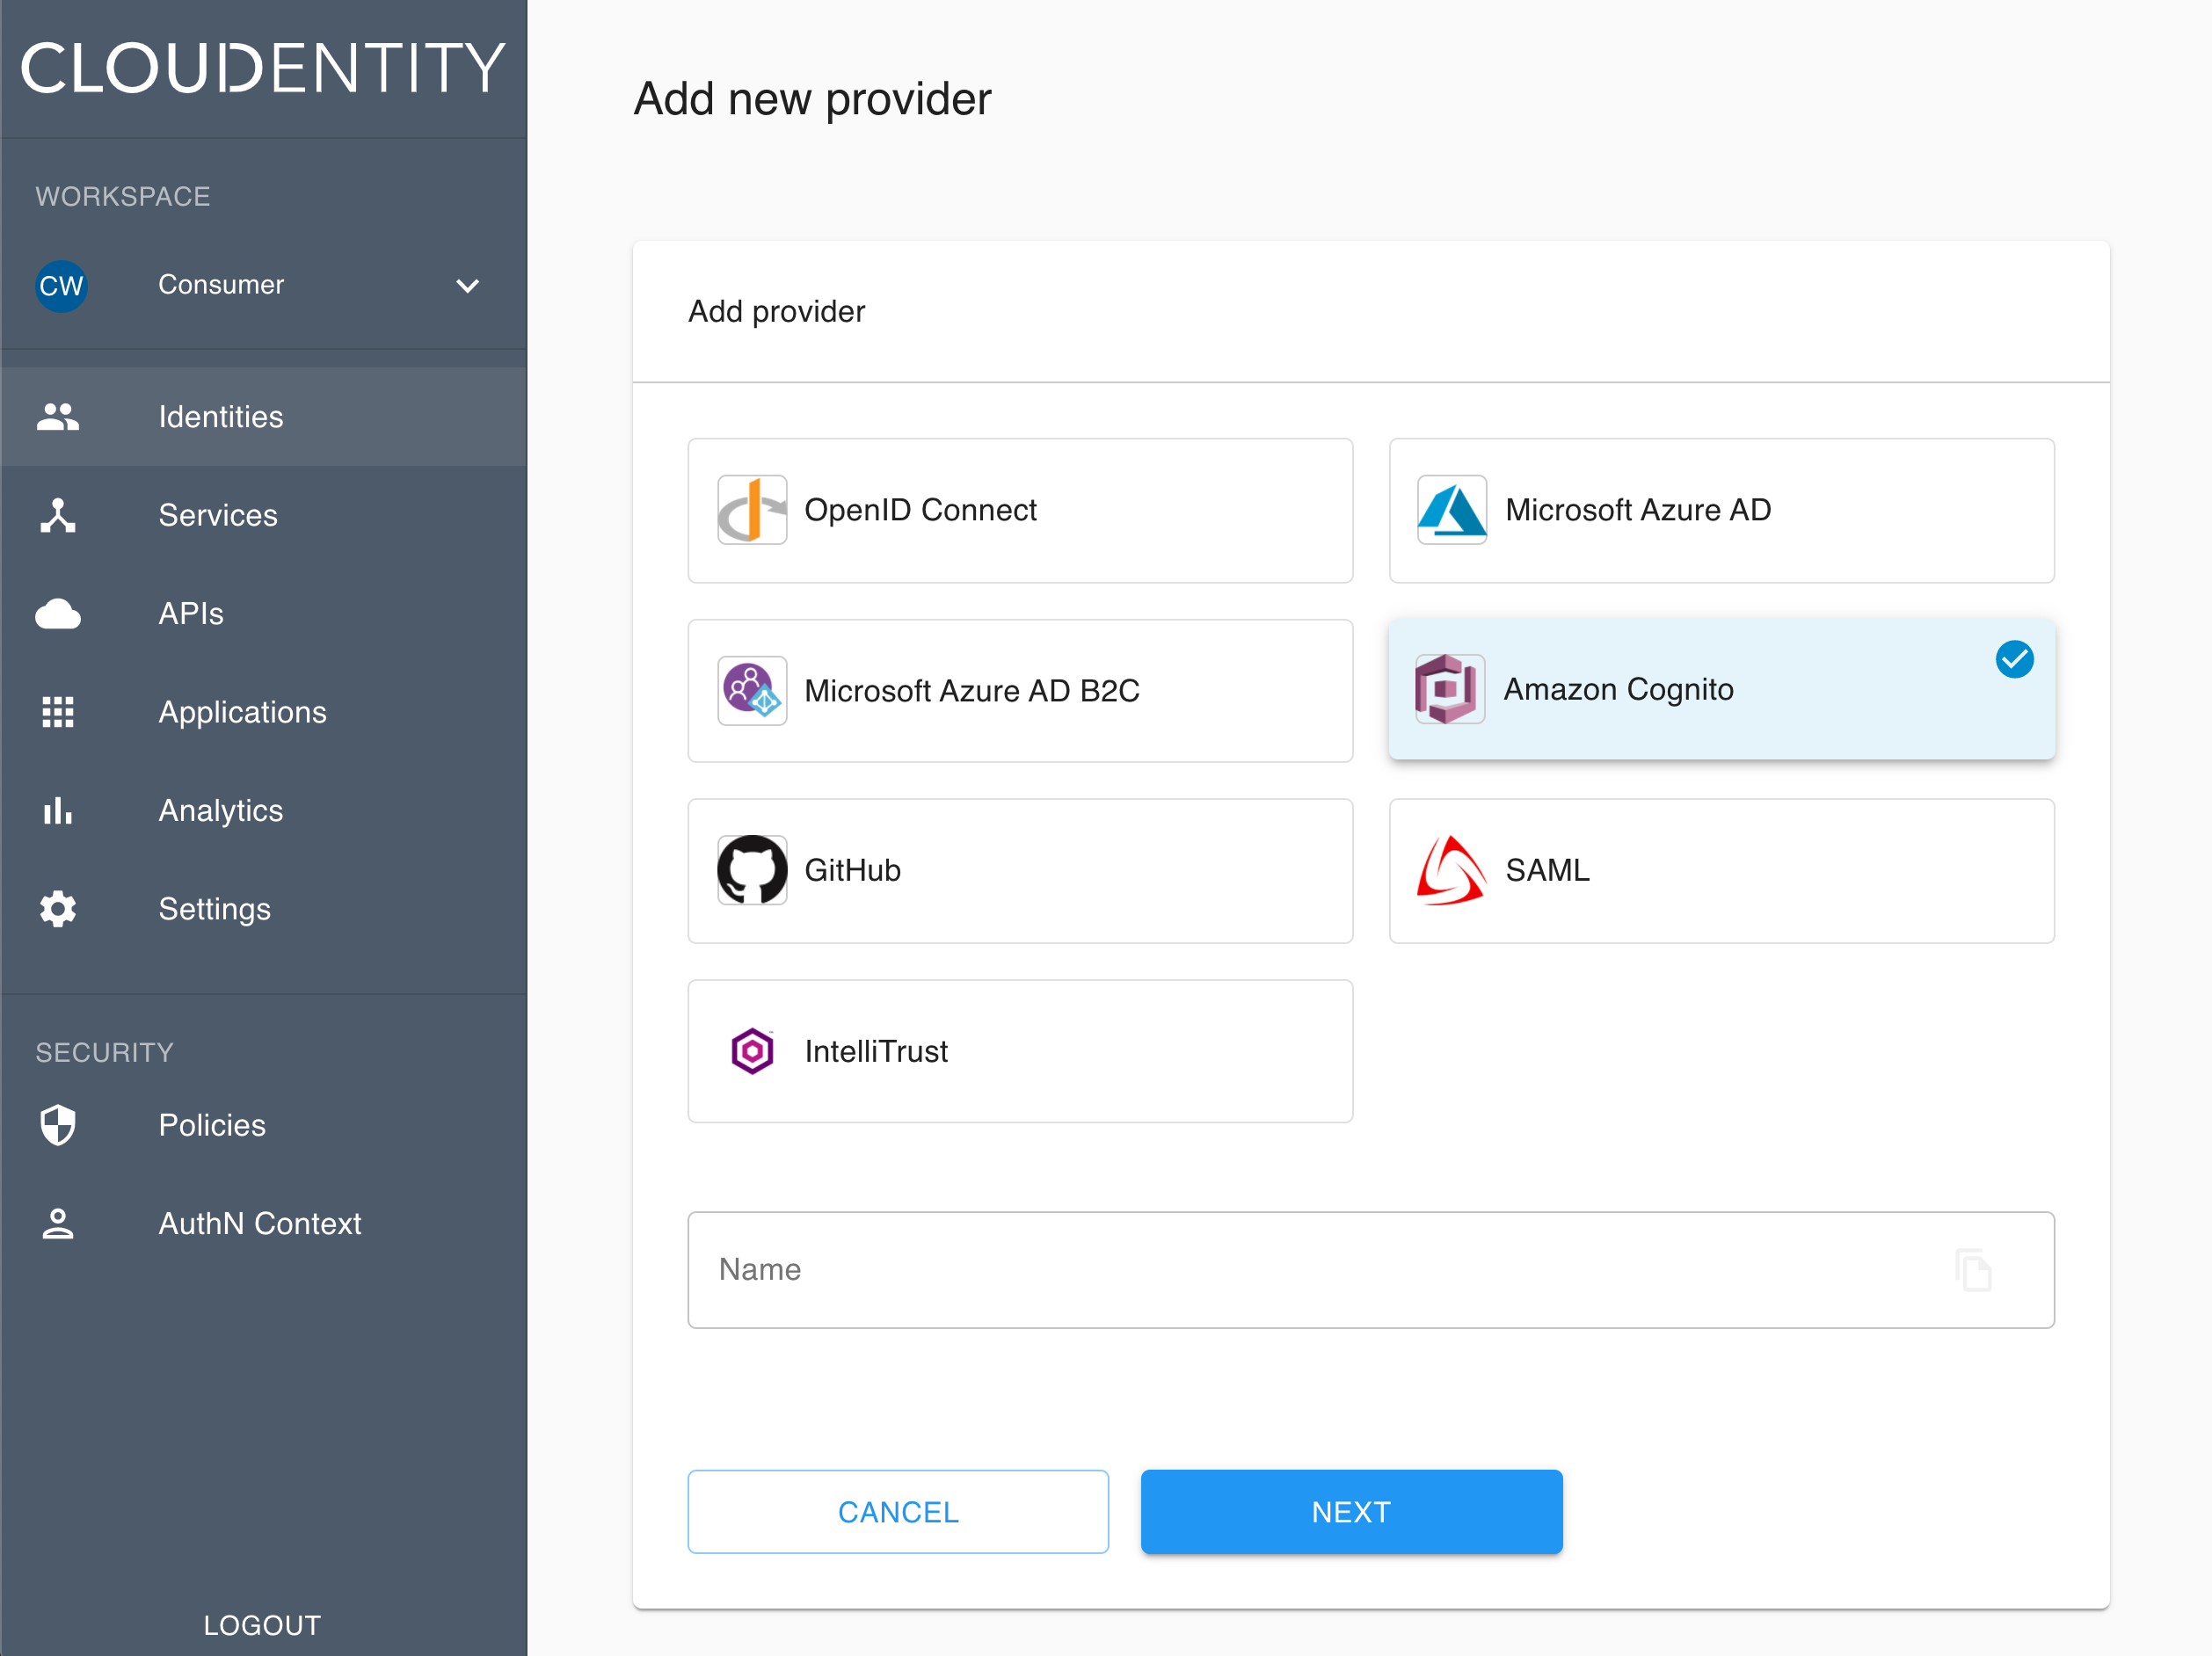
Make sure you are in the Consumer workspace (selectable from the left sidebar), which displays a list of existing IDPs.

-
Select the ADD IDENTITIES to add a new connection.

Result
The pop-up dialog box shows and lists available predefined IDP templates.
-
Select the Cognito template and confirm your choice with Next.
Result
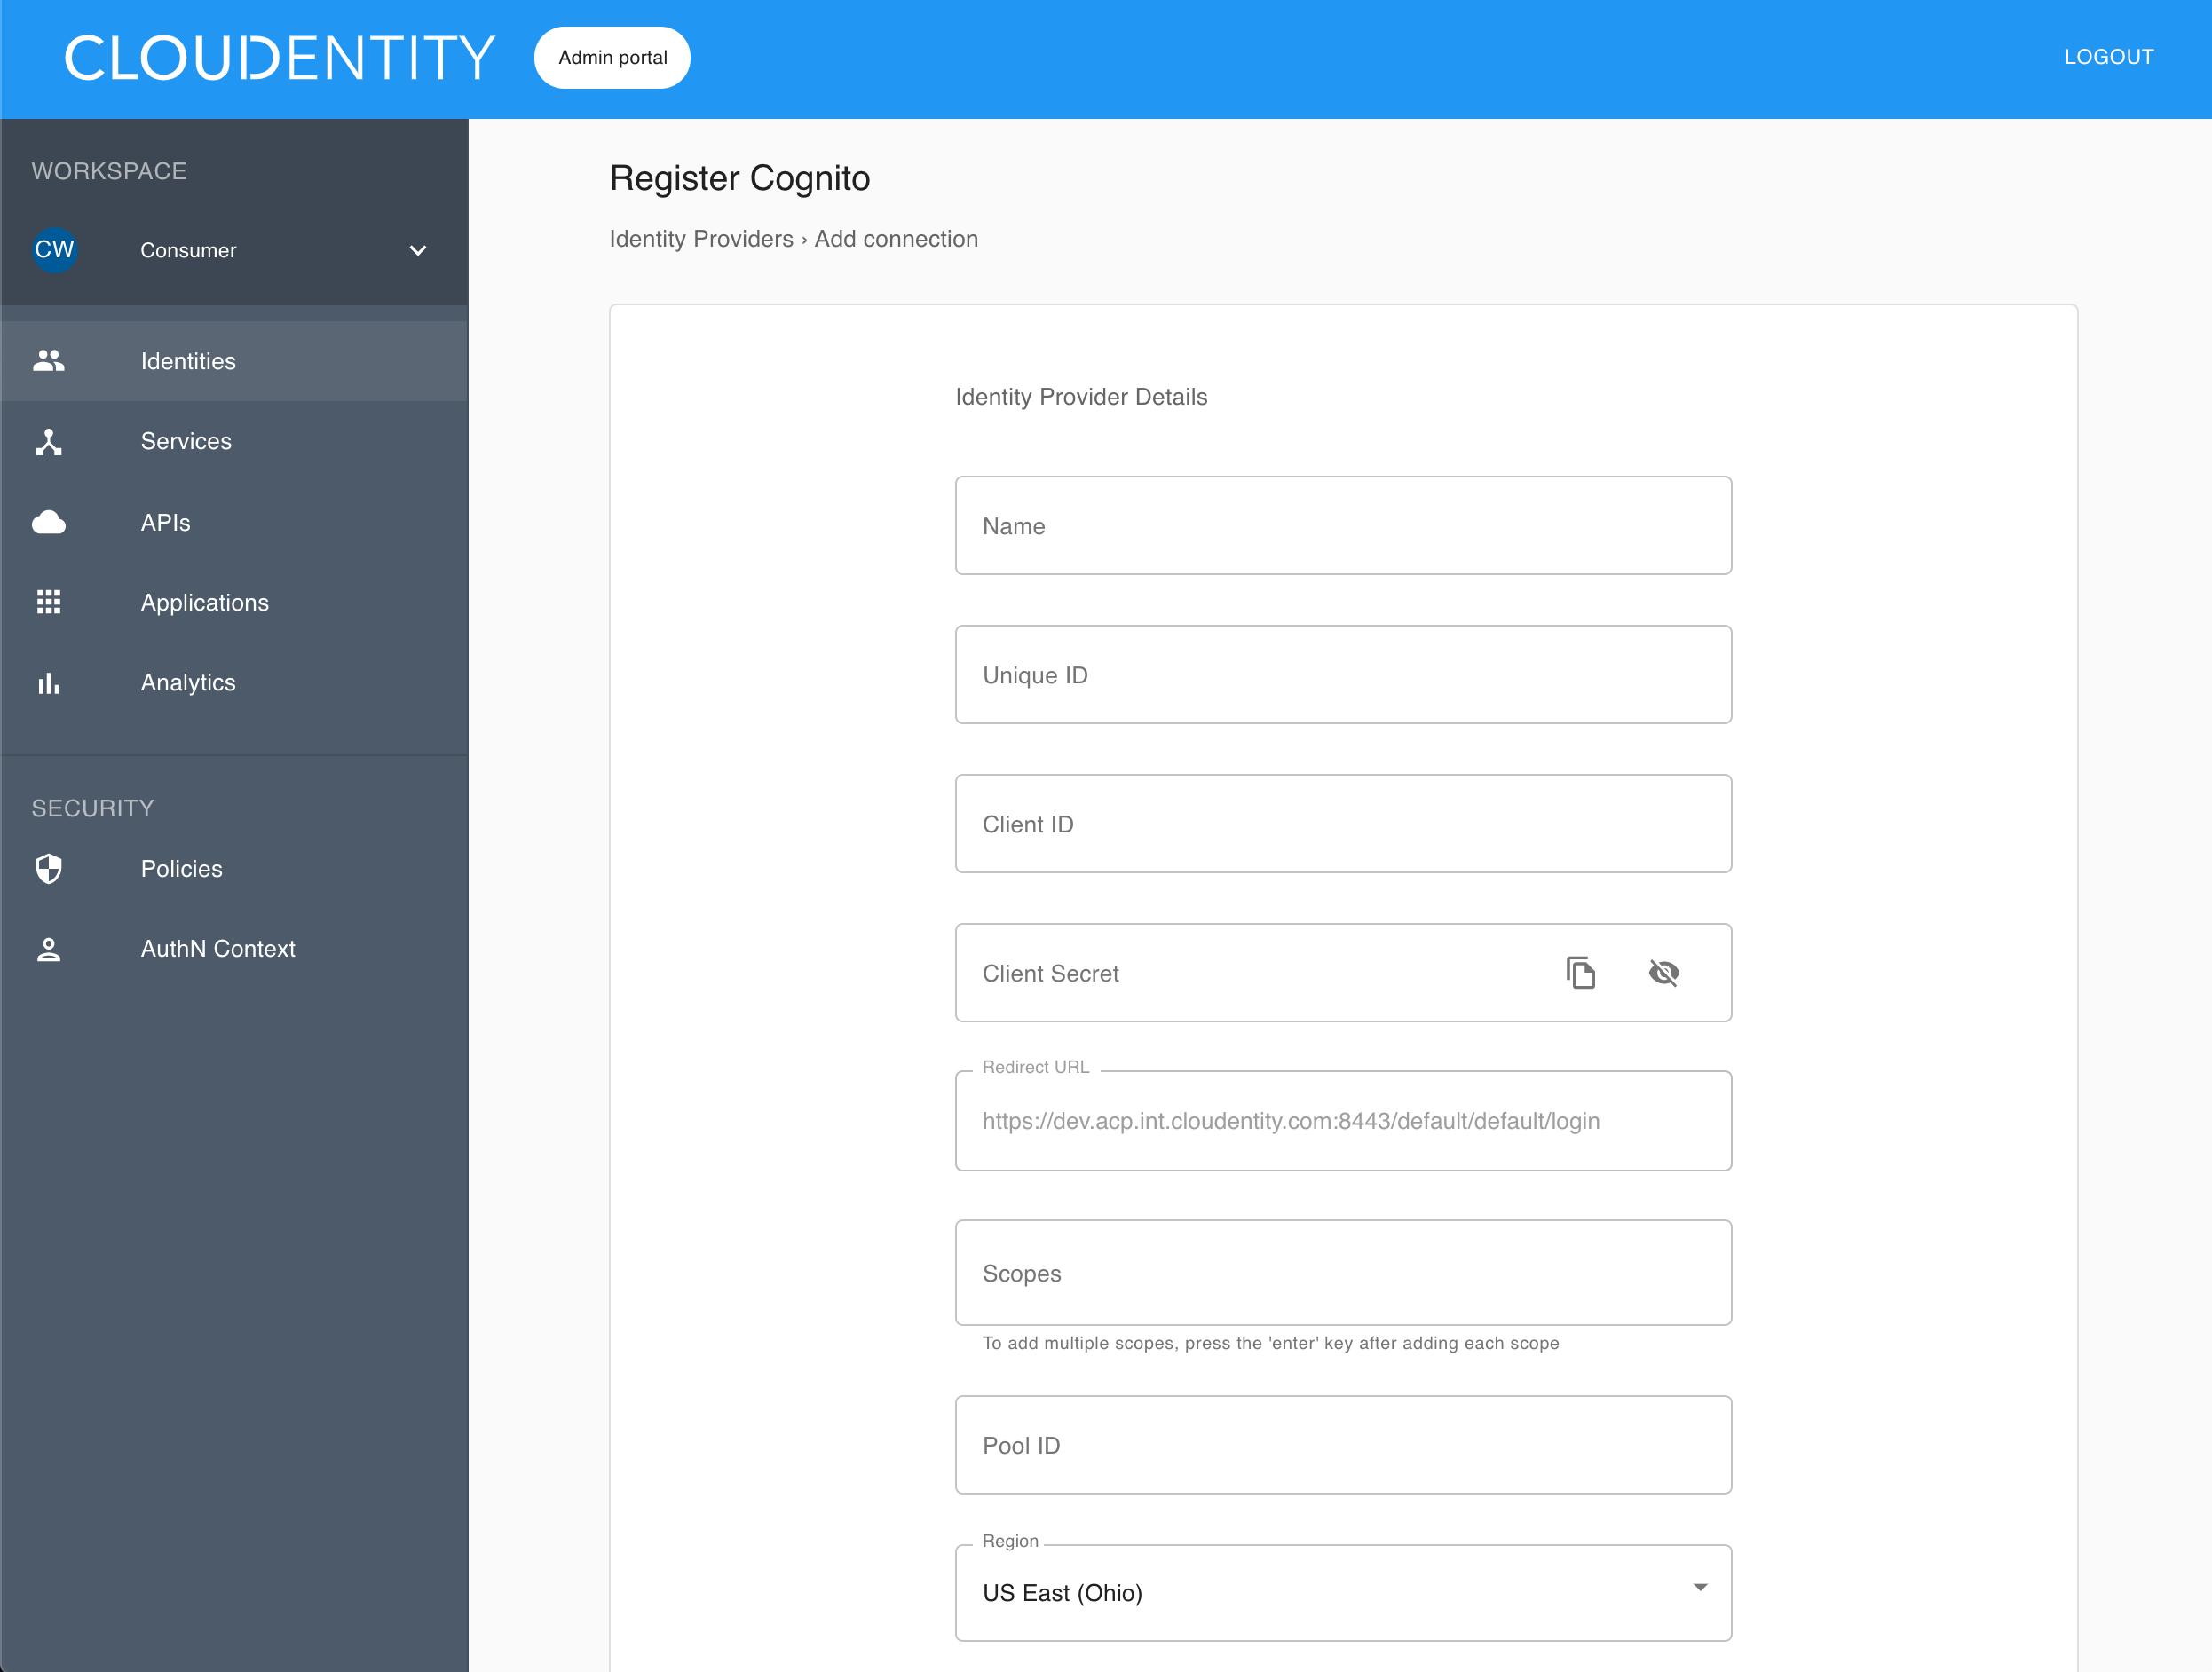
The Register Cognito fill-in form opens with blanks for details on your Cognito IDP.
-
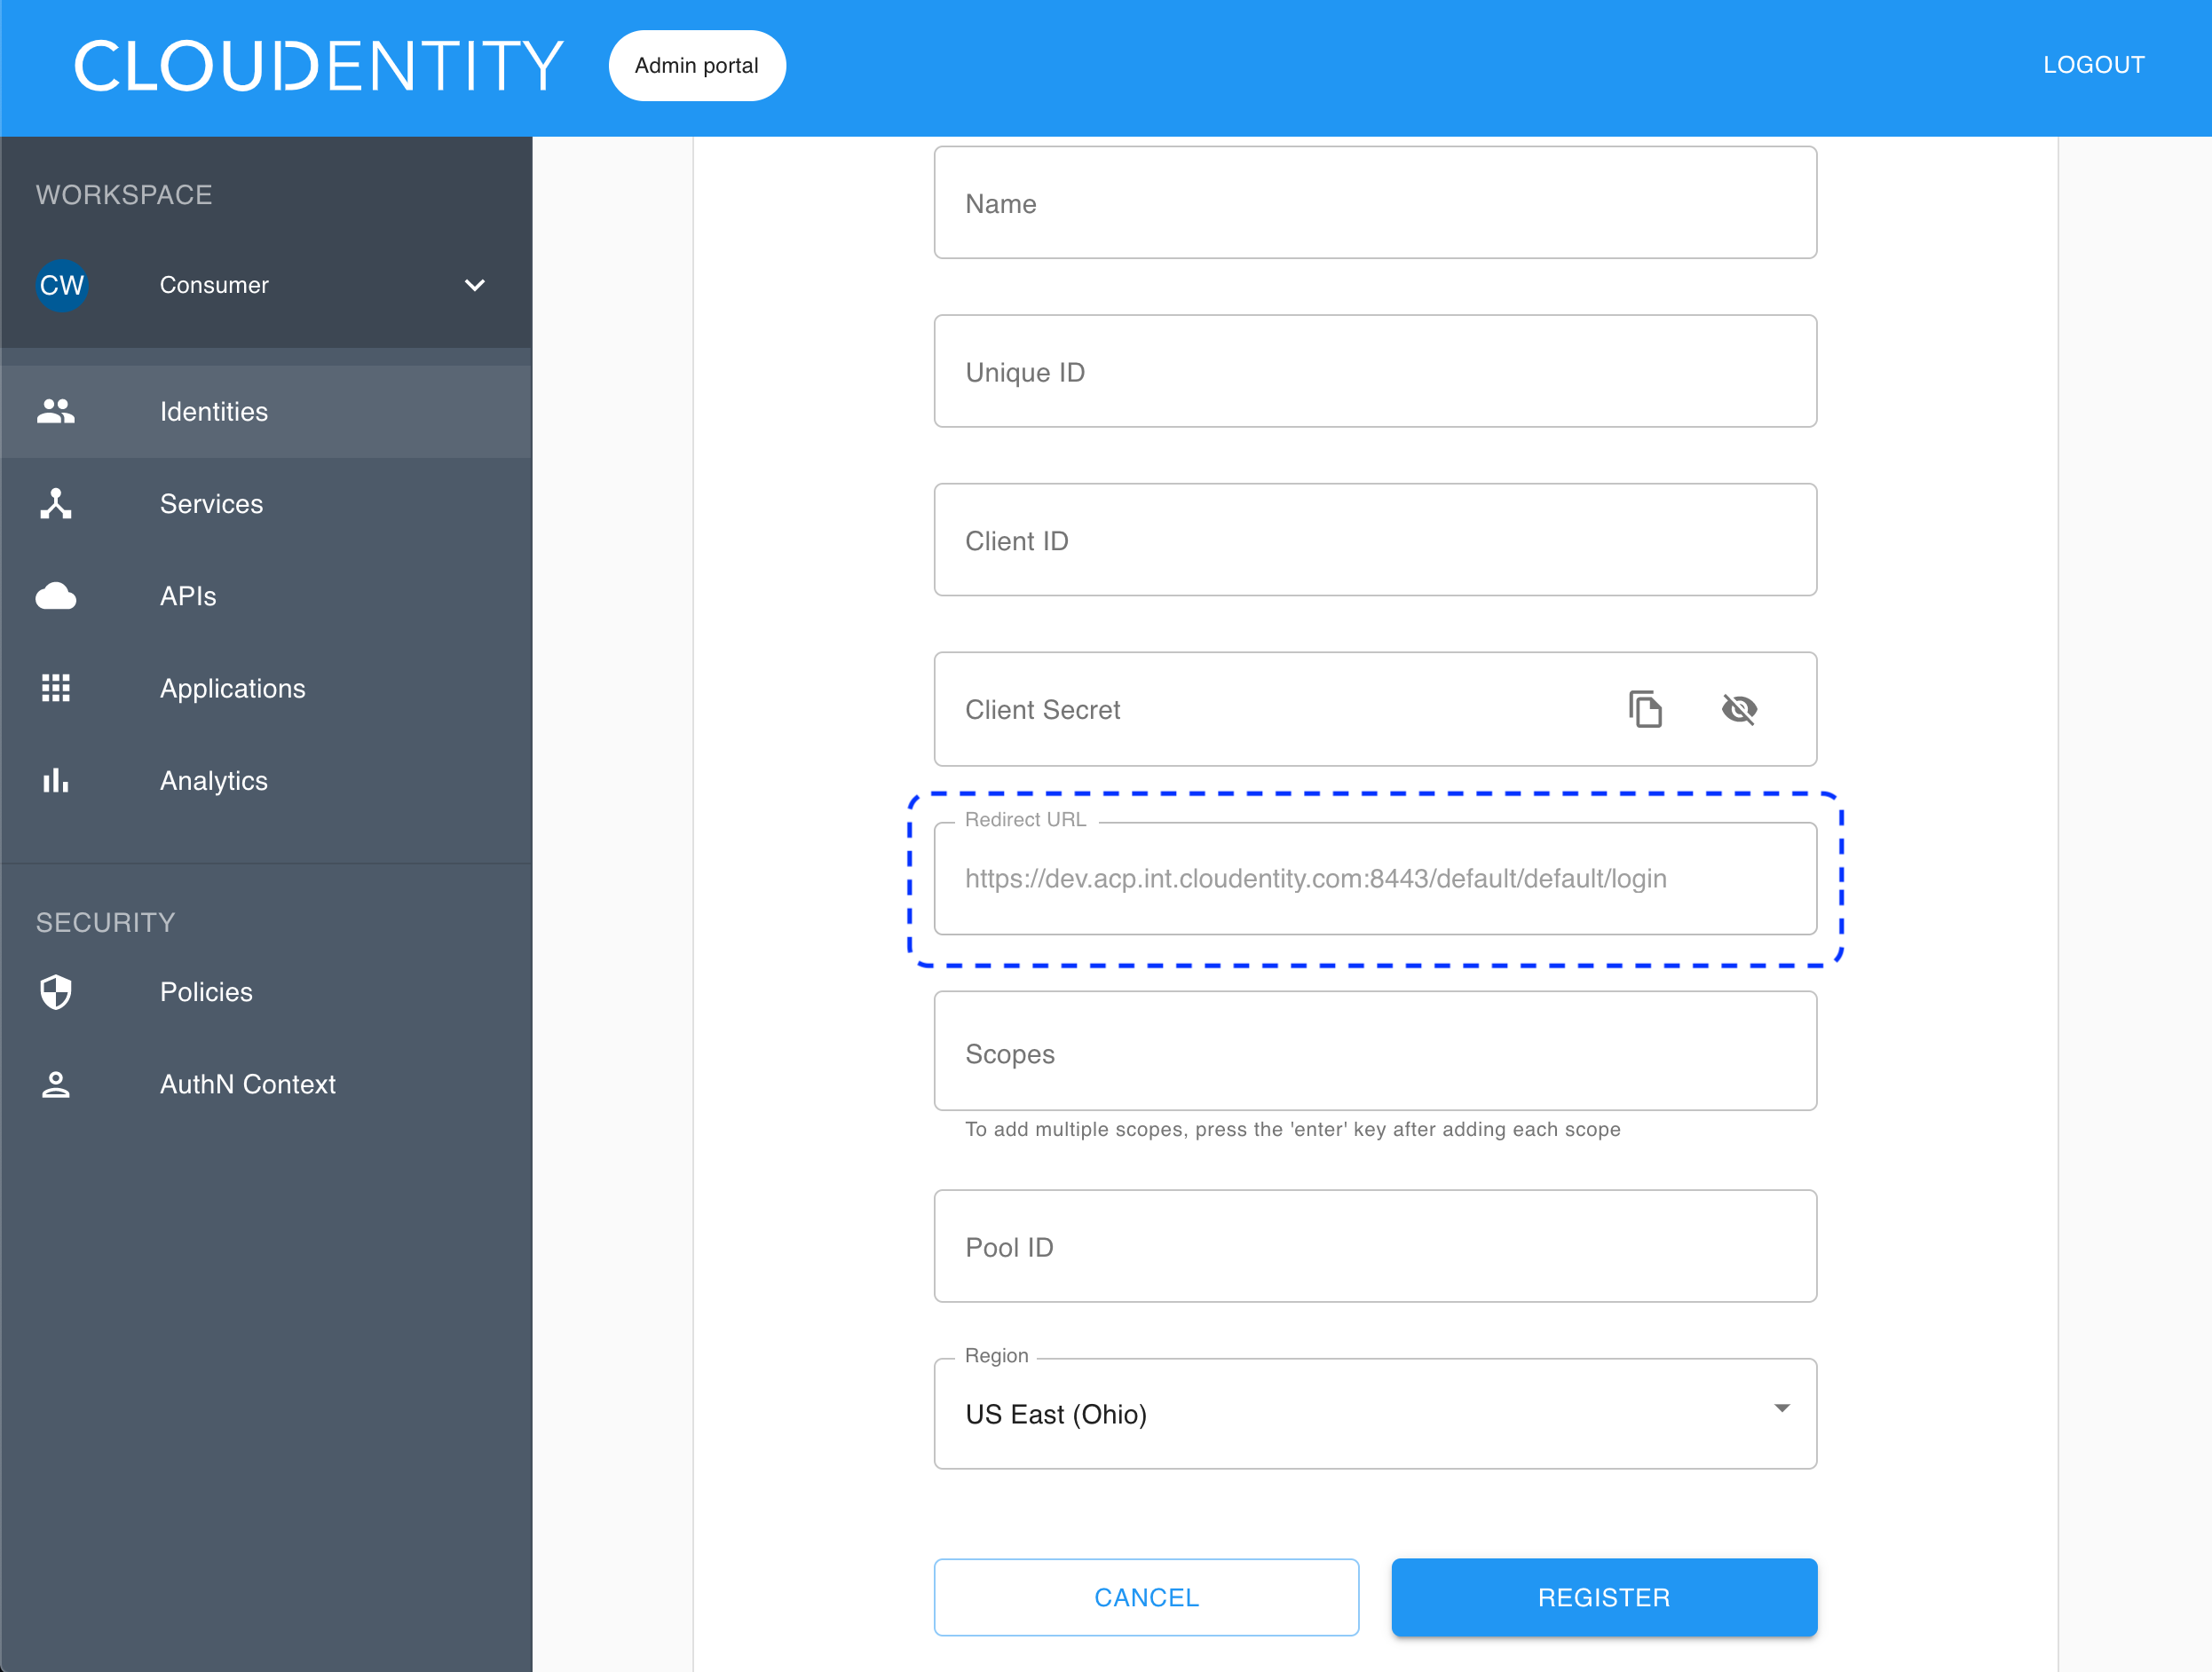
Copy the redirect URL provided in the Register Cognito fill-in form.
-
Go back to the Amazon Cognito portal and preview App client settings for your client (see step 12 in Configure AWS Cognito).
-
Paste the copied redirect URL (from the ACP administrator portal) into the Callback URL(s) field for your client (in the Amazon Cognito portal) and select Save changes.

-
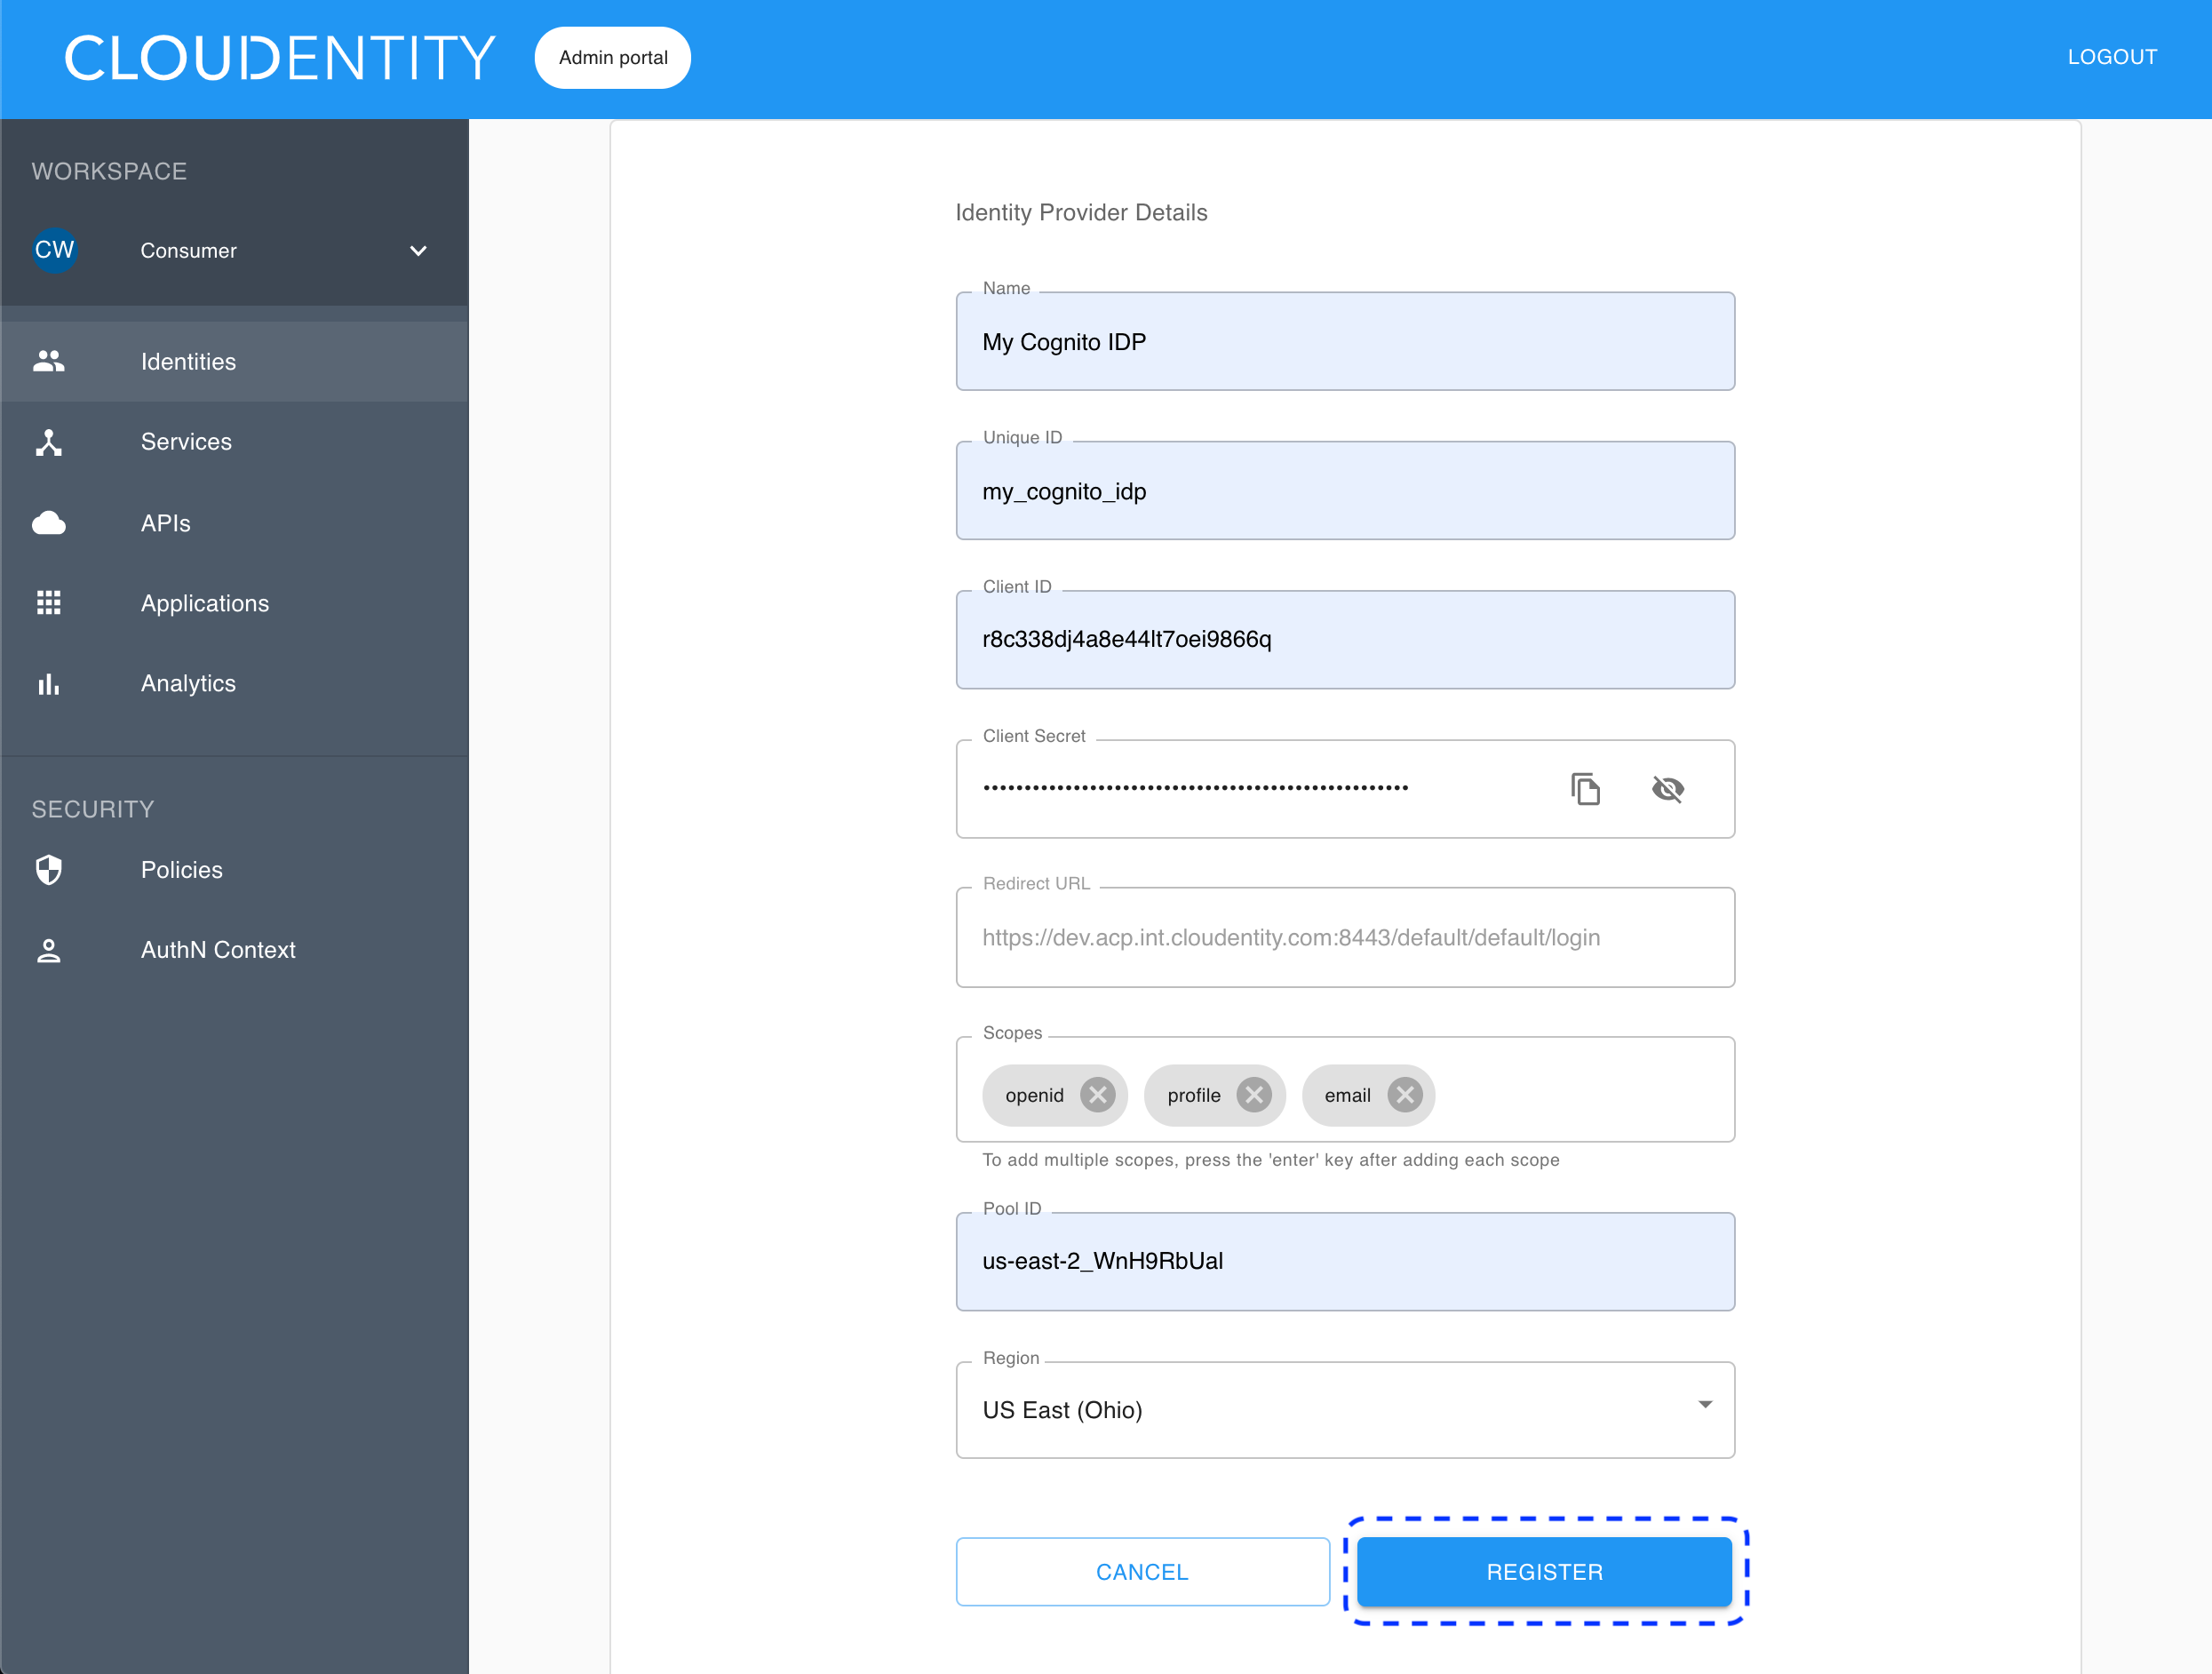
Back in the Register Cognito fill-in form (the ACP administrator portal), provide all the required data for your new Cognito identity provider.
-
- Name
- Displays to the user if multiple authentication methods are defined
-
- Unique ID
- Any continuous string of characters
-
- Client ID
- Check step 11 in Configure AWS Cognito
-
- Client secret
- Check step 11 in Configure AWS Cognito
-
- Scopes
- Check step 13 in Configure AWS Cognito
-
- Pool ID
- Check step 5 in Configure AWS Cognito
-
- Region
- Check step 2 in Configure AWS Cognito
-
-
Select Register.
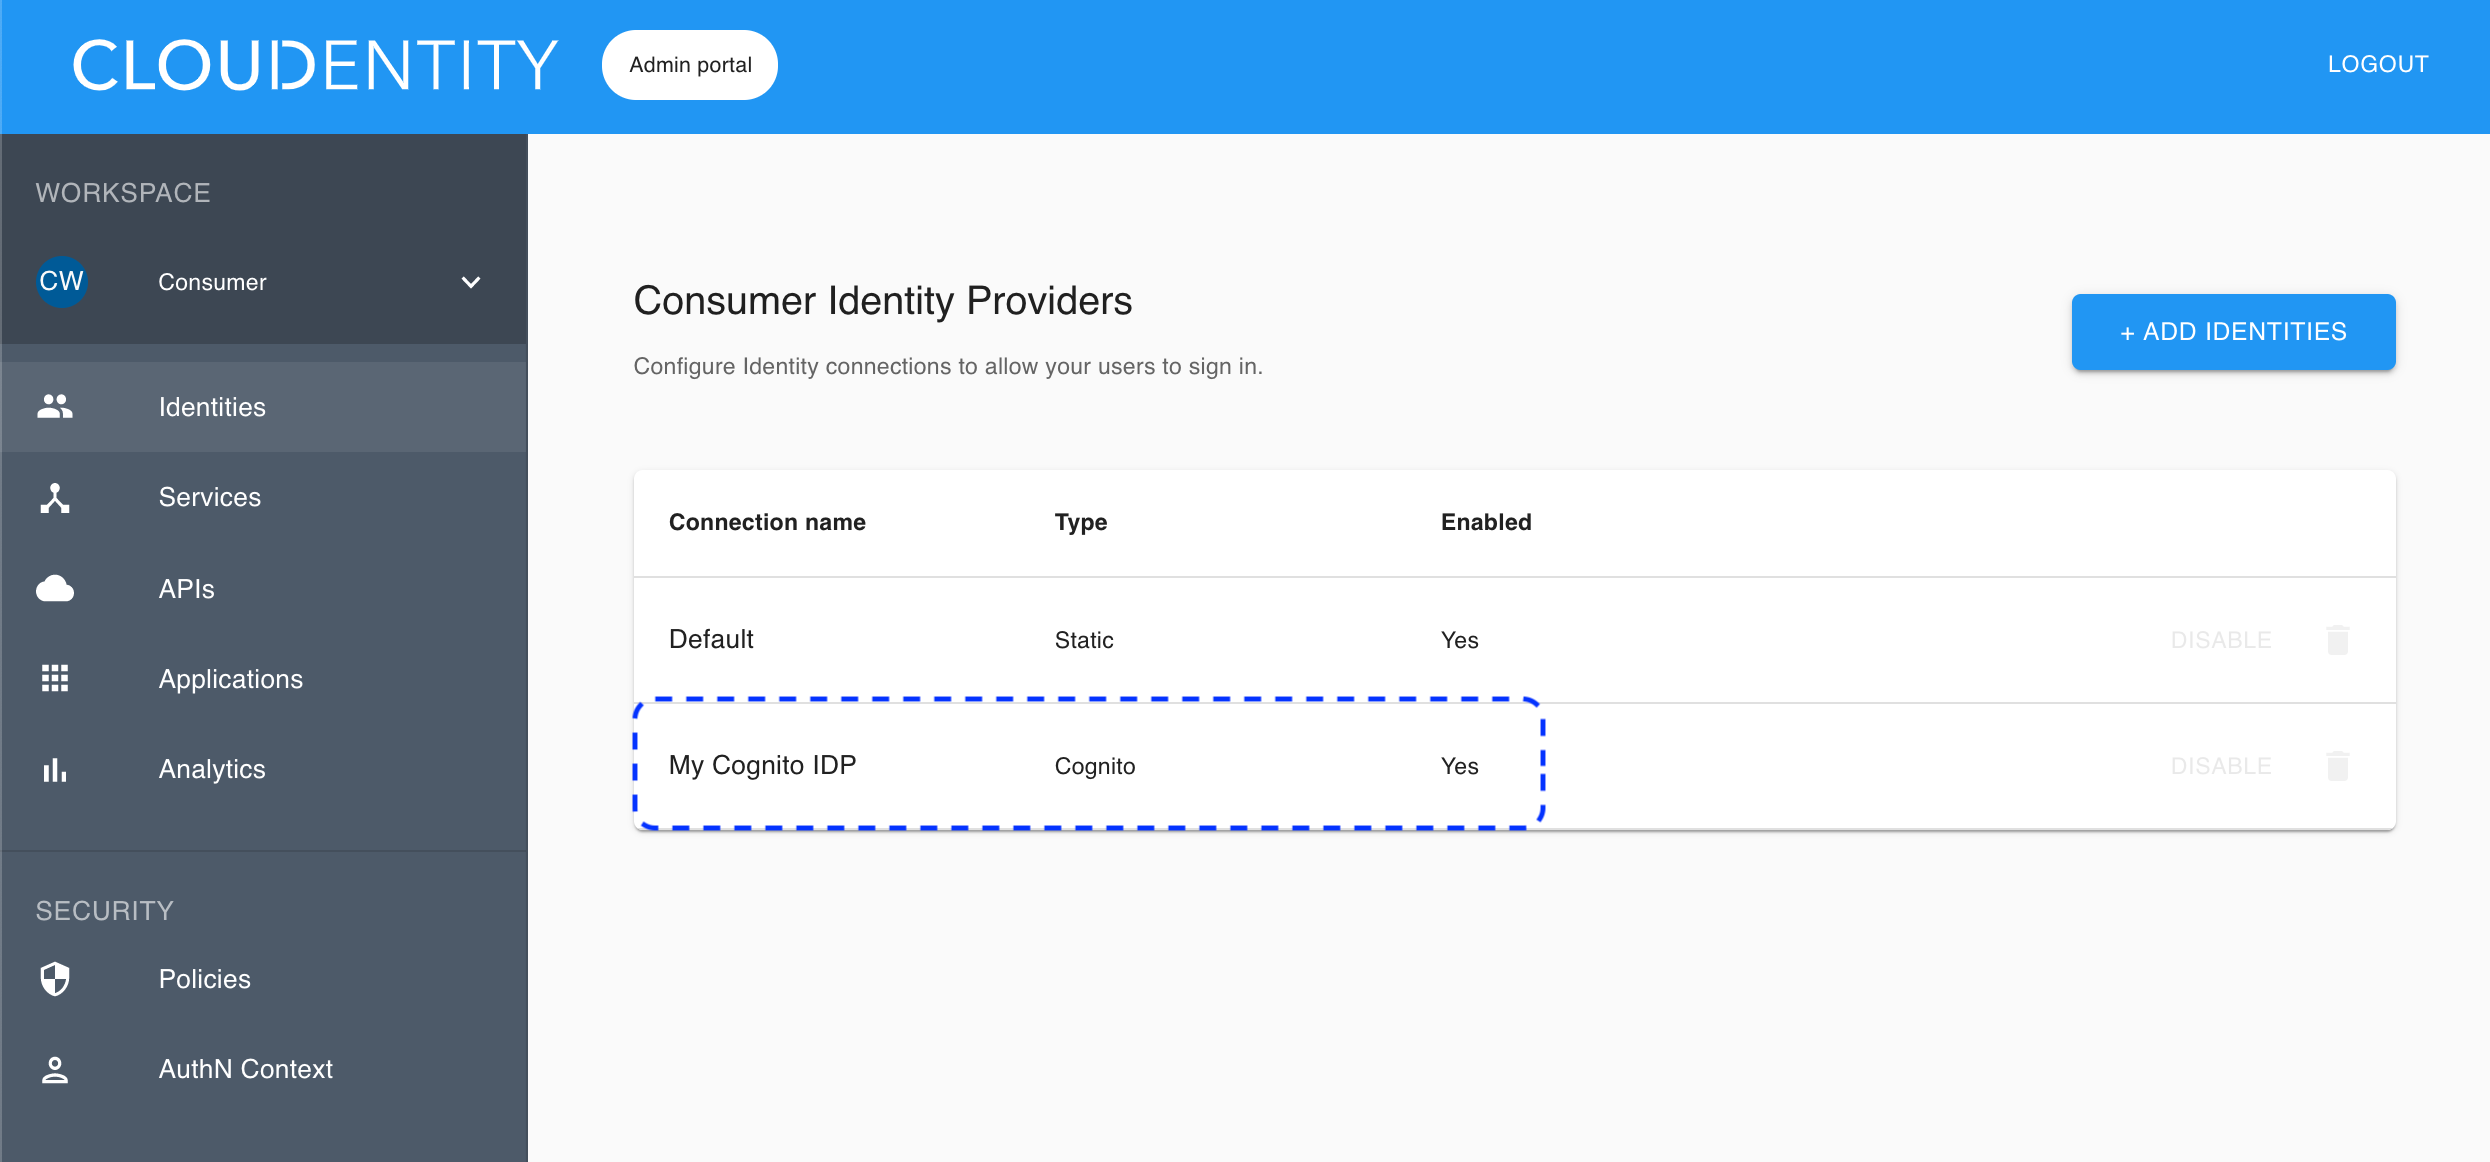
Result
Your new Cognito IDP connection is configured and visible on the list of available IDP connections.
Enable the stateful authorization
This step is optional.
To have the user’s data cached in ACP and avoid re-authenticating within one use’s session, follow the instruction in Enable the stateful authZ in ACP.
User’s test
Purpose
Test your new IDP as a user.
Prerequisite
Your provider is configured as a user-authentication method by your administrator.
Test
-
Go to https://localhost:8443/default/default/demo/ and select LOG IN TO DEMO APP.
-
Select your configured IDP (if you have multiple ones) and, next, authenticate in IDP.
Result
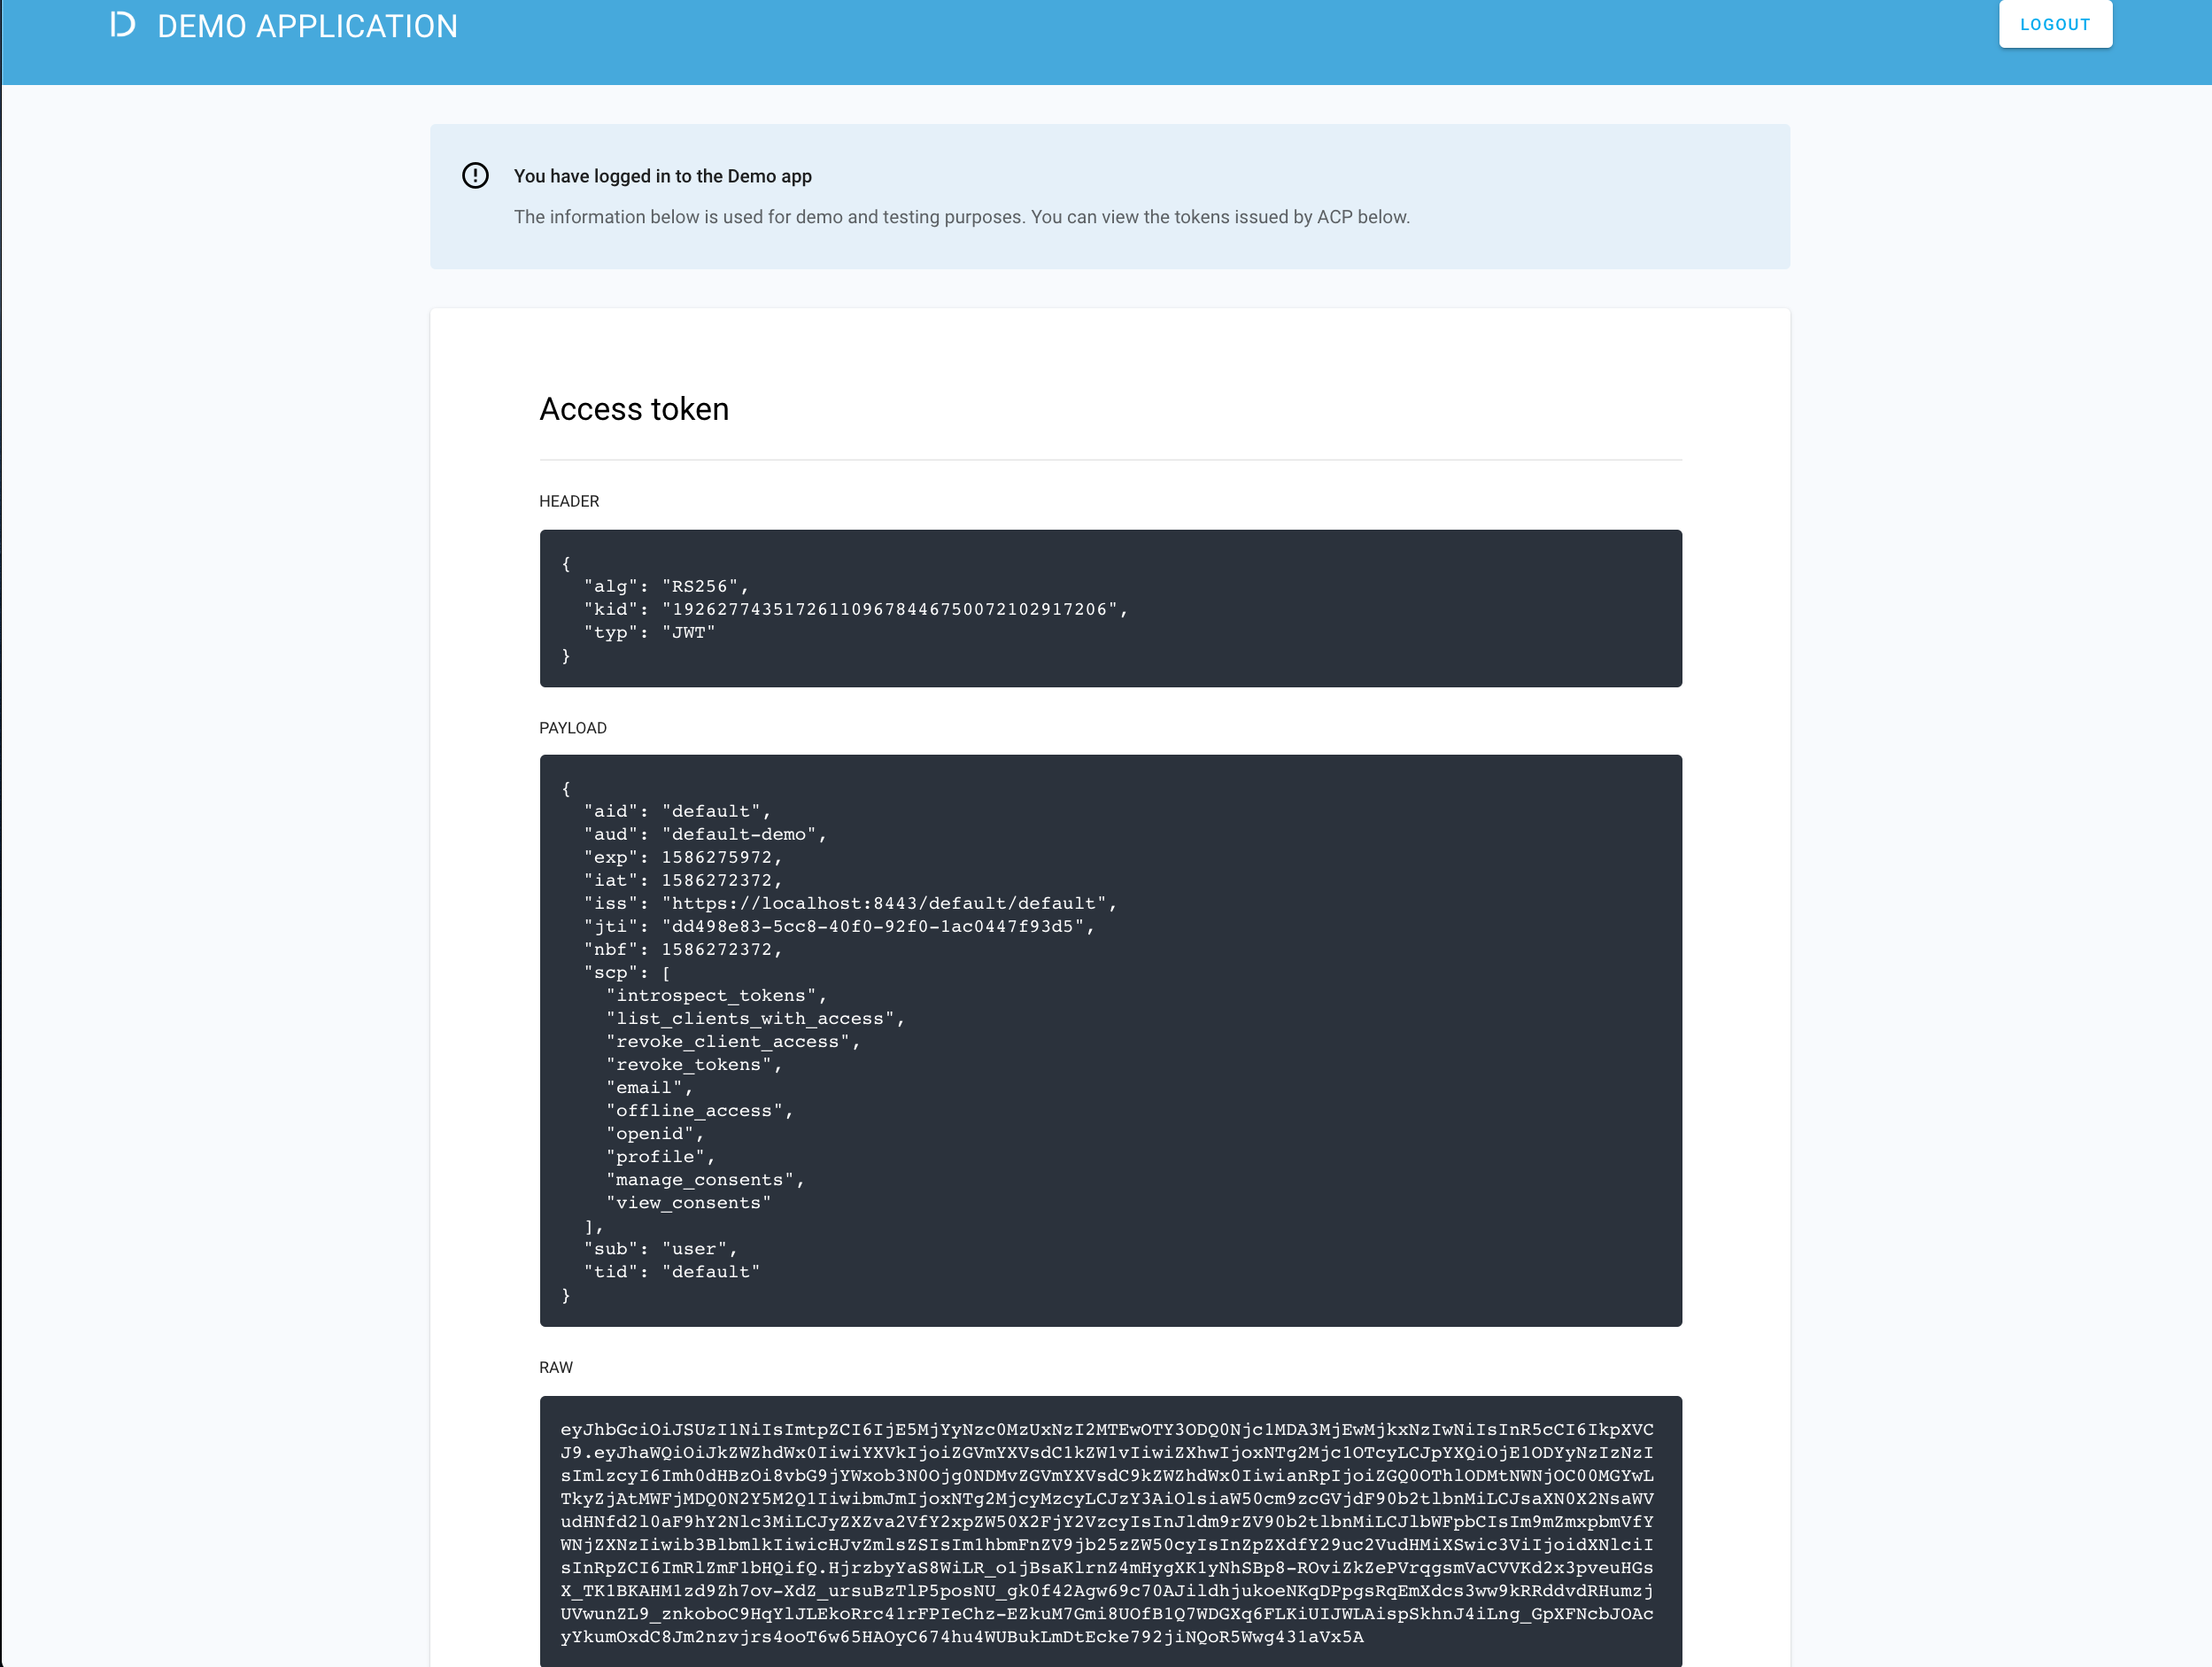
ACP displays the consent page that lists data scopes to be shared with the application. When you proceed to the application (ALLOW ACCESS), the PII data coming from IDP is delivered through the access token and the ID token generated by ACP.
Read more
For information on granting and managing ACP consents, see ACP OAuth consents.
Developer’s test
Purpose
Test your new IDP as a developer.
Prerequisite
Your provider is configured as a developer-authentication method by your administrator. To register your IDP for the developer, follow instructions in Connect Cognito IDP, this time selecting the Developer workspace in step 4.
Test
-
Go to https://localhost:8443/app/default/developer/ to access the ACP developer portal.
-
Log in to your account by entering your login credentials and selecting LOG IN.
Result
You are logged in to the ACP developer portal with the newly-configured IDP.