Protecting applications and APIs in ACP using OPA
Instructions on how to use OPA policies to protect your API and applications in ACP
Purpose
Protect your APIs and applications with Open Policy Agent (OPA) policies.
Create a policy
-
Log in to the ACP administrator portal with your username and password.
-
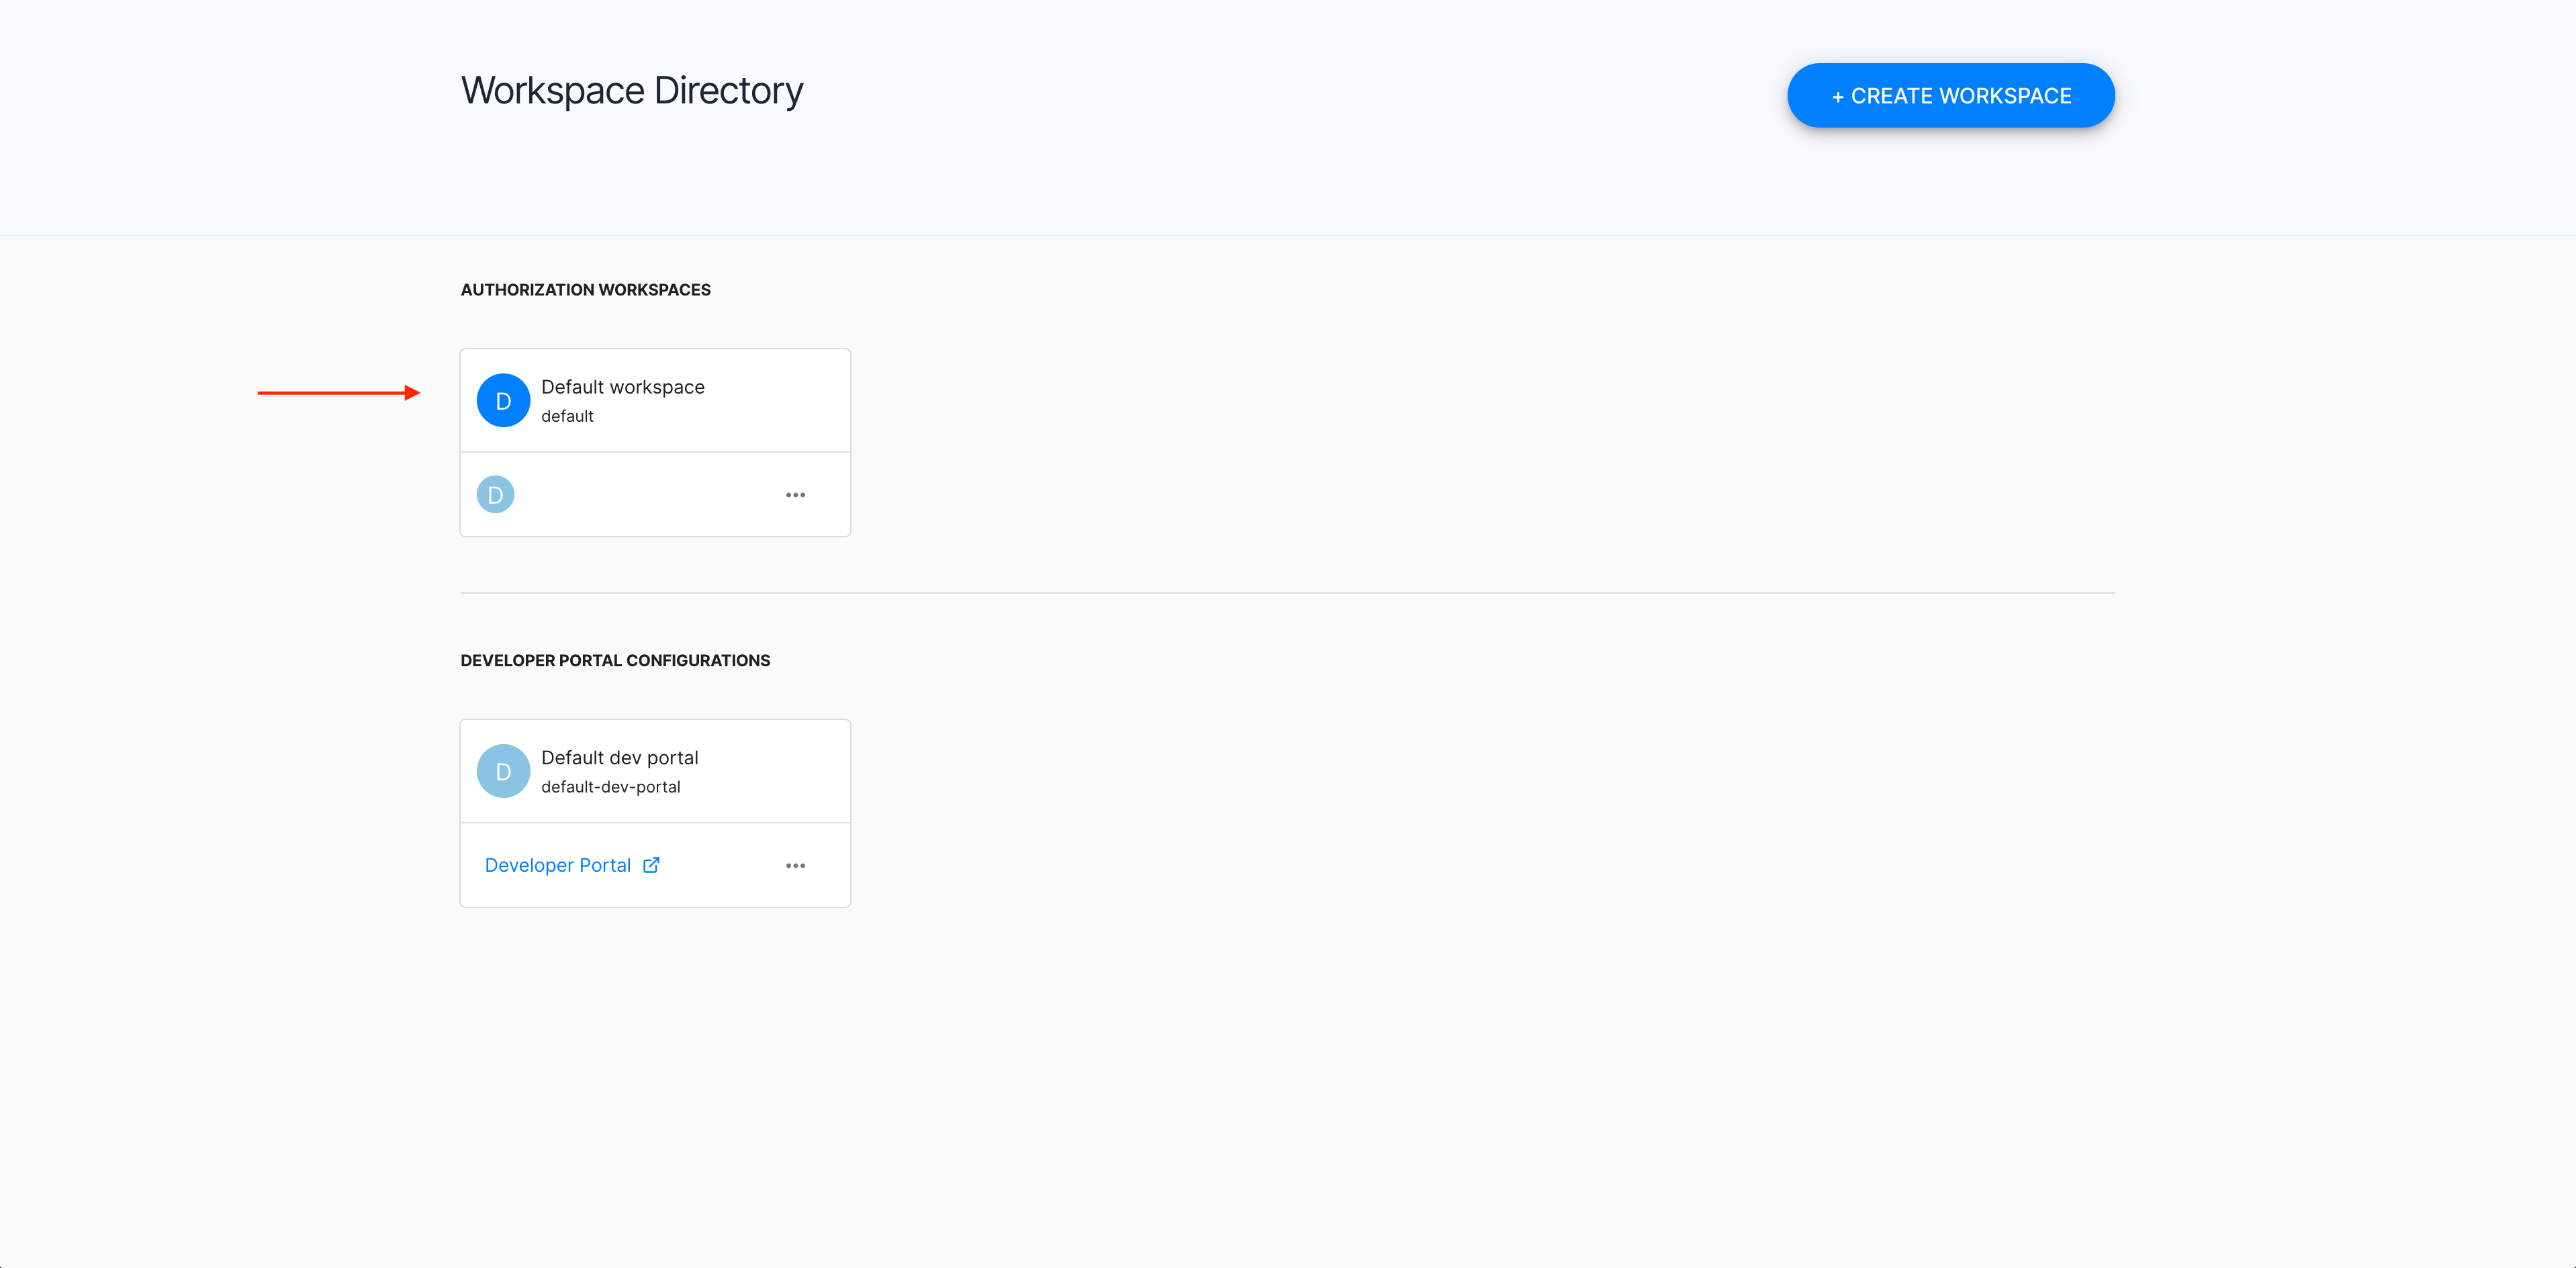
In the Workspace Directory, select the workspace that you want to enter.
-
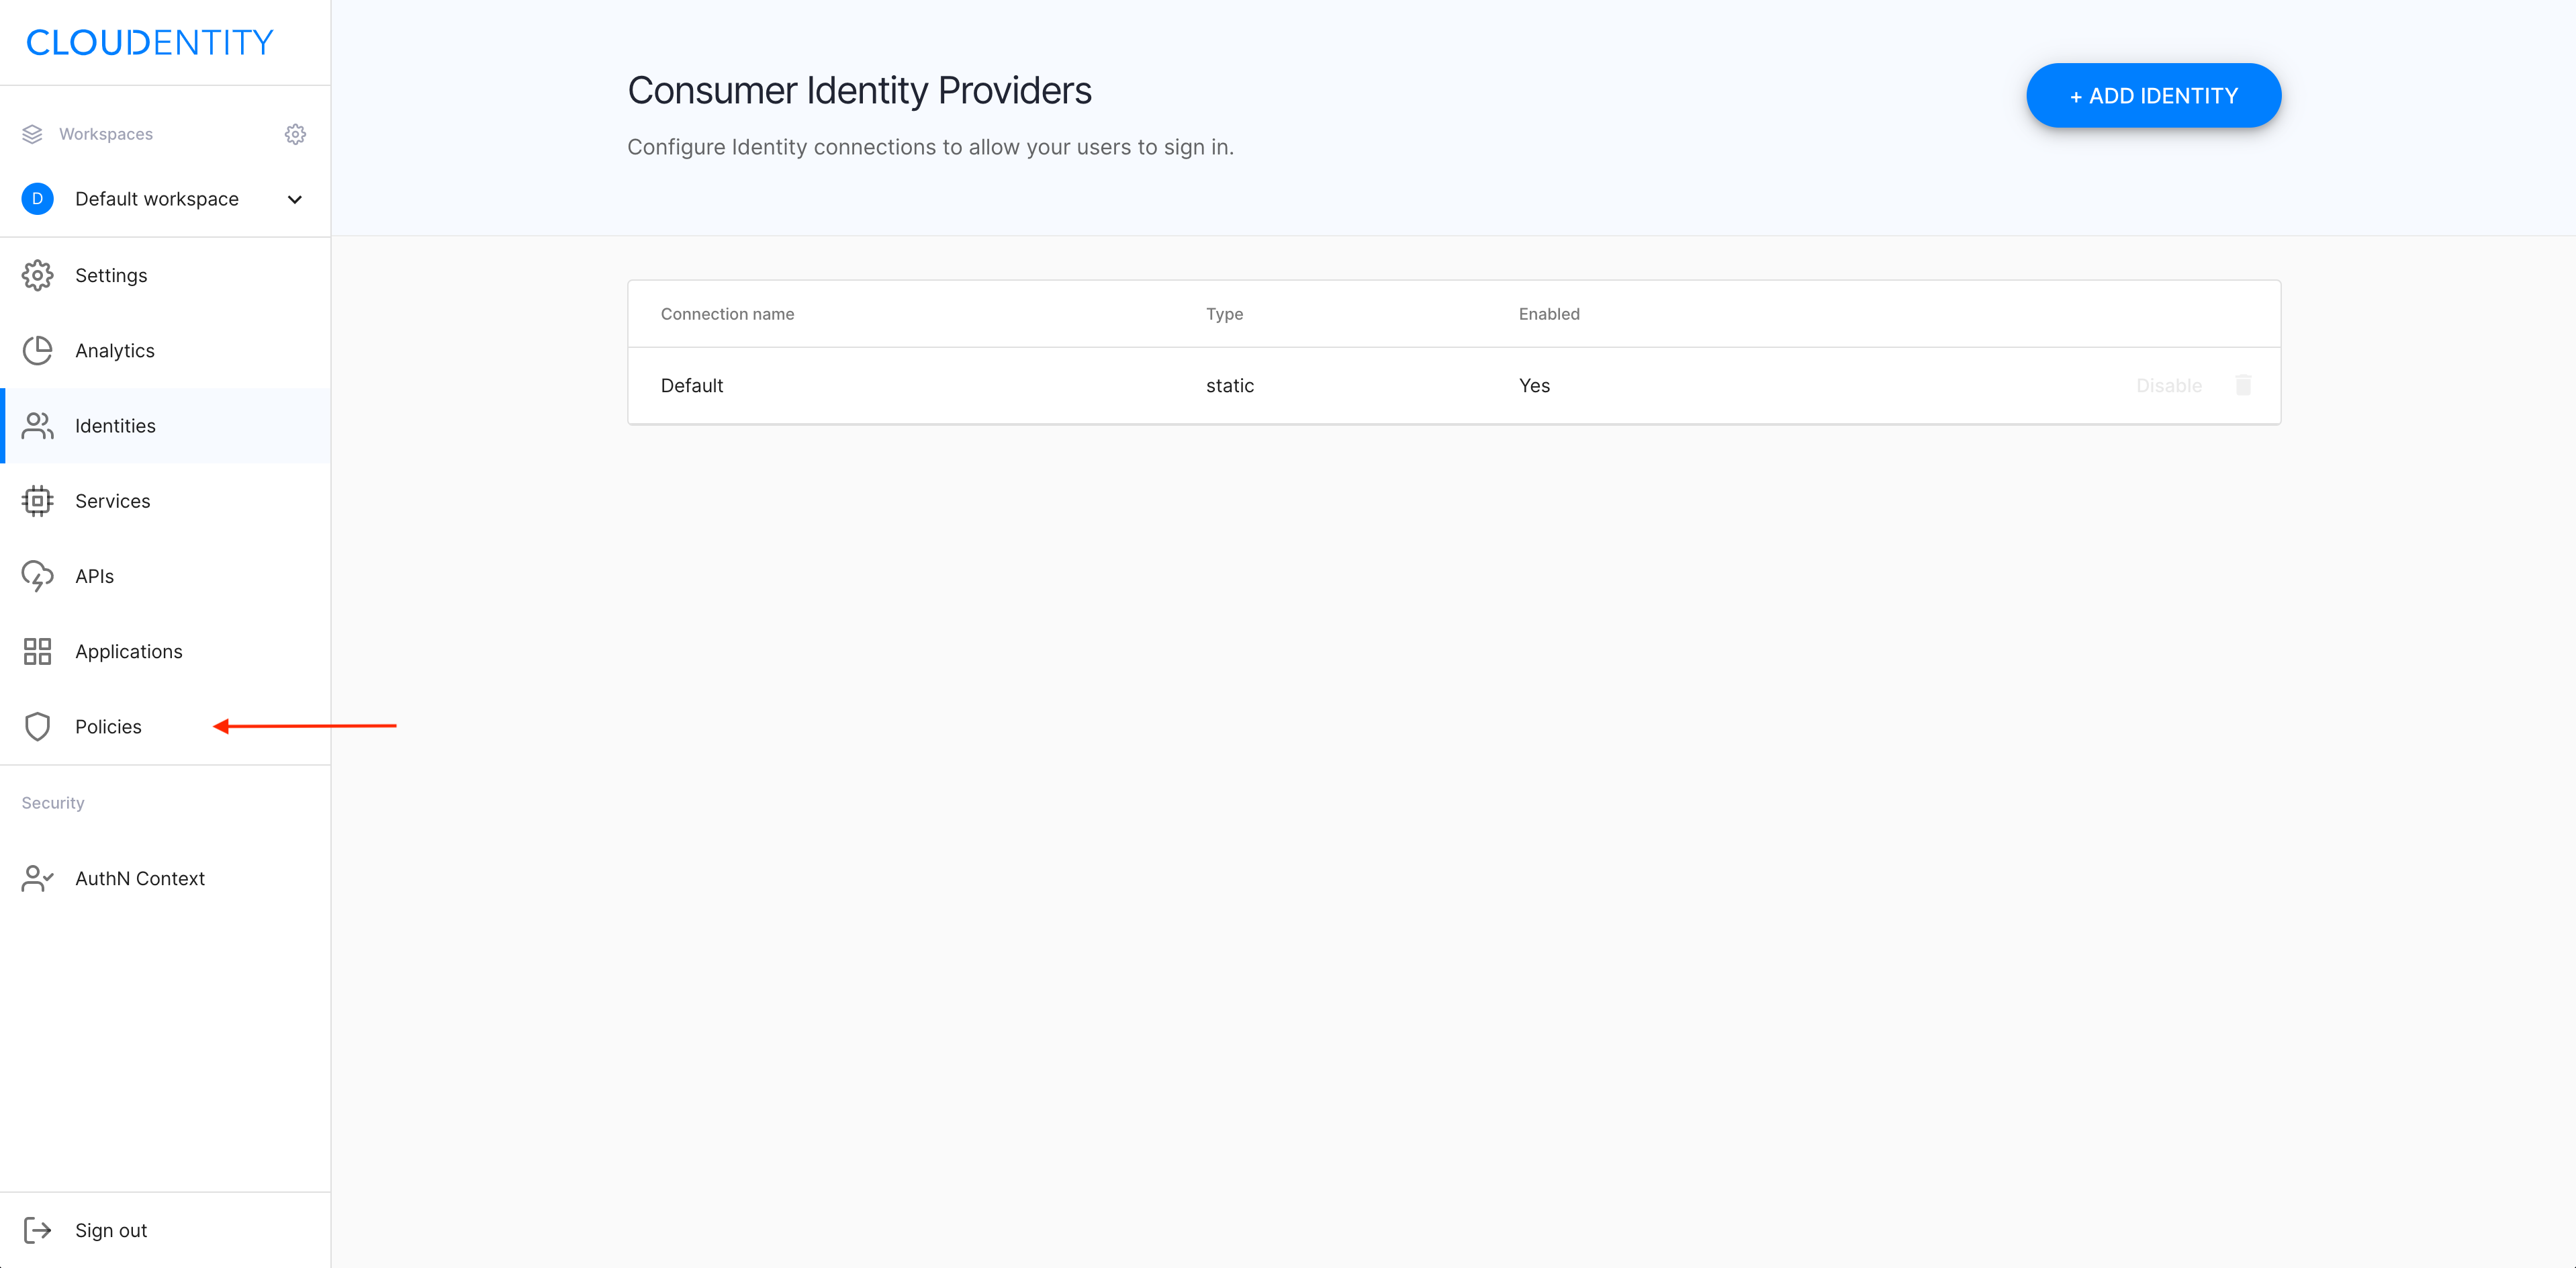
In the selected workspace landing page, select Policies from the sidebar.
-
In the Policies view, select CREATE POLICY.

-
In the Create Policy popup window
-
Select Policy type from the dropdown menu.
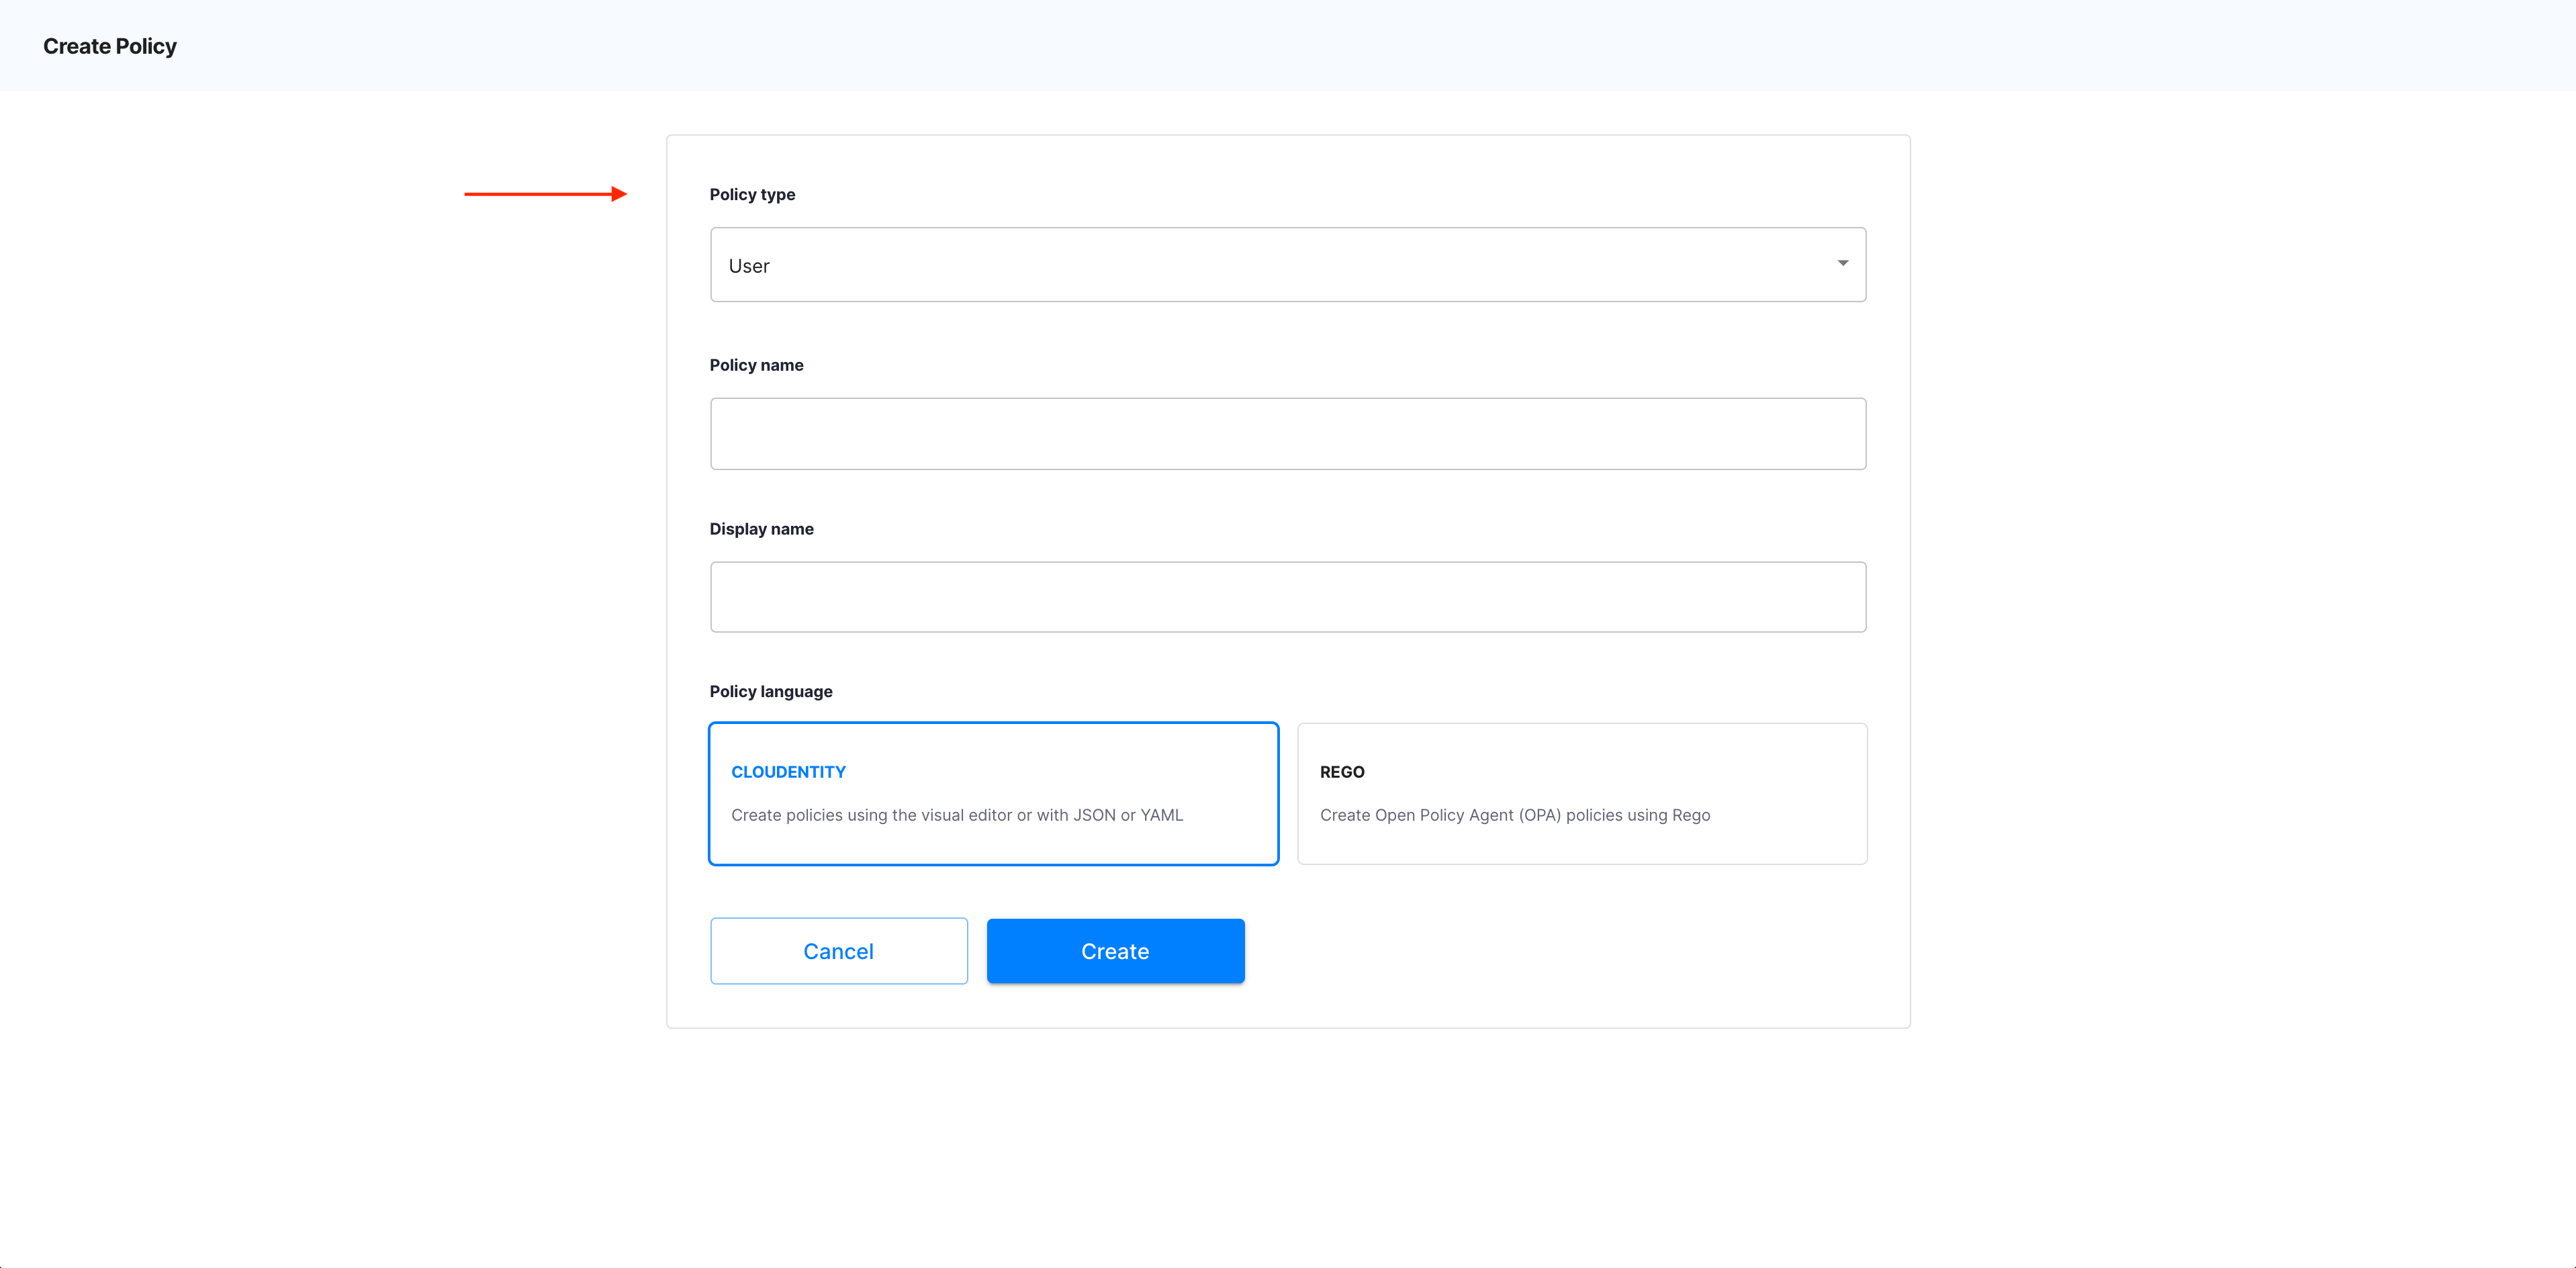
Policy types
There are a few policy types available in ACP: API request, User, Machine to machine, Developer, Dynamic Client Registration.
-
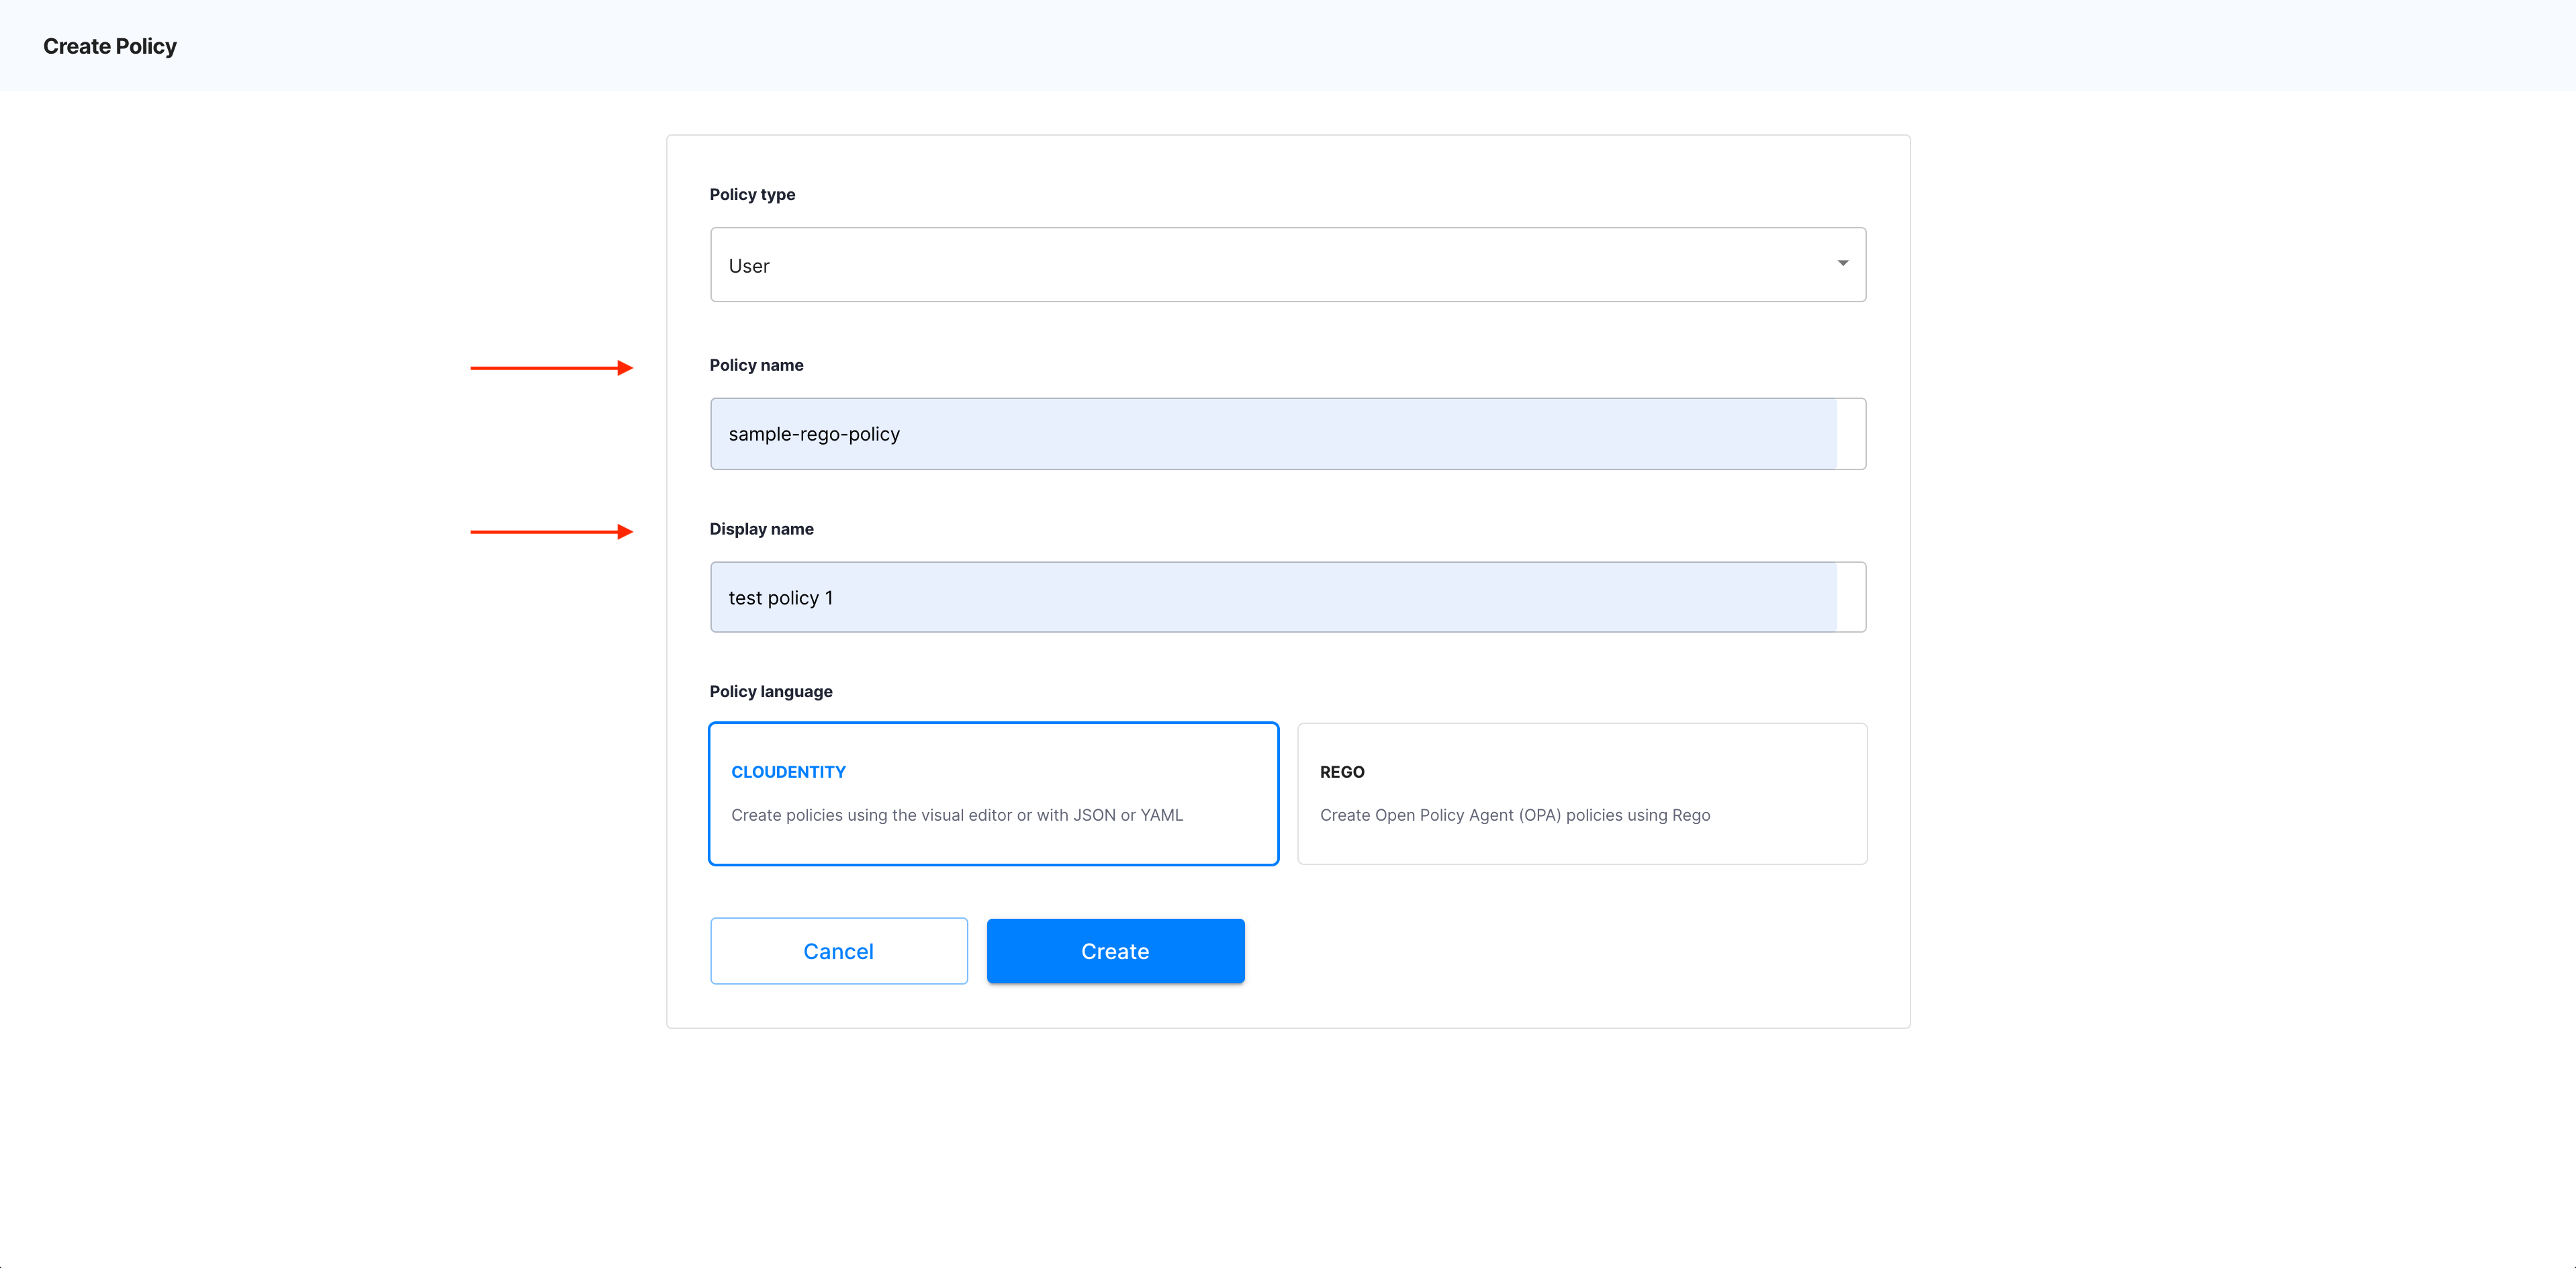
Specify Policy name and Display name.
-
Select REGO as Policy language.
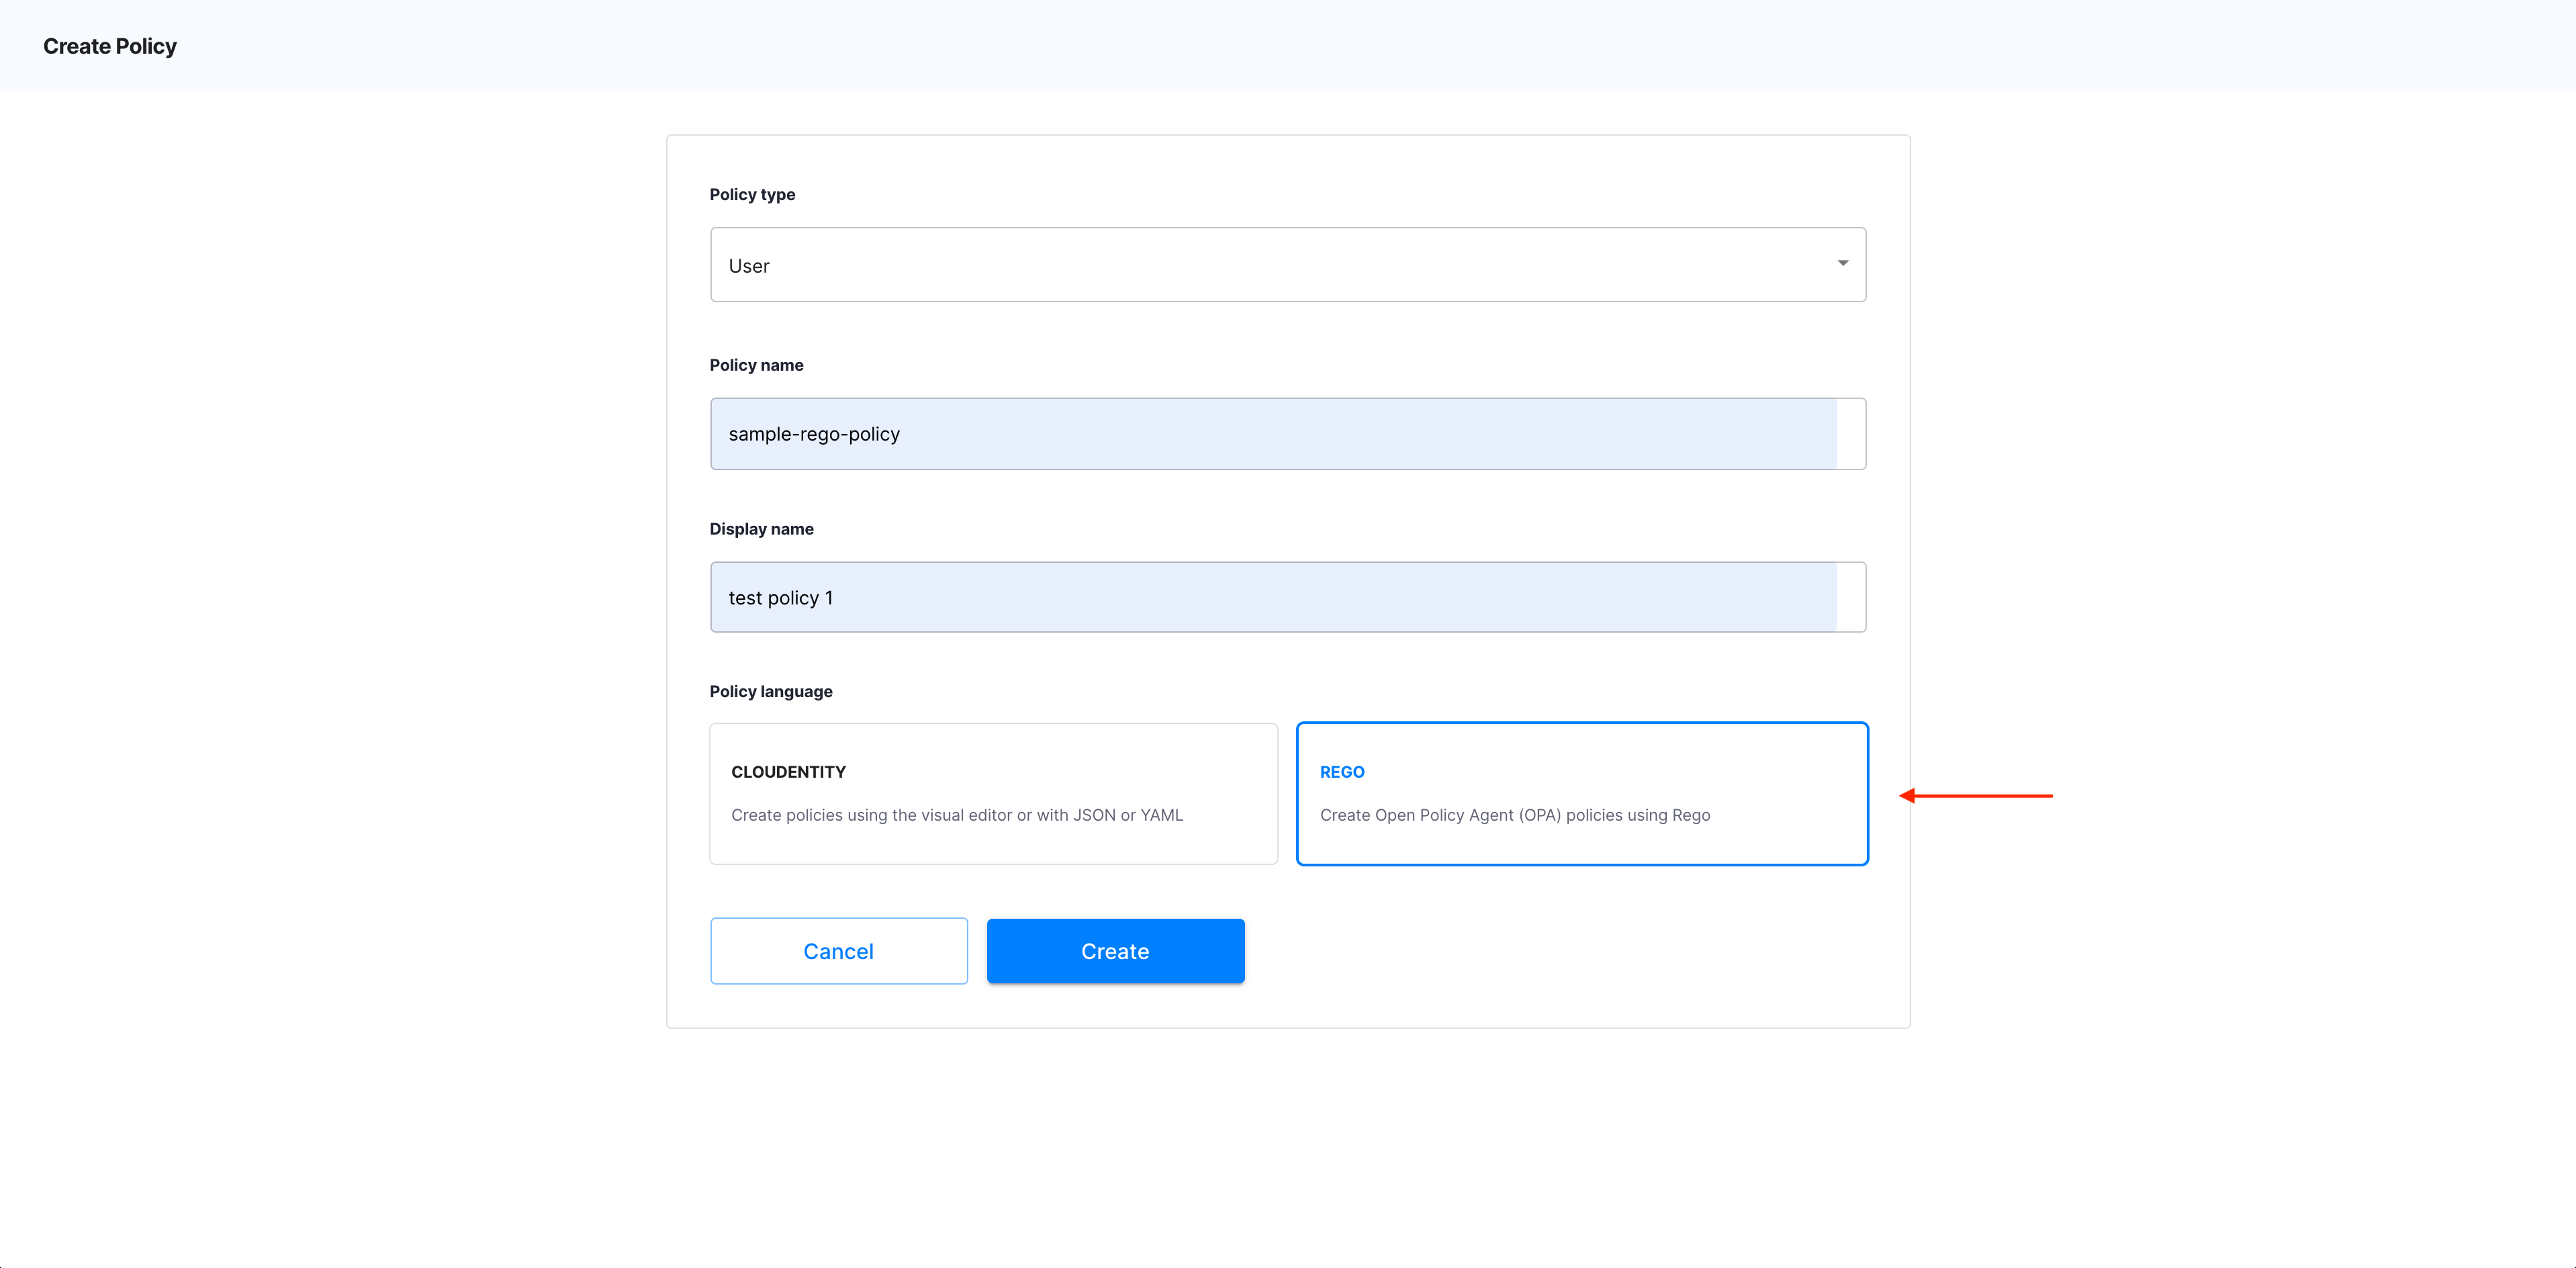
Policy language
Another type of policies that you can create in ACP is OPA. For instruction on how to create OPA policies, see Protecting applications and APIs in ACP using OPA.
-
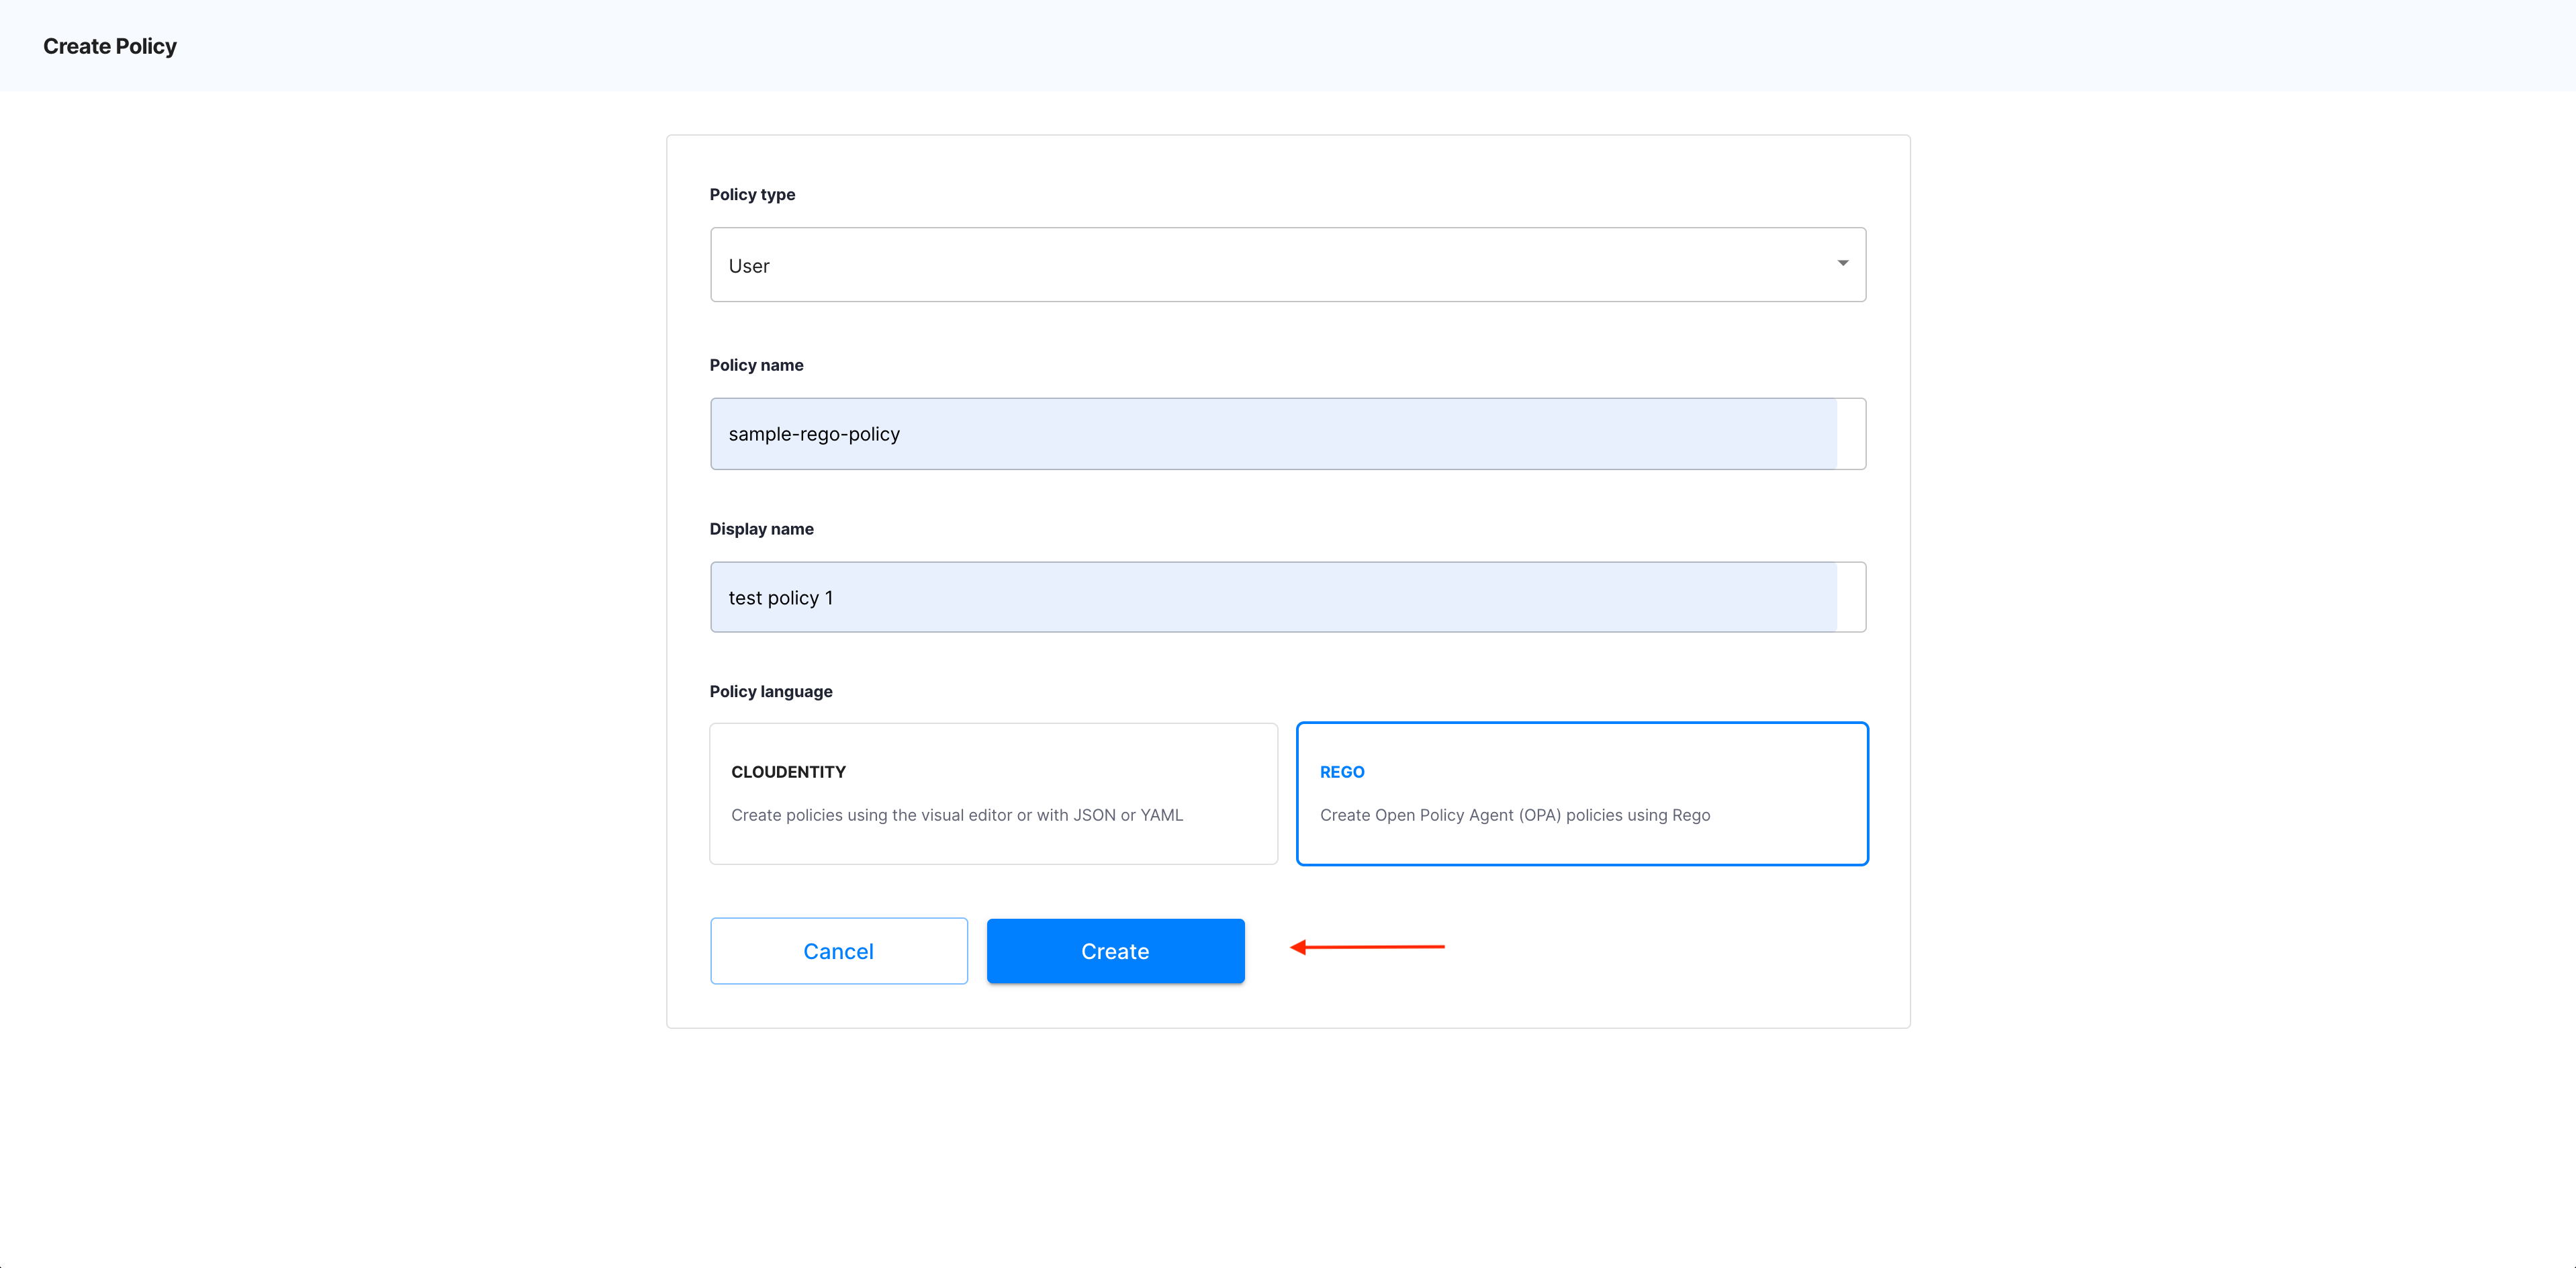
Select Create.
-
Result
The OPA policy editor opens.

Edit your policy
-
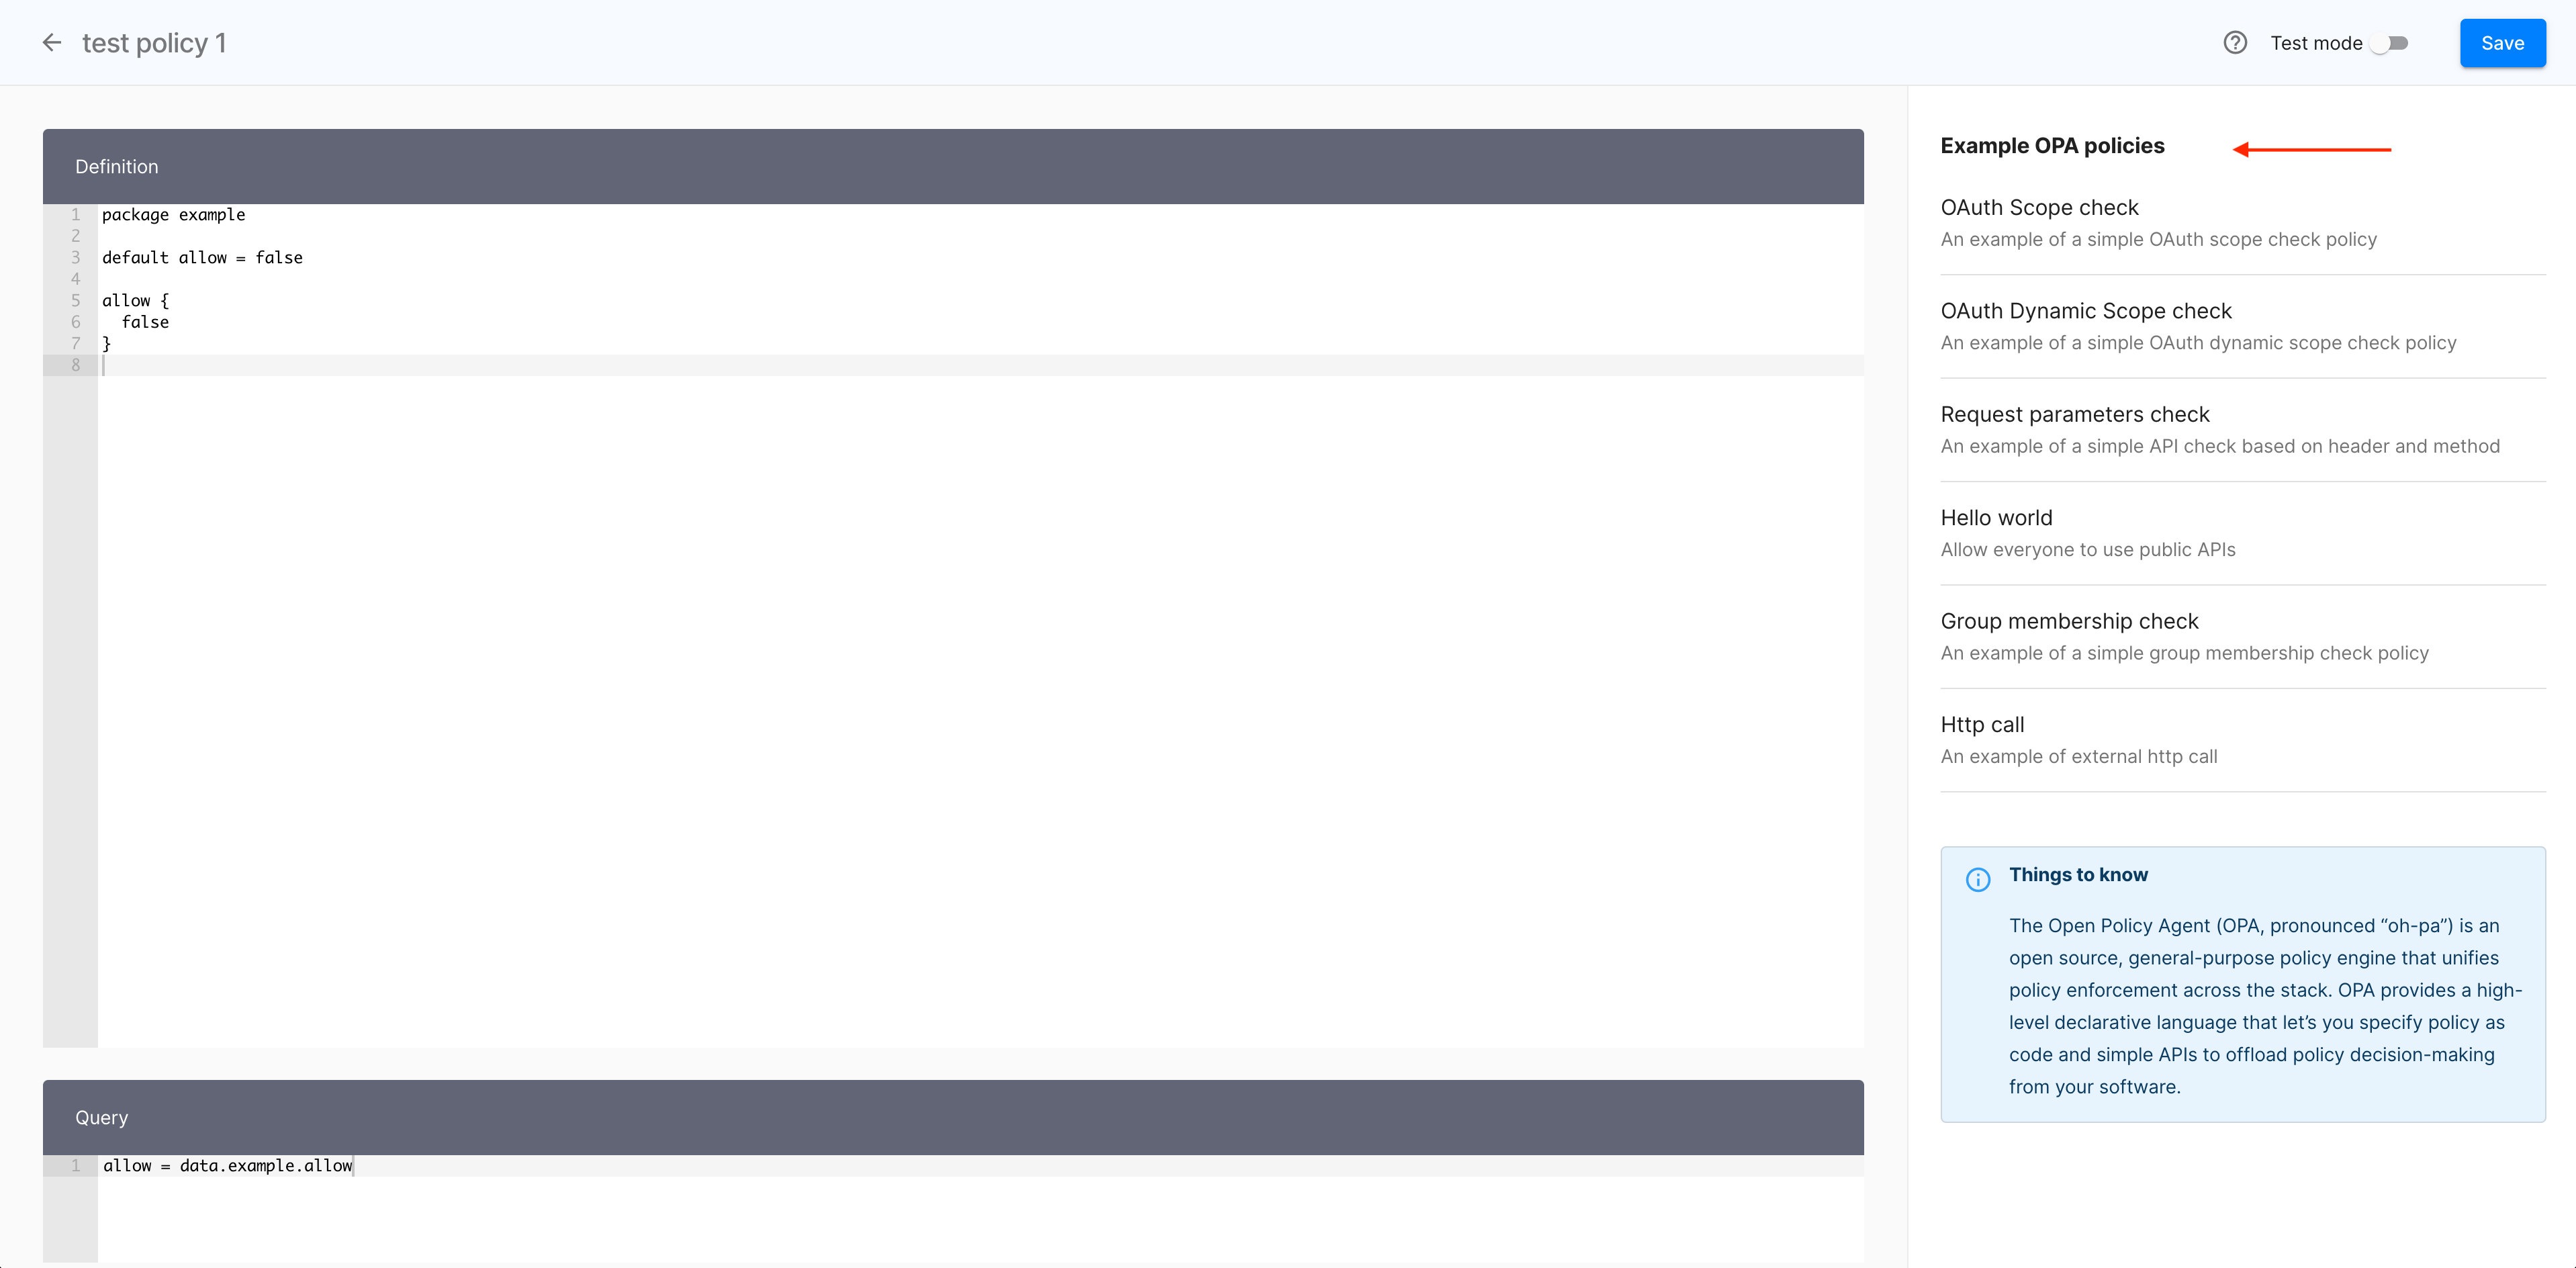
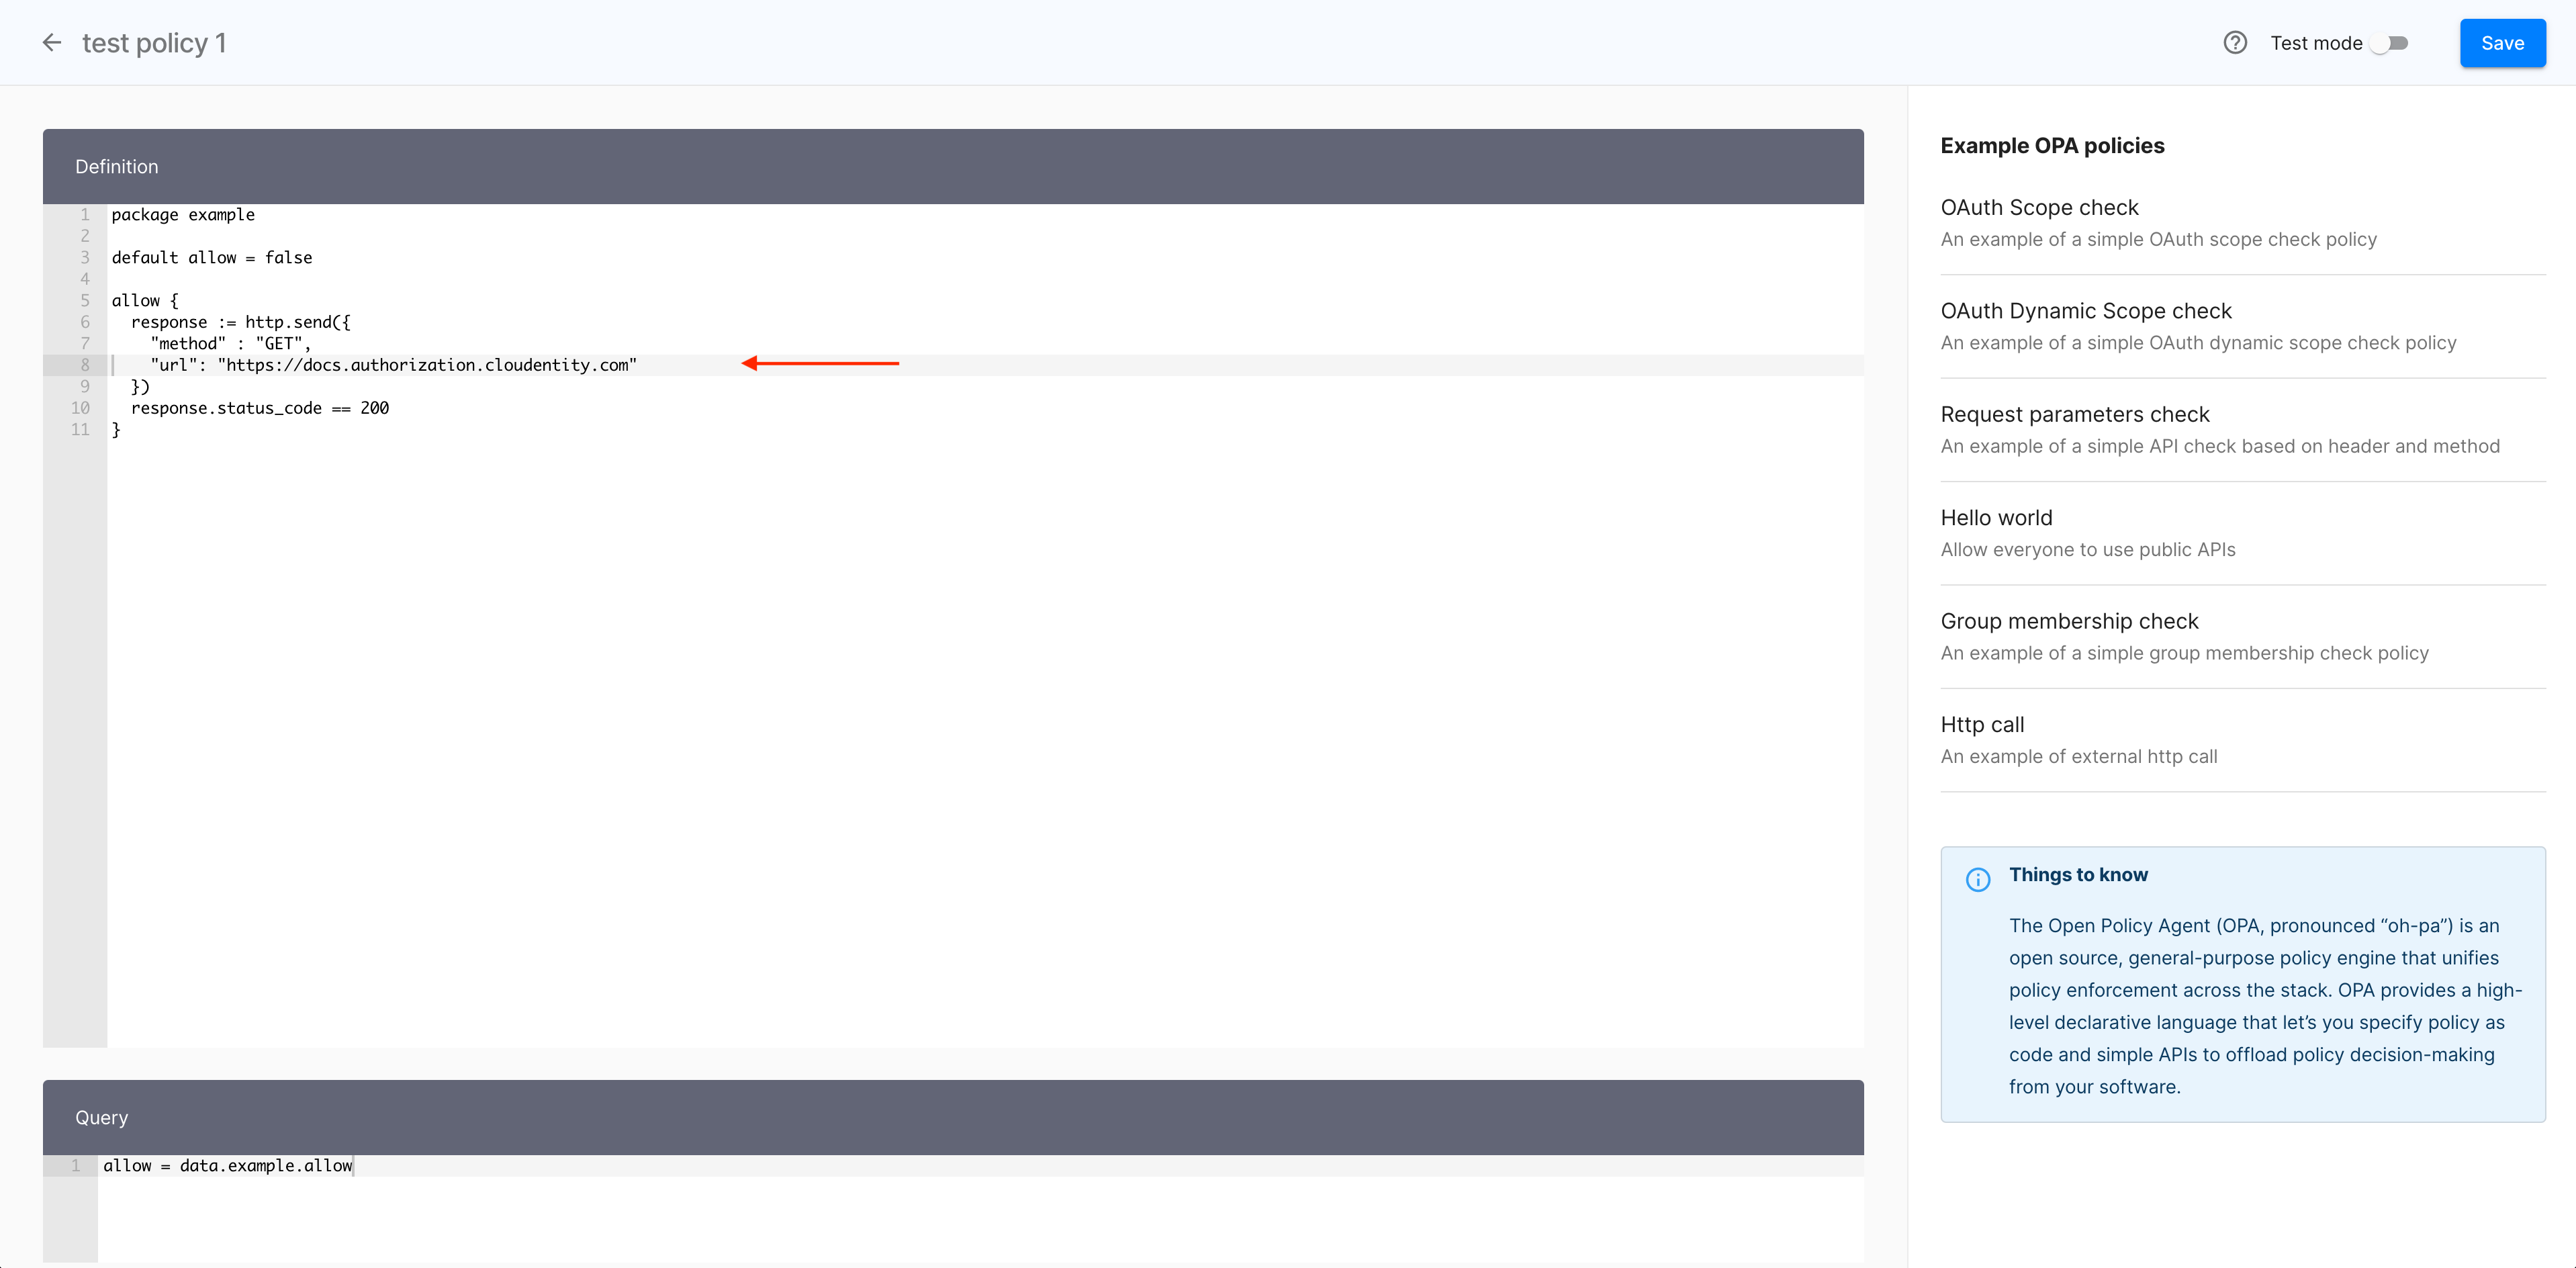
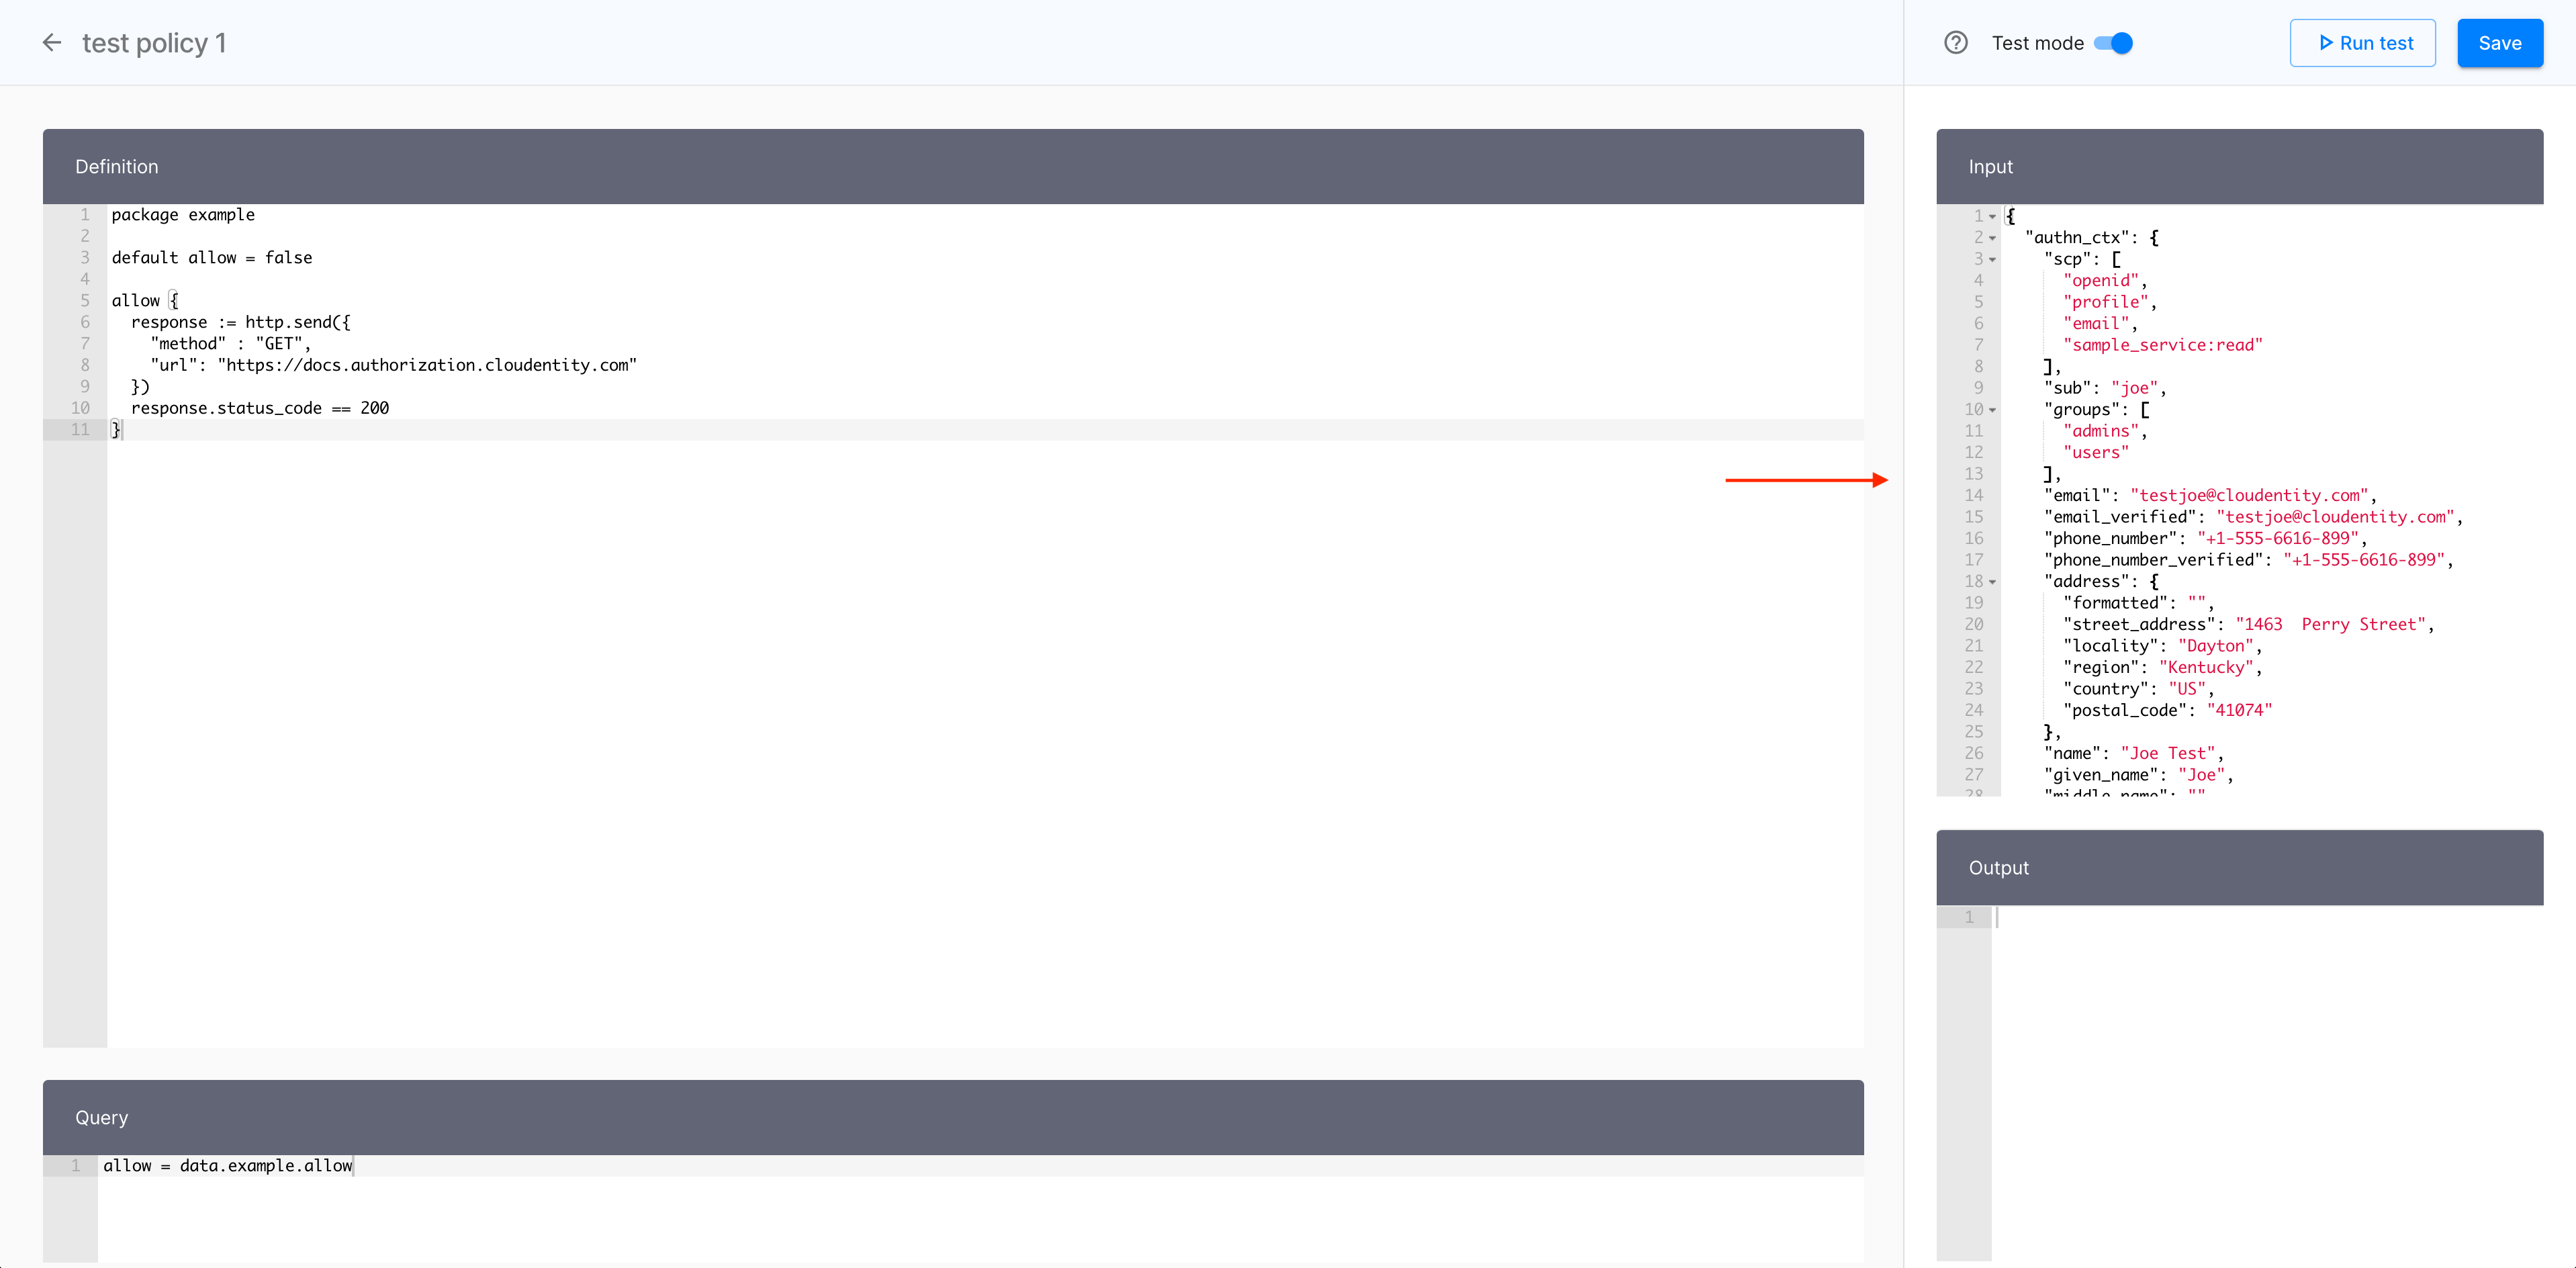
To define your policy, enter a piece of code into the Definition section.
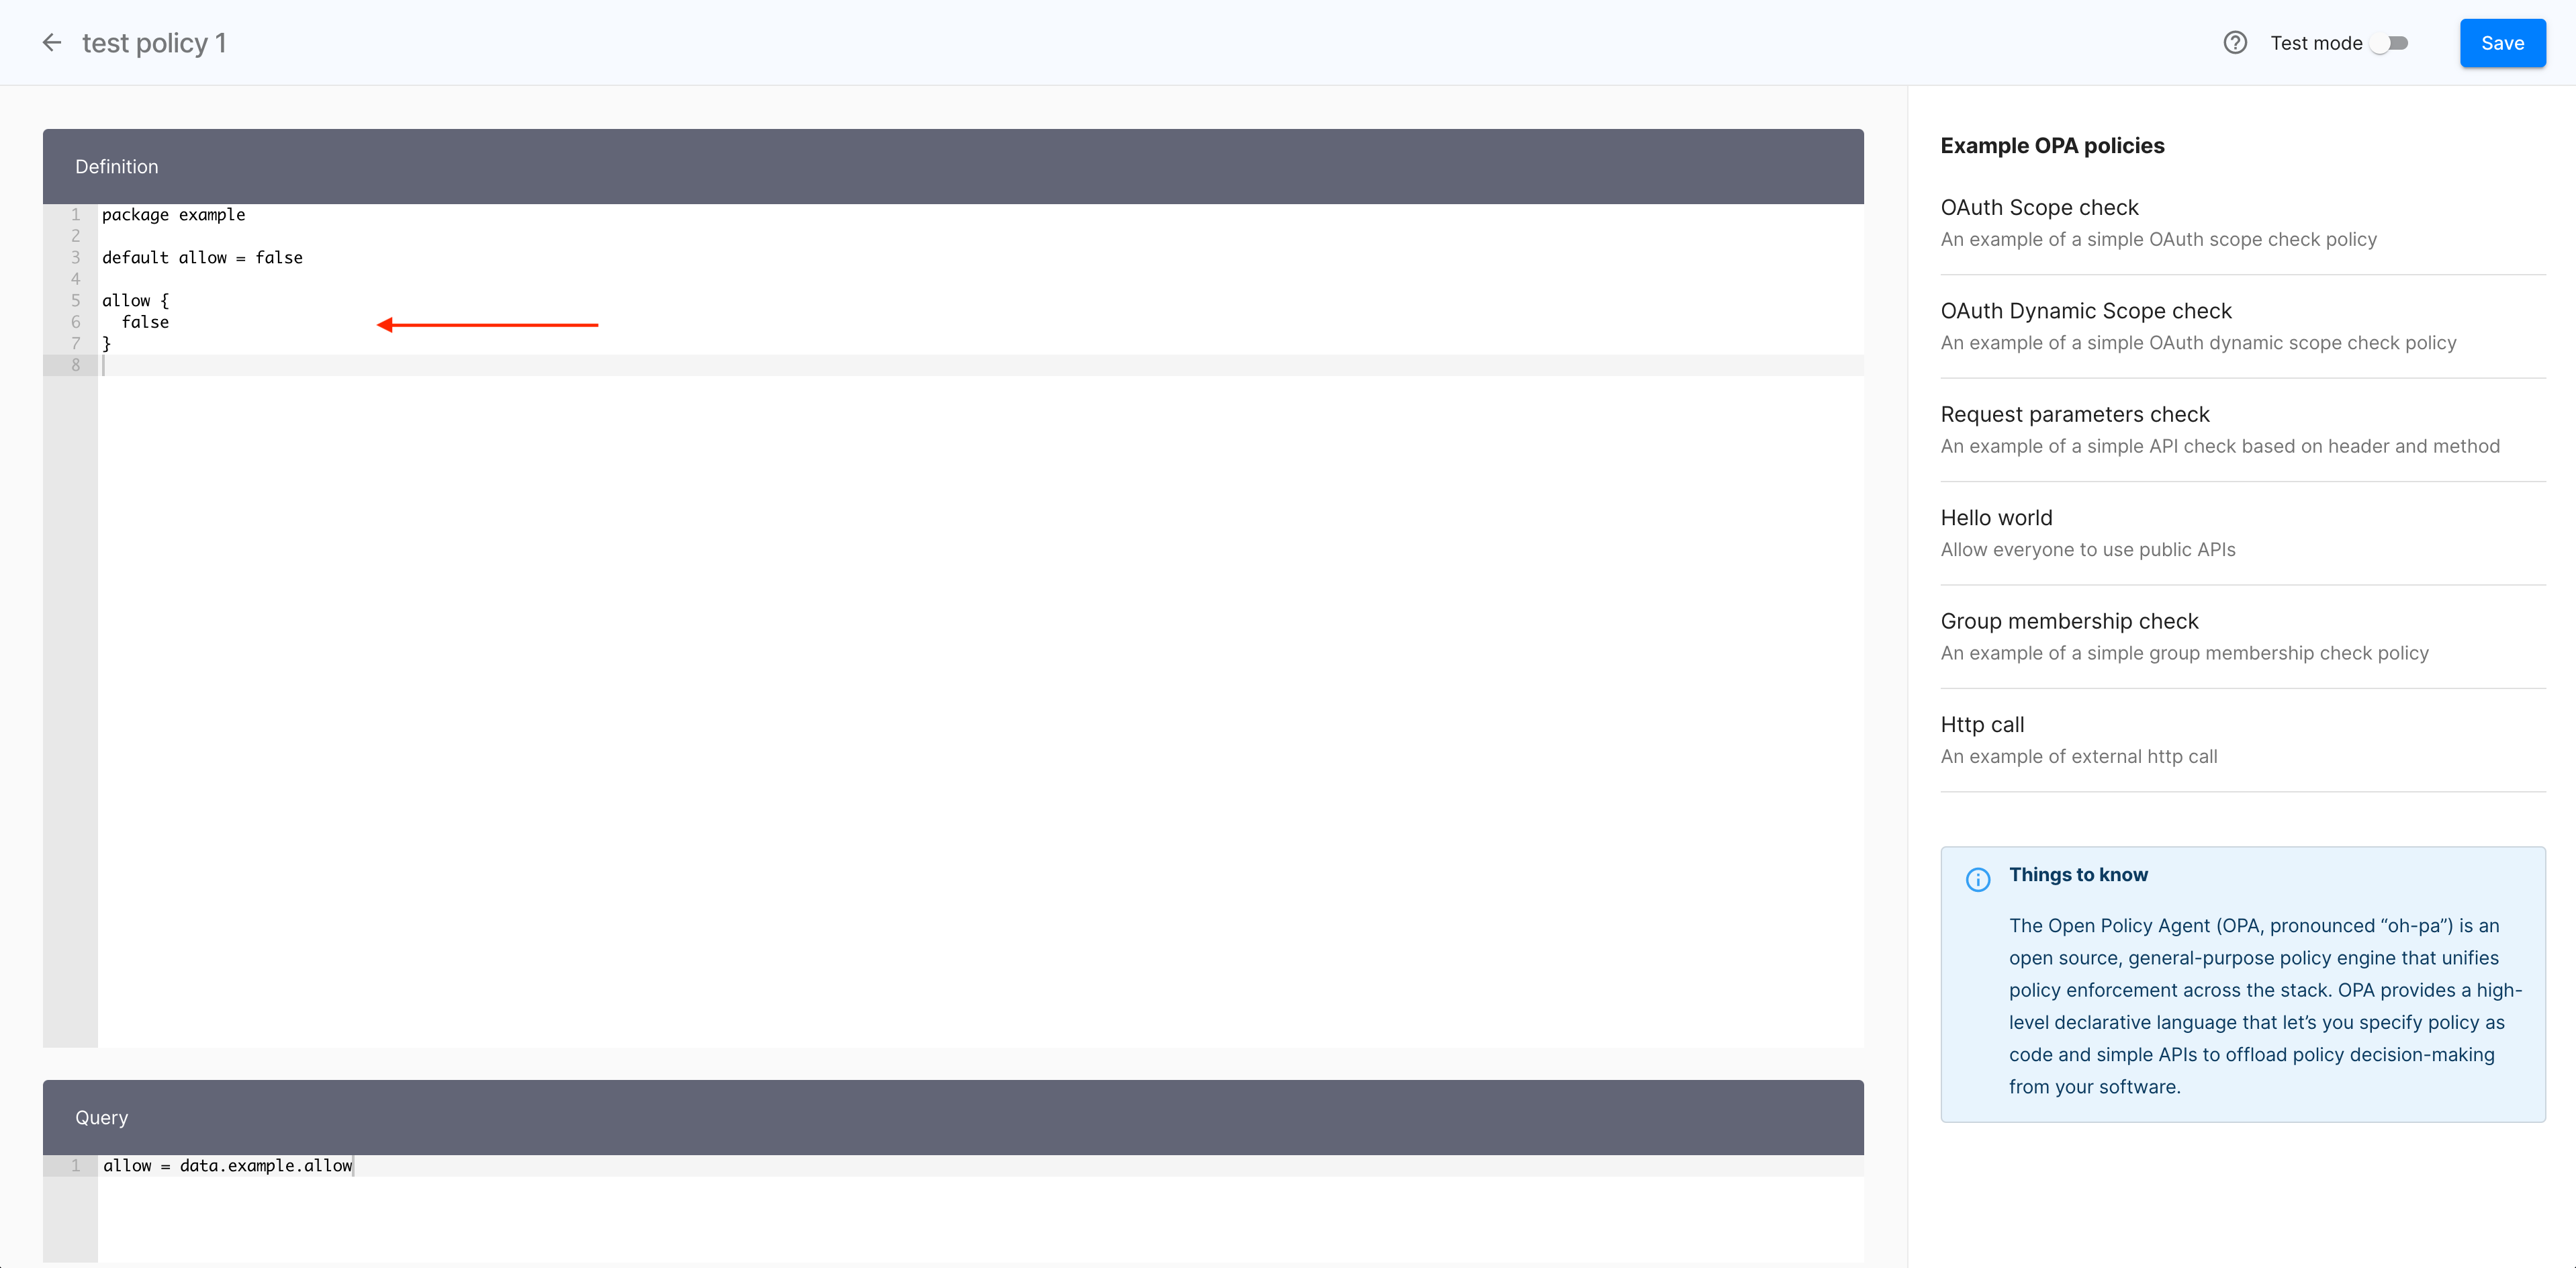
Alternatively, use a policy template:
- Select one of the policies provided in the Example OPA policies section to import an exemplary code into the Definition section.
- In the Import Example Policy popup window, select Yes to proceed.
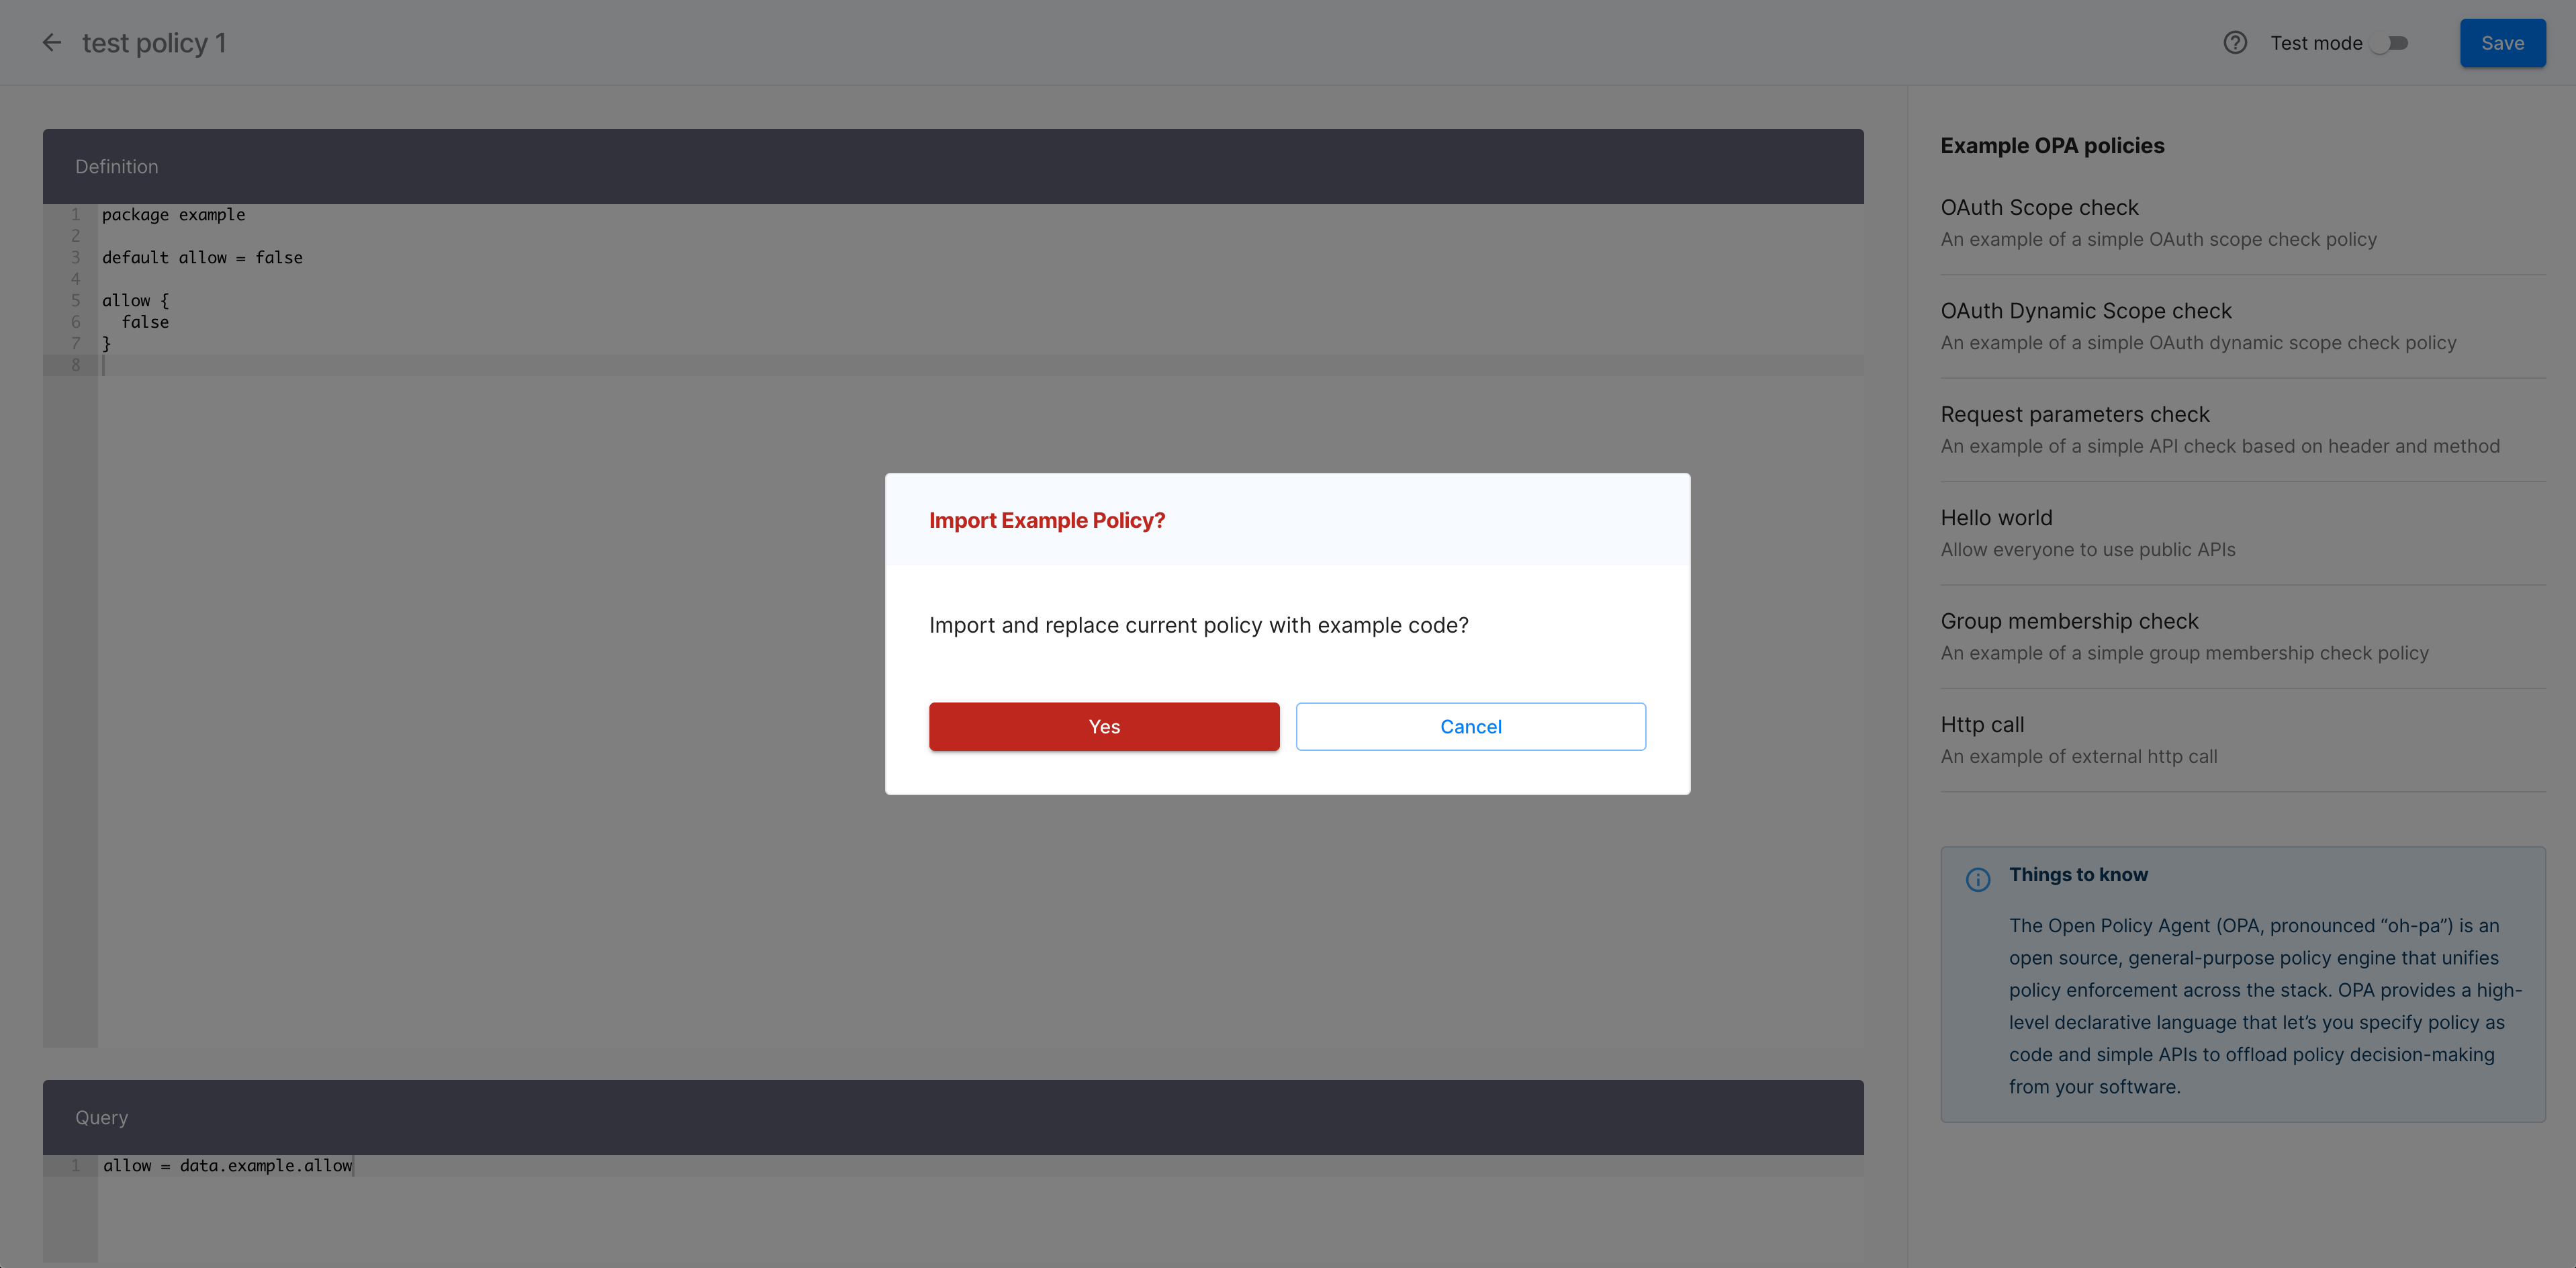
- Modify the imported code or keep it as is.
-
Optionally, verify your policy.
-
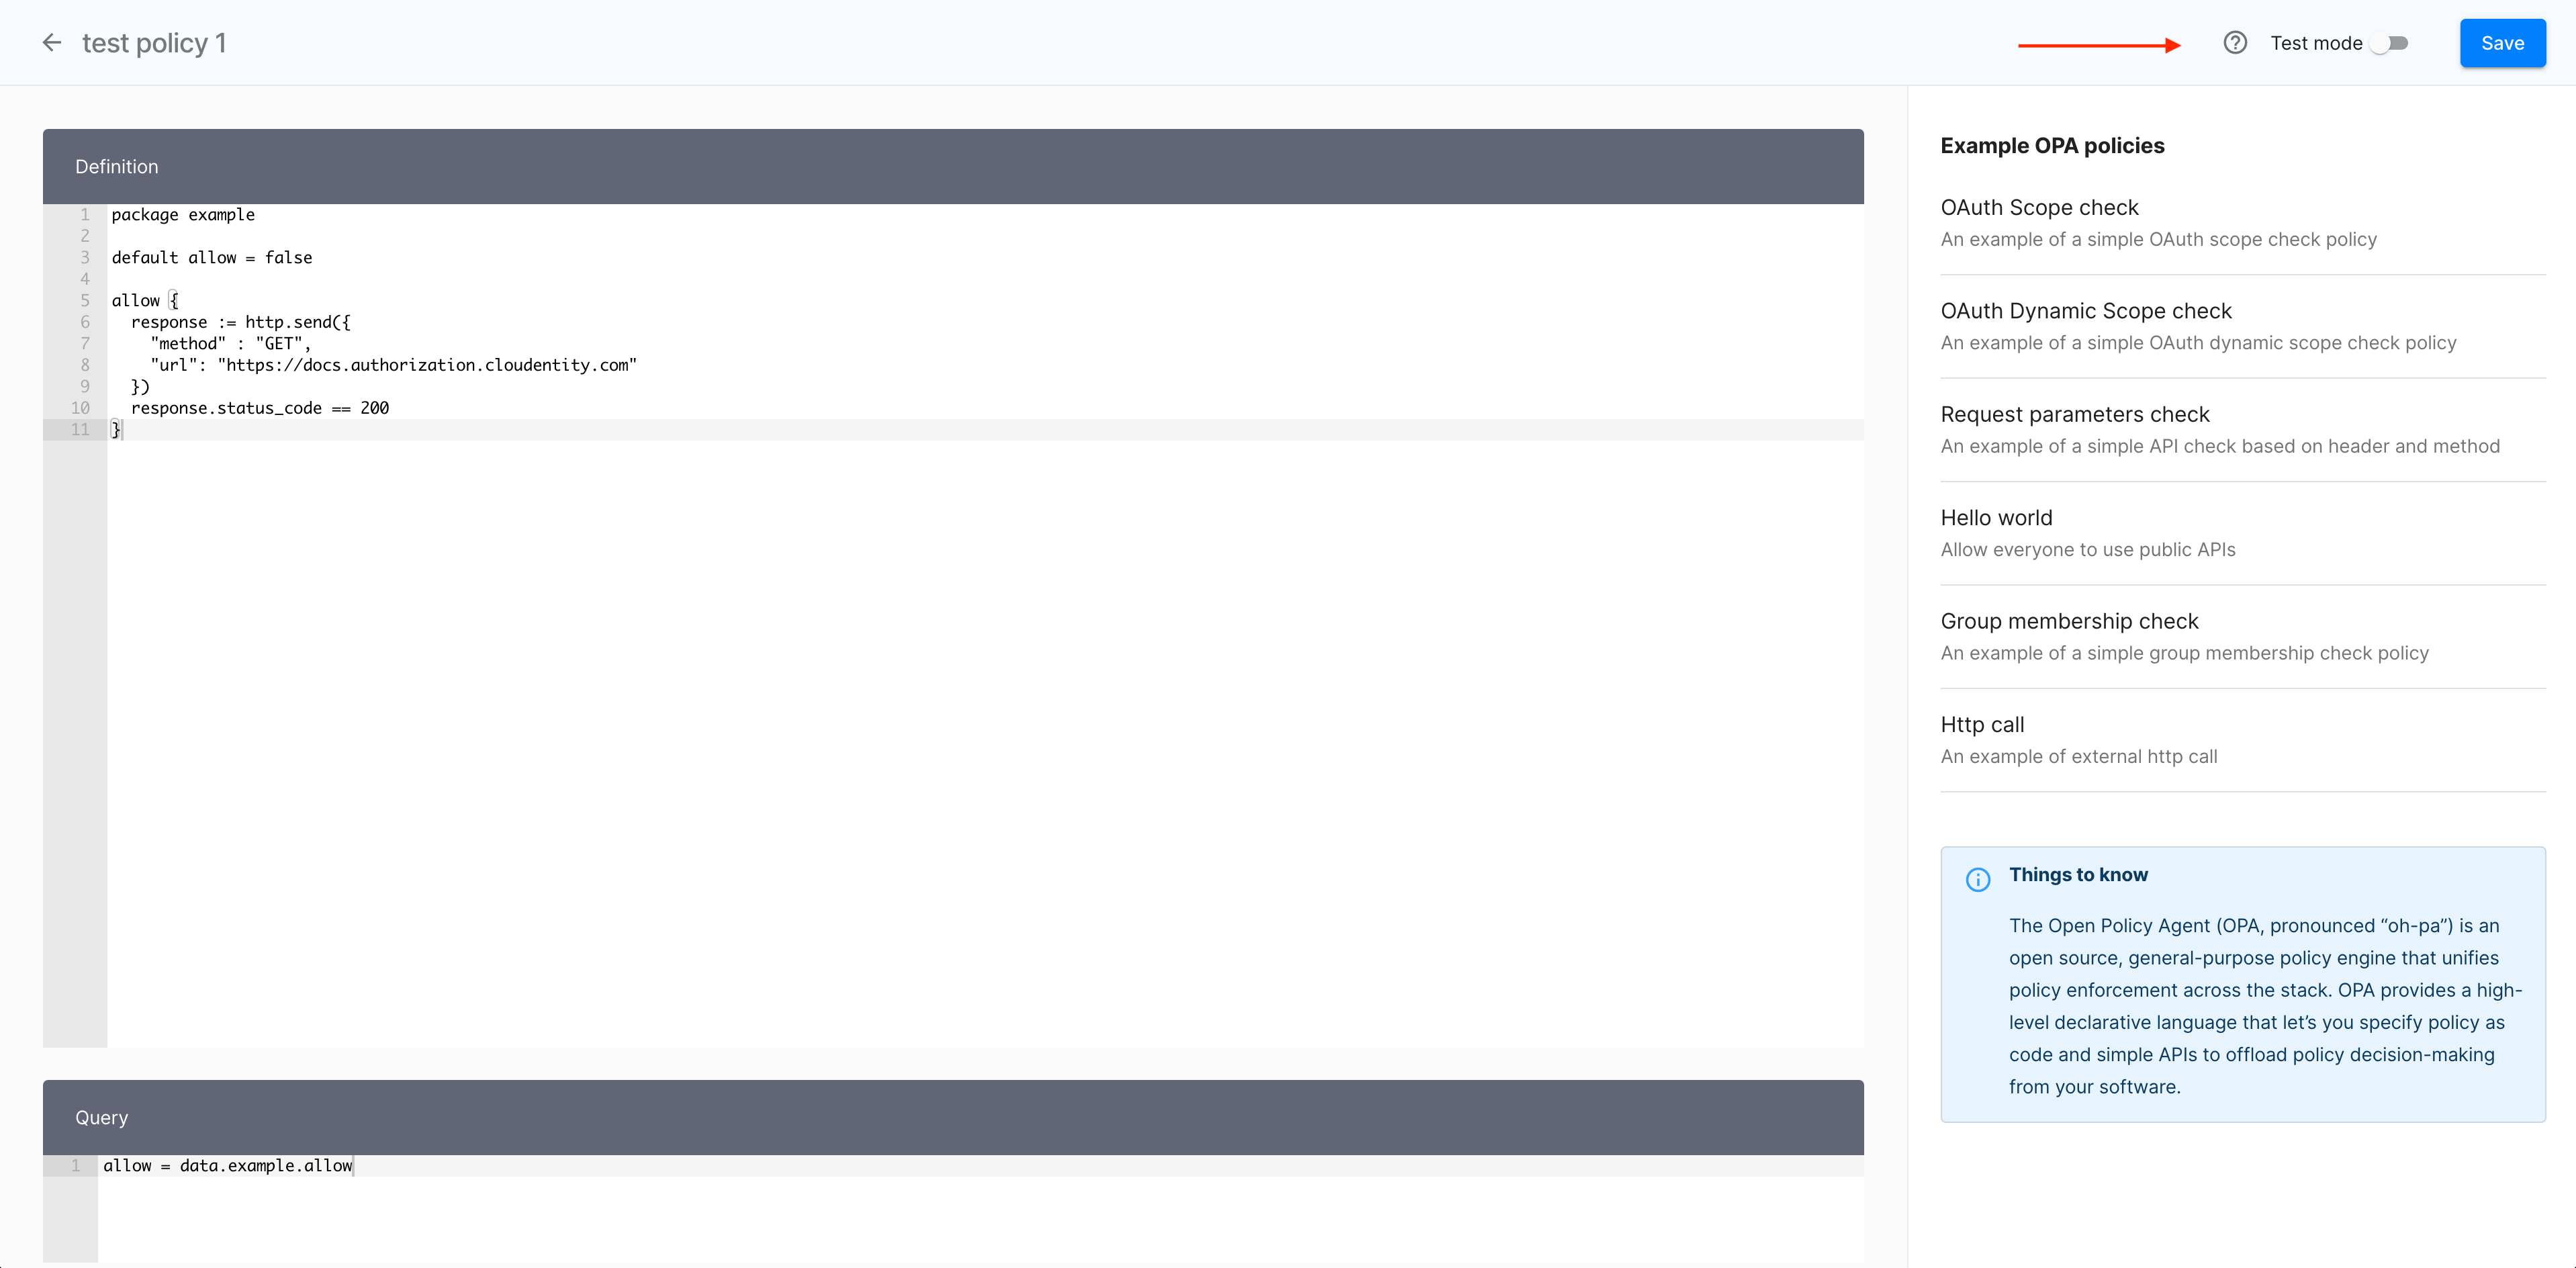
Enable Test mode with the toggle switch.
Result
The Test mode fly-out pane shows and its Input section gets populated with the policy code.
-
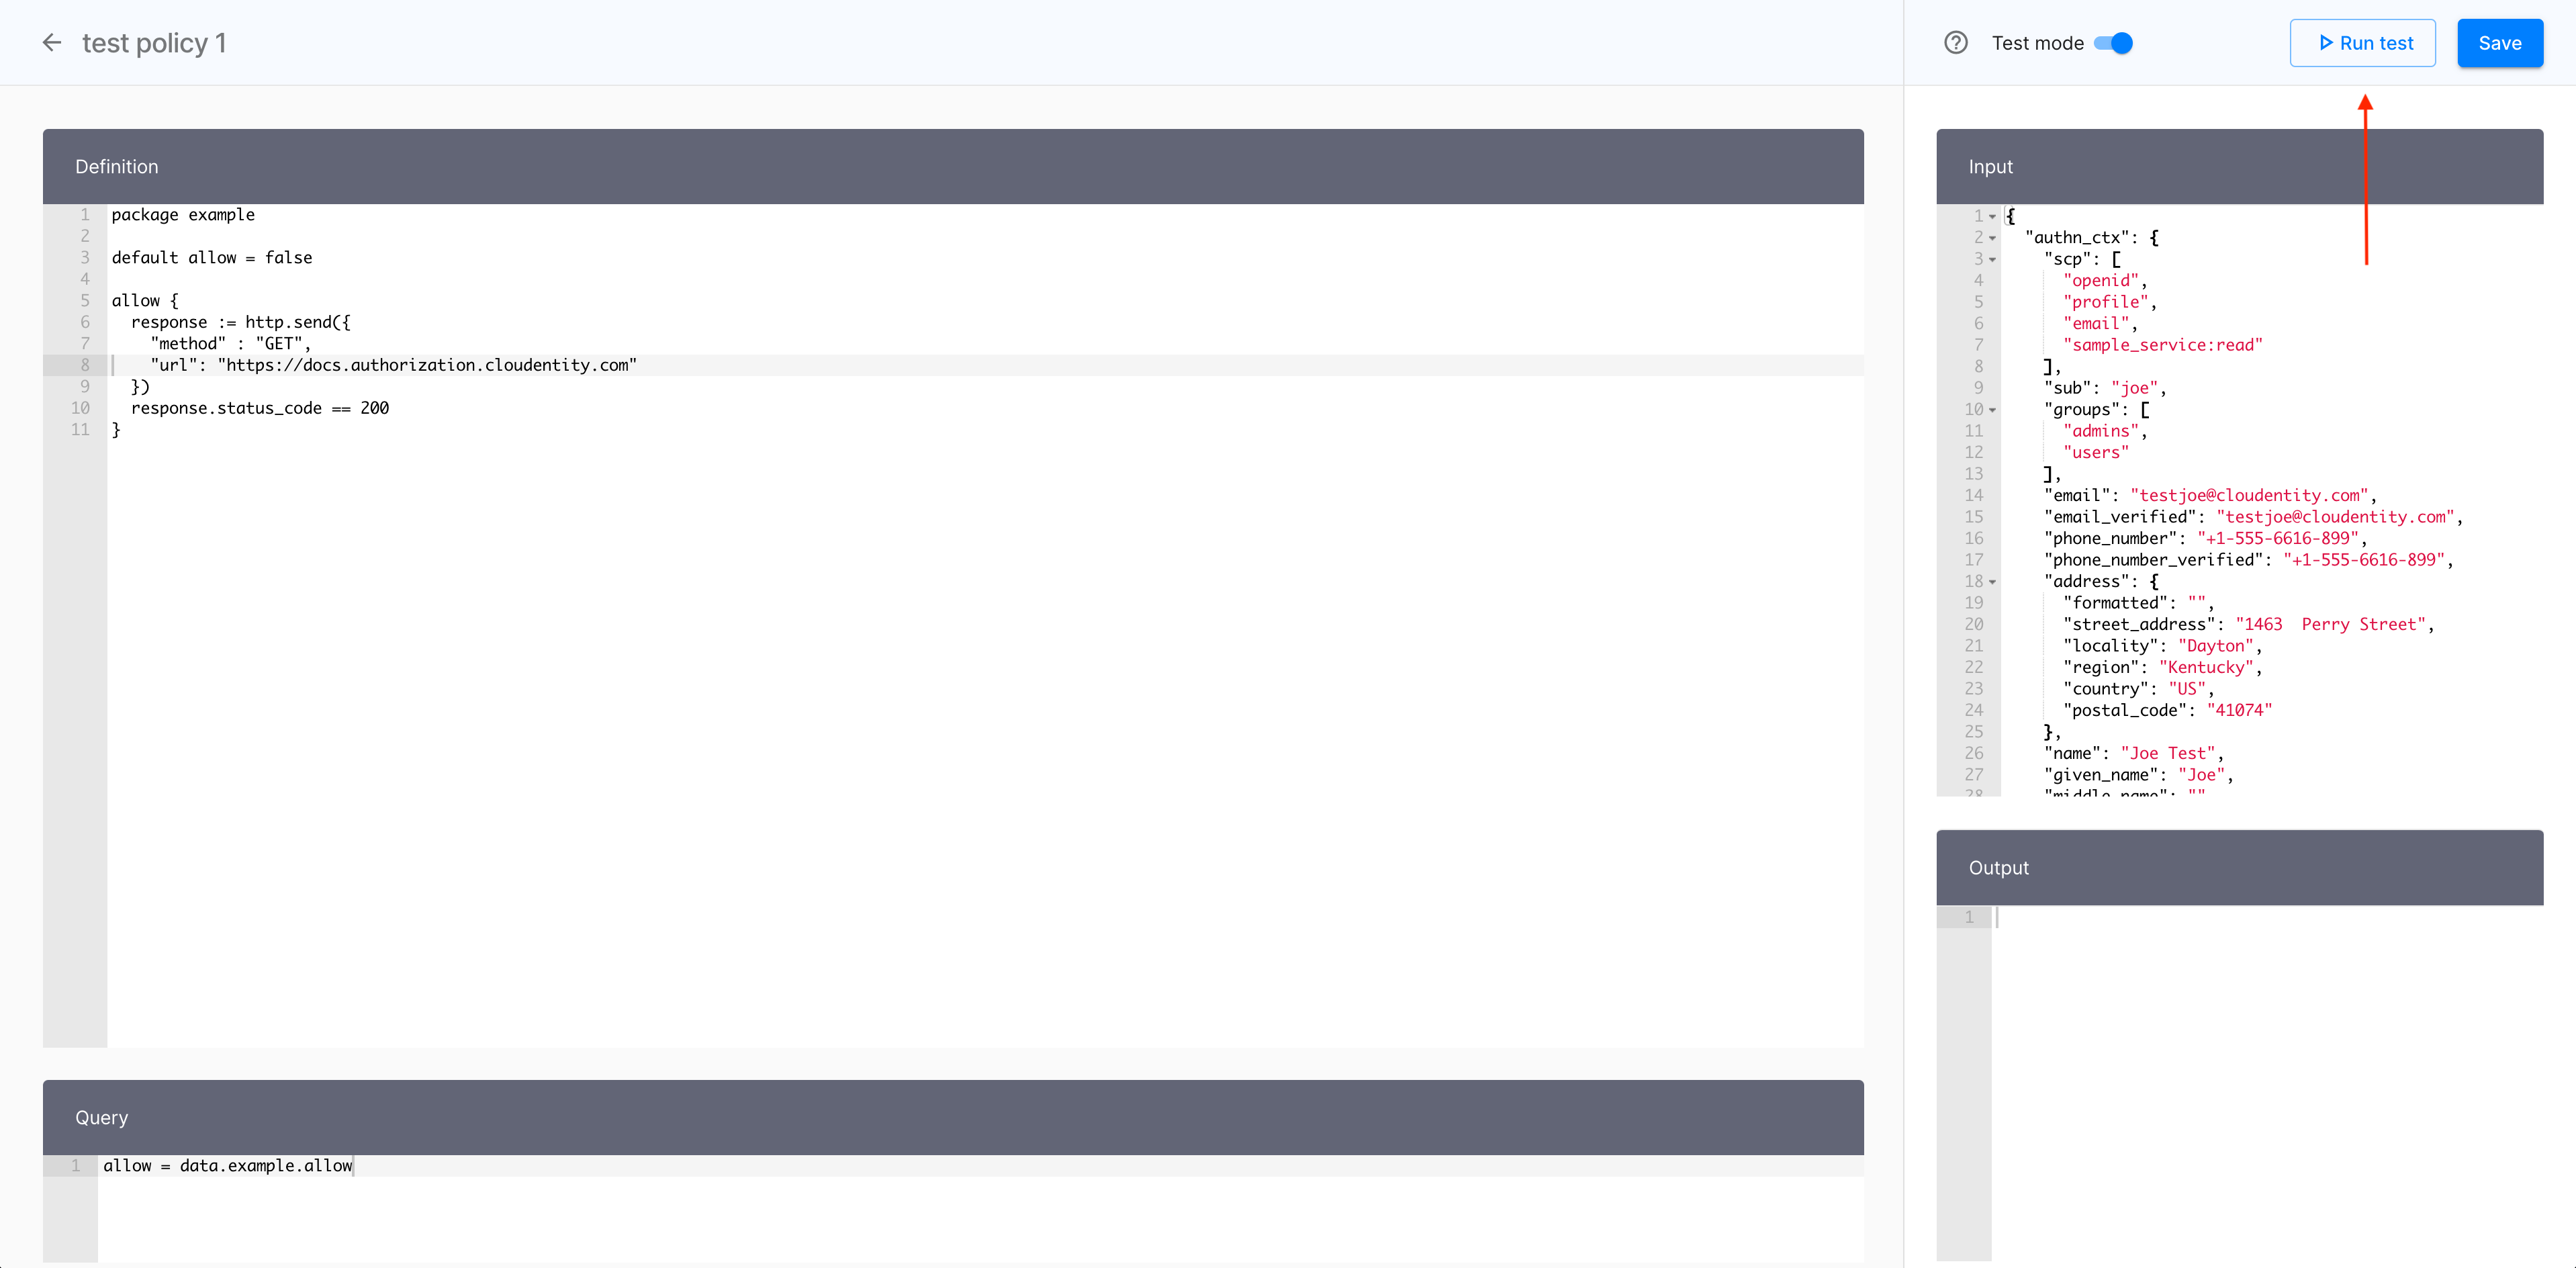
Select Run test.
-
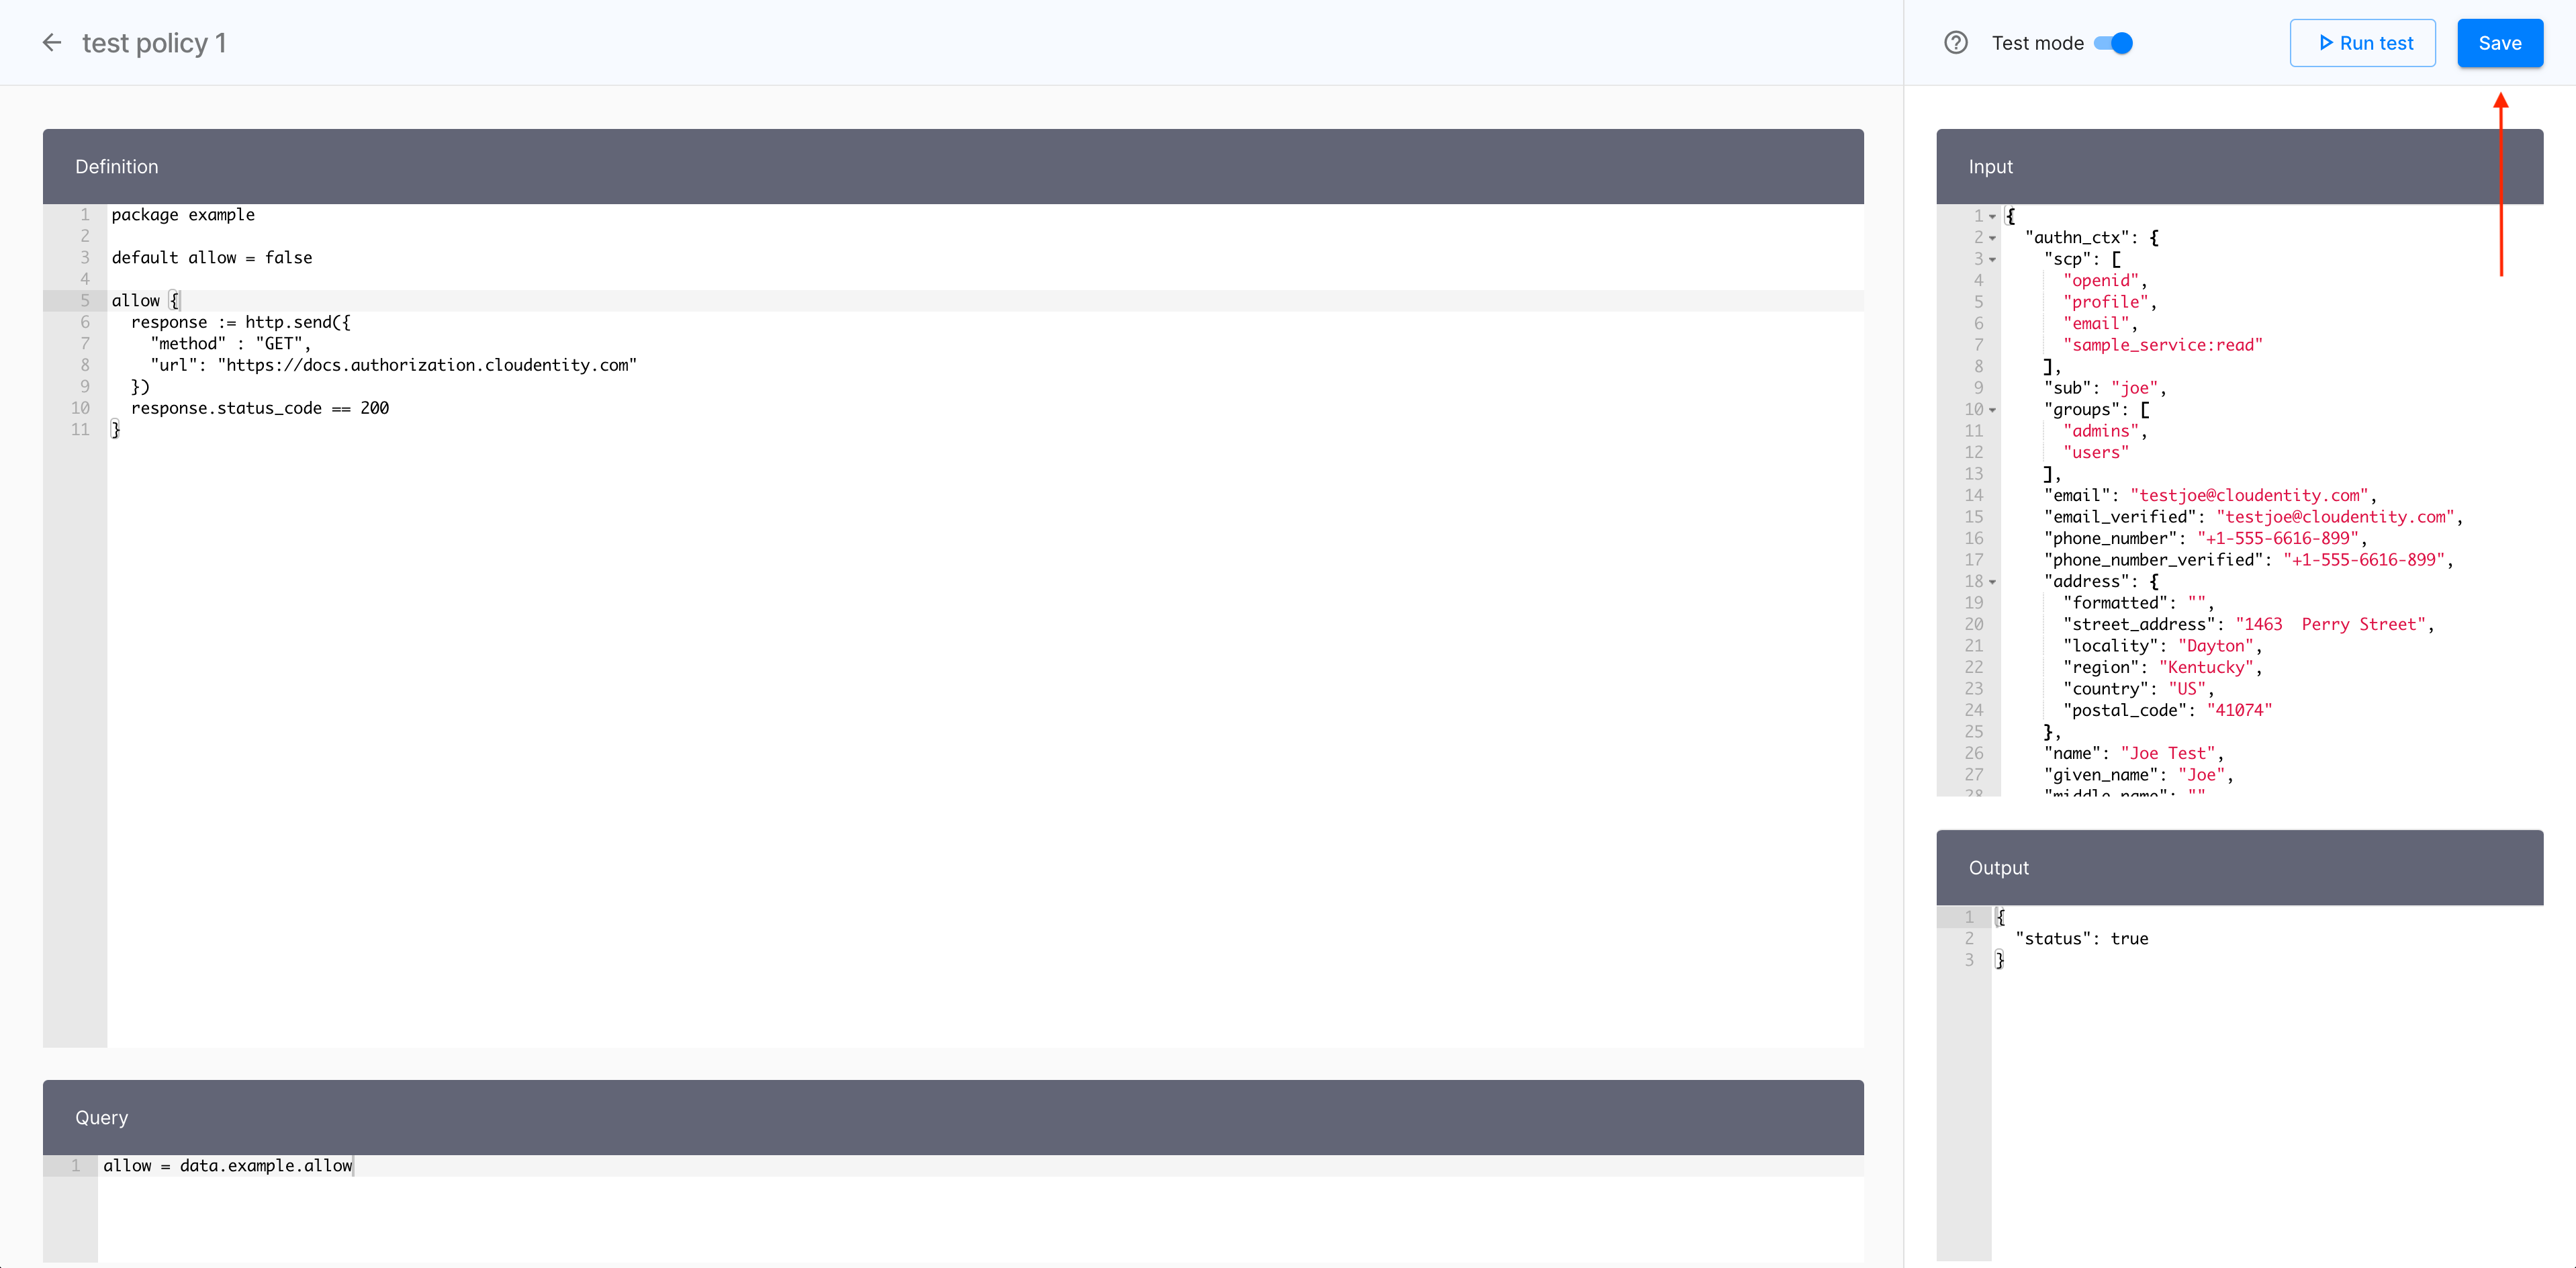
Check results in the Output section.

-
-
Select Save to finalize your new OPA policy.
Result
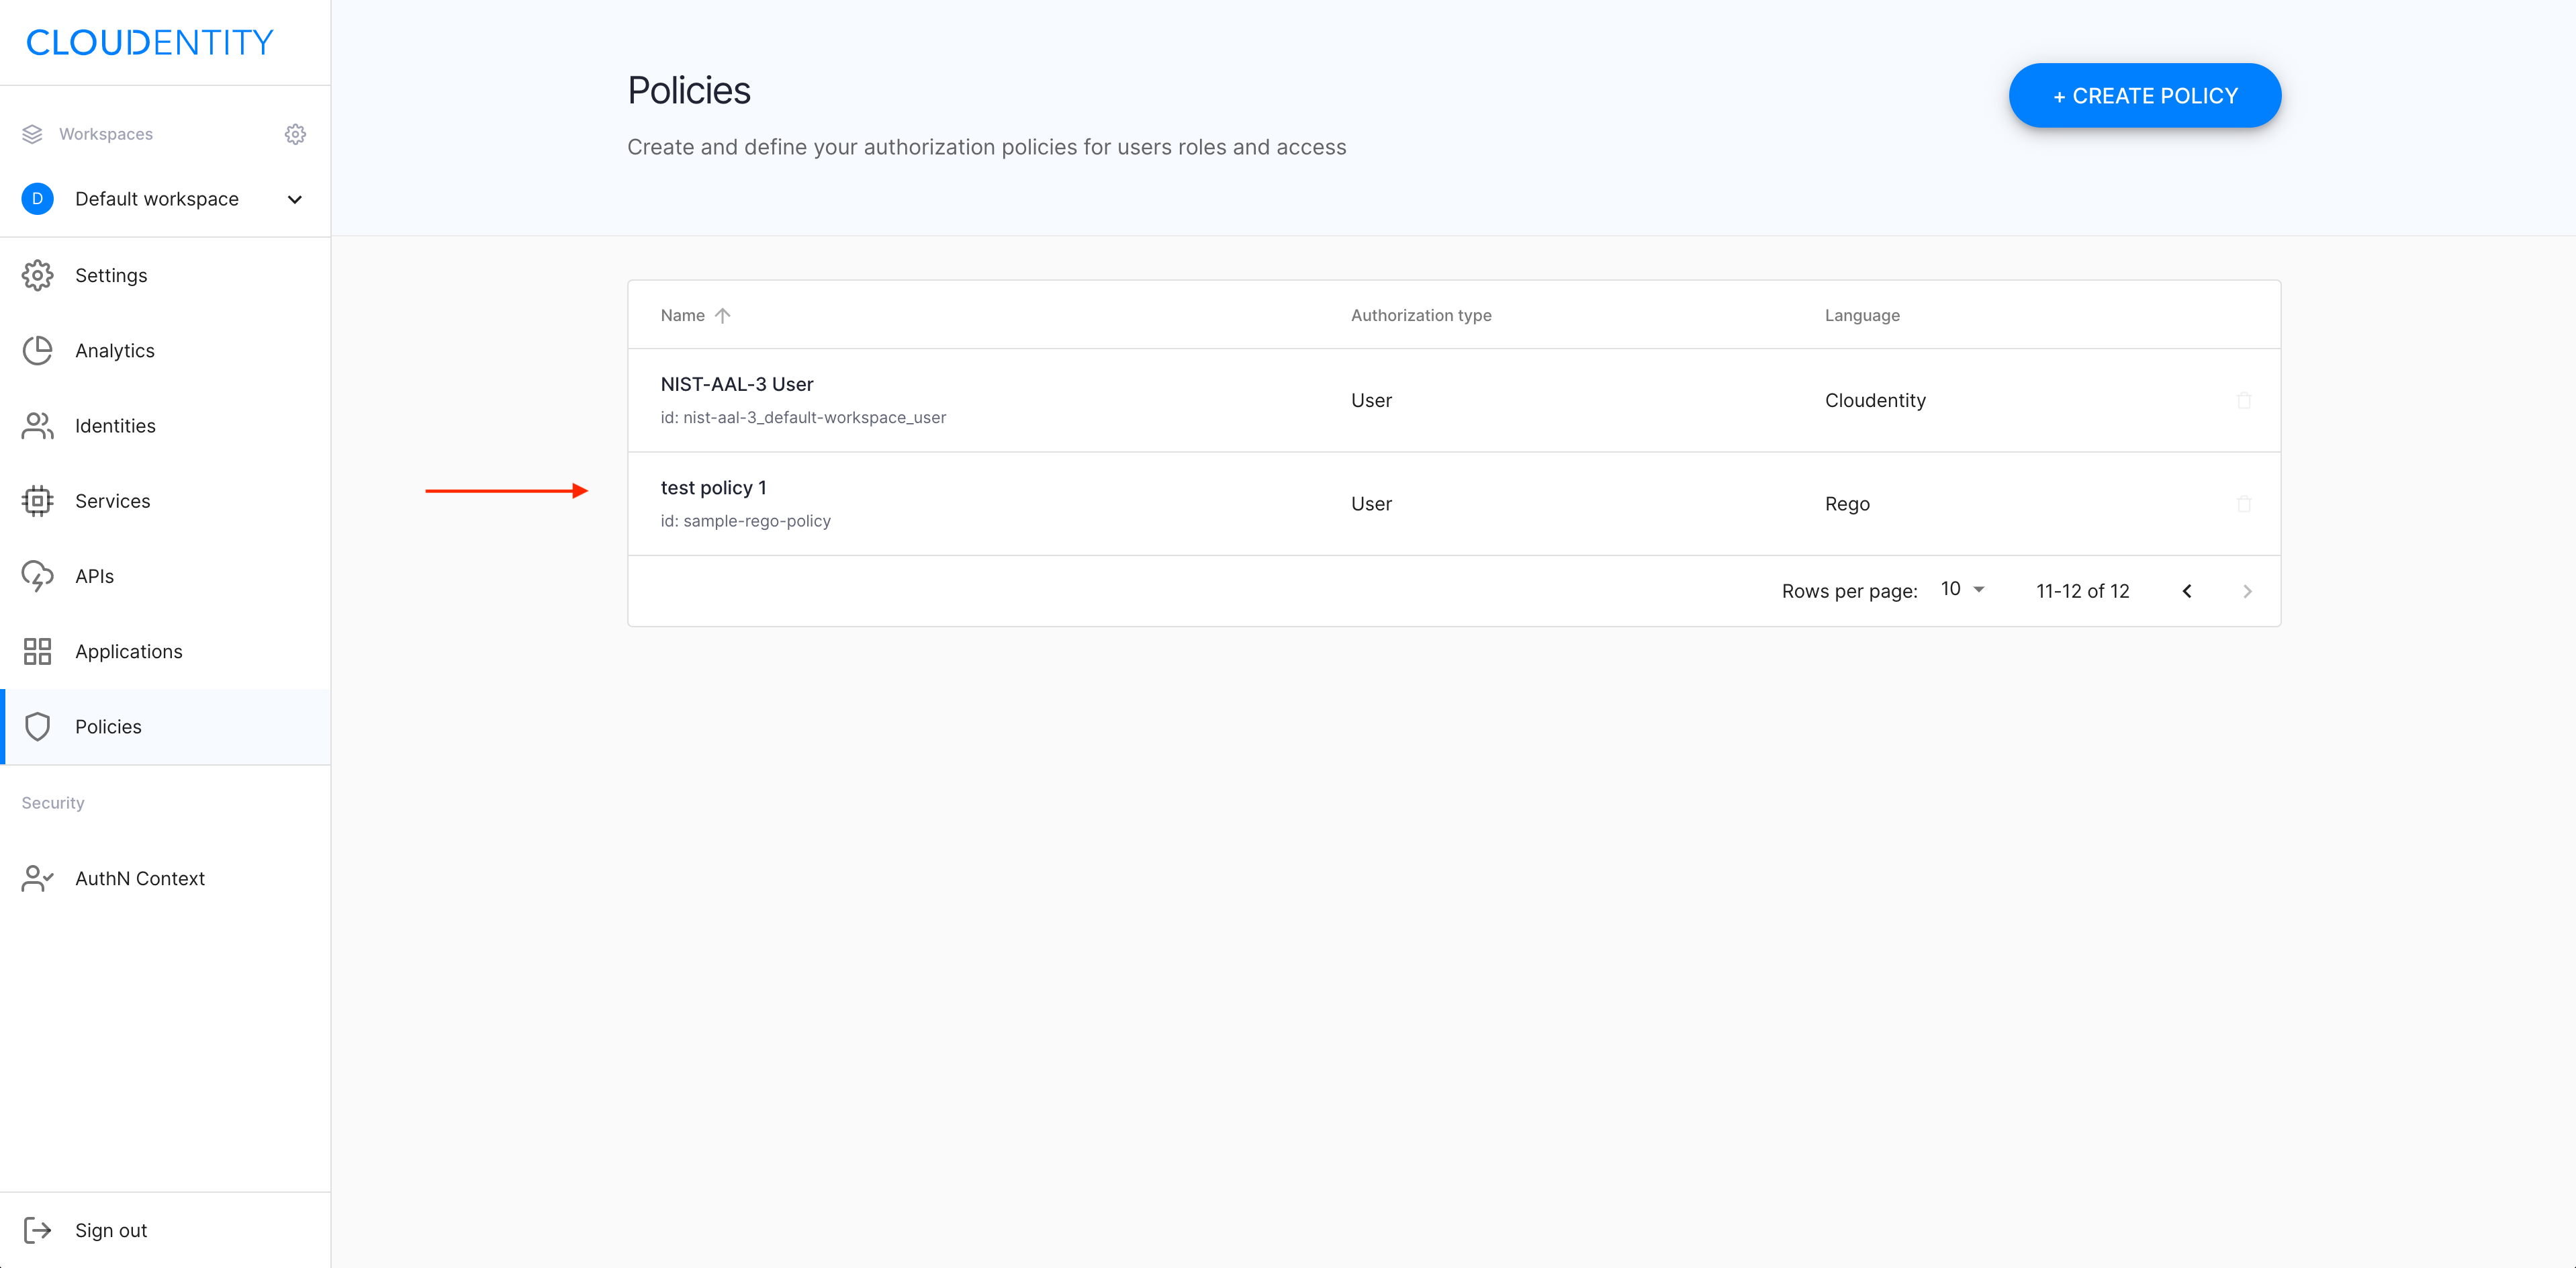
Your new OPA policy is available in the Policies view.
Next steps
Now you can proceed to
-
Configuring scopes for your new policy
-
Applying your policy to APIs (see Apply a sample policy in Protecting APIs with MicroPerimeter™ Custom Authorizer on AWS API Gateway).