ACP's CIBA Authentication Device Simulator allows you to quickly get familiar with the Client-initiated Backchannel Authentication grant flow without a need to integrate your own authentication service with ACP. You can use the Simulator to mimick the flow and test it.
About Simulator
The AD Simulator gives you a possibility to test the POLL mode of the CIBA grant flow.
In this article, you can learn
what are the prerequisites to using the Simulator and what the process looks like.
Using ACP’s OIDC Client-initiated Backchannel Authentication flow API
you can initiate the flow and provide the dummy user from whom you can get an authorization consent
for your client application. After getting users' consent, you are able to request tokens using the
auth_req_id (authentication request ID) parameter.
Prerequisites
-
You have CIBA grant flow working in the POLL mode enabled both for your workspace and a client application.
Tip
To know how to enable the CIBA grant flow, see the Enabling CIBA for workspaces and client applications documentation.
-
Your client application has the
openidscope enabled. -
You have chosen the Simulator as your authentication device for your workspace.
Tip
To choose the Simulator as your authentication device, go to your Workspace > Settings, and then, in the CIBA tab select SIMULATOR, and save the changes.
Using CIBA AD Simulator
-
In your workspace, go to Settings > CIBA and click the link to the CIBA SIMULATOR.
Tip
You can also construct the URL yourself by adding the
/cibasimulatorpath right after your authorization server (workspace) URL.For example, the URL could look like the following:
https://yourTenantID.authz.cloudentity.io/yourTenantID/yourAuthorizationServerID/cibasimulatorIt is best that you leave the browser’s tab with the Simulator open, as you will need it later.
Result
CIBA Authentication Device Simulator is opened.
-
In your workspace, go to Applications and select the application for which you have enabled CIBA and the poll mode.
-
Copy your client ID and the client secret and save them, for example, in your notepad.
Tip
You can also export both parameters as environment variables for later convenience. To do so, for example, execute the following commands in your terminal:
export CLIENT_ID=c5de6f02btuqr6t52dpg export CLIENT_SECRET=POJVN-1YrsIrEpZEh7oAiAETP_NKYnvKm3jAsFnXYP8 -
Send a
POSTrequest to the ACP’s OIDC Client-initiated Backchannel Authentication flow API endpoint.curl -k -X POST https://{tid}.authz.cloudentity.io/{tid}/{aid}/backchannel/authentication -u "$CLIENT_ID:$CLIENT_SECRET" -d "scope=openid&login_hint=John"How to prepare your CURL request
The
tidpath parameter stands for your tenant identifier.The
aidpath parameter stands for your authorization server’s (workspace) identifier.The request example uses the client secret basic client authentication method. You can either enable it in your client applications settings or use a different method and adjust your request.
If you had not exported your client id and secret, provide both parameters as the value for the
$CLIENT_ID:$CLIENT_SECRETquery parameter. If you had exported both environment variables, you do need to do this.The
login_hintparameter stands for CIBA’s login hint. As the Simulator simplifies the CIBA grant flow, you can provide any String of your choice. For the Simulator, it is used like it was your user’s name.Result
curl -v -k -X POST https://{tid}.authz.cloudentity.io/{tid}/{aid}/backchannel/authentication -u "c5de6f02btuqr6t52dpg:POJVN-1YrsIrEpZEh7oAiAETP_NKYnvKm3jAsFnXYP8" -d "scope=openid&login_hint=John" {"auth_req_id":"1z2kPW10iV3wnMUzX4v8INi1htW1z2kPUYygShDP282bMviD7qgVP0","expires_in":120,"interval":5} -
Copy the value of the
auth_req_idfrom the response and save it.Tip
You can, again, export your variable as shown in the tip of the third step.
-
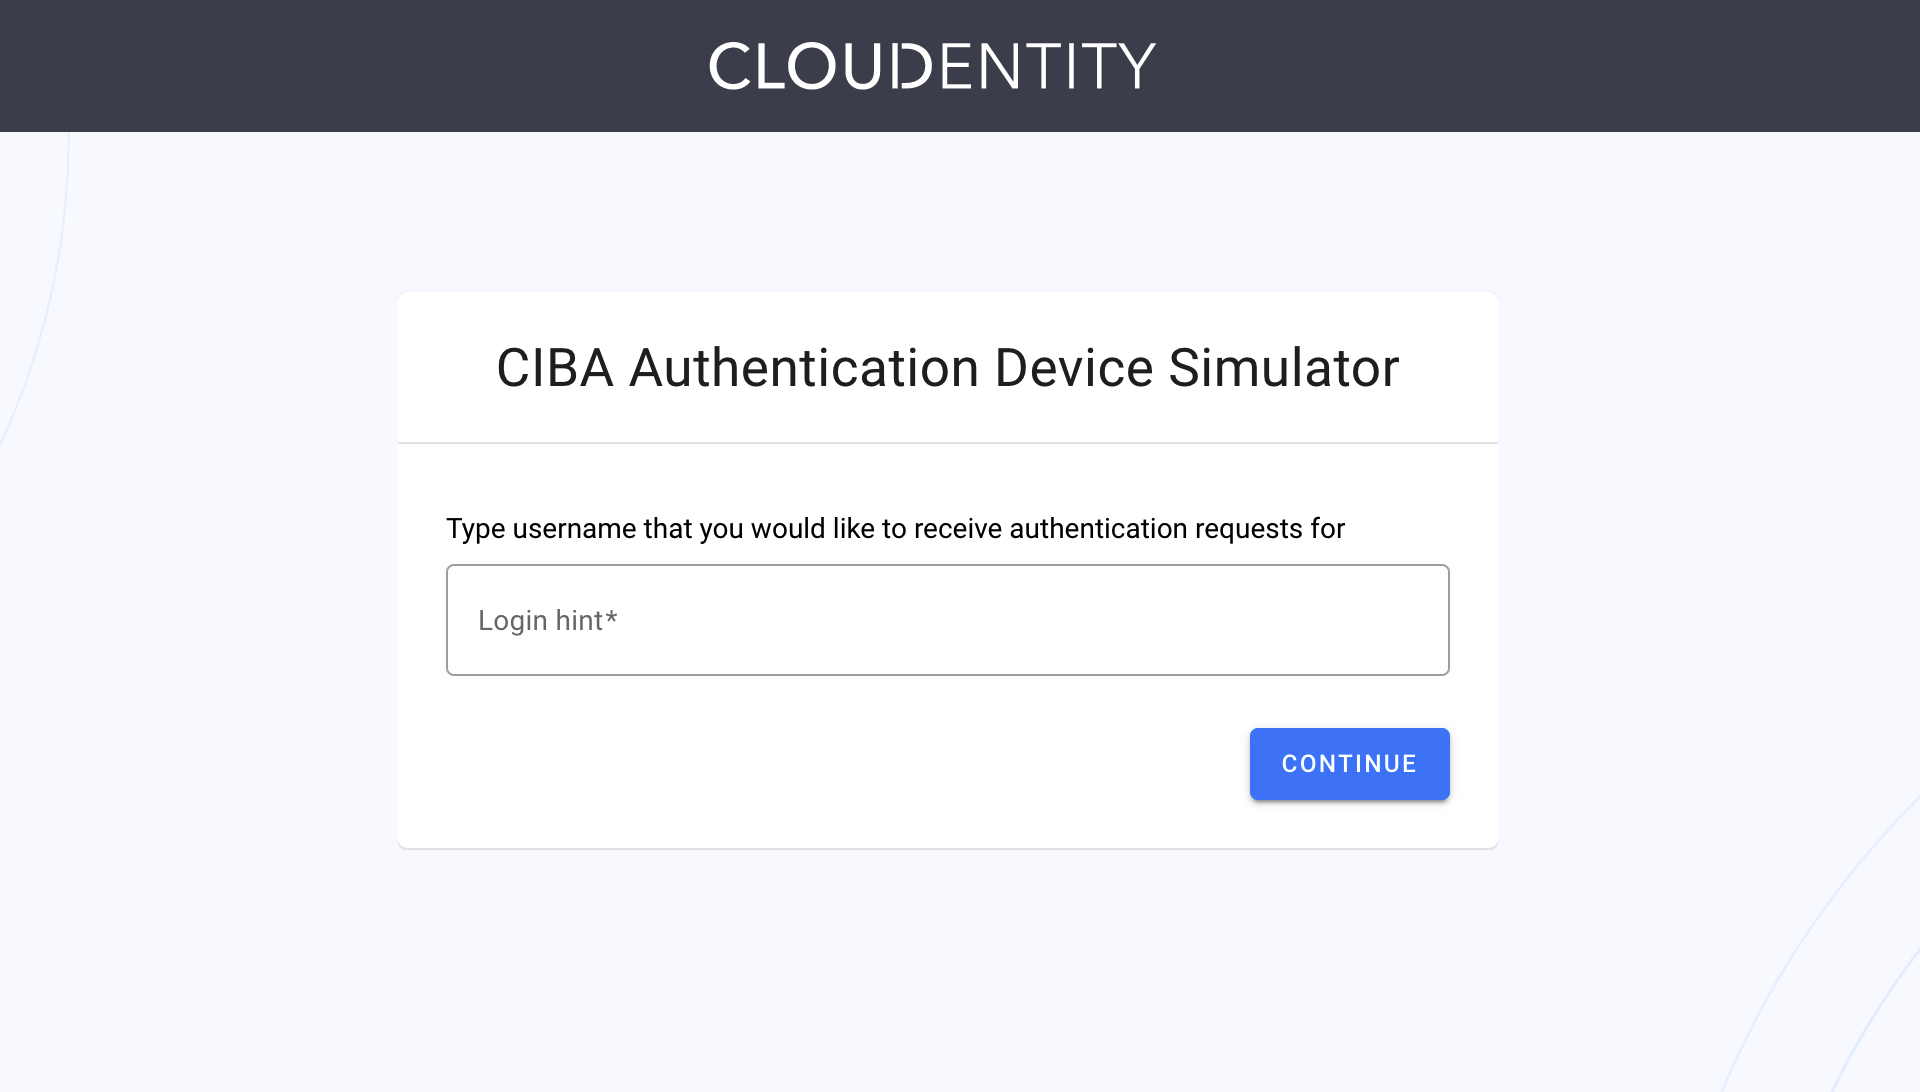
In your browser, navigate to the tab where you have opened the AD Simulator.
-
Provide the same login hint as you did for the value of the
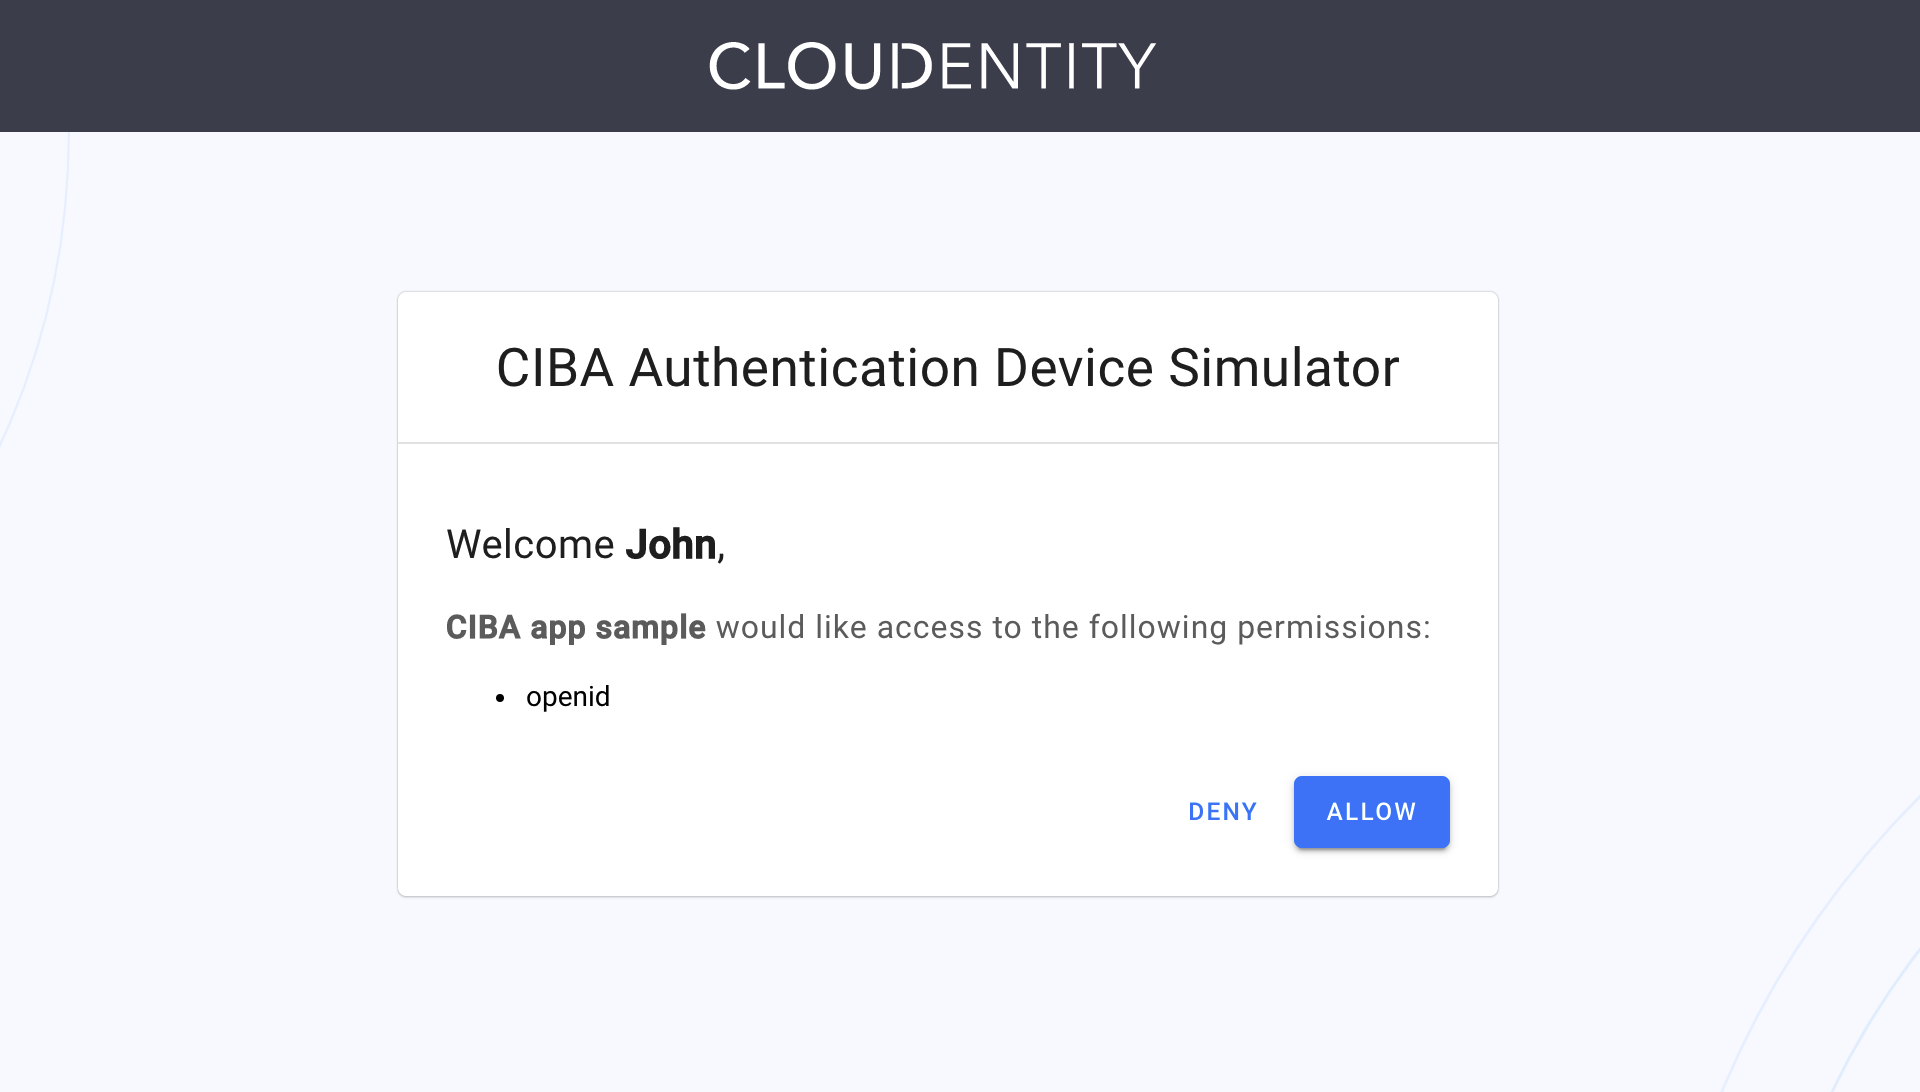
login_hintparameter in the fourth step of the procedure. Select CONTINUE.Result
The Simulator provides you with a consent screen, where you can deny or allow the access for the client application.
Tip
If you received the message similar to the following:
No authentication requests found for John. Your client must submit ciba backchannel authentication request.It might mean that your
auth_request_idparameter has expired. You need to make the request to the ACP’s OIDC Client-initiated Backchannel Authentication flow API endpoint once again. -
Select Allow.
Your client application is authorized. You can now request a token.
-
In your terminal, send a CURL request to the token endpoint for your workspace.
curl -k https://{tid}.authz.cloudentity.io/{tid}/{aid}/oauth2/token -d "grant_type=urn:openid:params:grant-type:ciba&auth_req_id=$AUTH_REQ_ID" -u "$CLIENT_ID:$CLIENT_SECRET"How to prepare your CURL request
The
tidpath parameter stands for your tenant identifier.The
aidpath parameter stands for your authorization server’s (workspace) identifier.The request example uses the client secret basic client authentication method. You can either enable it in your client applications settings or use a different method and adjust your request.
When requesting a token, the
grant_typeparameter is required. Set it’s value tourn:openid:params:grant-type:ciba.If you had not exported your authentication request ID, provide the value that you had received in the response to your
POSTcall to the ACP’s OIDC Client-initiated Backchannel Authentication flow API endpoint. If you had exported yourauth_req_idvariable, your request is almost ready.If you had not exported your client id and secret, provide both parameters as the value for the
$CLIENT_ID:$CLIENT_SECRETquery parameter. If you had exported both environment variables, your request is ready to be sent.Result
You receive an access token and an ID token as the response to your call to the token endpoint. You can now use it to make requests to protected APIs.