Creating a simple mTLS client in Go
Learn how to create a simple mTLS client in Go.
Introduction
When the original specification for OAuth 2.0 was created in 2012, it included just single
client authentication method client_secret and three authorization grants.
Since then, a lot has changed.
Two out of three original grants are considered insecure (Resource Owner Password Credentials, Implicit)
and a lot of thought went into creating the threat model,
security recommendations, etc.
mTLS
One of the recommended client authentication methods uses Mutual TLS and asymmetric client certificates.
Multiple financial OAuth security profiles and implementations based on FAPI recommend using mTLS-based client authentication.
PKCE
Proof Key for Code Exchange (PKCE) adds another security level to the authentication flow. Originally created for mobile applications and extended to SPA applications, PKCE is now recommended even for confidential clients.
Developer Requirements
ACP supports the client certificate authentication as well as PKCE, fulfilling the server requirements.
But the server support is not the whole story. Developers have to build mTLS-based authentication into their clients. Adding PKCE on top of it means an additional effort.
This tutorial shows how to write a simple Go application using the TLS client authentication and connect it to ACP. It presents the PKCE and non-PKCE versions. It also shows how you can configure mTLS in ACP.
Prerequisites
- ACP installed
- At least one workspace set up in ACP (if not, see Setting up your first workspace in ACP)
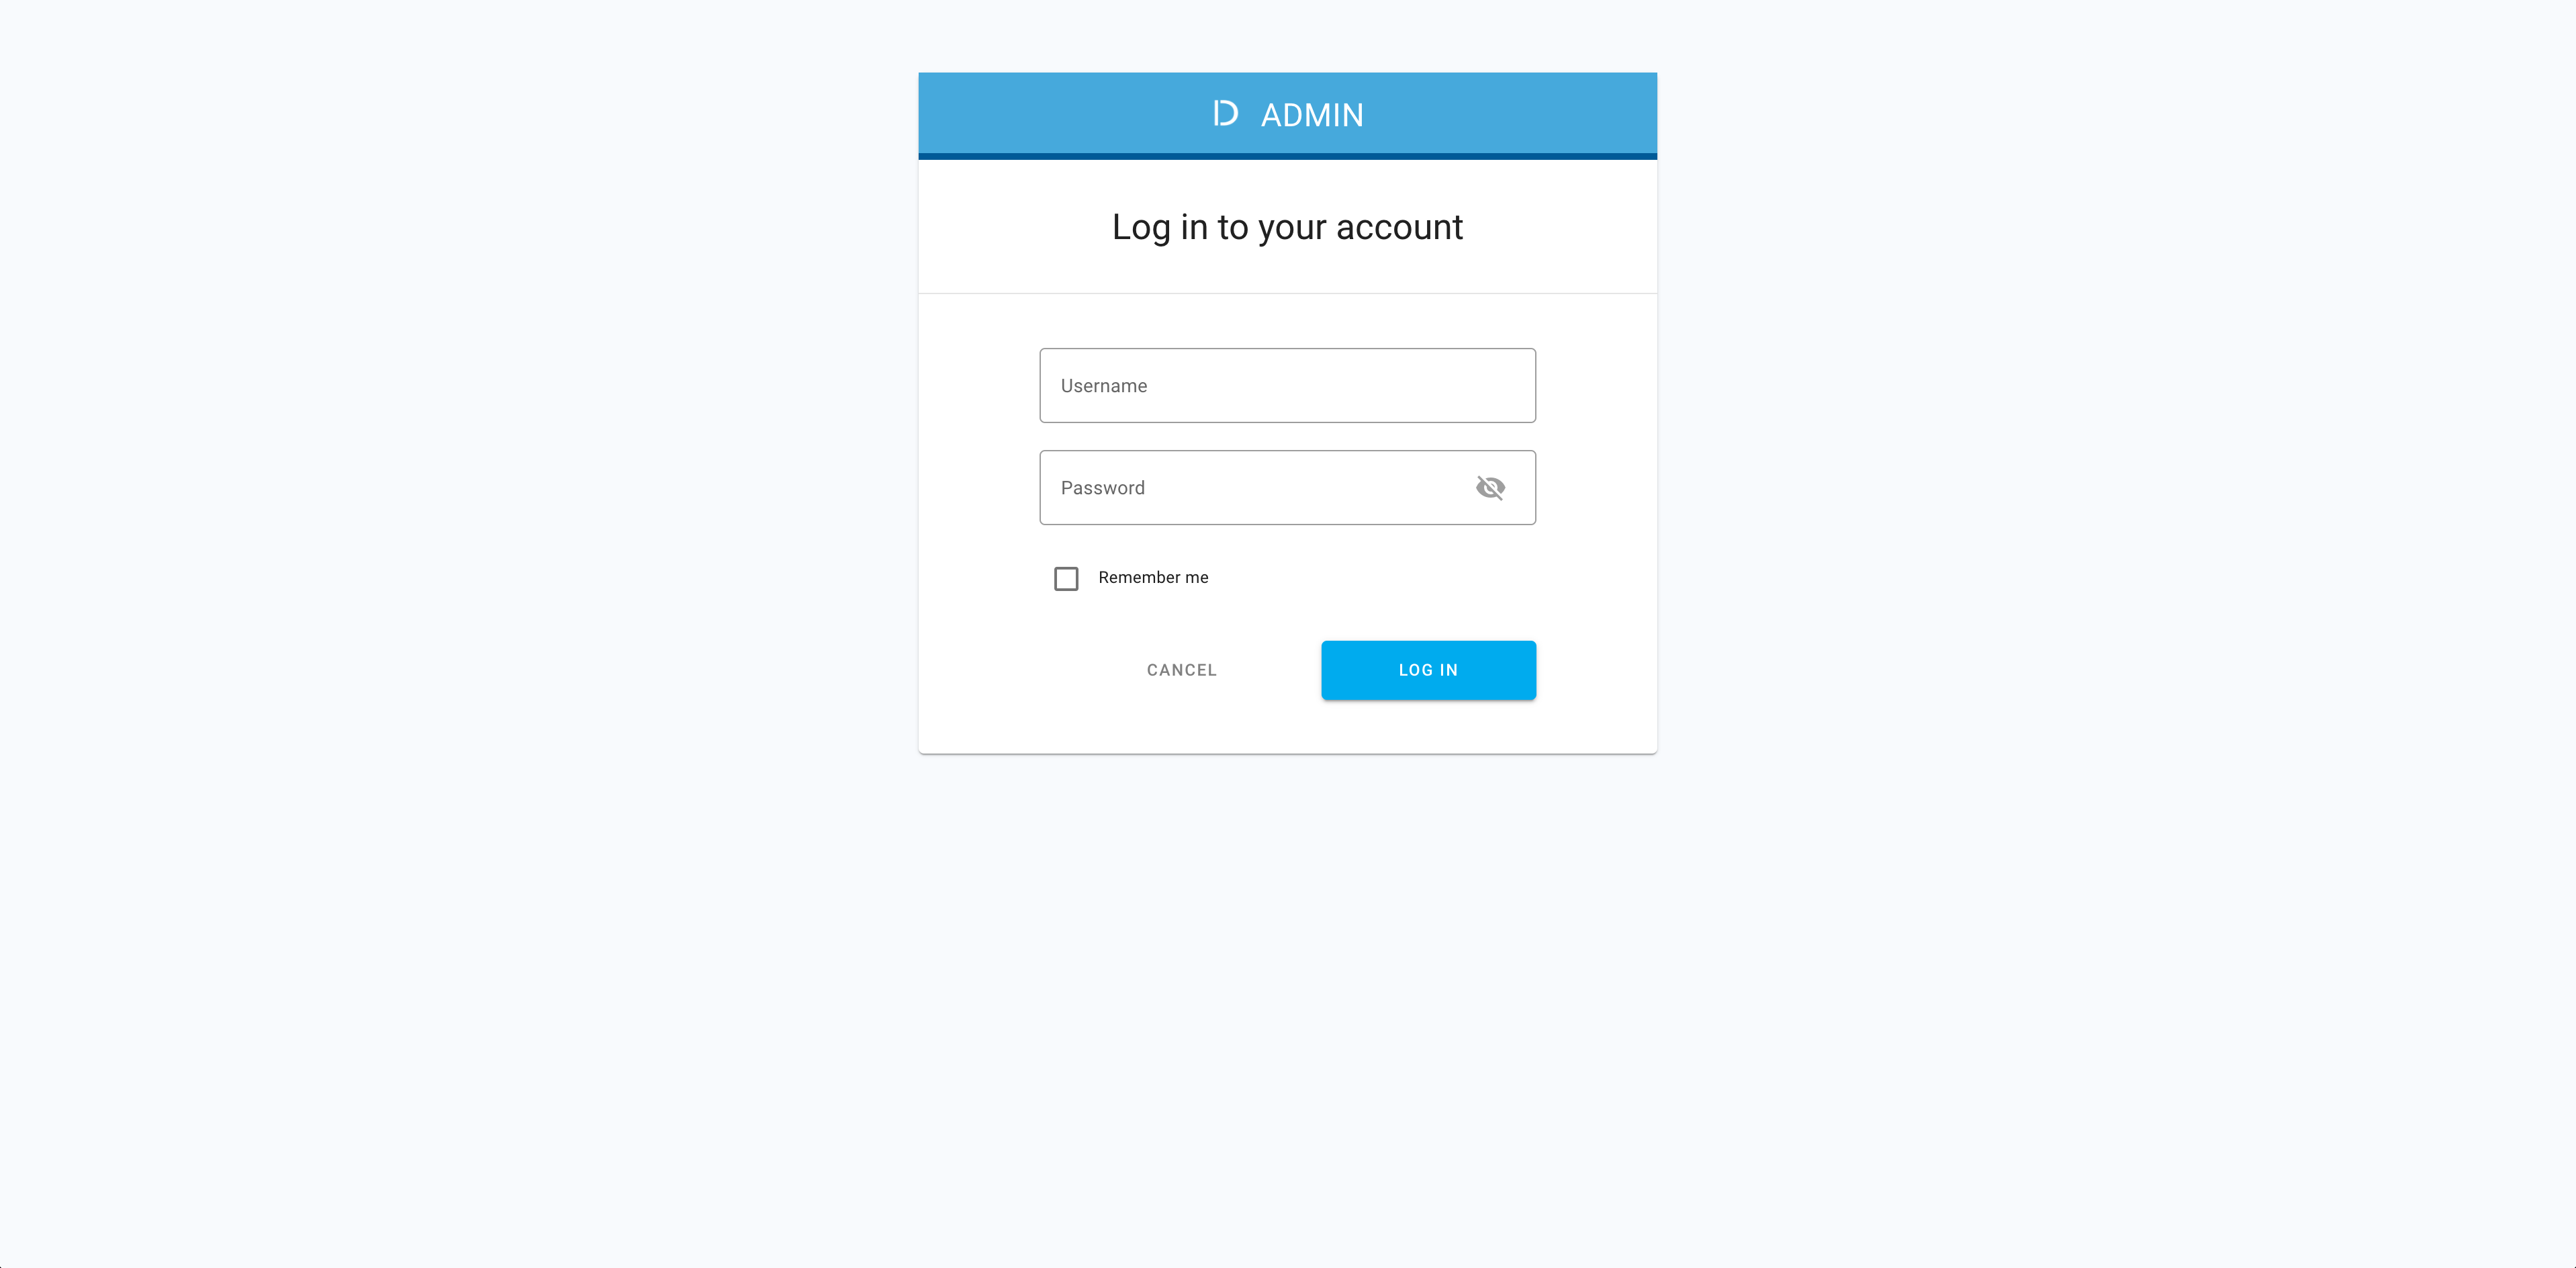
Select workspace
-
Log in to ACP with your username and password.
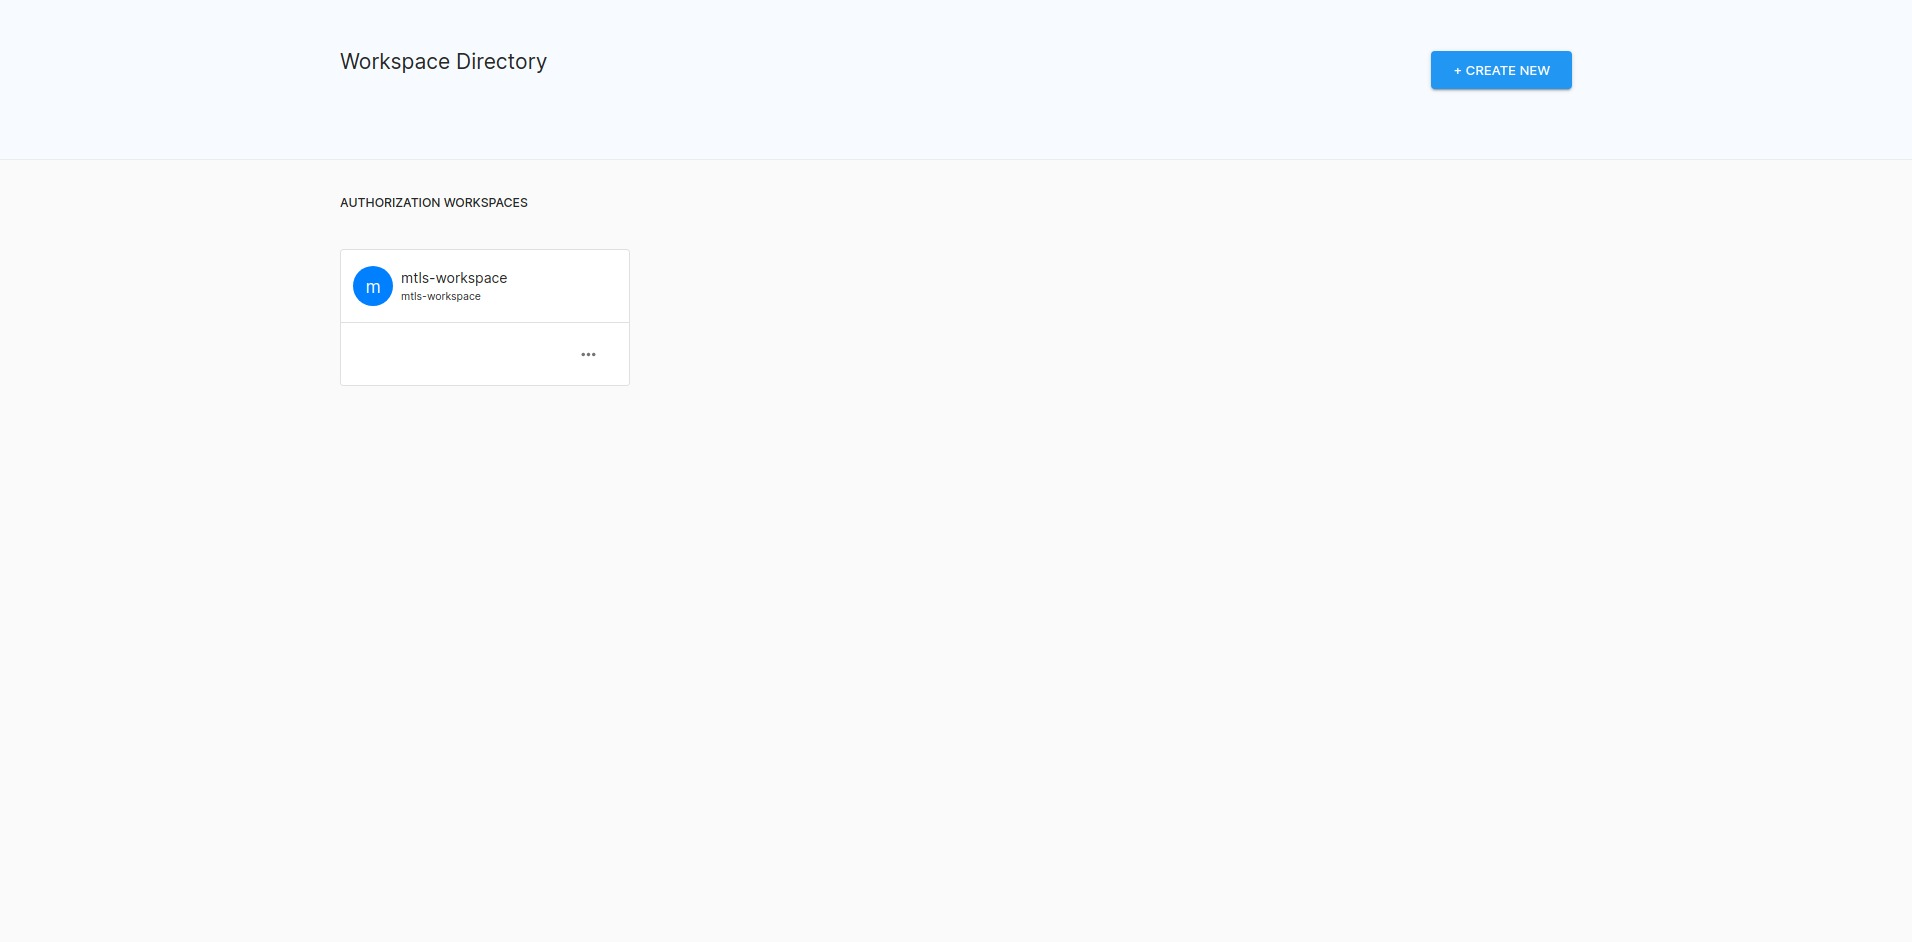
-
Select your workspace from Workspace Directory.
Create application
-
Select Applications from the left sidebar.
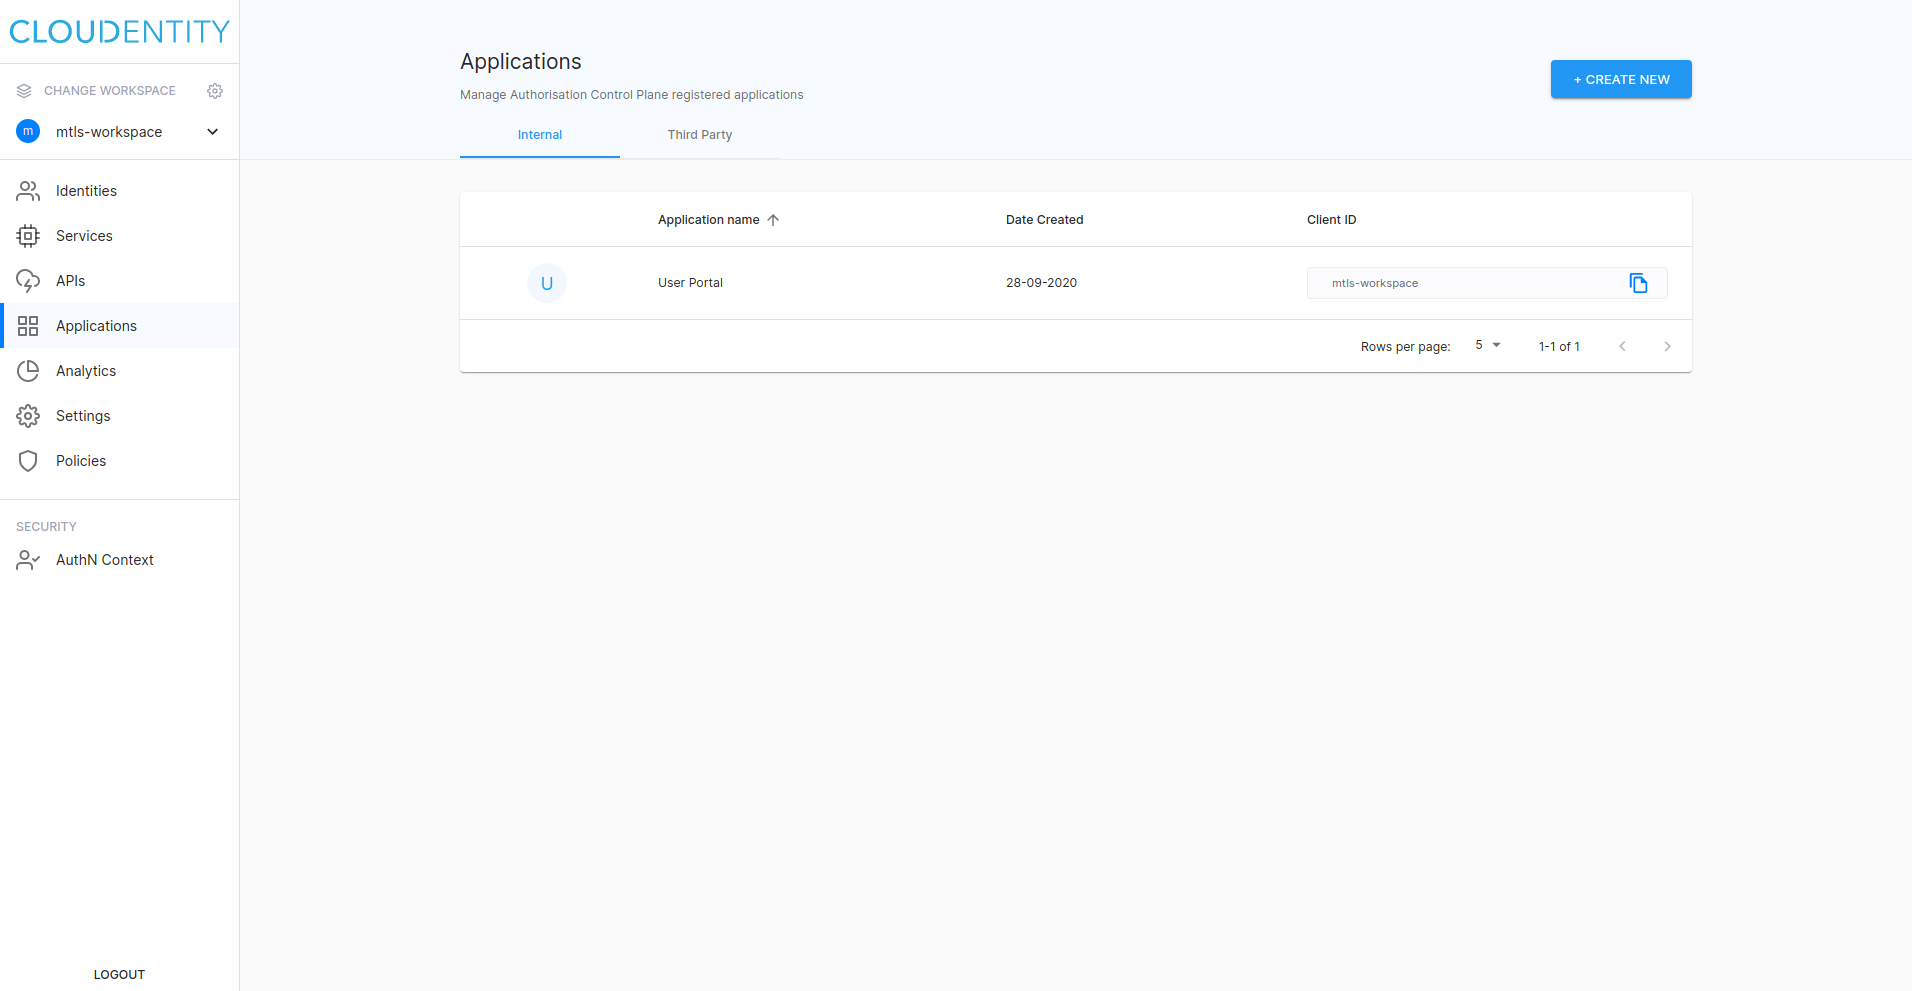
-
Select CREATE NEW from the top right corner of the page.
-
Provide Name, select the Server Web Application type, and click CREATE.

Configure auth settings
Note
These steps are specific to certificates provided together with the sample code. Provided values may vary depending on a certificate that you want to use in this tutorial.
Switch tab to OAuth and proceed as follows:
-
Select TLS Client Authentication from the Token Endpoint Authentication Method select box.
-
Change Certificate Metadata to TLS_CLIENT_AUTH_SUBJECT_DN.
-
Enter
authentication.cloudentity.comin the Subject Distinguished Name field. -
Select the Setup a redirect URL for your application link from the right sidebar.
Redirect URI is
http://localhost:18888/callbackunless you set up a sample mTLS client with custom parameters. -
Select Save Changes.
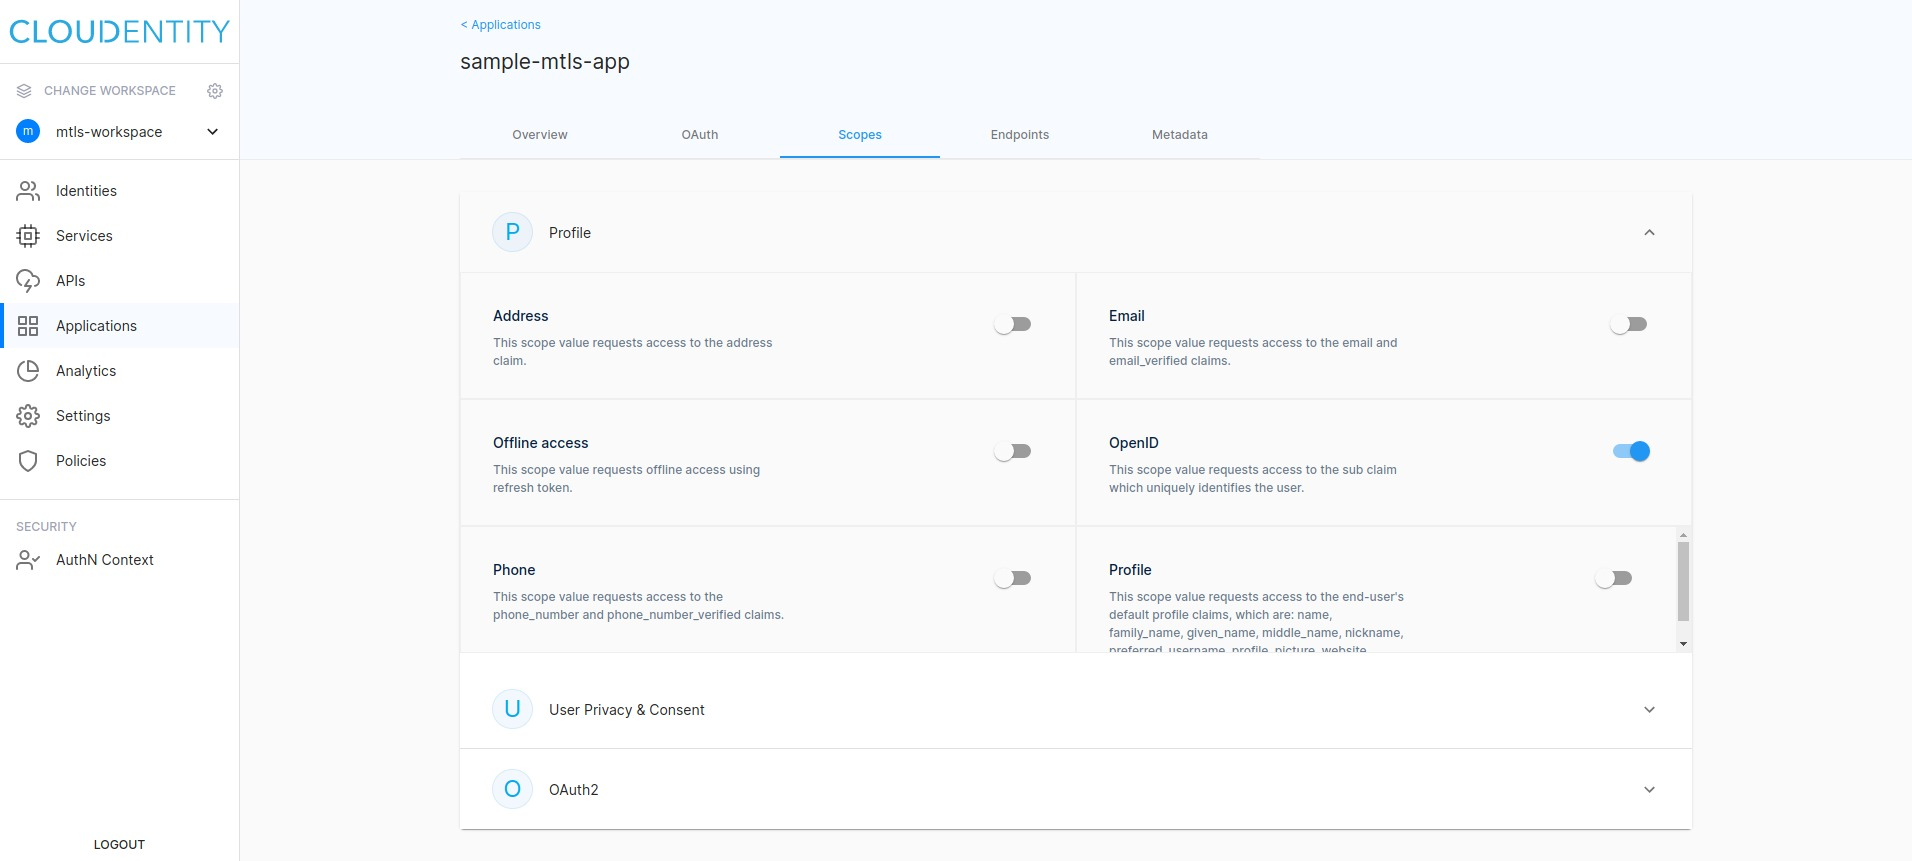
Configure scopes
-
Switch tab to Scopes.
-
Select Profile and the OpenID toggle switch.
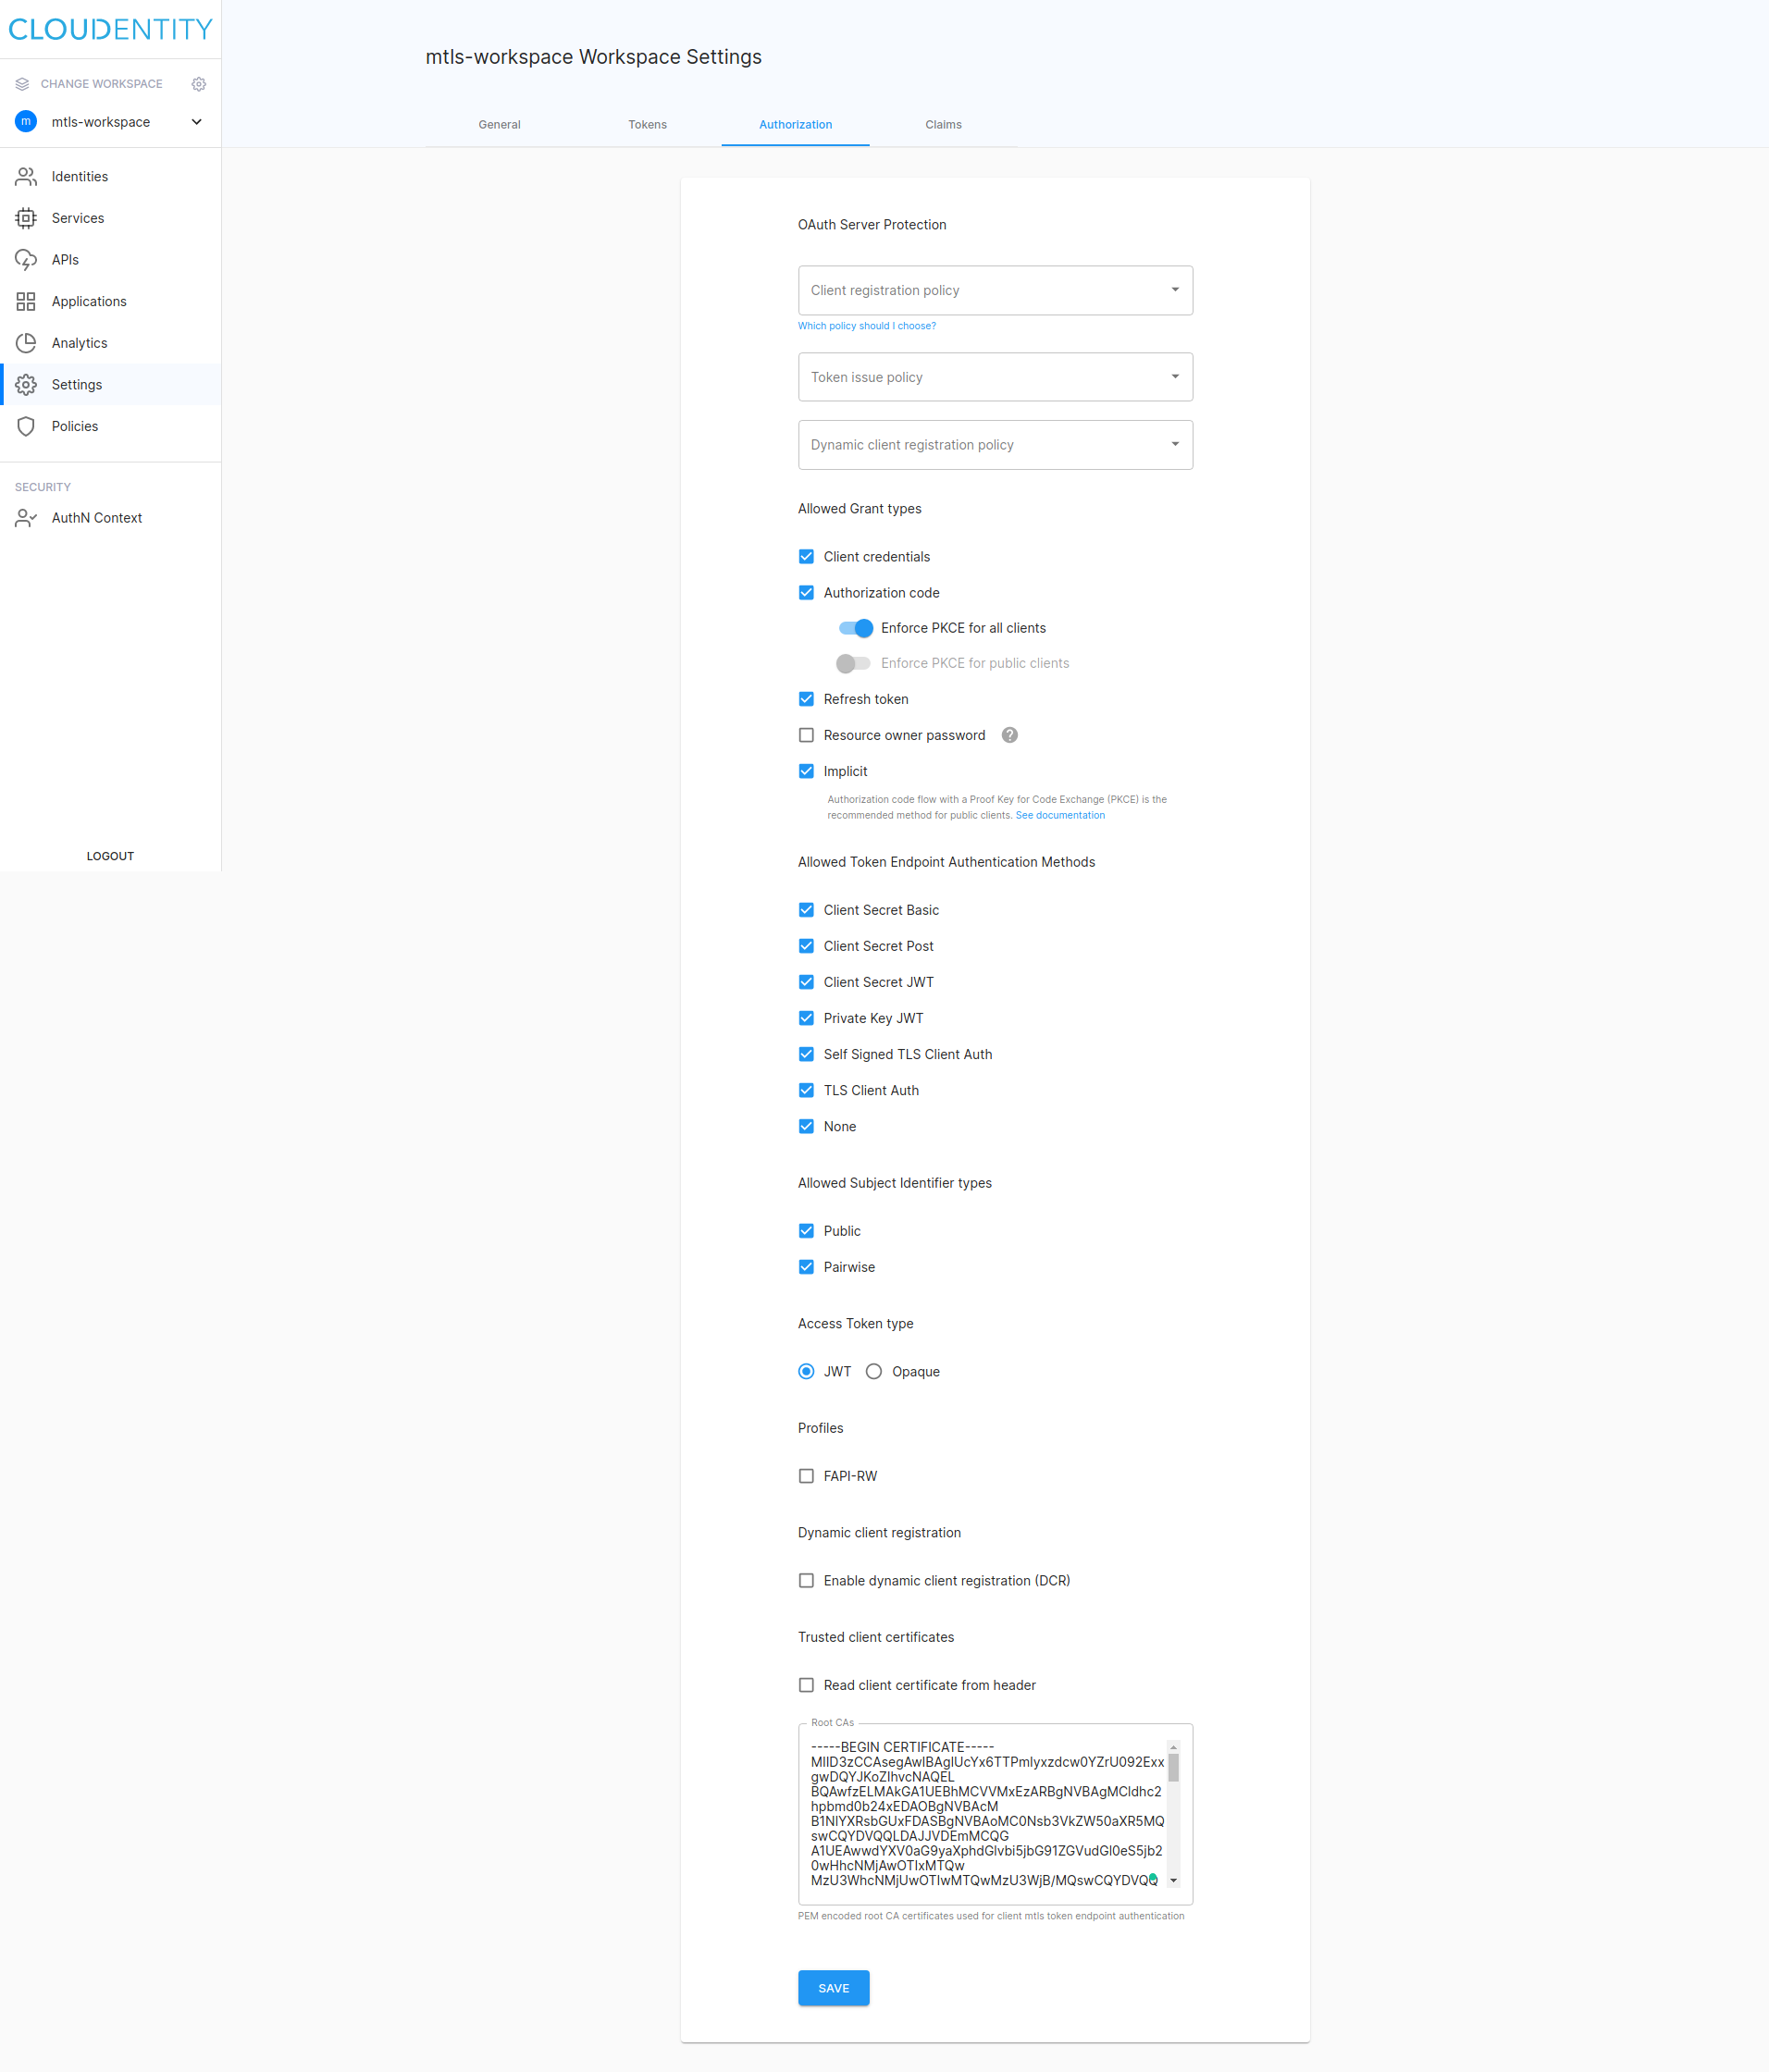
Configure Root CA
-
Select Settings from the left sidebar and switch tab to Authentication.
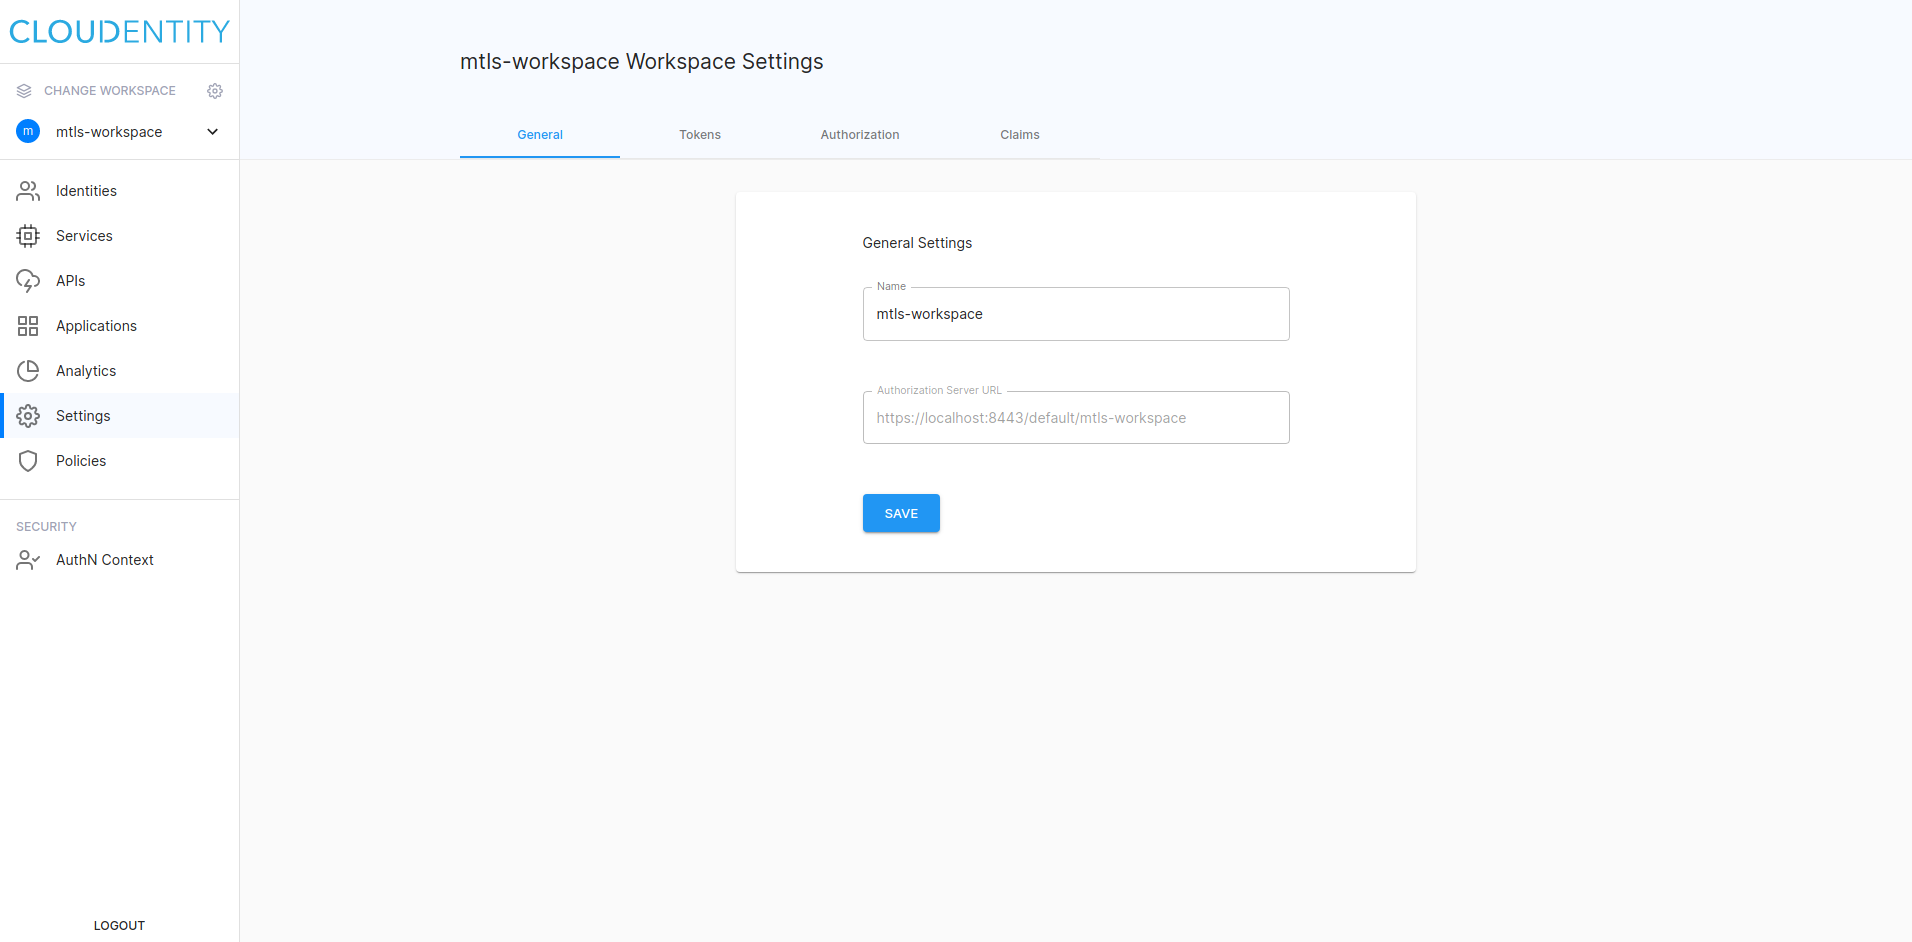
-
Scroll to the bottom of the page and paste your Root CA certificate to the Root CAs field.
Example
Check
certs/rootCA.pemfor an example Root CA certificate and the sample app code.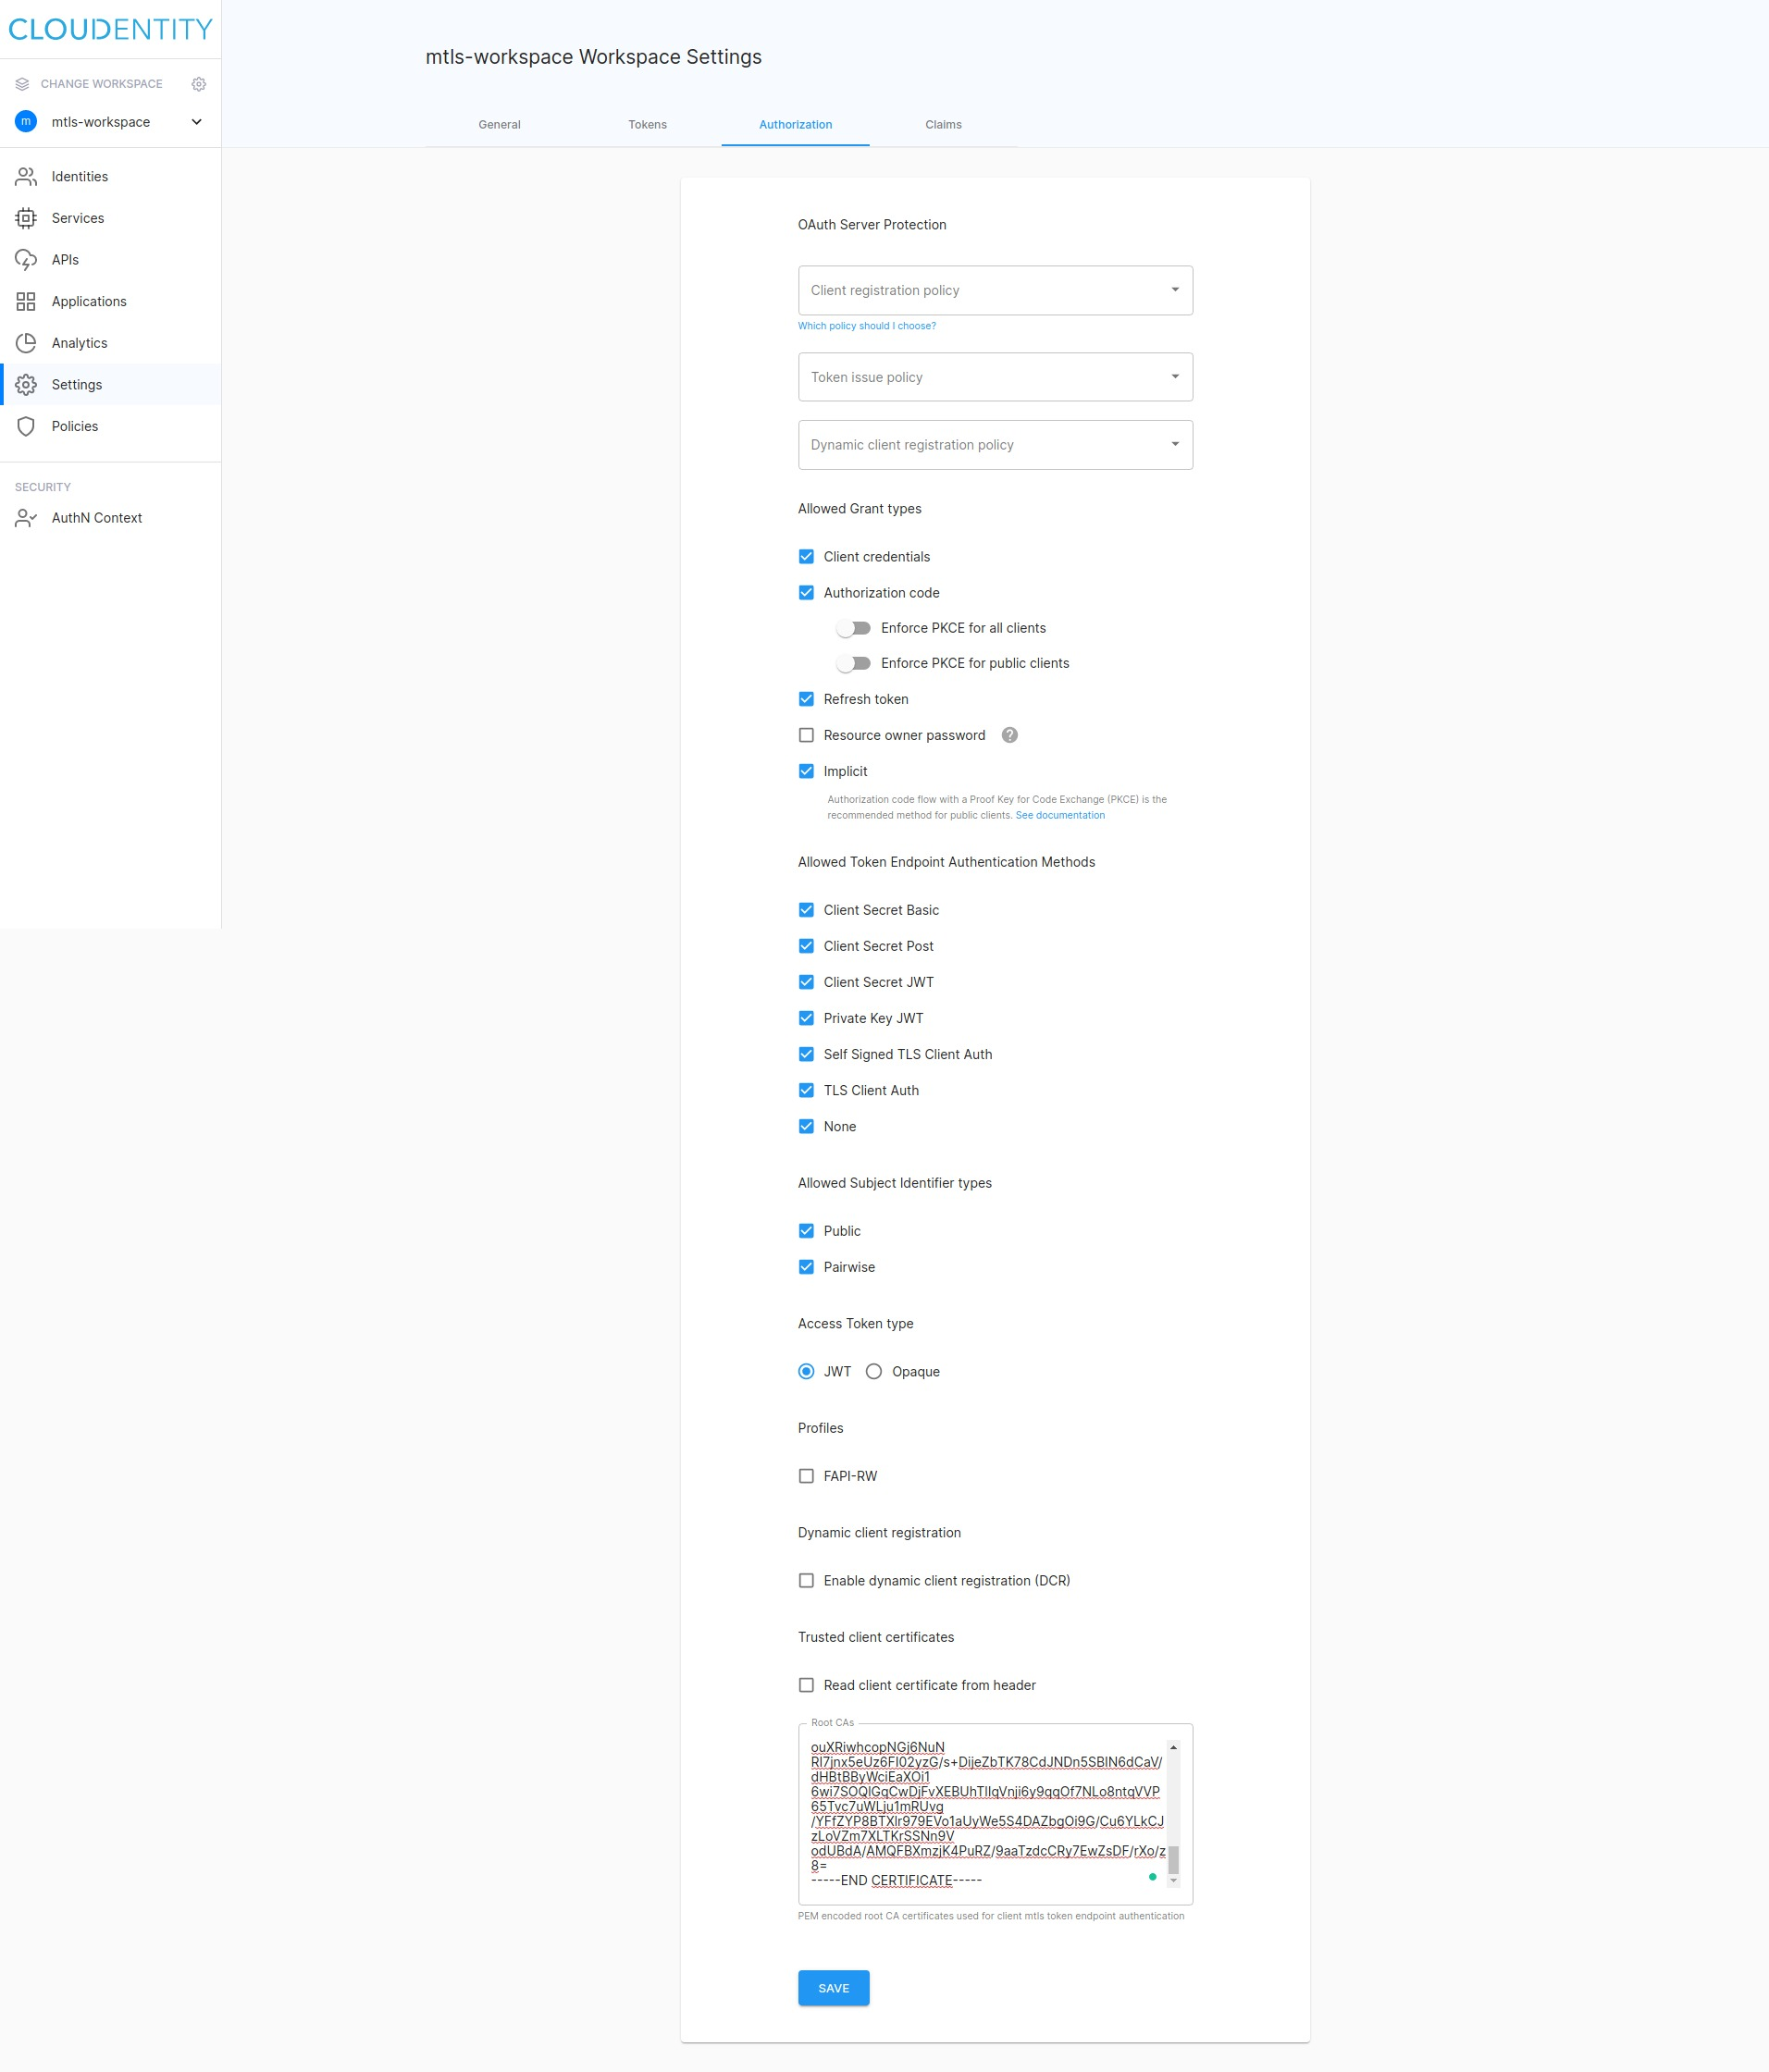
-
Select SAVE.
Run sample application
-
Clone the GIT repository with the sample app and build a sample code.
git clone git@github.com:cloudentity/sample-go-mtls-oauth-client.git make build cd sample-go-mtls-oauth-client -
Start the sample app.
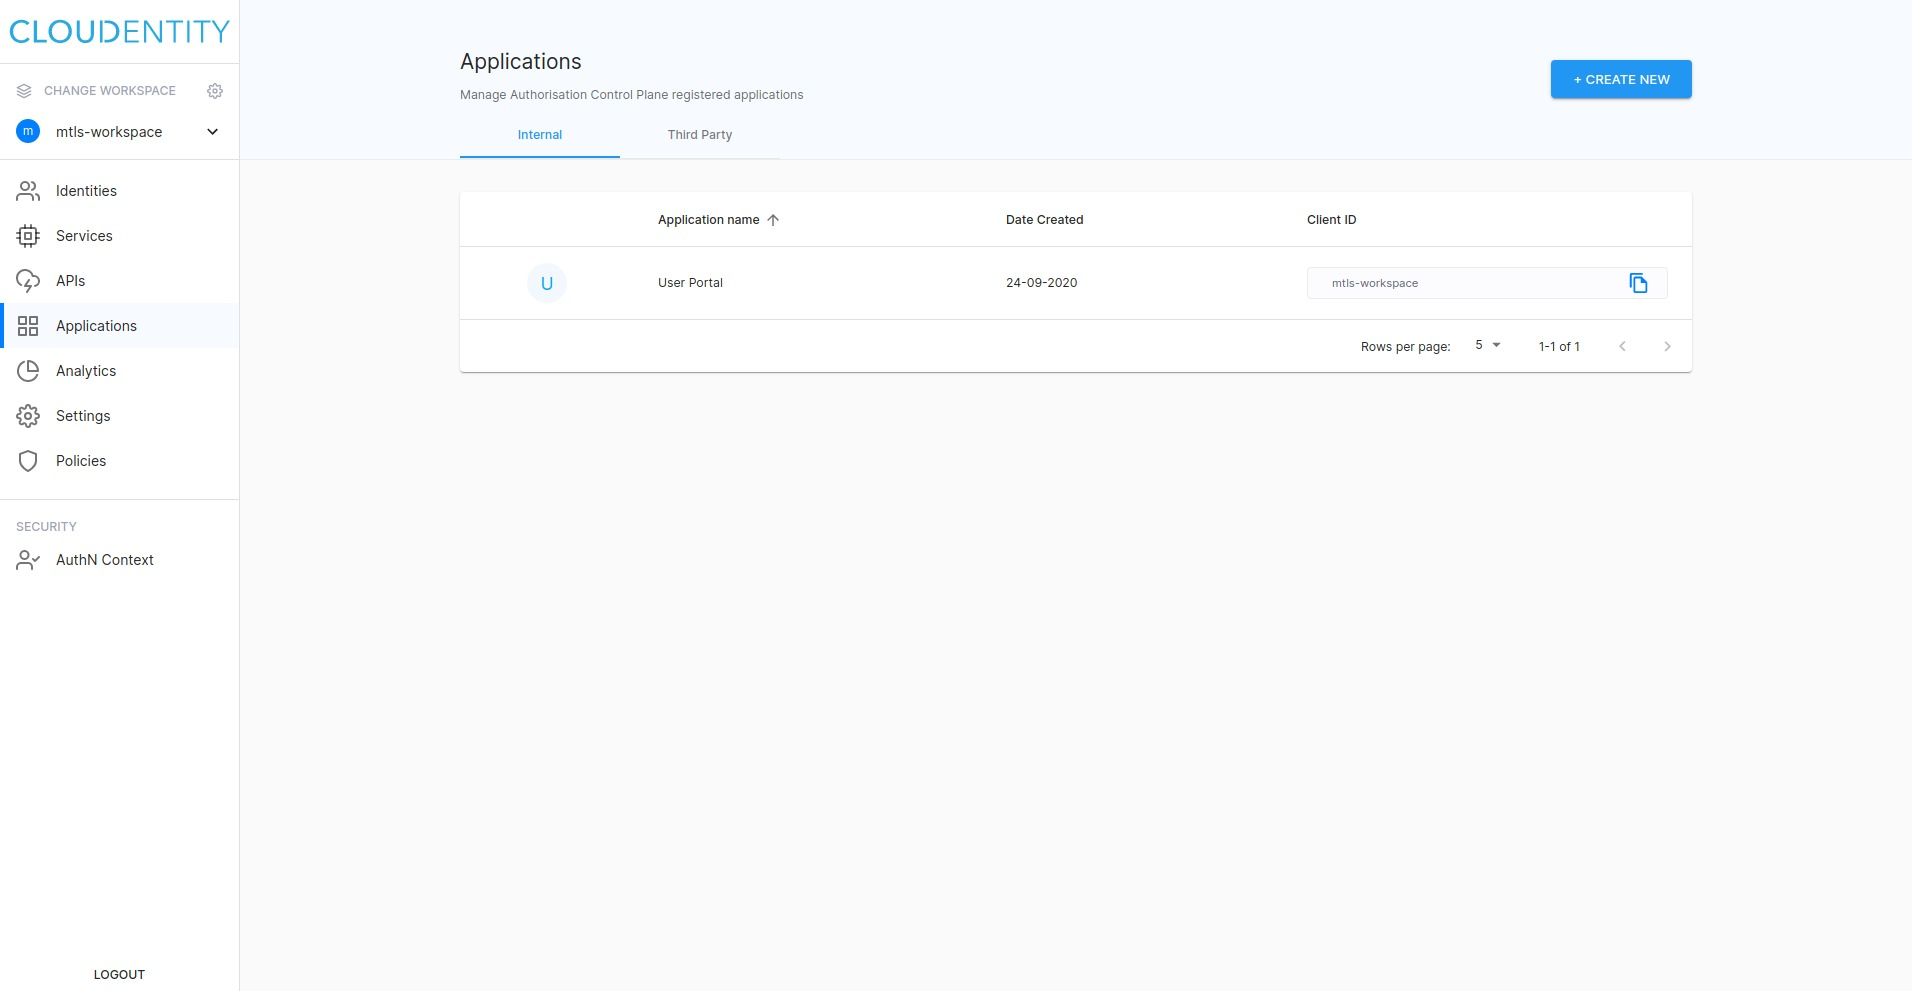
-
Copy Client ID from the application overview.
-
Start the sample application.
./sample-go-mtls-oauth-client --clientId <client_id> --key certs/server-key.pem -cert certs/cert.pem -issuerUrl https://localhost:8443/default/<workspace_id> -port 18888Note
If you use your pair of keys, provide their location in the
--keyand--certparameters.Result
After a successful start of the application, the terminal displays the following output:
Login endpoint available at: <http://localhost:18888/login>
Callback endpoint available at: <http://localhost:18888/callback>
-
Test sample client against ACP
-
Open your browser and navigate to the sample application login page.
-
Log in to sample application with the credentials provided during the workspace creation.
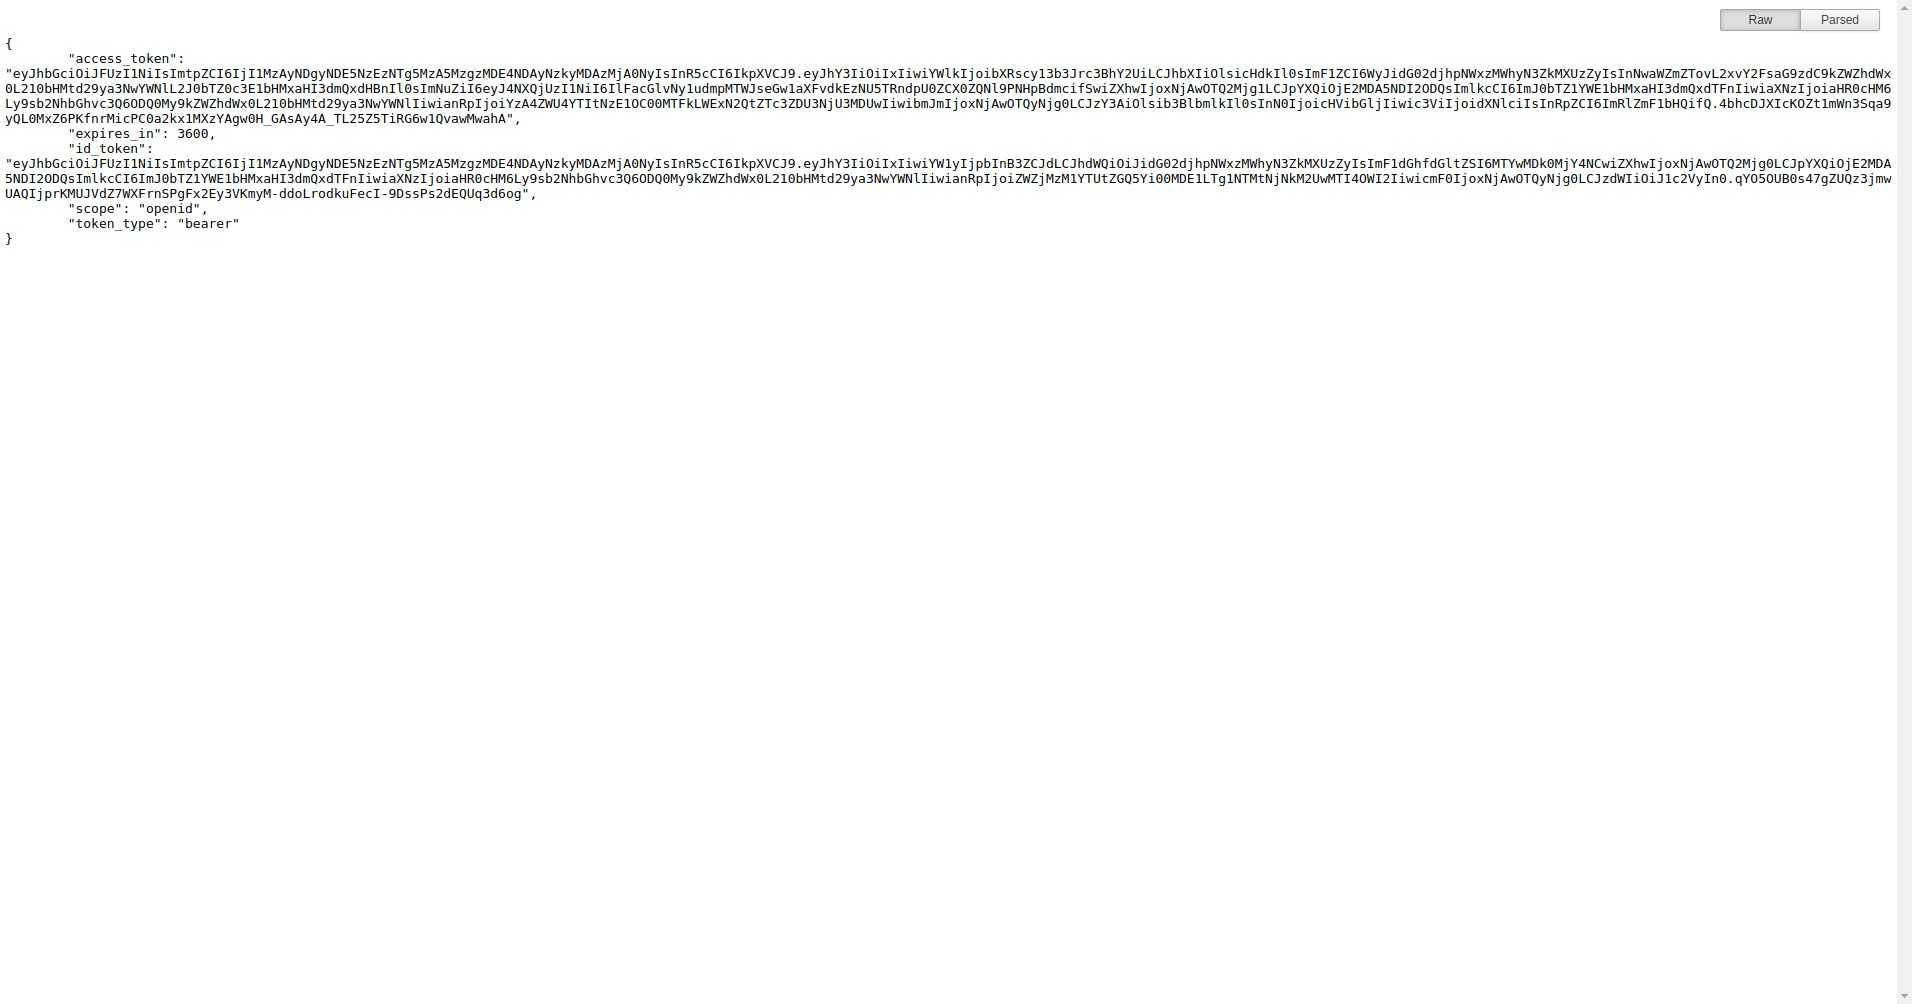
Result
After a successful login, you can see your access token.
ACP client
Create an HTTP client to talk to ACP.
Note
The client needs the TLS certificate for the ACP server (to establish a secure connection) and the pair of keys signed by the CA certificate (added in step Configure Root CA). The signed pair of keys is needed for the mTLS authentication.
/pkg/acp/client.go
//...
// NewClient creates new instance of ACP client.
func NewClient(serverCertPath string, certPath string, keyPath string, cfg Config) (client Client, err error) {
 var cert tls.Certificate

 // It sets up the certificate HTTP client needs for TLS communication with a server.
 clientCACert, err := ioutil.ReadFile(serverCertPath)
 if err != nil {
  return Client{}, fmt.Errorf("could not open cert file %v: %w", certPath, err)
 }

 clientCertPool := x509.NewCertPool()
 clientCertPool.AppendCertsFromPEM(clientCACert)

 // It assigns a pool with certificates to the HTTP client.
 if cert, err = tls.LoadX509KeyPair(certPath, keyPath); err != nil {
  return Client{}, fmt.Errorf("could not create acp client: %w", err)
 }

 httpClient := &http.Client{
  Transport: &http.Transport{
   // It assigns a pool with certificates to the HTTP client.
   TLSClientConfig: &tls.Config{
    Certificates: []tls.Certificate{cert},
    RootCAs:      clientCertPool,
   },
  },
 }

 return Client{HttpClient: httpClient, config: cfg}, nil
}
//...
Endpoints
The application needs to expose two endpoints: /login and /callback.
/loginredirects the user to the login page dedicated to the authorization service/callbackis called by the authorization service with a code that needs to be exchanged for an access token.
/login
main.go
...
func login(writer http.ResponseWriter, request *http.Request) {
   //...
 http.Redirect(writer, request, acpOAuthConfig.AuthorizeURL(challenge), http.StatusTemporaryRedirect)
}
...
The user gets redirected to the login page exposed by ACP. The authorization URL is generated by
acpOAuthConfig.AuthorizeURL(challenge) (challenge is addressed in this tutorial after
configuring PKCE).
See the implementation of the AuthorizeURL function and the Config structure:
/pkg/acp/config.go
type Config struct {
 // RedirectURL holds information where to redirect the user after successful authentication.
 RedirectURL string
 // ClientID is the ID of our client registered in ACP.
 ClientID    string
 // Scopes must be at least a subset of scopes assigned to our application in ACP.
 Scopes      []string
 // AuthURL is an URL where users can authenticate.
 AuthURL     string
 // TokenURL holds information about the endpoint where we can exchange code for an access token.
 TokenURL    string
 // PKCEEnabled is information whether PKCE is enabled or not.
 PKCEEnabled bool
}

// AuthorizeURL builds URL that the client uses to redirect the user after accessing/logging in to the endpoint.
// Challenge is a string used only when PKCE is enabled.
func (c Config) AuthorizeURL(challenge string) string {
 var (
  buf bytes.Buffer

  queryParams = url.Values{
   "response_type": {"code"},
   "client_id":     {c.ClientID},
   "redirect_uri":  {c.RedirectURL},
   "scope":         {strings.Join(c.Scopes, " ")},
  }
 )

    // ... (PKCE code goes here)

 buf.WriteString(c.AuthURL)
 if strings.Contains(c.AuthURL, "?") {
  buf.WriteByte('&')
 } else {
  buf.WriteByte('?')
 }

 buf.WriteString(queryParams.Encode())
 return buf.String()
}
/callback
main.go
//...
func callback(client acp.Client) func(http.ResponseWriter, *http.Request) {
 return func(writer http.ResponseWriter, request *http.Request) {
  var (
   body          []byte
   err           error
   verfier       *http.Cookie
   verifierValue string
   prettyJSON    bytes.Buffer

   // The request will contain this code to exchange it for an access token.
   code = request.URL.Query().Get("code")
  )

  // ... (PKCE code goes here)

  // Exchange code for an access token, include code verifier to validate it against challenge in ACP.
  if body, err = client.Exchange(code, verifierValue); err != nil {
   log.Printf("%v\n", err)
   return
  }

  if err = json.Indent(&prettyJSON, body, "", "\t"); err != nil {
   log.Printf("error while decoding successful body response: %v\n", err)
   return
  }

  if _, err = fmt.Fprint(writer, prettyJSON.String()); err != nil {
   log.Printf("error while writting successful body response: %v\n", err)
   return
  }
 }
}
//...
/callback is called by ACP once the user authenticates correctly. ACP sends the code,
which we need to exchange for an access token by invoking the client.Exchange function.
Enable PKCE
-
Select Settings from the left sidebar and switch to the Authorization tab.
-
Enable Enforce PKCE for all clients under Authorization code.
Test PKCE
-
Start the sample application with command
./sample-go-mtls-oauth-client --clientId <client_id> --key certs/server-key.pem -cert certs/cert.pem -issuerUrl https://localhost:8443/default/<workspace_id> -port 18888 -pkce -
Repeat the steps taken in Testing sample client against ACP.
Add PKCE to login endpoint
-
Create a random code verifier and generate a challenge code out of it.
-
Add the challenge code and the secure cookie with the code verifier to the authorization call.
main.gofunc login(writer http.ResponseWriter, request *http.Request) { var challenge string //If PKCE is enabled, generate code verifier and challenge. if *pkceEnabled { var ( encodedVerifier string encodedCookieValue string err error ) verifier := make([]byte, challengeLength) if _, err = io.ReadFull(rand.Reader, verifier); err != nil { log.Printf("error while generating challenge, %v\n", err) return } encodedVerifier = base64.RawURLEncoding.WithPadding(base64.NoPadding).EncodeToString(verifier) if encodedCookieValue, err = secureCookie.Encode("verifier", encodedVerifier); err != nil { log.Printf("error while encoding cookie, %v\n", err) return } // To preserve code verifier between authorization and callback, we want to store it in a secure cookie. cookie := http.Cookie{ Name: "verifier", Value: encodedCookieValue, Path: "/", Secure: false, HttpOnly: true, } http.SetCookie(writer, &cookie) hash := sha256.New() hash.Write([]byte(encodedVerifier)) challenge = base64.RawURLEncoding.WithPadding(base64.NoPadding).EncodeToString(hash.Sum([]byte{})) } http.Redirect(writer, request, acpOAuthConfig.AuthorizeURL(challenge), http.StatusTemporaryRedirect) } -
Add a challenge code along with a challenge method to the authorization request. Use, for example, the SHA256 hash for that purpose.
/pkg/acp/config.go
func (c Config) AuthorizeURL(challenge string) string {
  // ...
  // When PKCE is on, we need to add a code challenge to the authorization request.
  if c.PKCEEnabled {
    queryParams.Add("code_challenge", challenge)
    queryParams.Add("code_challenge_method", "S256")
  }
  // ...
}
Add PKCE to callback endpoint
In a /callback endpoint, read the cookie with the code verifier and add it to the
exchange function.
func callback(client acp.Client) func(http.ResponseWriter, *http.Request) {
 return func(writer http.ResponseWriter, request *http.Request) {
  //...
  if *pkceEnabled {
   if verfier, err = request.Cookie("verifier"); err != nil {
    log.Printf("%v\n", err)
    return
   }

   if err = secureCookie.Decode("verifier", verfier.Value, &verifierValue); err != nil {
    log.Printf("%v\n", err)
    return
   }
  }
        //...
 }
}