Using application metadata in token claims
This article provides an instruction on how to add application metadata to ID or access tokens in Authorization Control Plane (ACP).
About using client metadata
With ACP, you can inject additional metadata attributes as part of the client application object.
Metadata can be used as
-
Part of authorization policies
Learn more
See details in Protecting applications with the use of application metadata.
-
Custom claims injected to ID or access tokens.
Prerequisites
-
Administrator’s privileges in ACP
-
At least one application with its metadata defined in ACP
Note
-
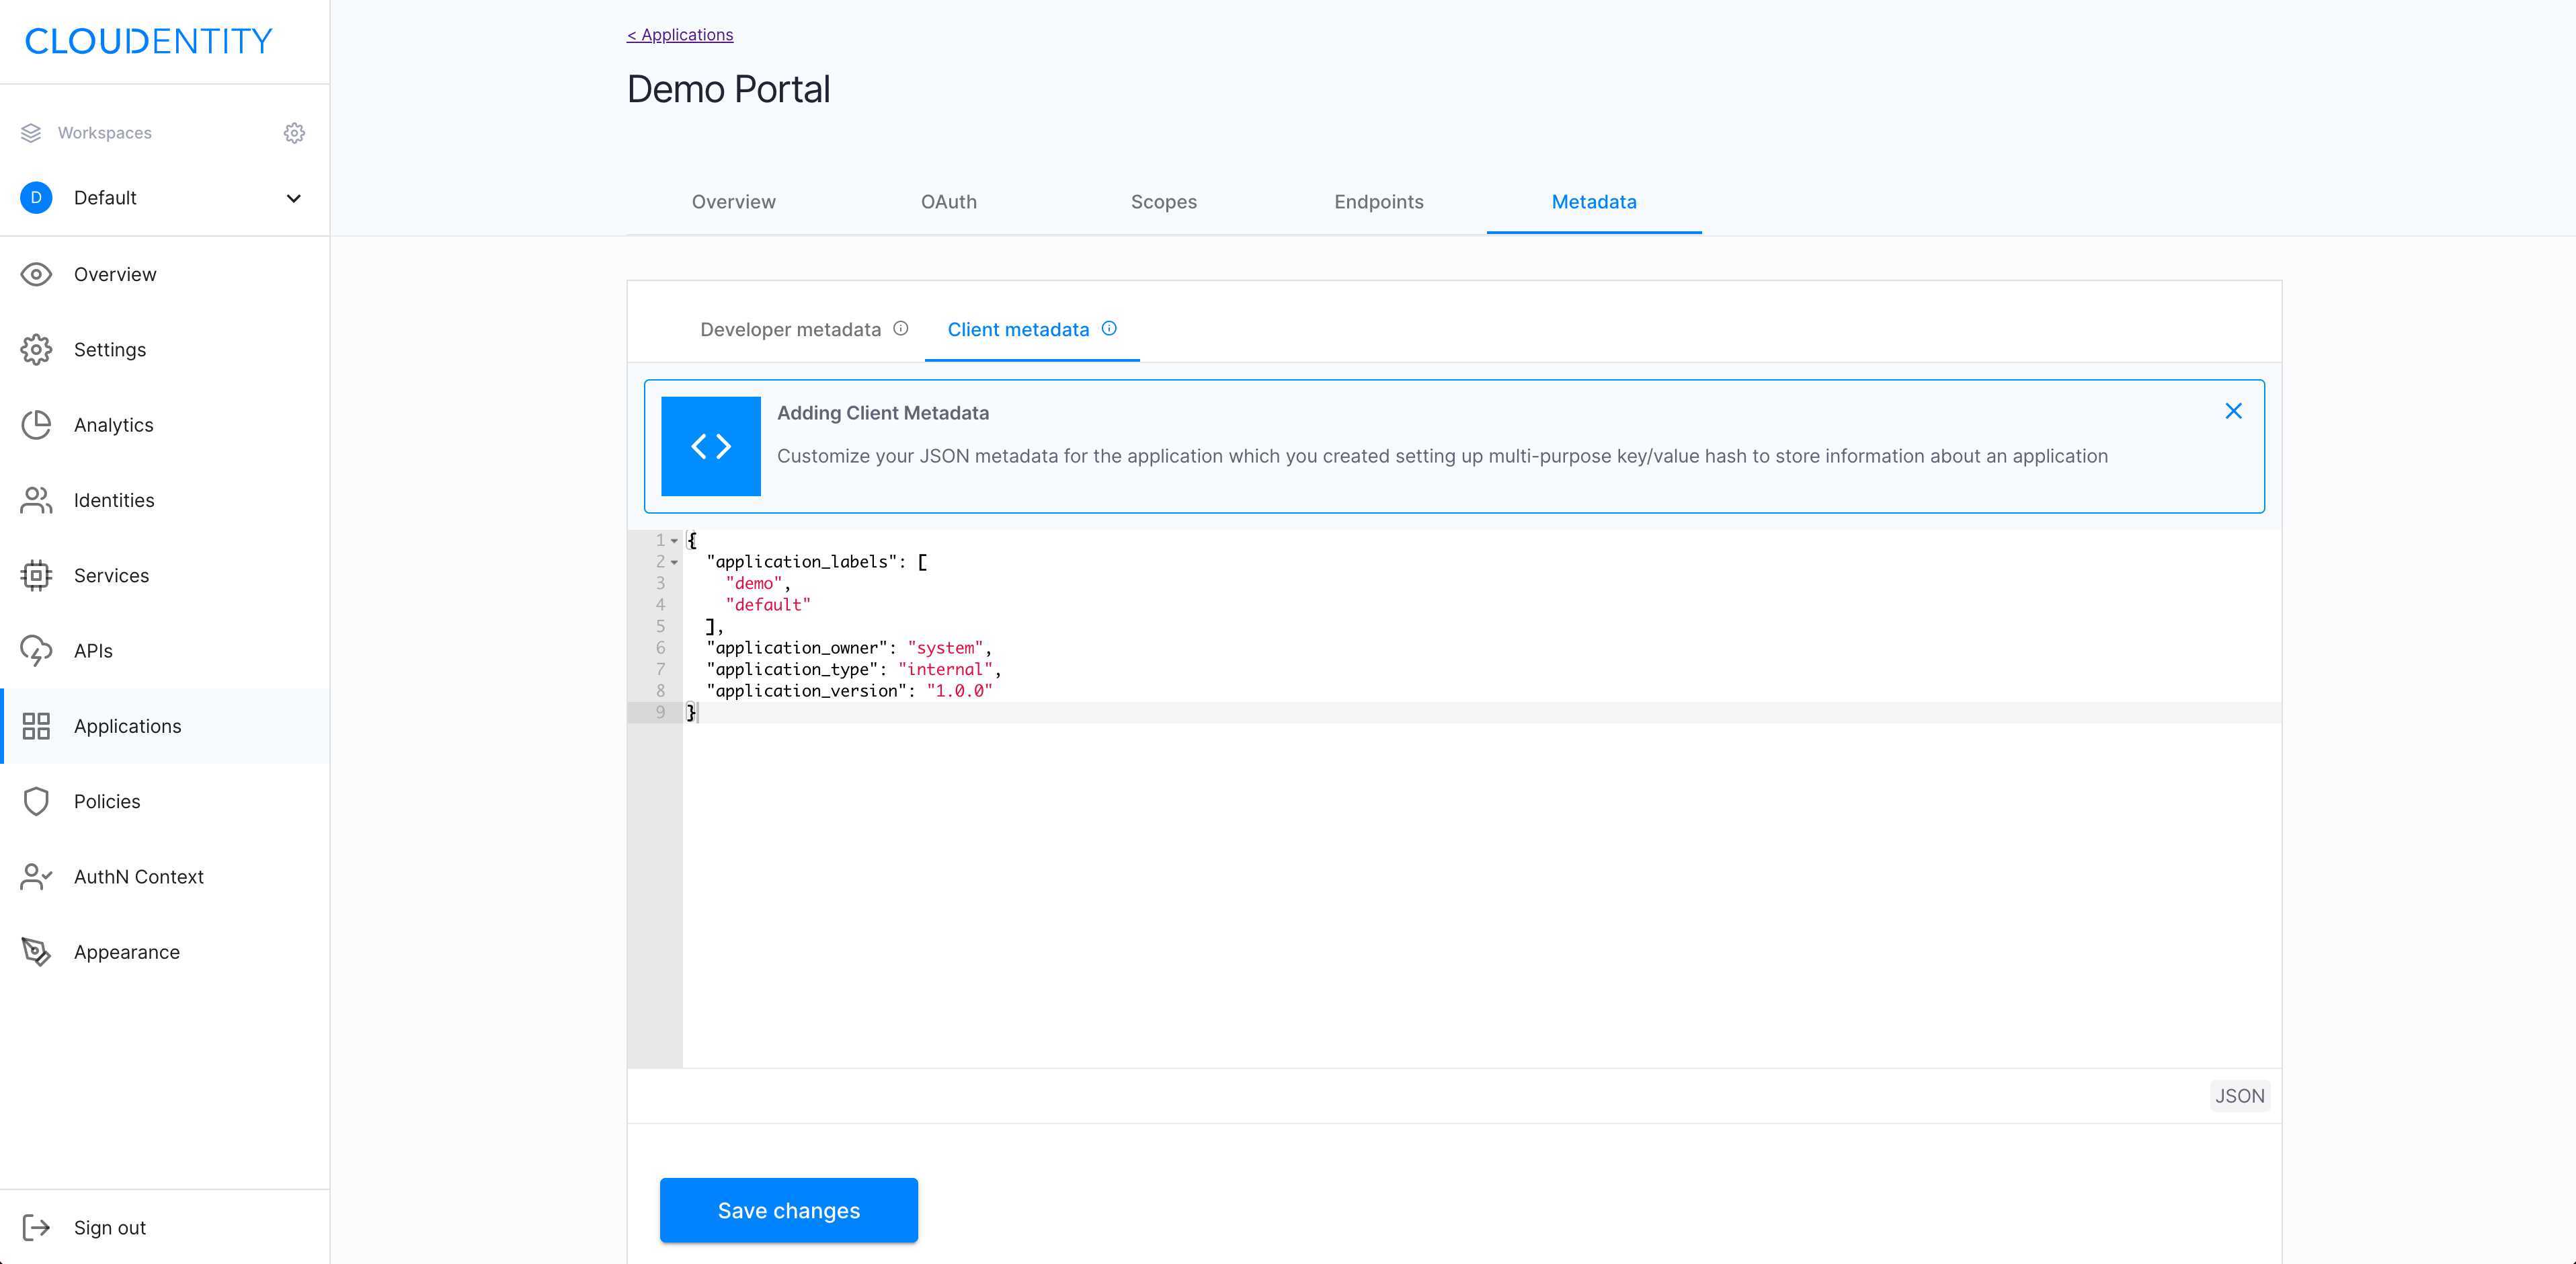
For the purpose of this instruction, the Demo Portal application is used (built-in by default in the ACP administrator portal).
-
For the instruction on how to add metadata for an application, see Configure app metadata.
-
Create custom token claims
You can create a new claim for your tokens using client metadata
- In the ACP admin portal
or - With Create claim admin API.
Use the admin portal
To enhance your tokens with claims using application metadata, you can either see the short video guide or follow the step-by-step instruction.
Video guide
Step-by-step instruction
-
Navigate to ACP and sign in to your account.
-
Select the workspace that you use as your administrator portal and go to Settings > Claims.
-
Select the type of the token that you want to enhance (ID Tokens or Access Tokens) and Add claim.
-
In the Add claim pop-out window
- Enter a name of the claim.
- Select Client from the Source type drop-down menu.
- From the Source path drop-down menu, select Metadata to specify the path to the data object that you want to inject.
-
Select Create from the bottom of the Add claim pop-out window.
Result
You have added a new custom claim for your tokens.
Note
See Verify the new token claim to check how to test your new setup.
Use admin API
To create your custom token claim, use the Create claim admin
API to make a CURL
call with option --data-raw posting required data to the server.
Note
Make sure that
tenant_id,authorization_server_id, and ACP URL are correct. This API requires the tenant-admin-level access token.
Example CURL call
curl --location --request POST 'https://your-acp.cloudentity.io/api/admin/skynet/claims' \
--header 'Authorization: Bearer <Admin Access Token>' \
--header 'Content-Type: application/json' \
--data-raw '{
"tenant_id": "your-acp-tenant",
"authorization_server_id": "your-acp-workspace",
"name": "application_labels",
"mapping": "metadata",
"source_type": "client",
"source_path": "metadata.application_labels",
"type": "access_token",
"scopes": []
}'
Verify the new token claim
If you use the ACP administrator portal to add your new custom token claim, you can check if the claim is actually added to your token using the demo application built in the ACP administrator portal and available by default.
For that purpose, you can either see the short video guide or follow the step-by-step instruction.
Video instruction
Step-by-step guide
-
Navigate to ACP and sign in to your account.
-
In Workspace Directory, select the workspace meatballs menu (…) > Demo application.
-
Log in to the demo application.
Result
You have logged in to Demo application and you can check the tokens issued by ACP. In particular, you can verify Access token > PAYLOAD for your newly-added claim.