Creating and configuring applications in ACP
This article guides you through the process of creating an application that you want to protect in ACP.
Prerequisites
- You have login credentials to ACP.
- You have created a workspace or a developer portal that you want to create your application in.
Note
You can create applications in the generic ACP workspaces (Admin and System), all your authorization workspaces, and developer portals. Types of applications that you can create and their initial configurations are determined by the type of workspace that you use as a host.
Select workspace
-
Navigate to the ACP portal in your browser and log in with your credentials.
-
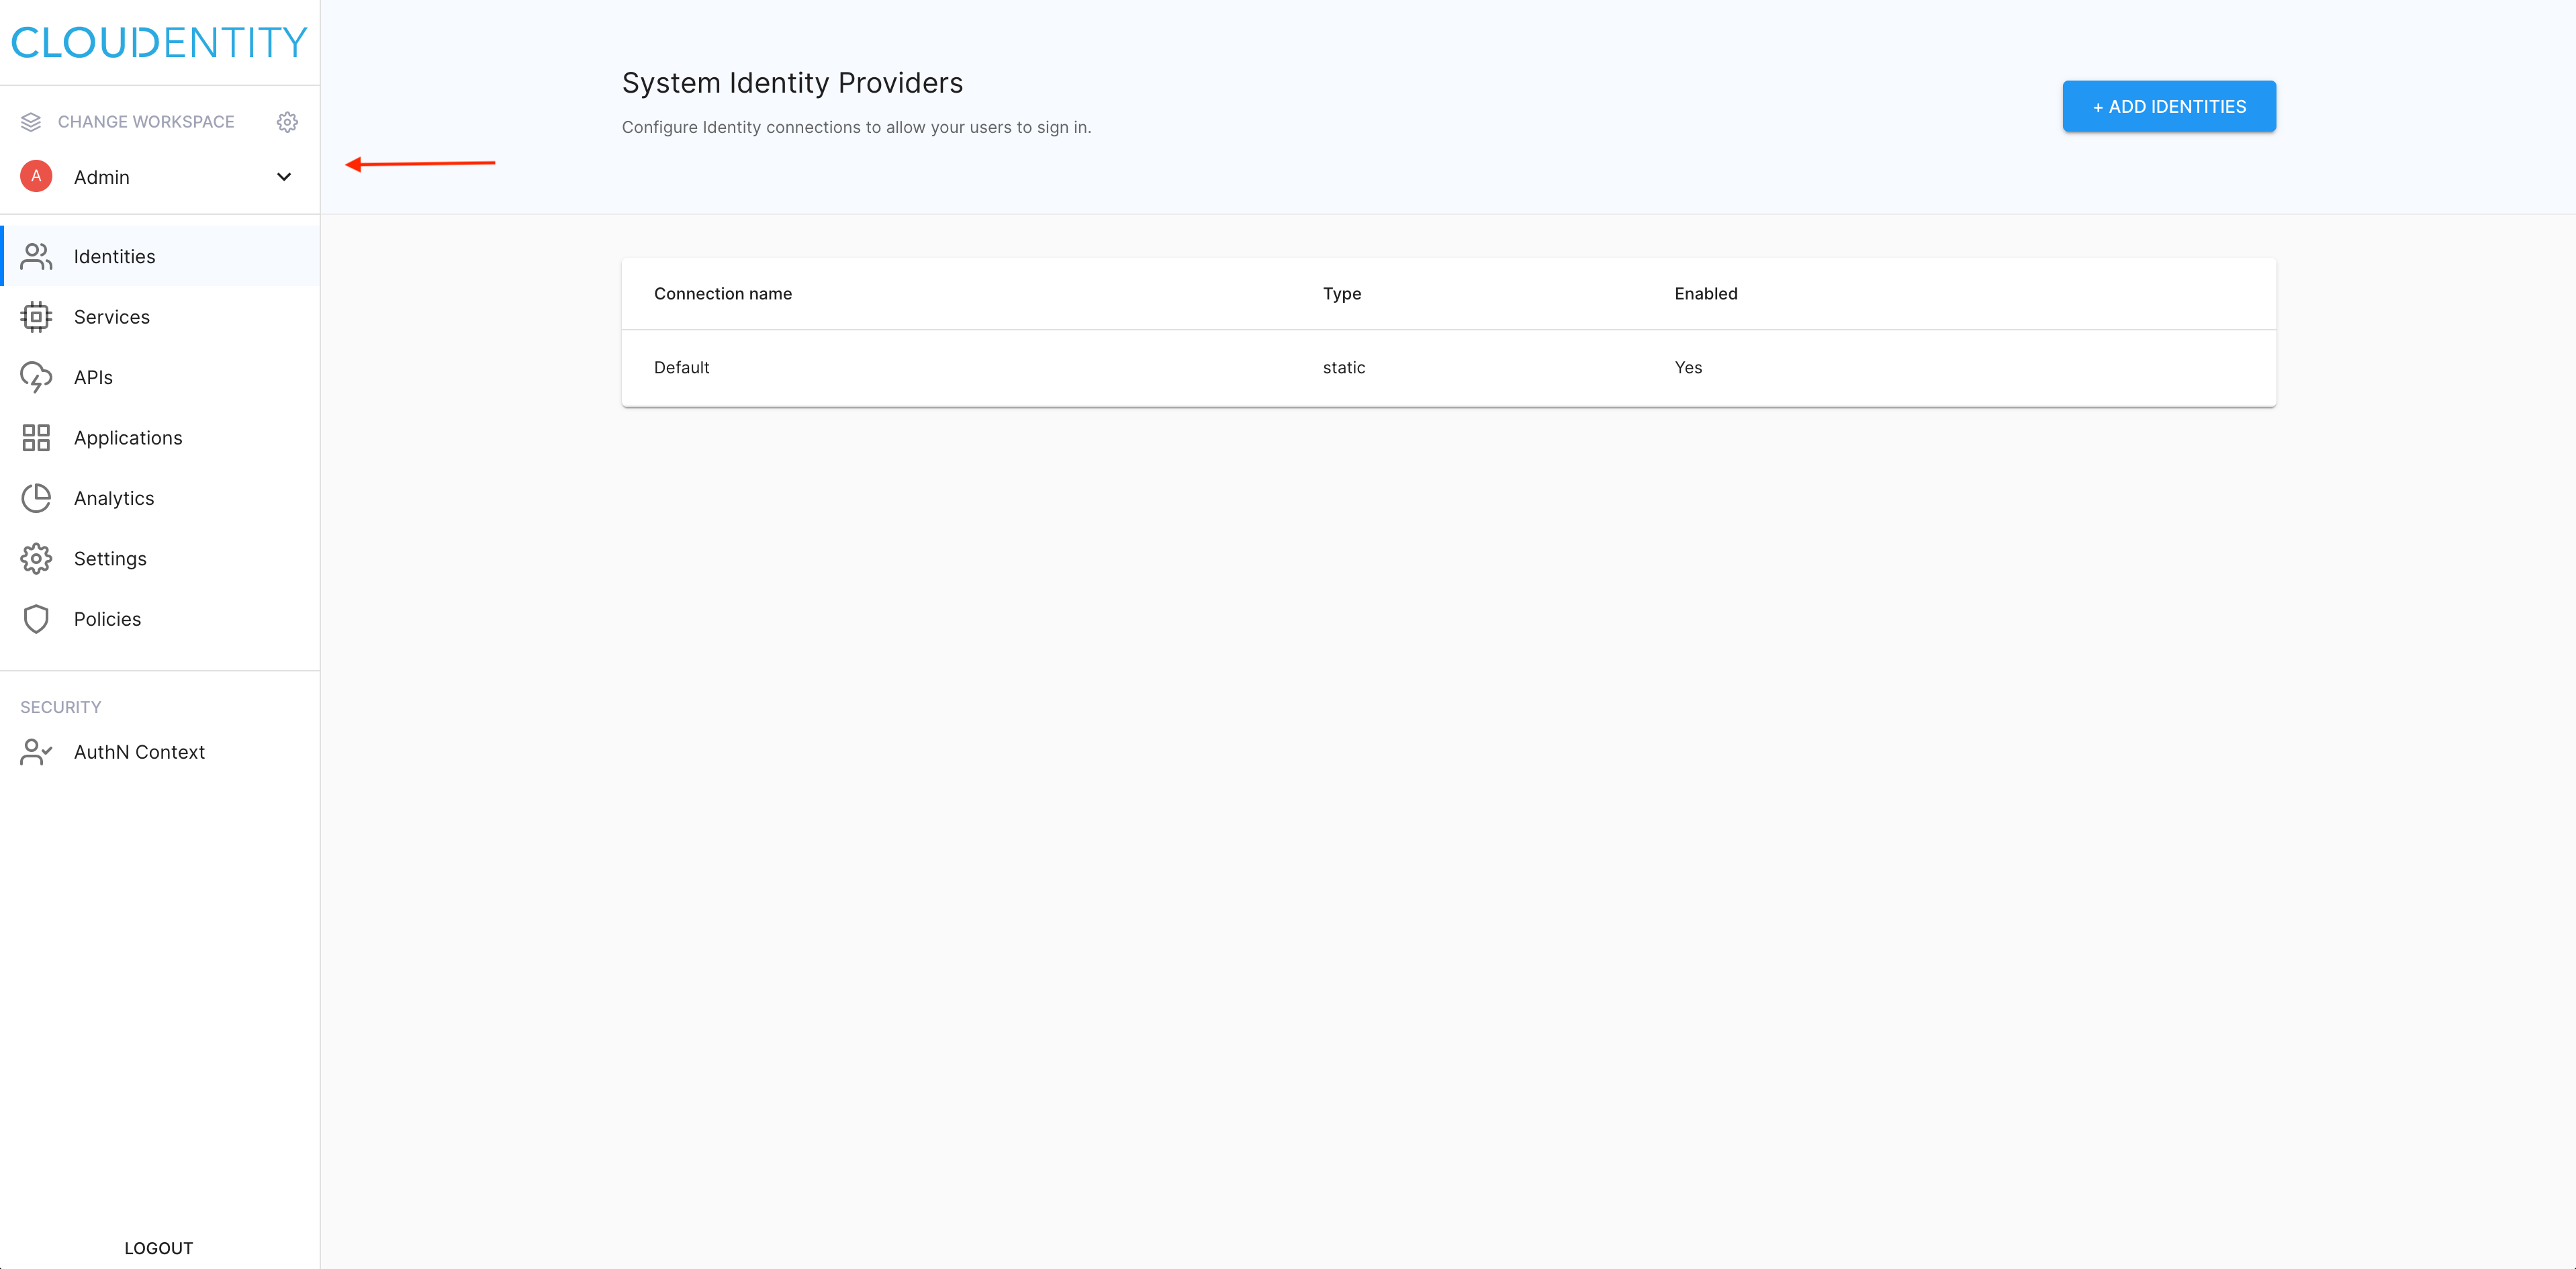
In the ACP home page, go to CHANGE WORKSPACE in the sidebar and click to preview available options.
-
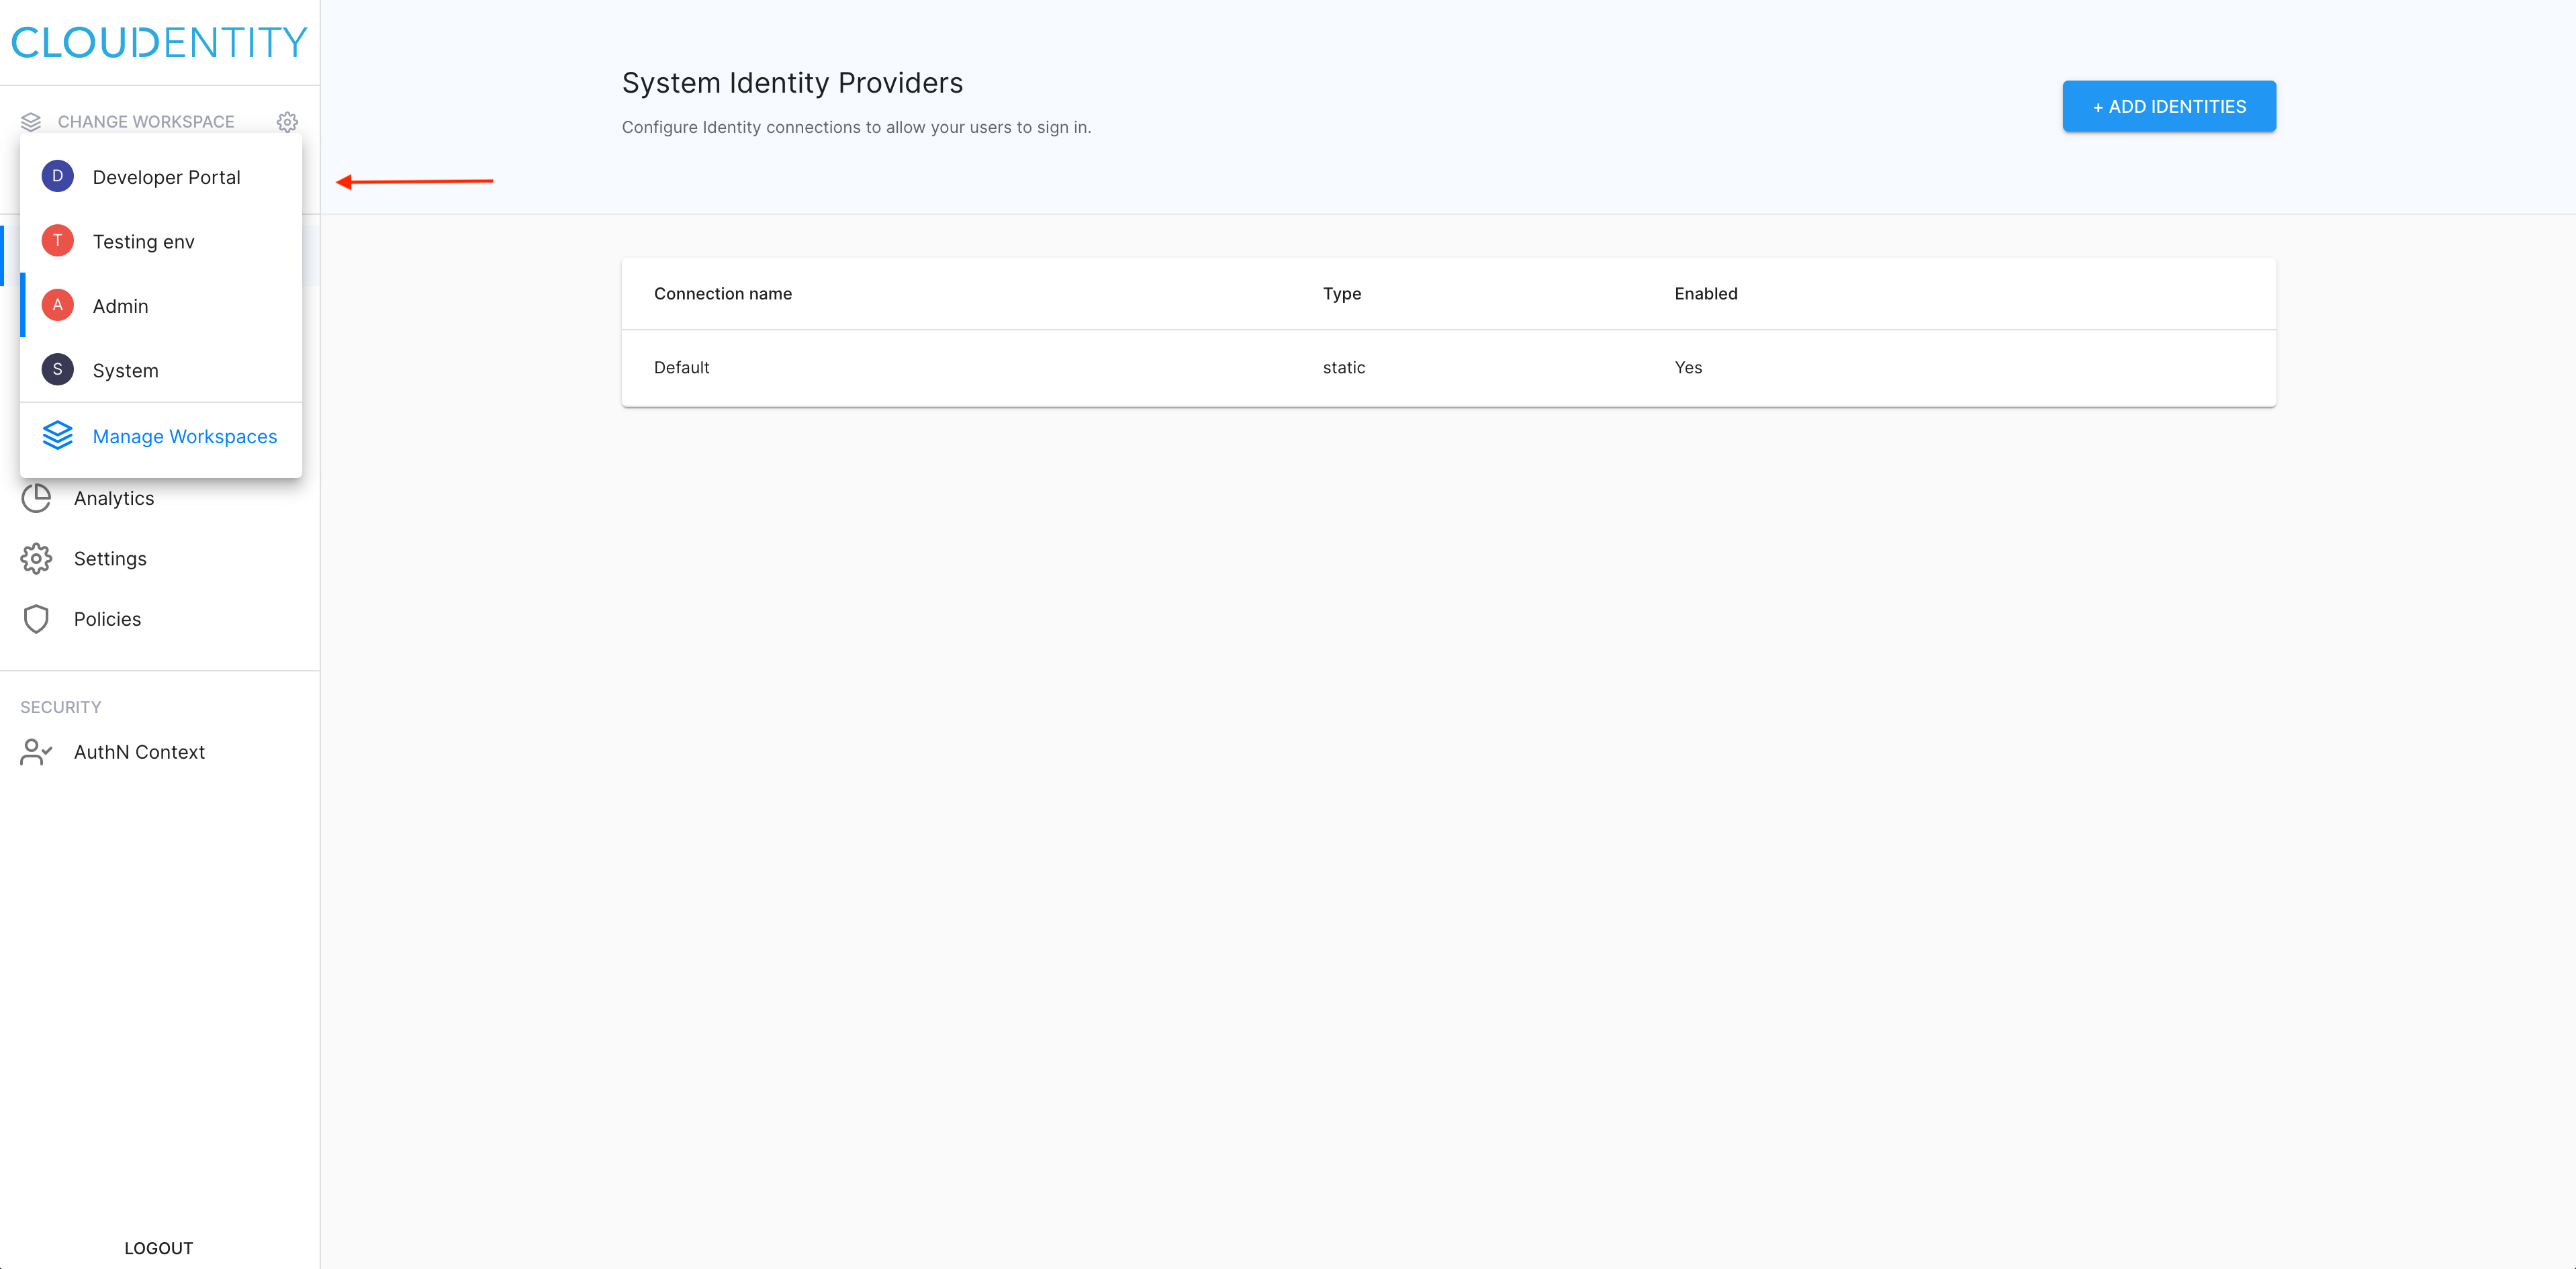
From the drop-down list of available options, select a workspace that you want to create your application in, for example, Developer Portal.
Create application
-
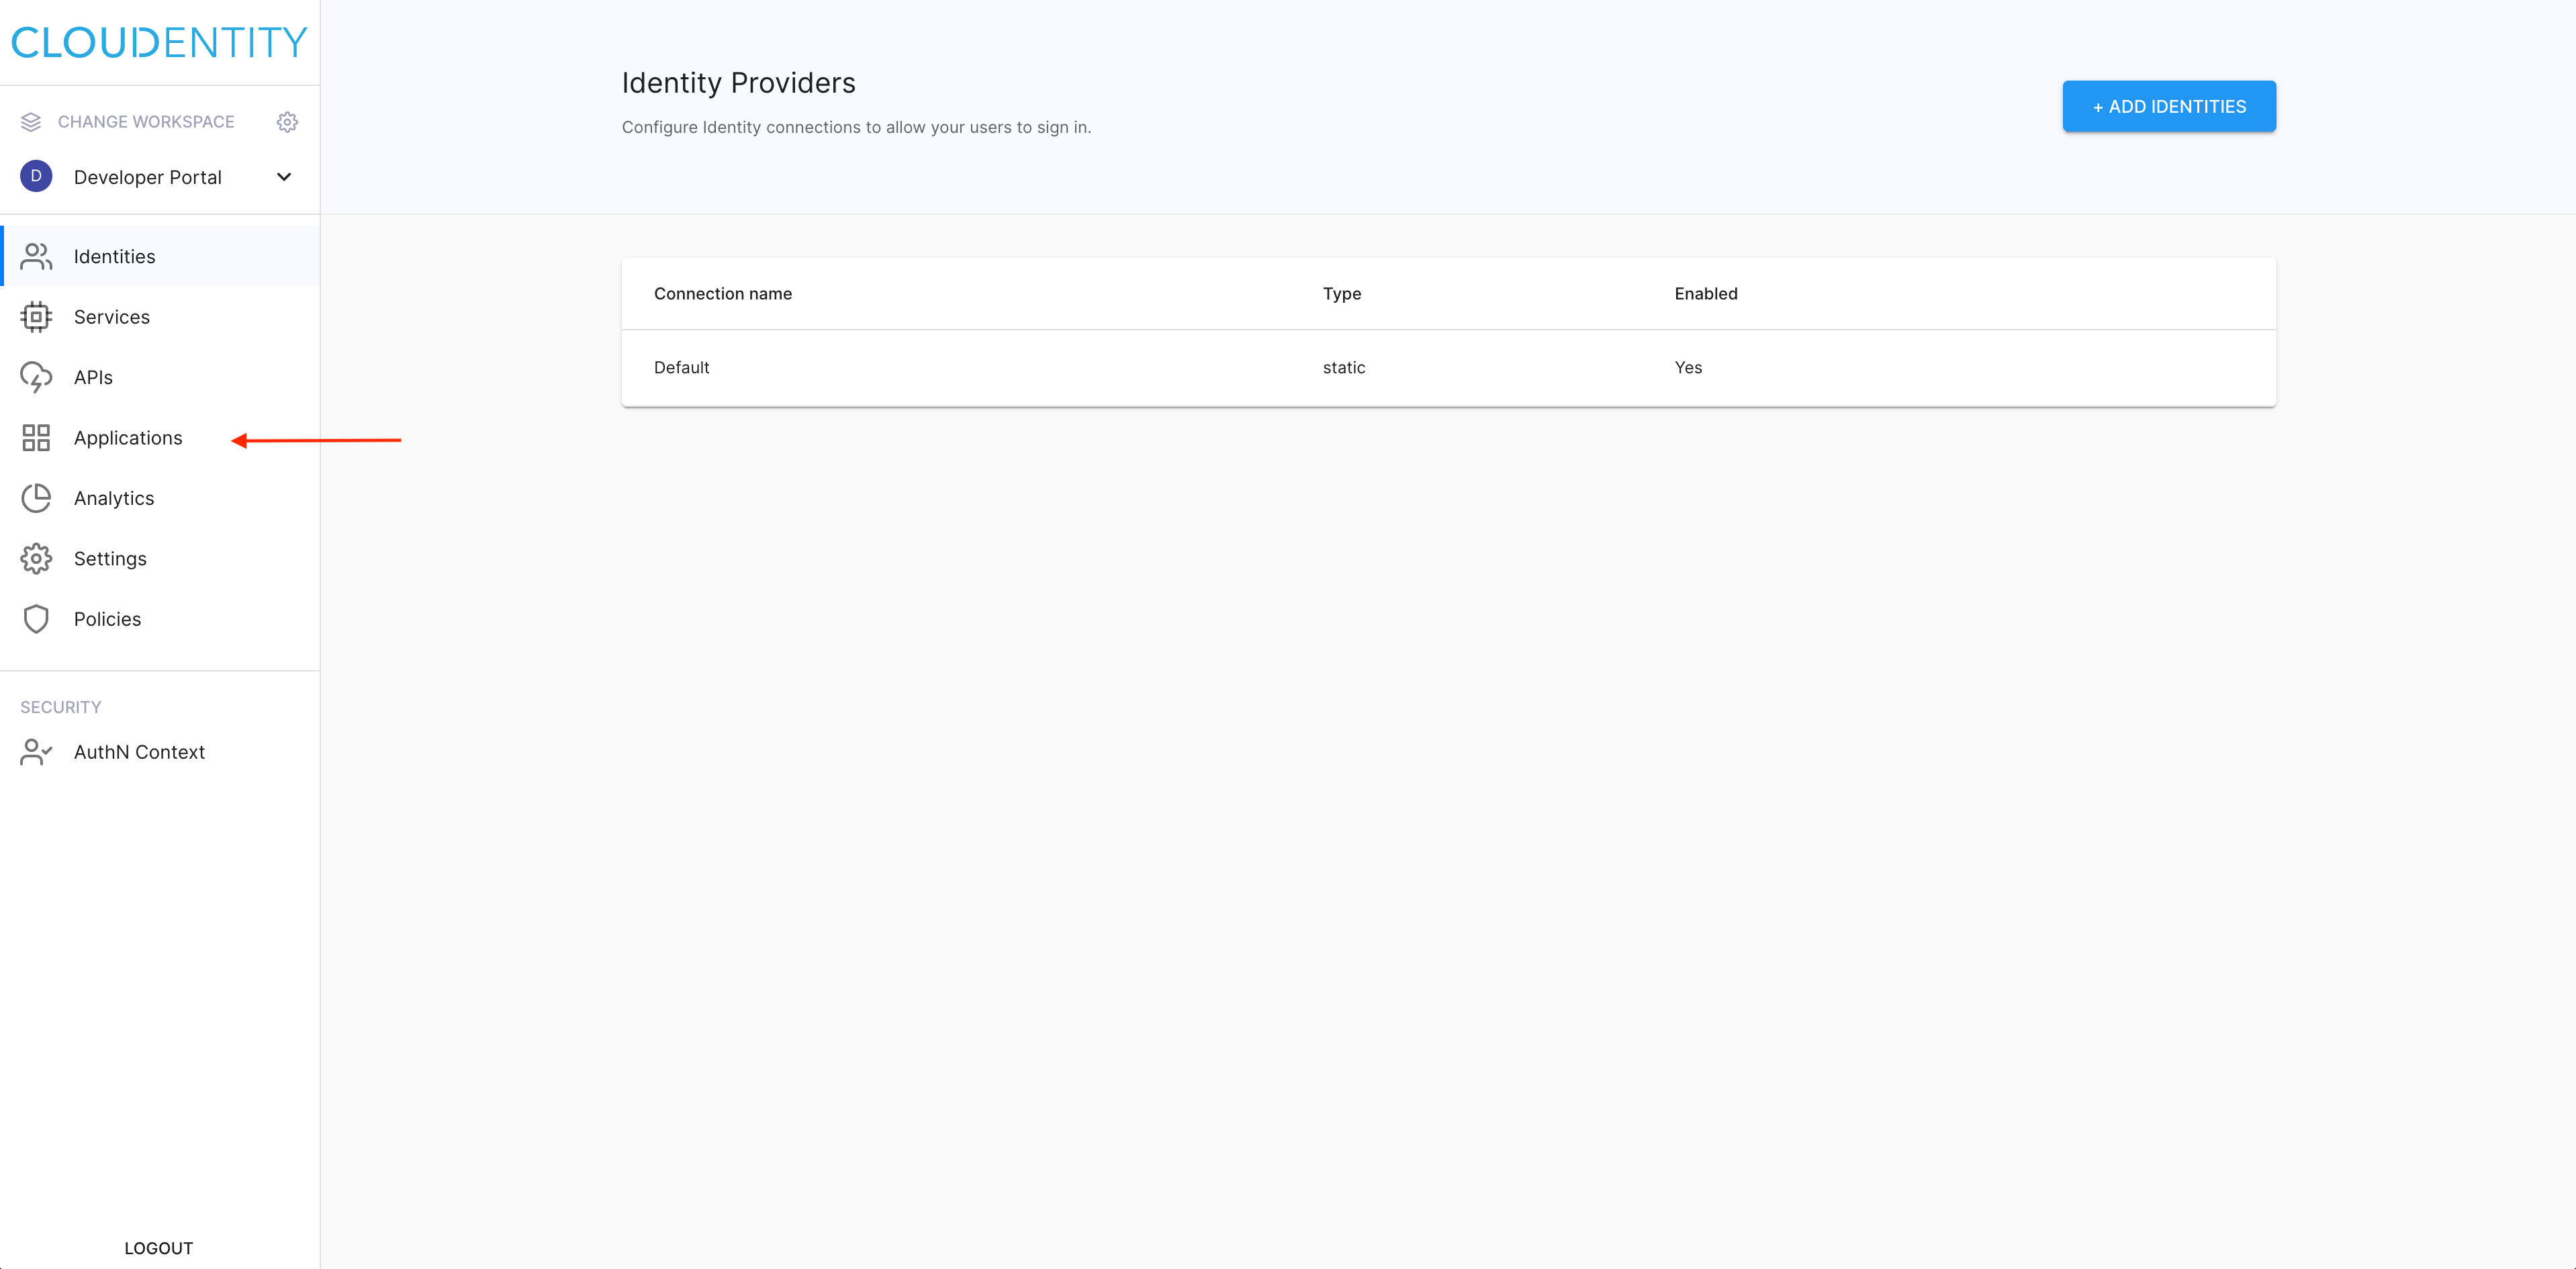
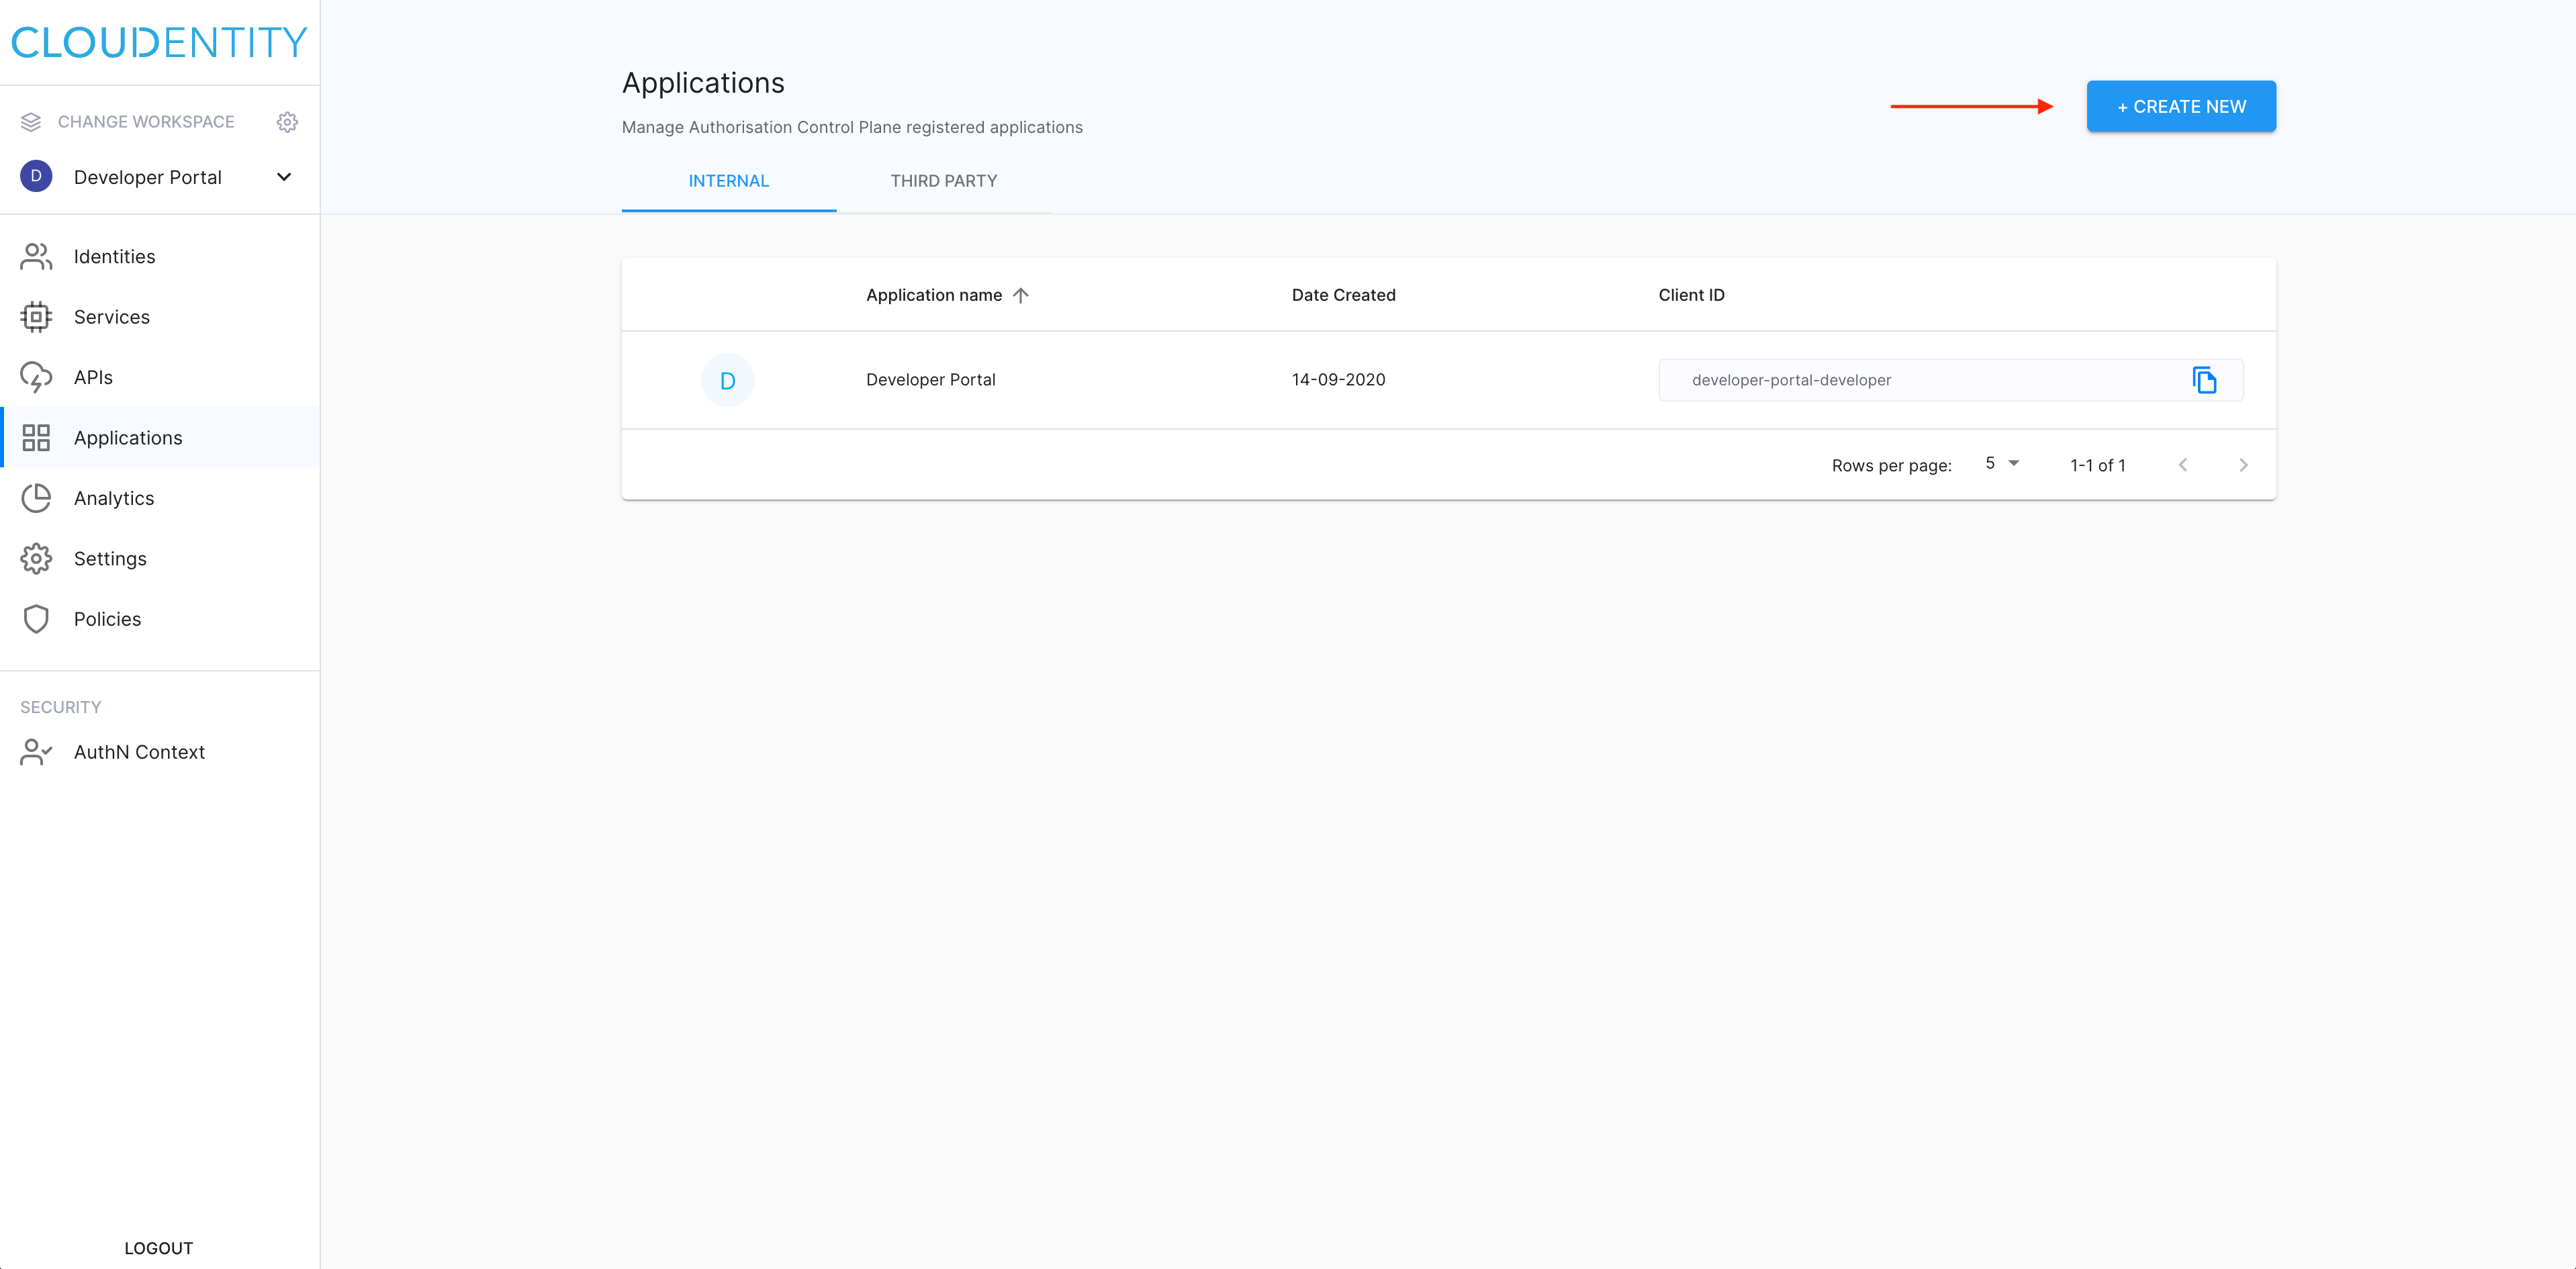
In the selected workspace, select Applications from the sidebar.
-
In the Applications view, select CREATE NEW.
-
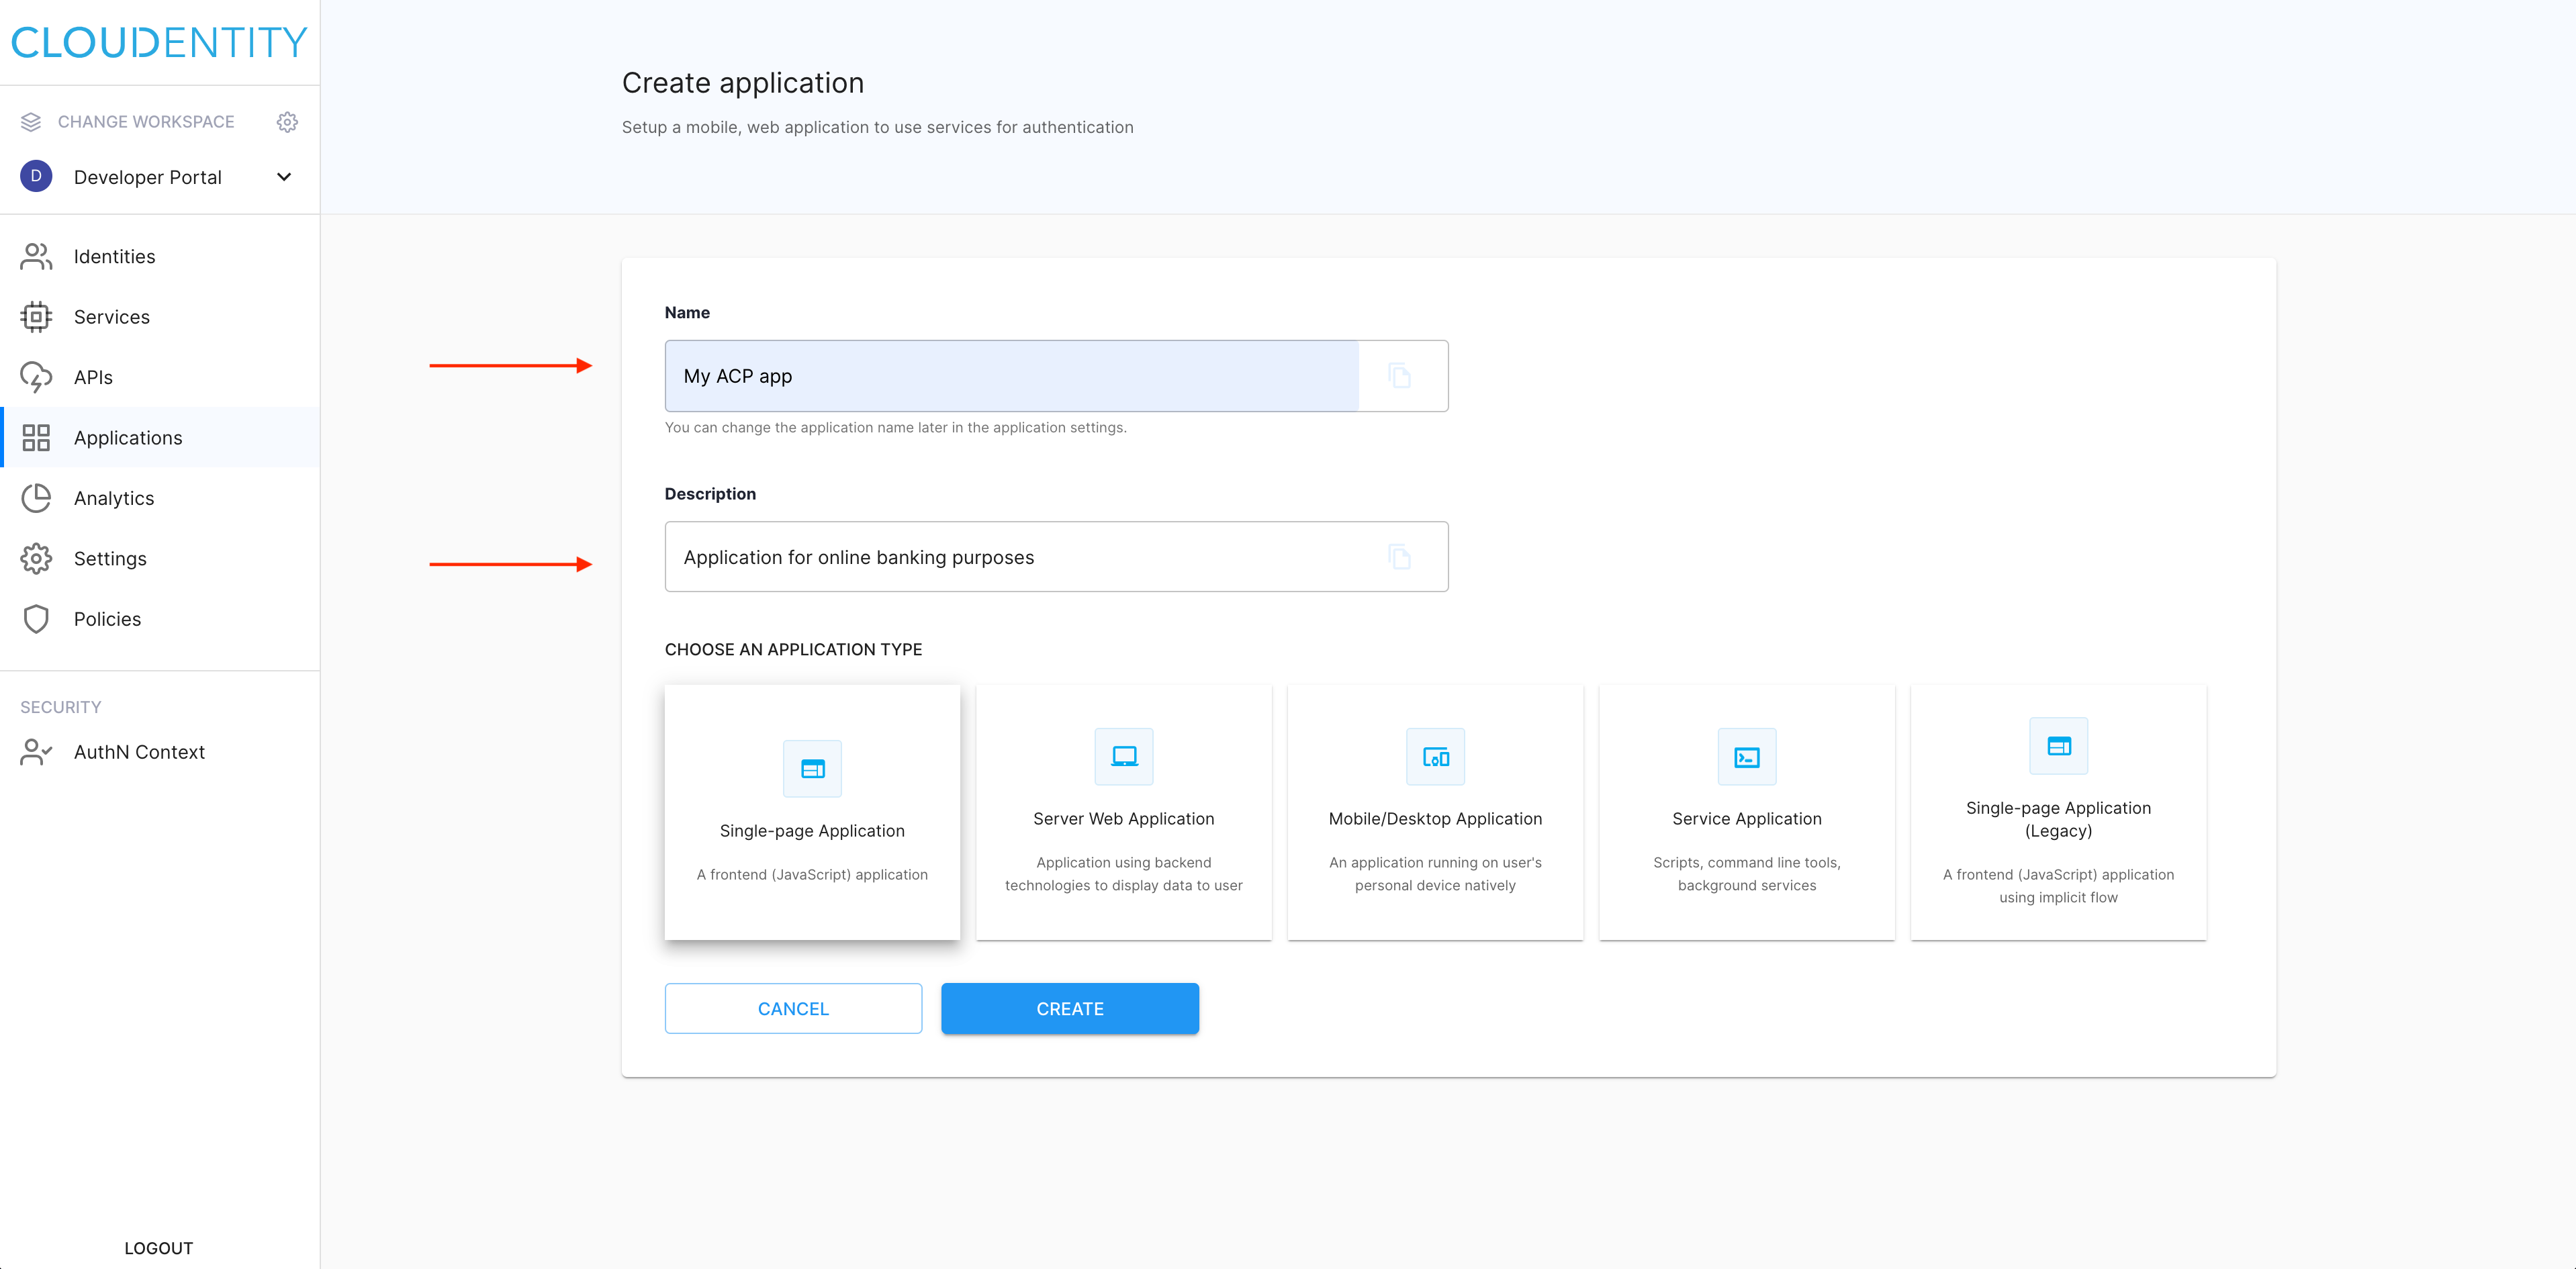
In the Create application view
-
Enter a name for your application and its description.
-
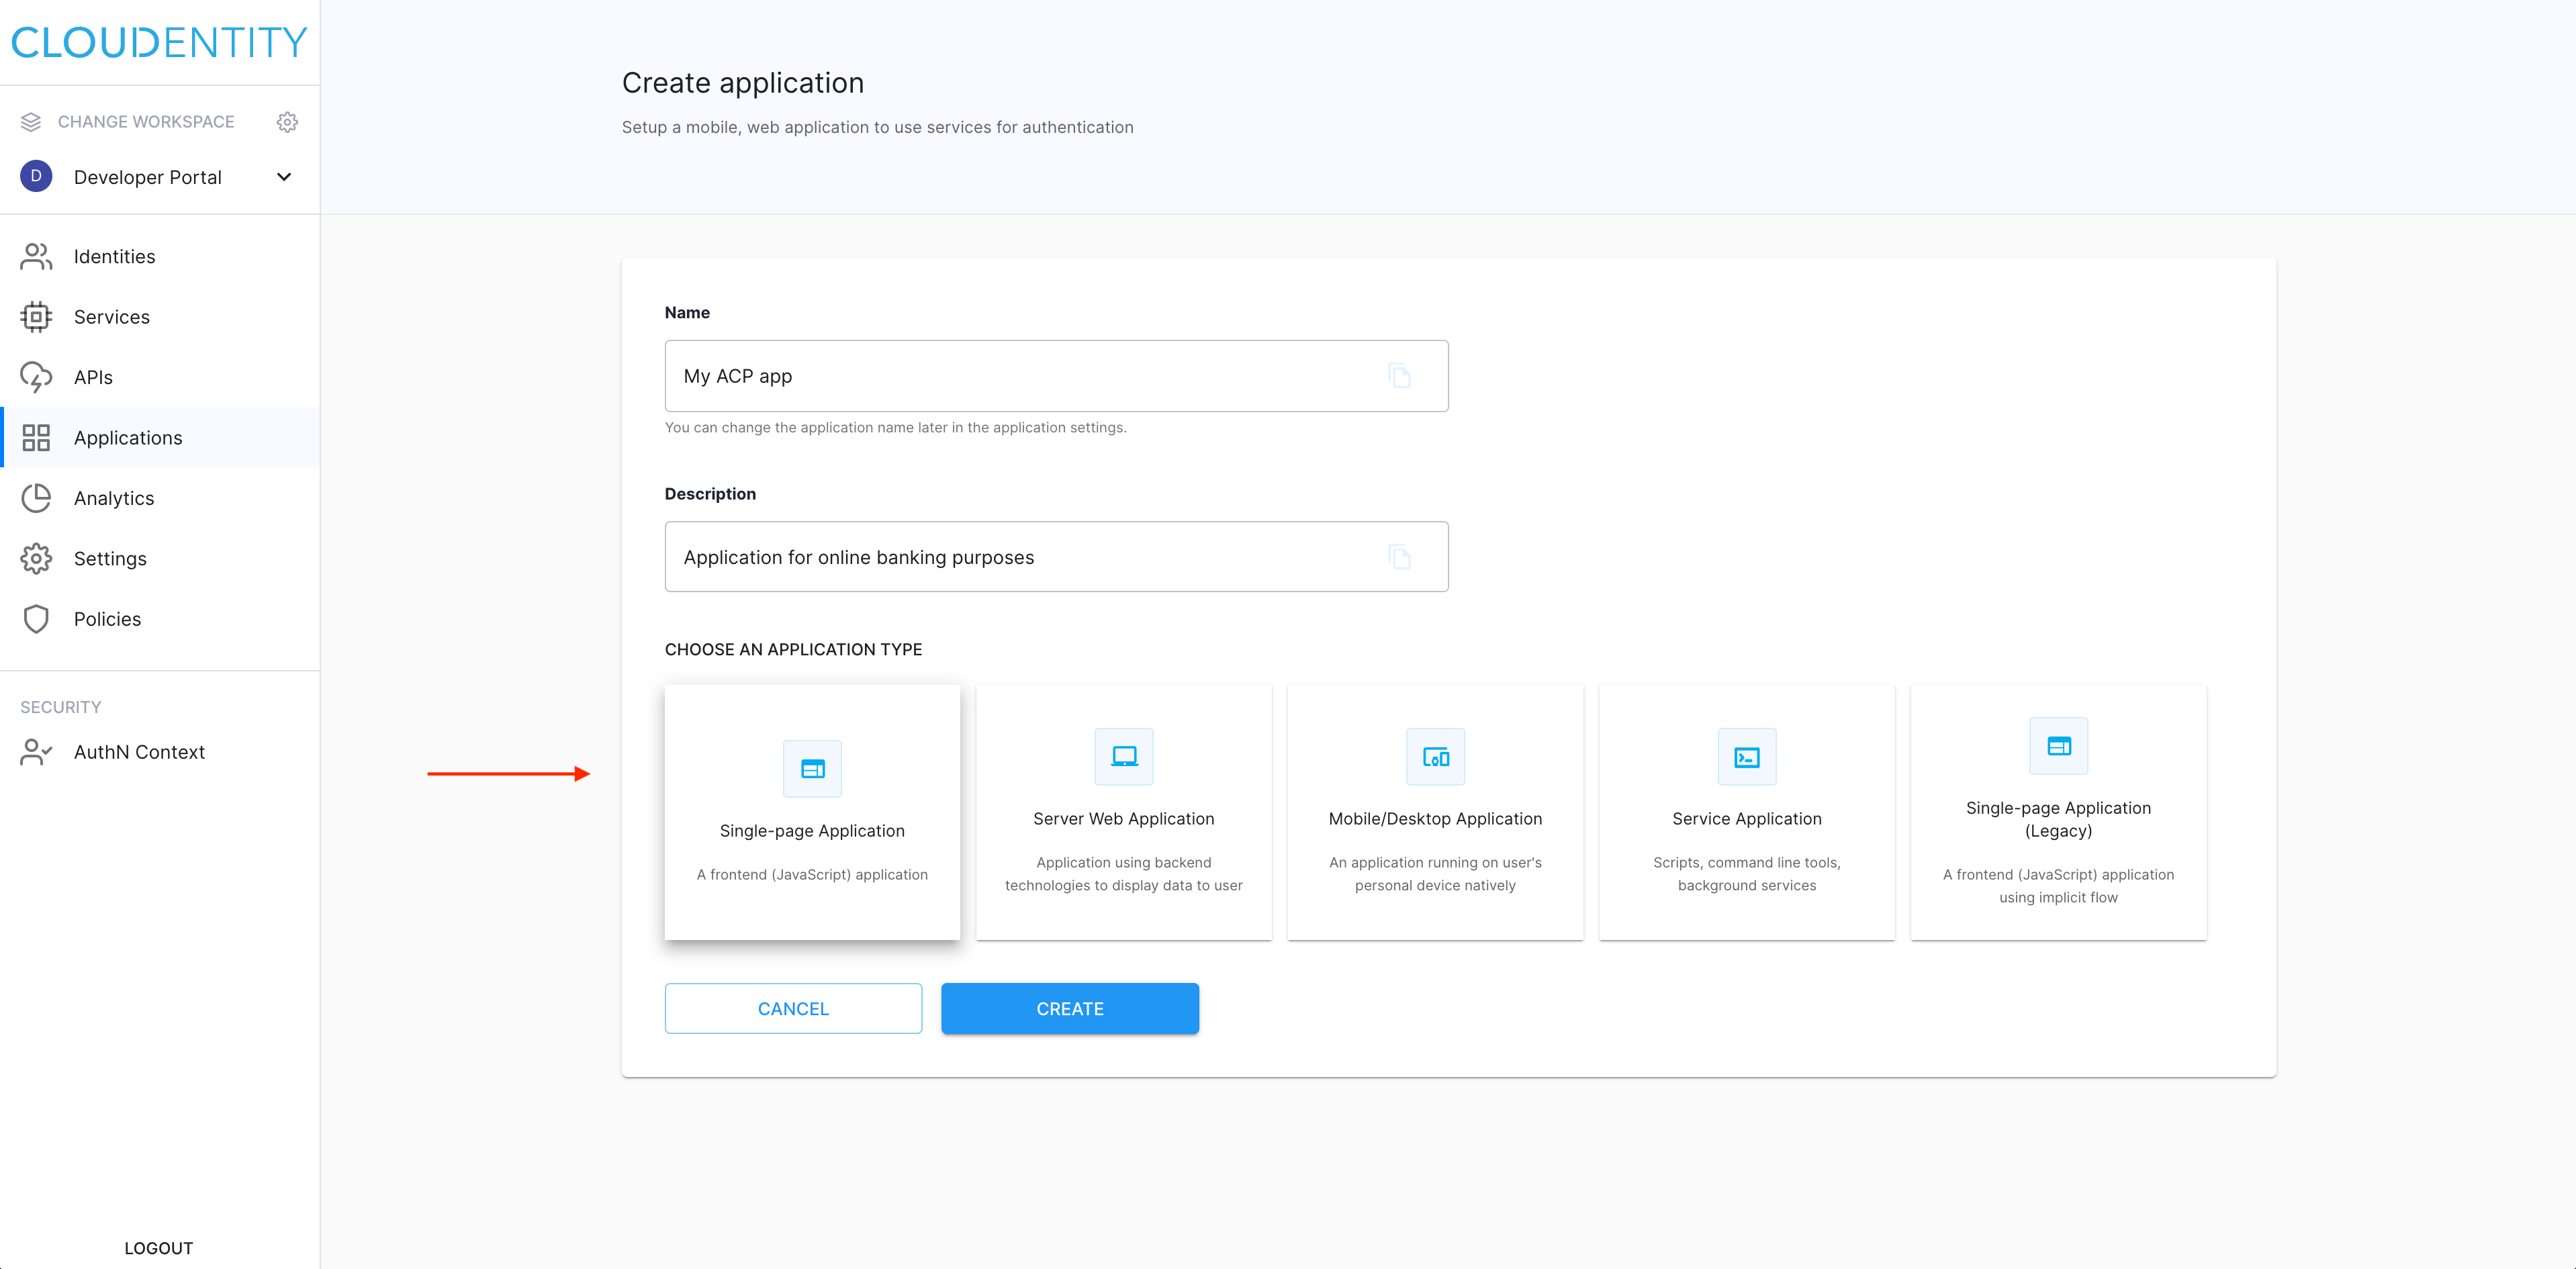
Select the type of your application, for example, Single-page Application.
-
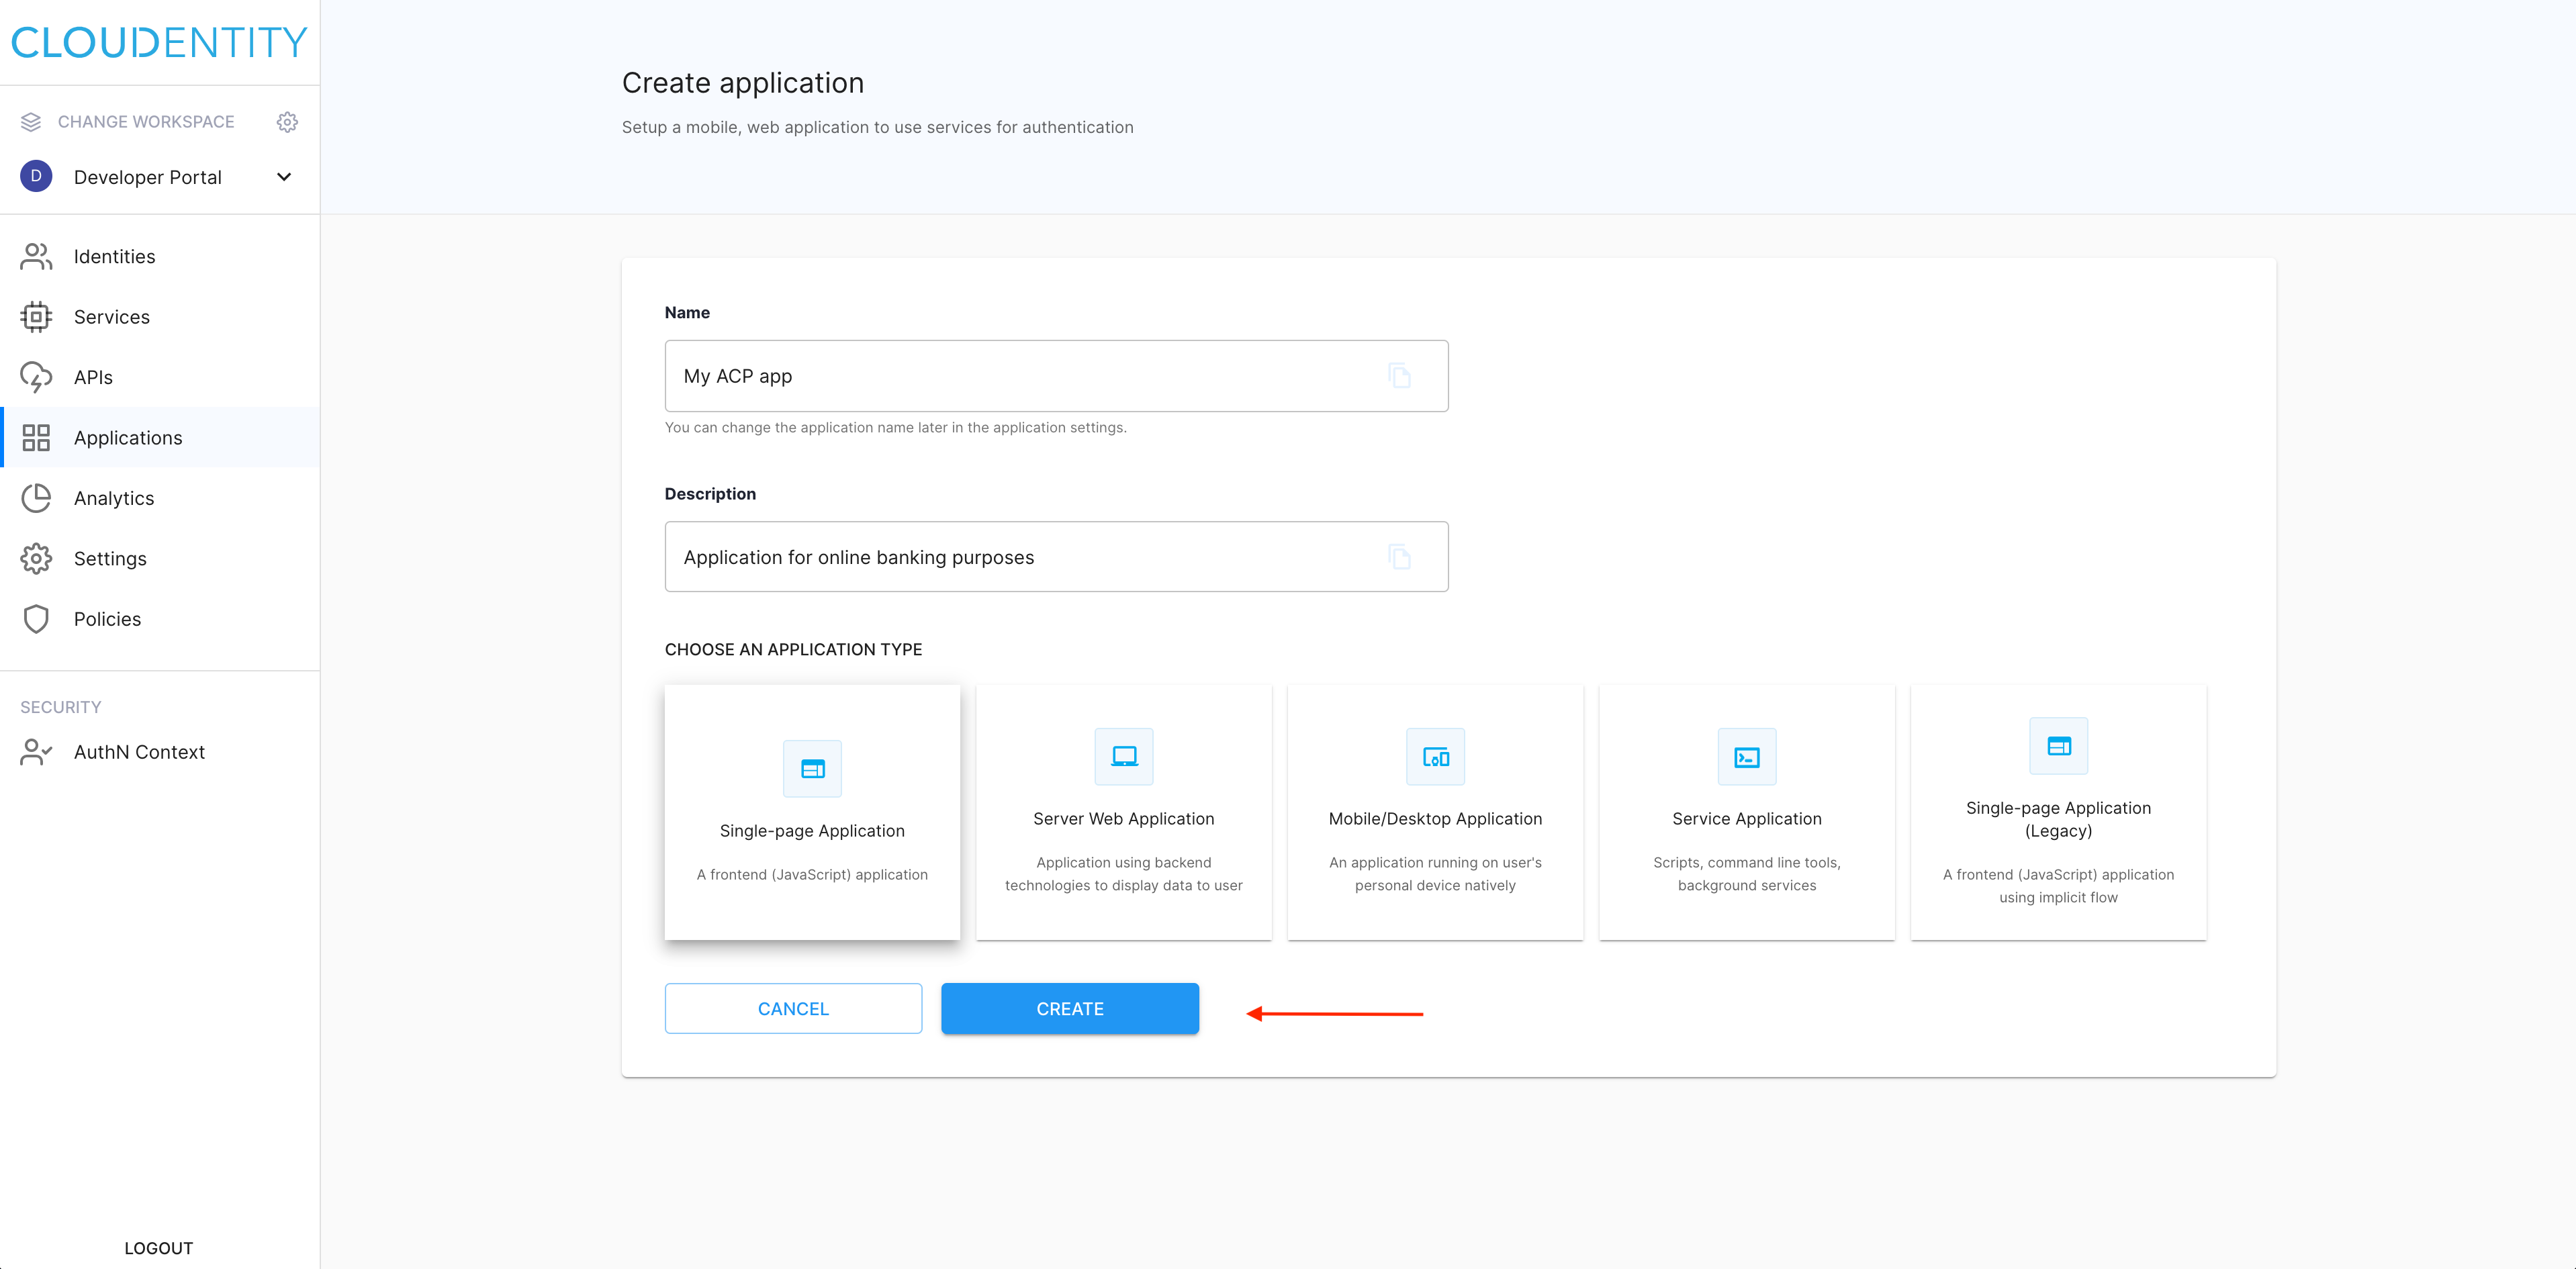
Select CREATE to proceed.
-
Result
Your application has been created and you are redirected to its Overview for further configuration.
Configure settings
-
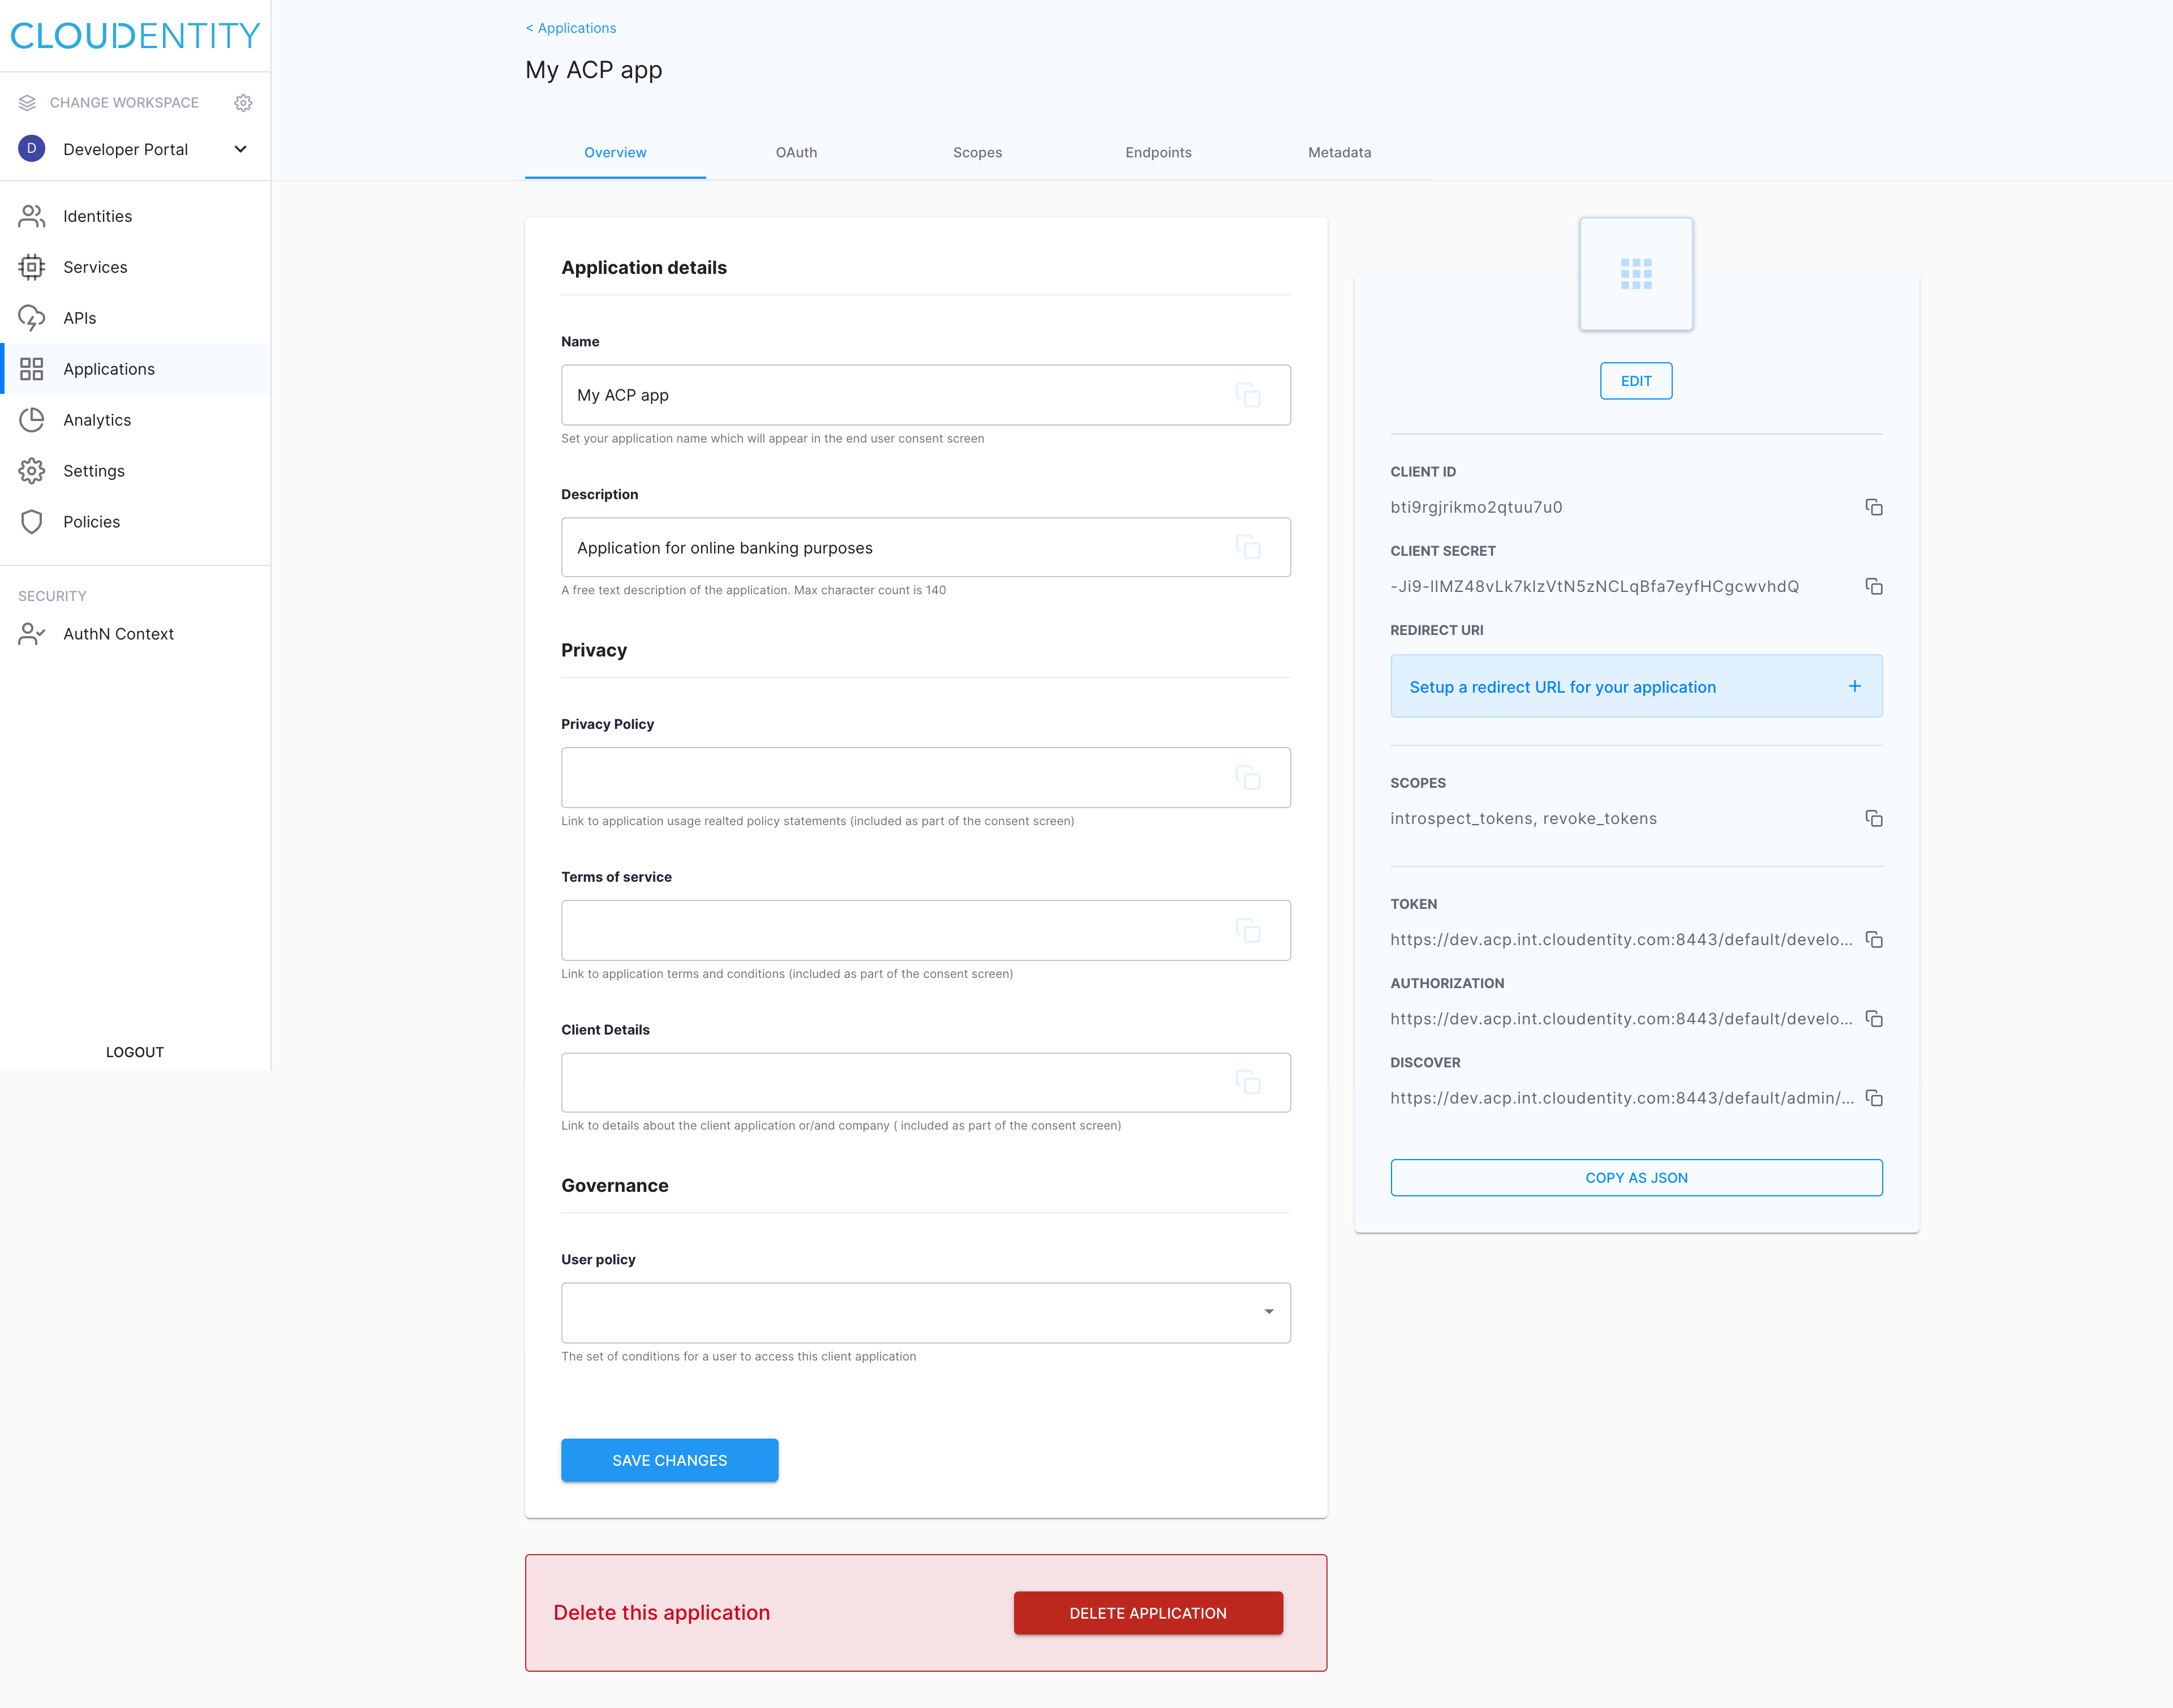
In Overview tab, configure basics settings for your application.
-
Update Name and Description.
-
Enter Privacy Policy, which is a link to application usage related policy statements (included as part of the consent screen).
-
Enter Terms of service, which is a link to application terms and conditions (included as part of the consent screen).
-
Enter Client Details, which is a link to details on the client application or/and company (included as part of the consent screen).
-
Select User policy (a set of conditions for the user to access the client application).
-
Select SAVE CHANGES when you’re done configuring Overview.
Note
In the Overview tab, you can also delete the application by selecting DELETE APPLICATION.
-
-
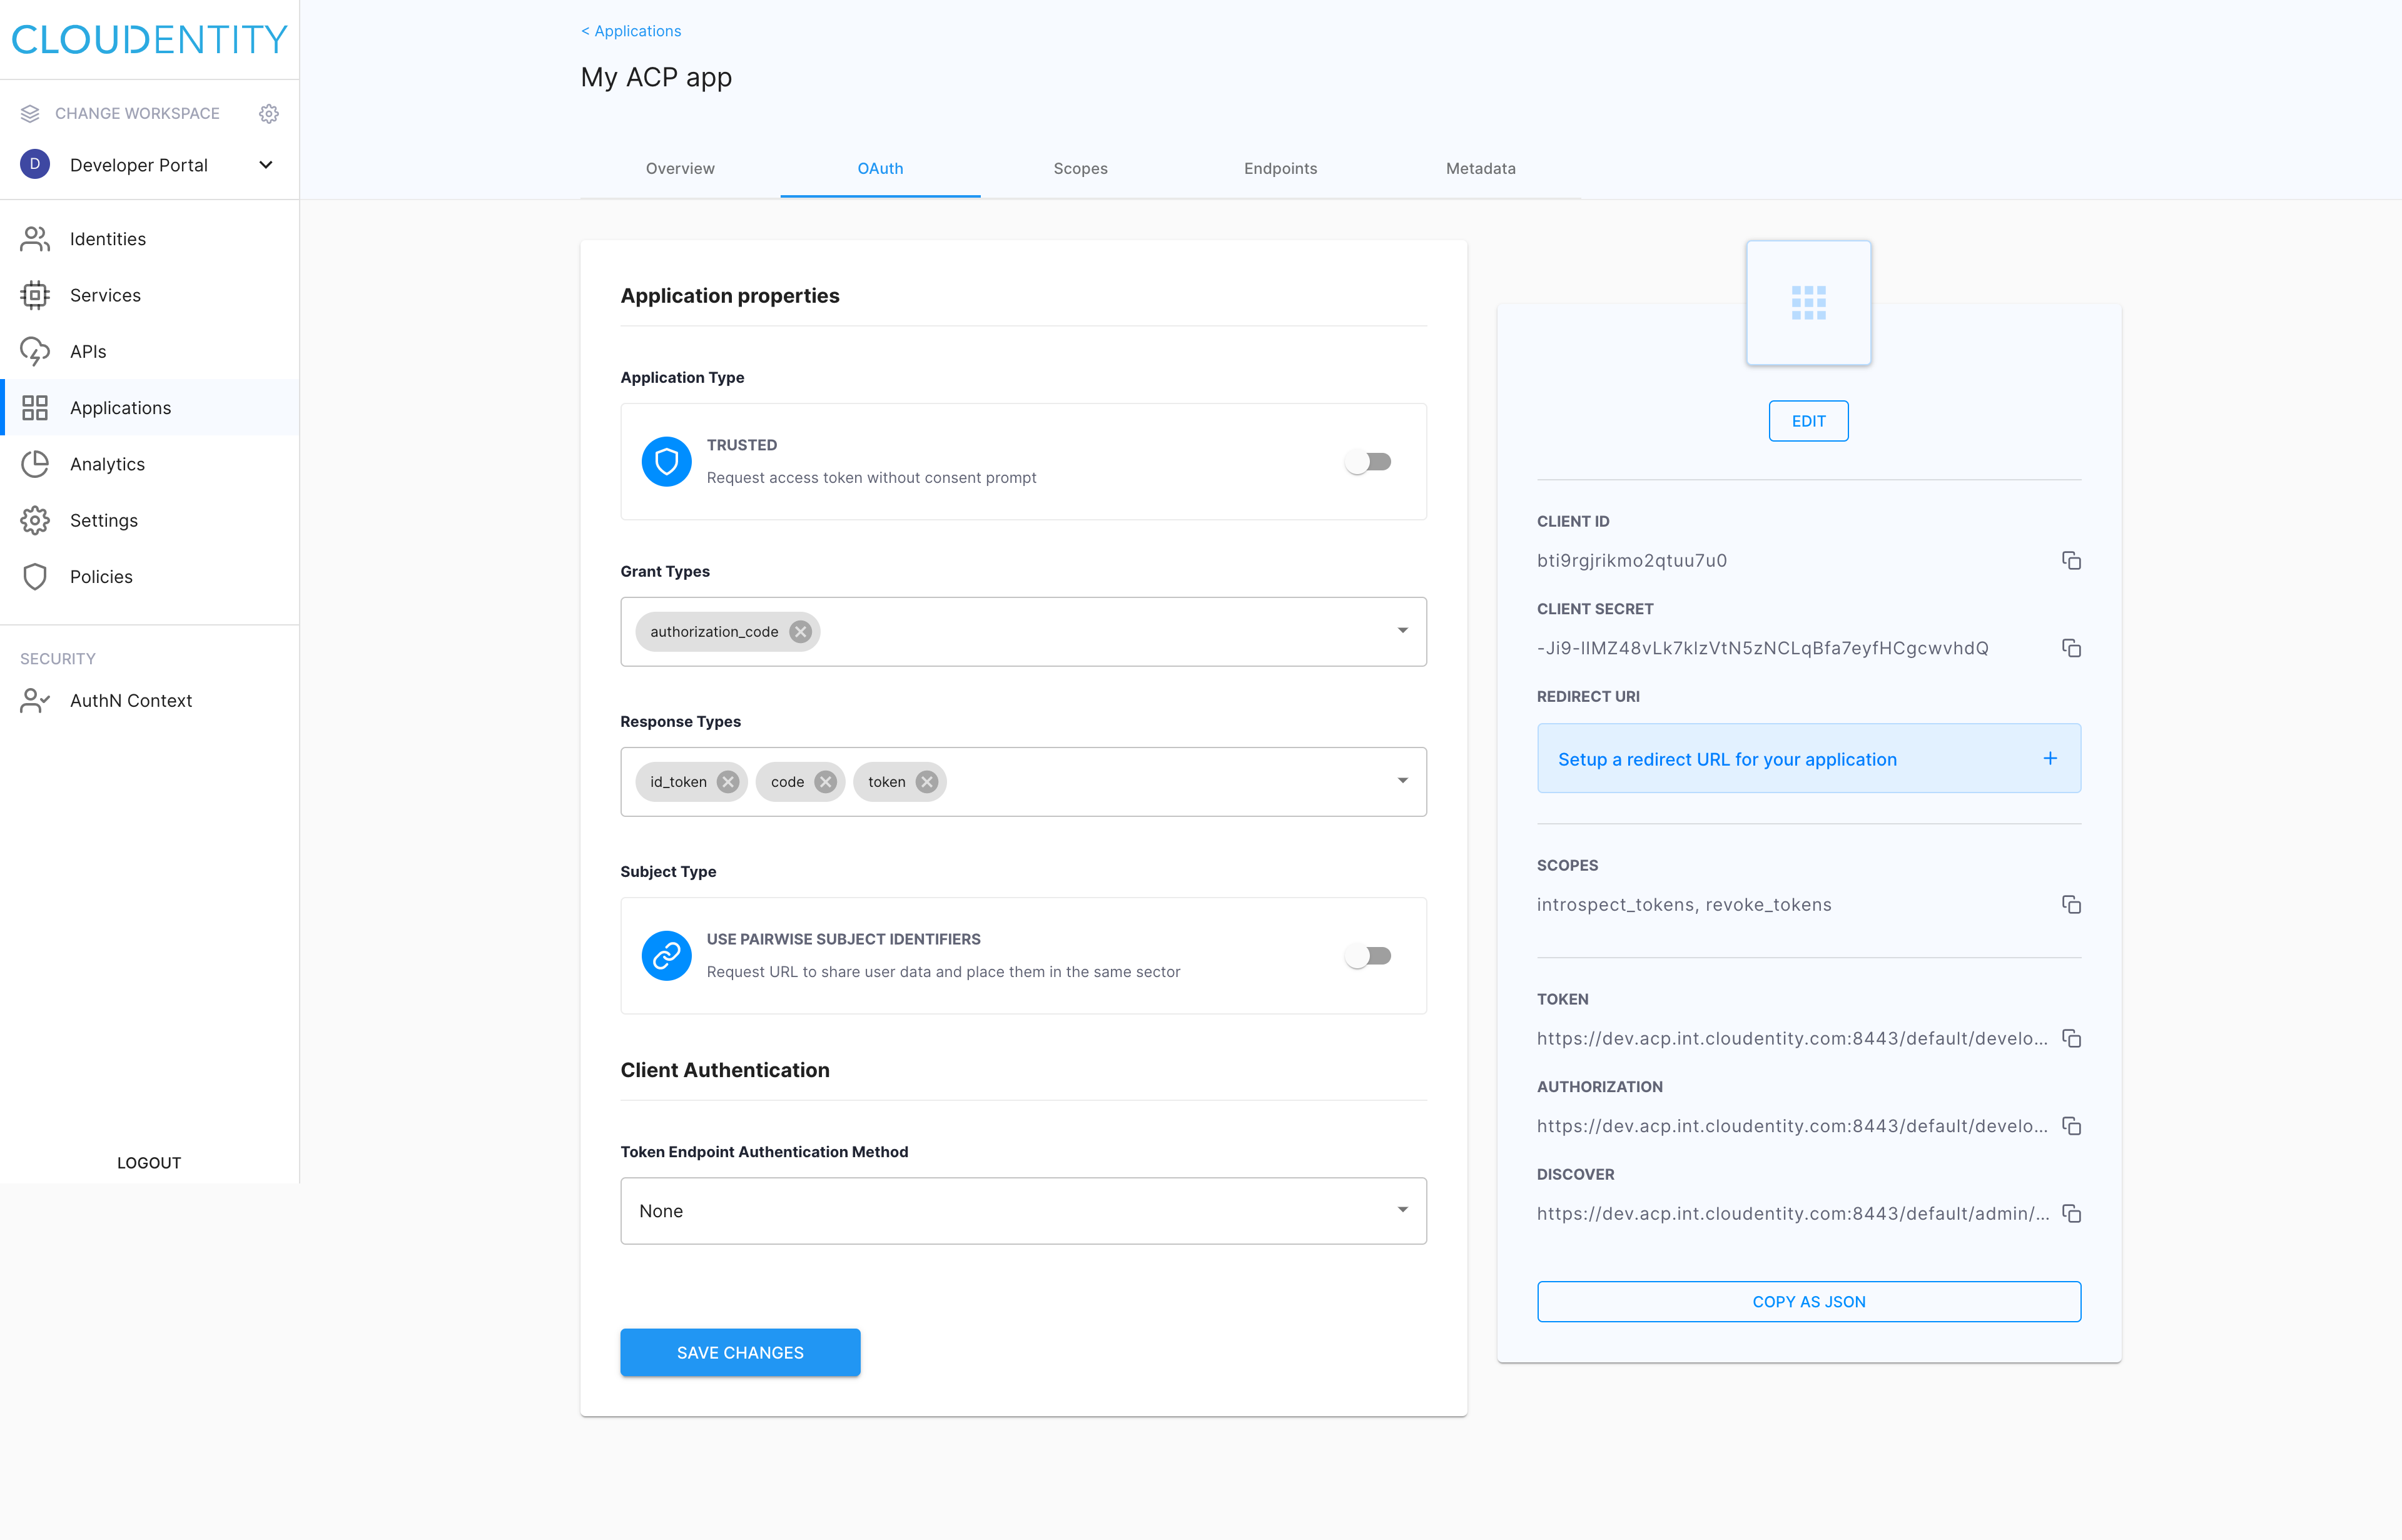
Select the OAuth tab and configure authorization-related settings.
-
Select the TRUSTED toggle switch to enable requesting the access token without displaying the consent pages when the user logs in.
-
Select Grant Types and Response Types from the dropdown menus.
-
Select the Subject Type toggle switch to use pairwise subject identifiers (request URL to share user data and place them in the same sector).
-
Select Token Endpoint Authentication Method from the dropdown menu.
Note
For information on how to define allowed token endpoint authentication methods, see Enabling token endpoint authentication methods for your workspace.
-
Select SAVE CHANGES when you’re done configuring OAuth.
-
-
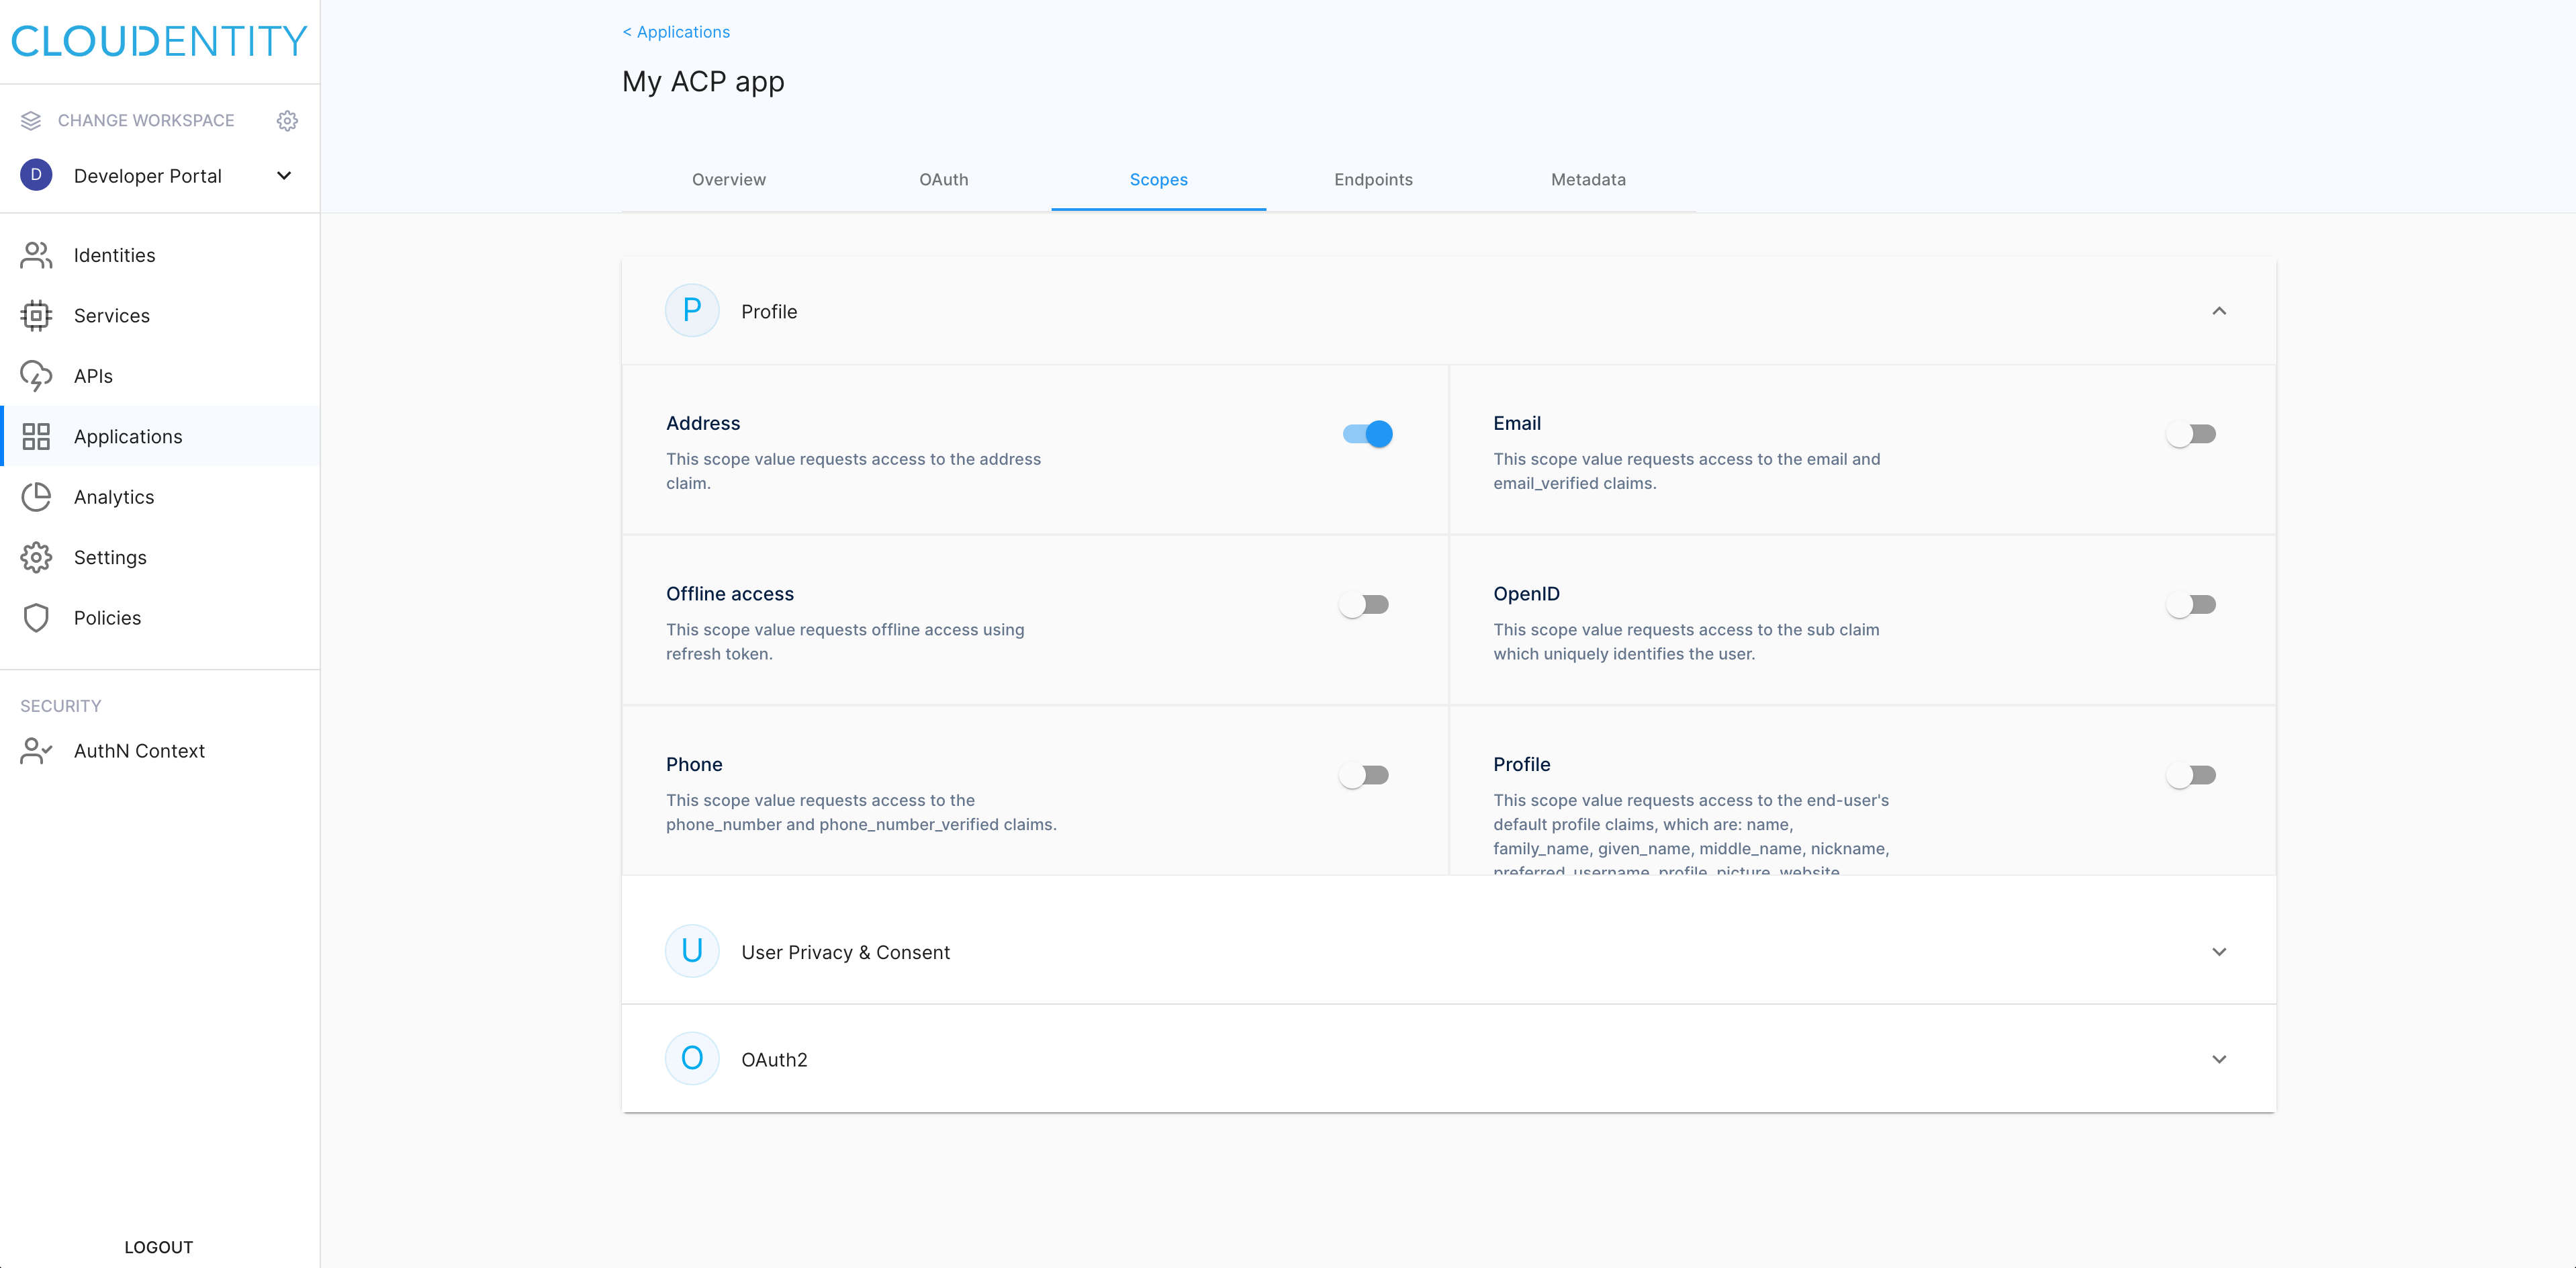
Select the Scopes tab to configure scopes-related settings.
-
Select a service that you want to set scopes for.
-
Identify a scope that you want to activate for the service and enable it by selecting its toggle switch.
-
-
Select the Endpoints tab to identify and/or copy desired URLs.

-
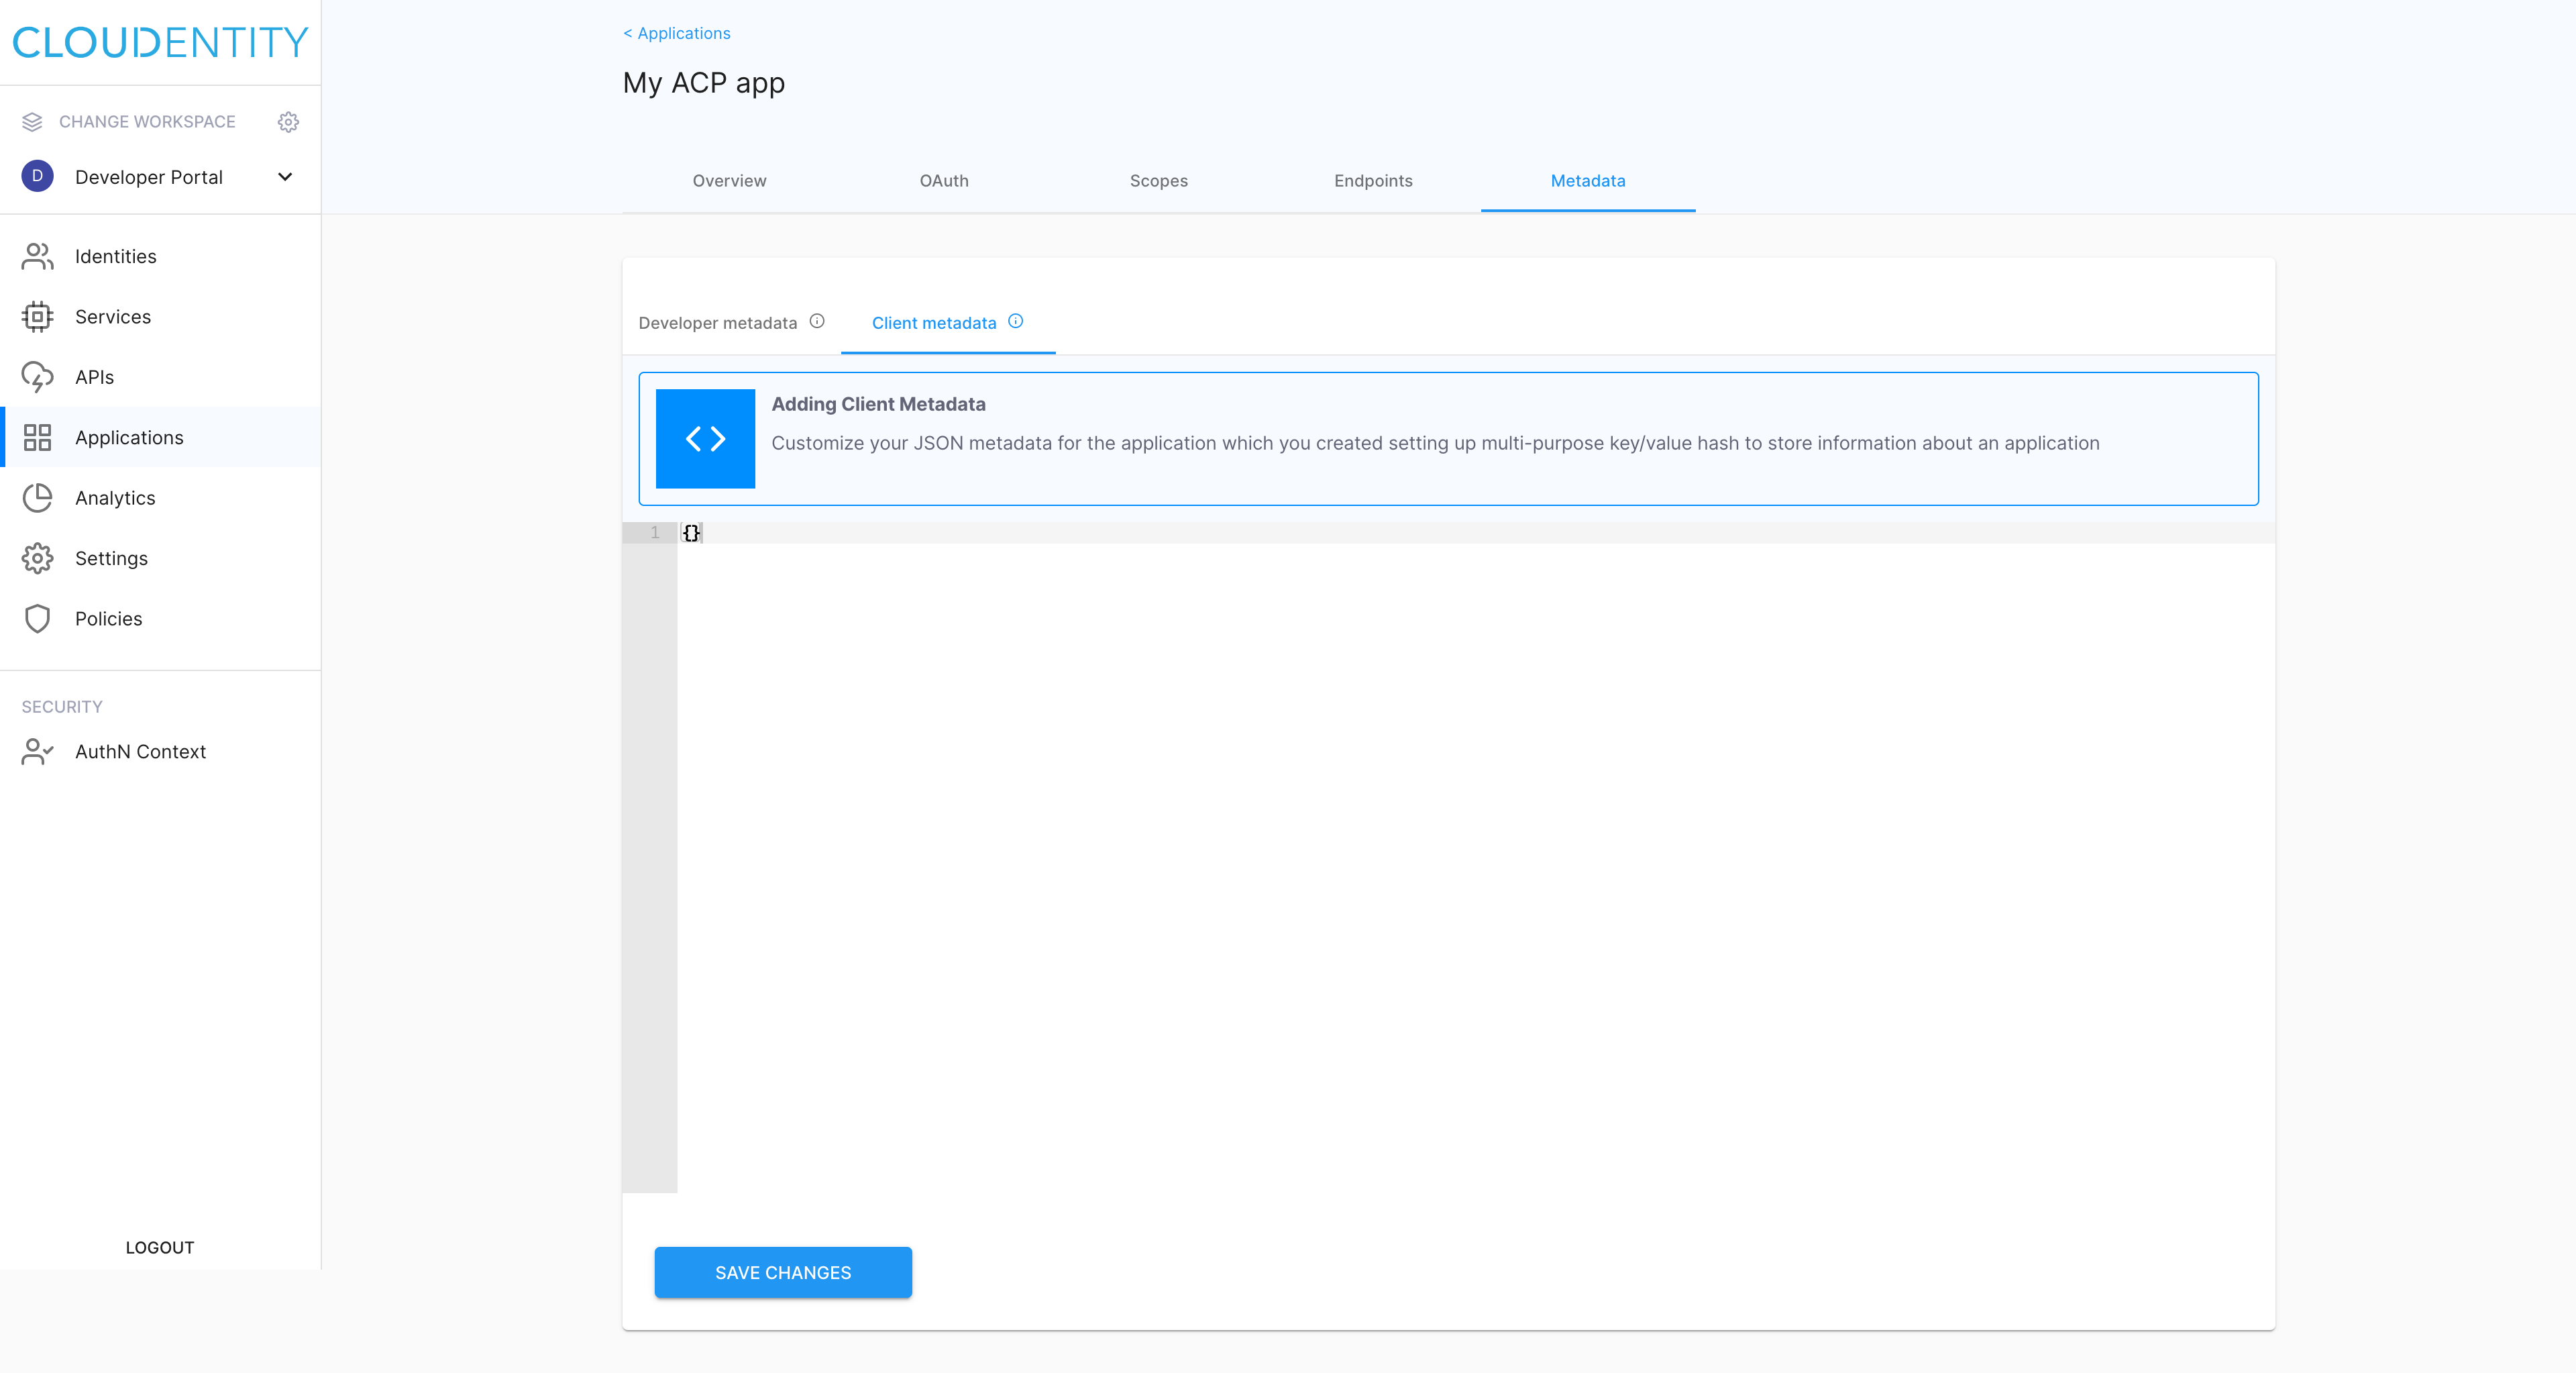
Select the Metadata tab to identify information on the application developer or configure metadata on the application.
Work with metadata
For more information on how to preview information on the application developer or configure metadata on the application, see Identifying developers metadata for applications and Configuring application metadata, respectively.
Result
Your application is available in the Applications view of your workspace and ready for use.

Next steps
To learn how you can protect your application, see Restricting access to specific applications.