Protecting data with the use of dynamic scopes
Instructions on how to configure dynamic scopes and use them as an authorization asset
In addition to defining and requesting scopes one-by-one with their explicit names, now ACP enables you to define and request scopes dynamically. Dynamic-scope names are based on a generic form template, for example
account.*, where*represents a wildcard allowing multiple scope-name interpretations.
Purpose
Speed up and facilitate the process of defining scopes by setting up scopes dynamically.
Prerequisites
- You have login credentials to the ACP administrator portal.
- You have at least one service created in the ACP administrator portal.
- You have an application created in ACP.
Access your workspace
-
In your browser, navigate to ACP and log in with your credentials.
-
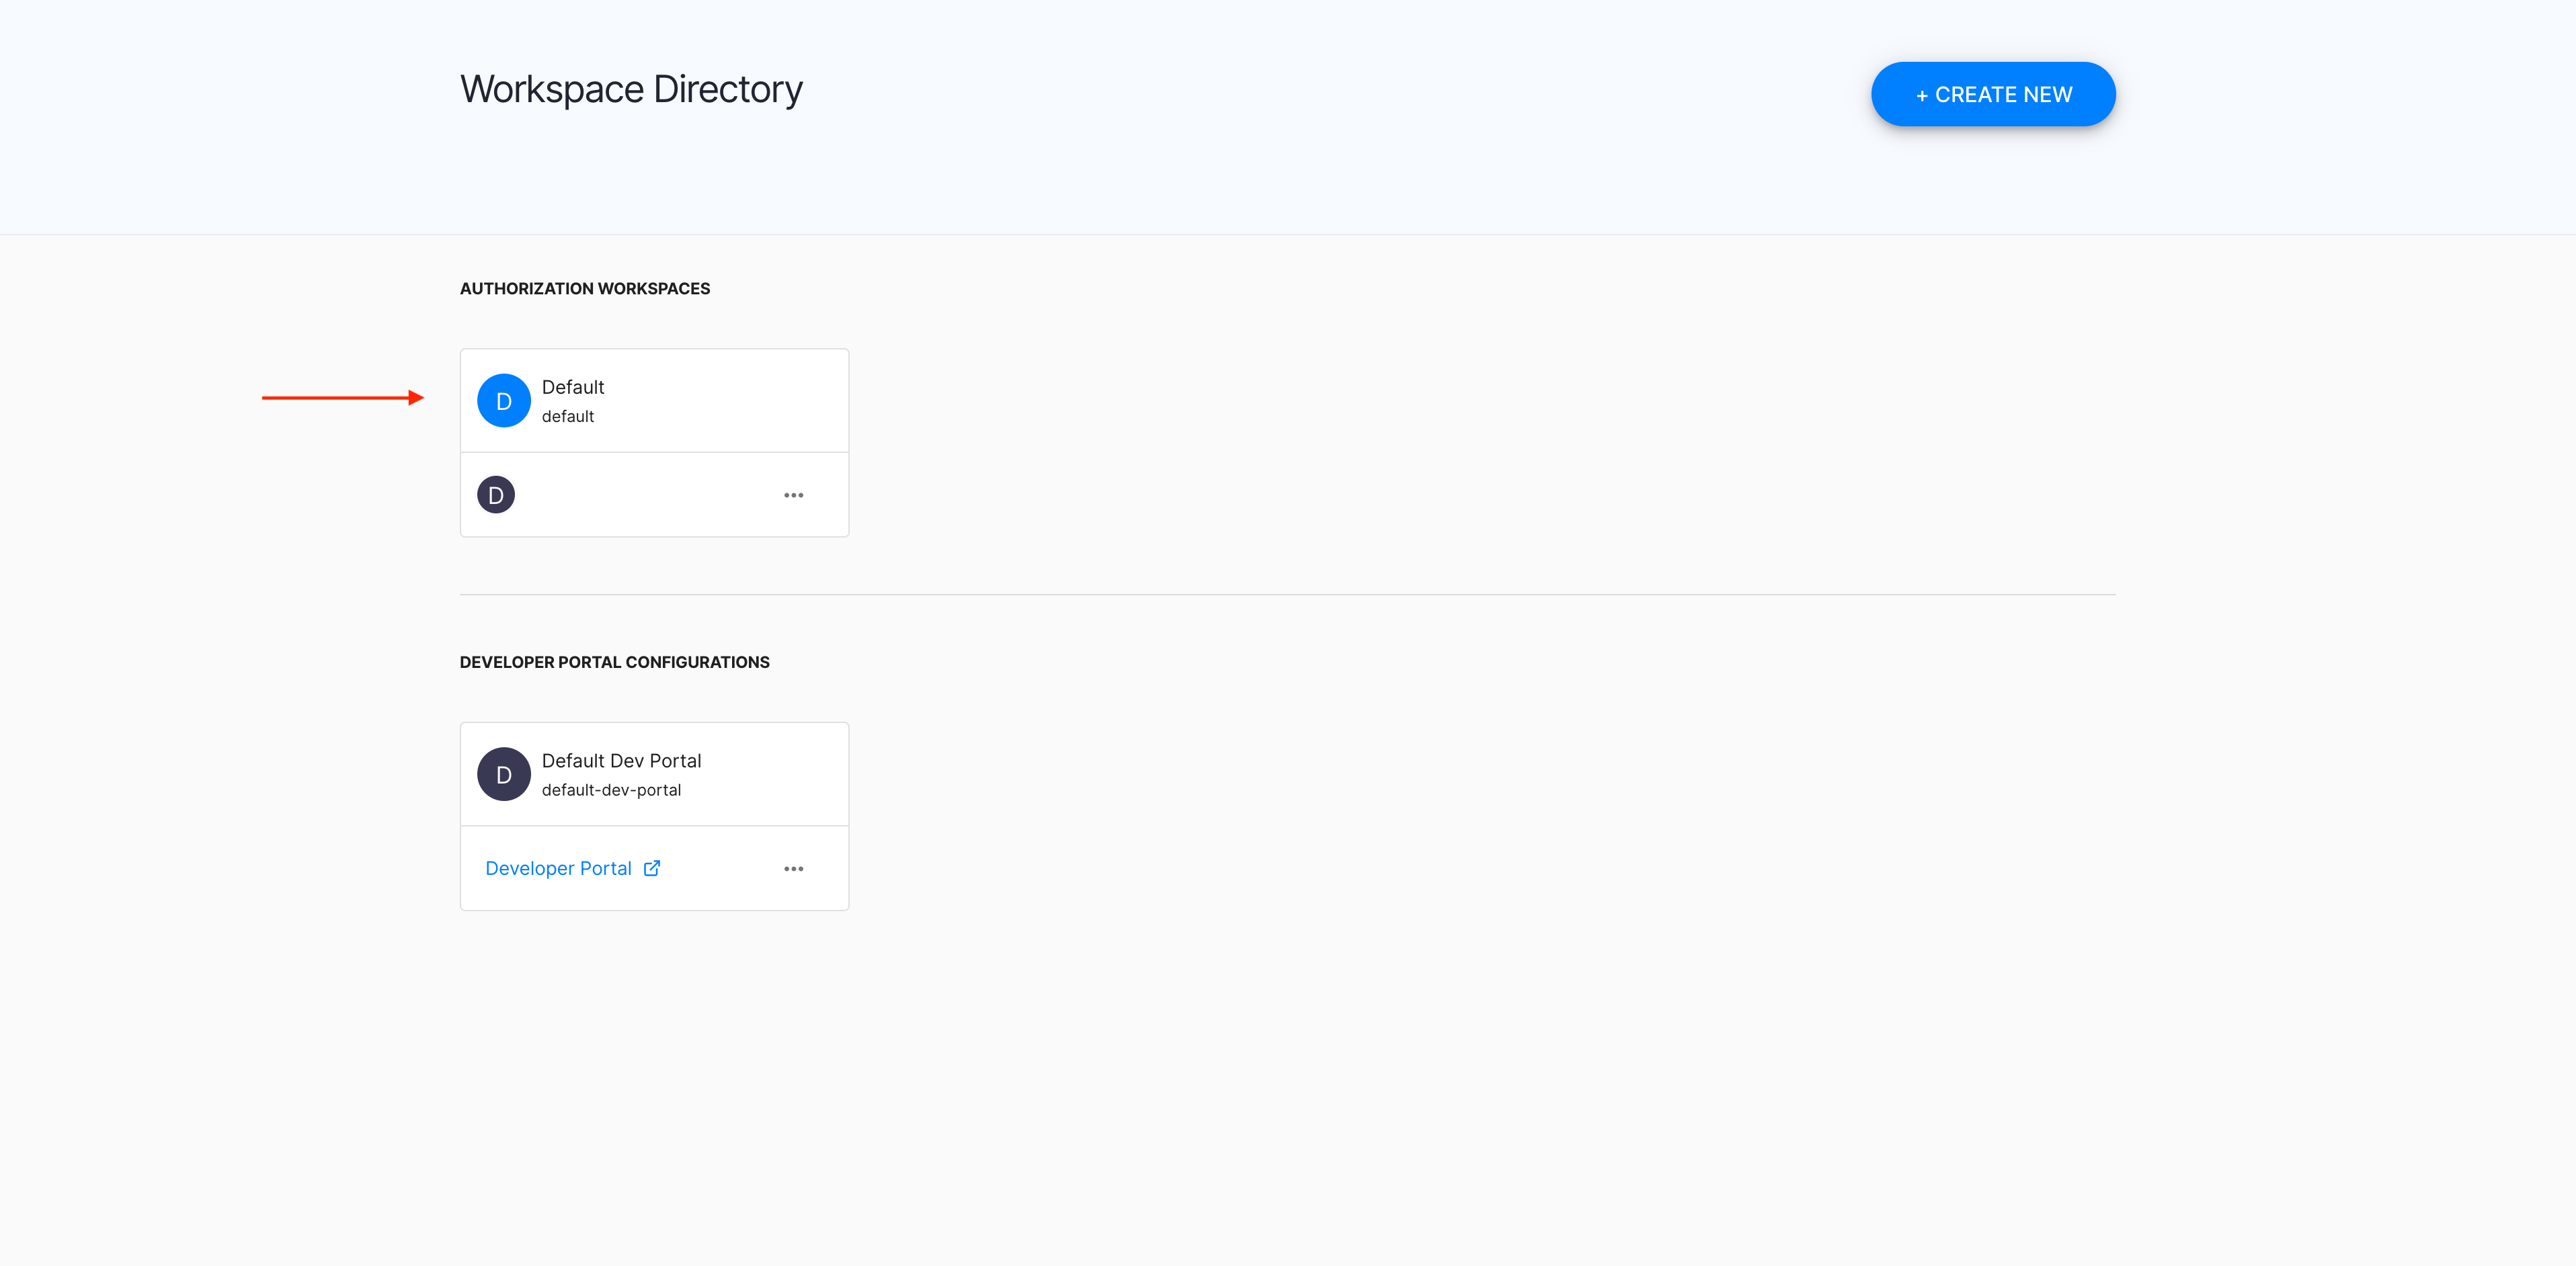
In the Workspace Directory view, select a workspace that you want to enter.
Add scope
-
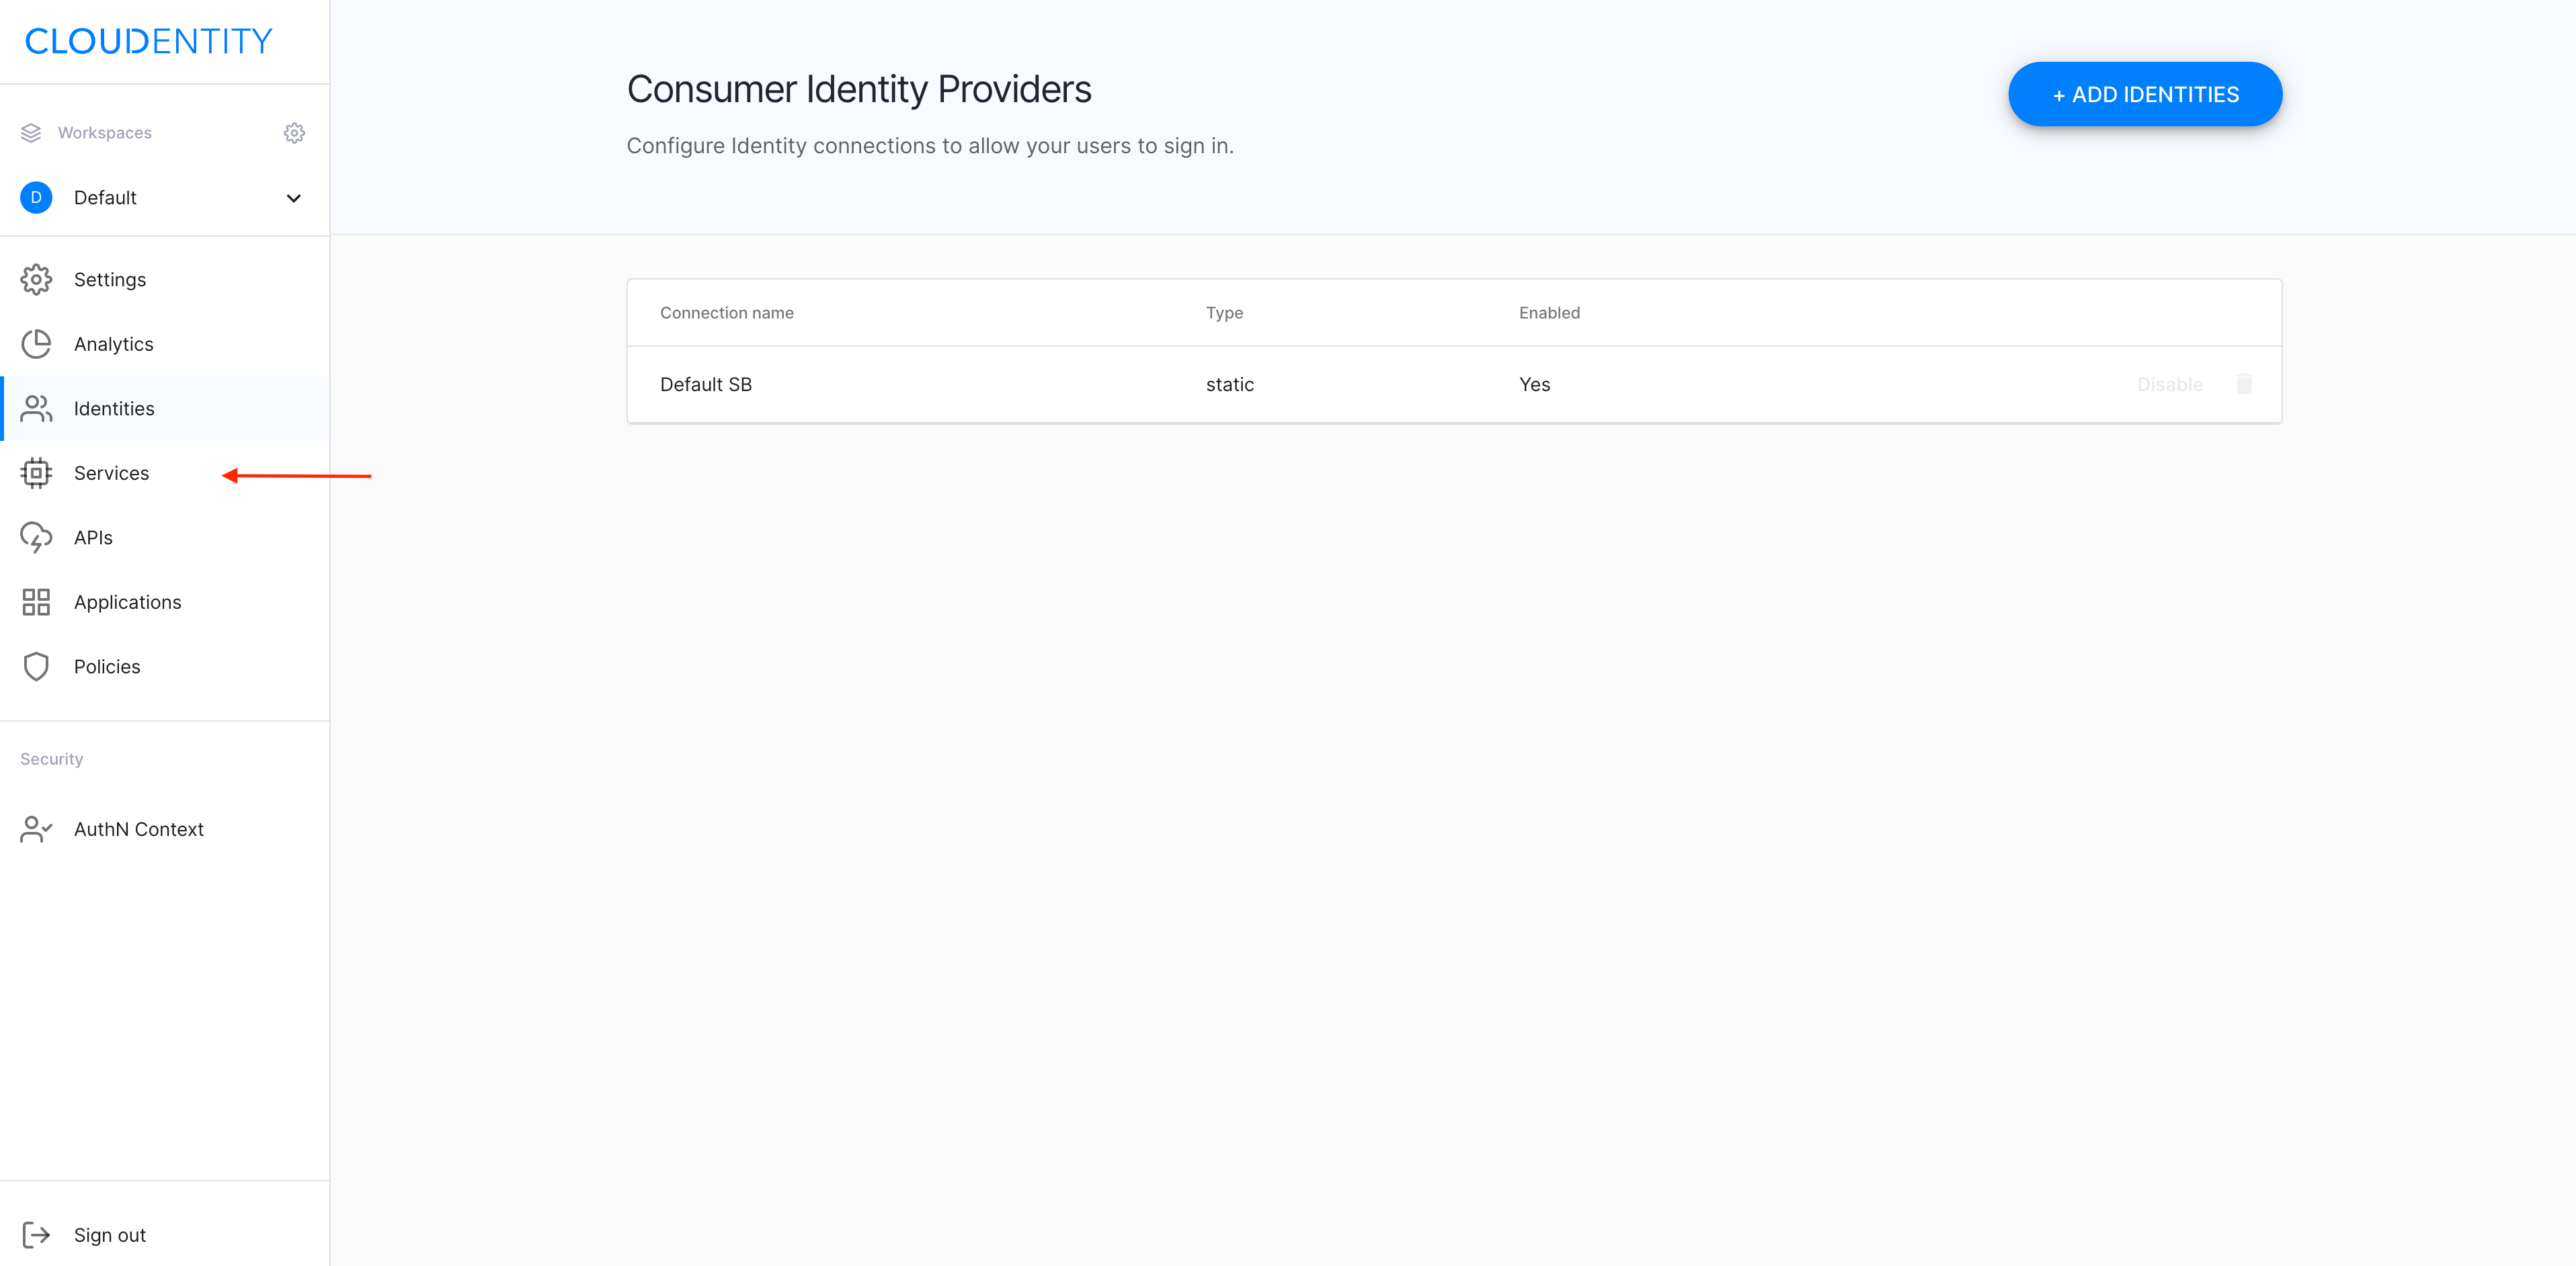
In the workspace, select Services from the sidebar.
-
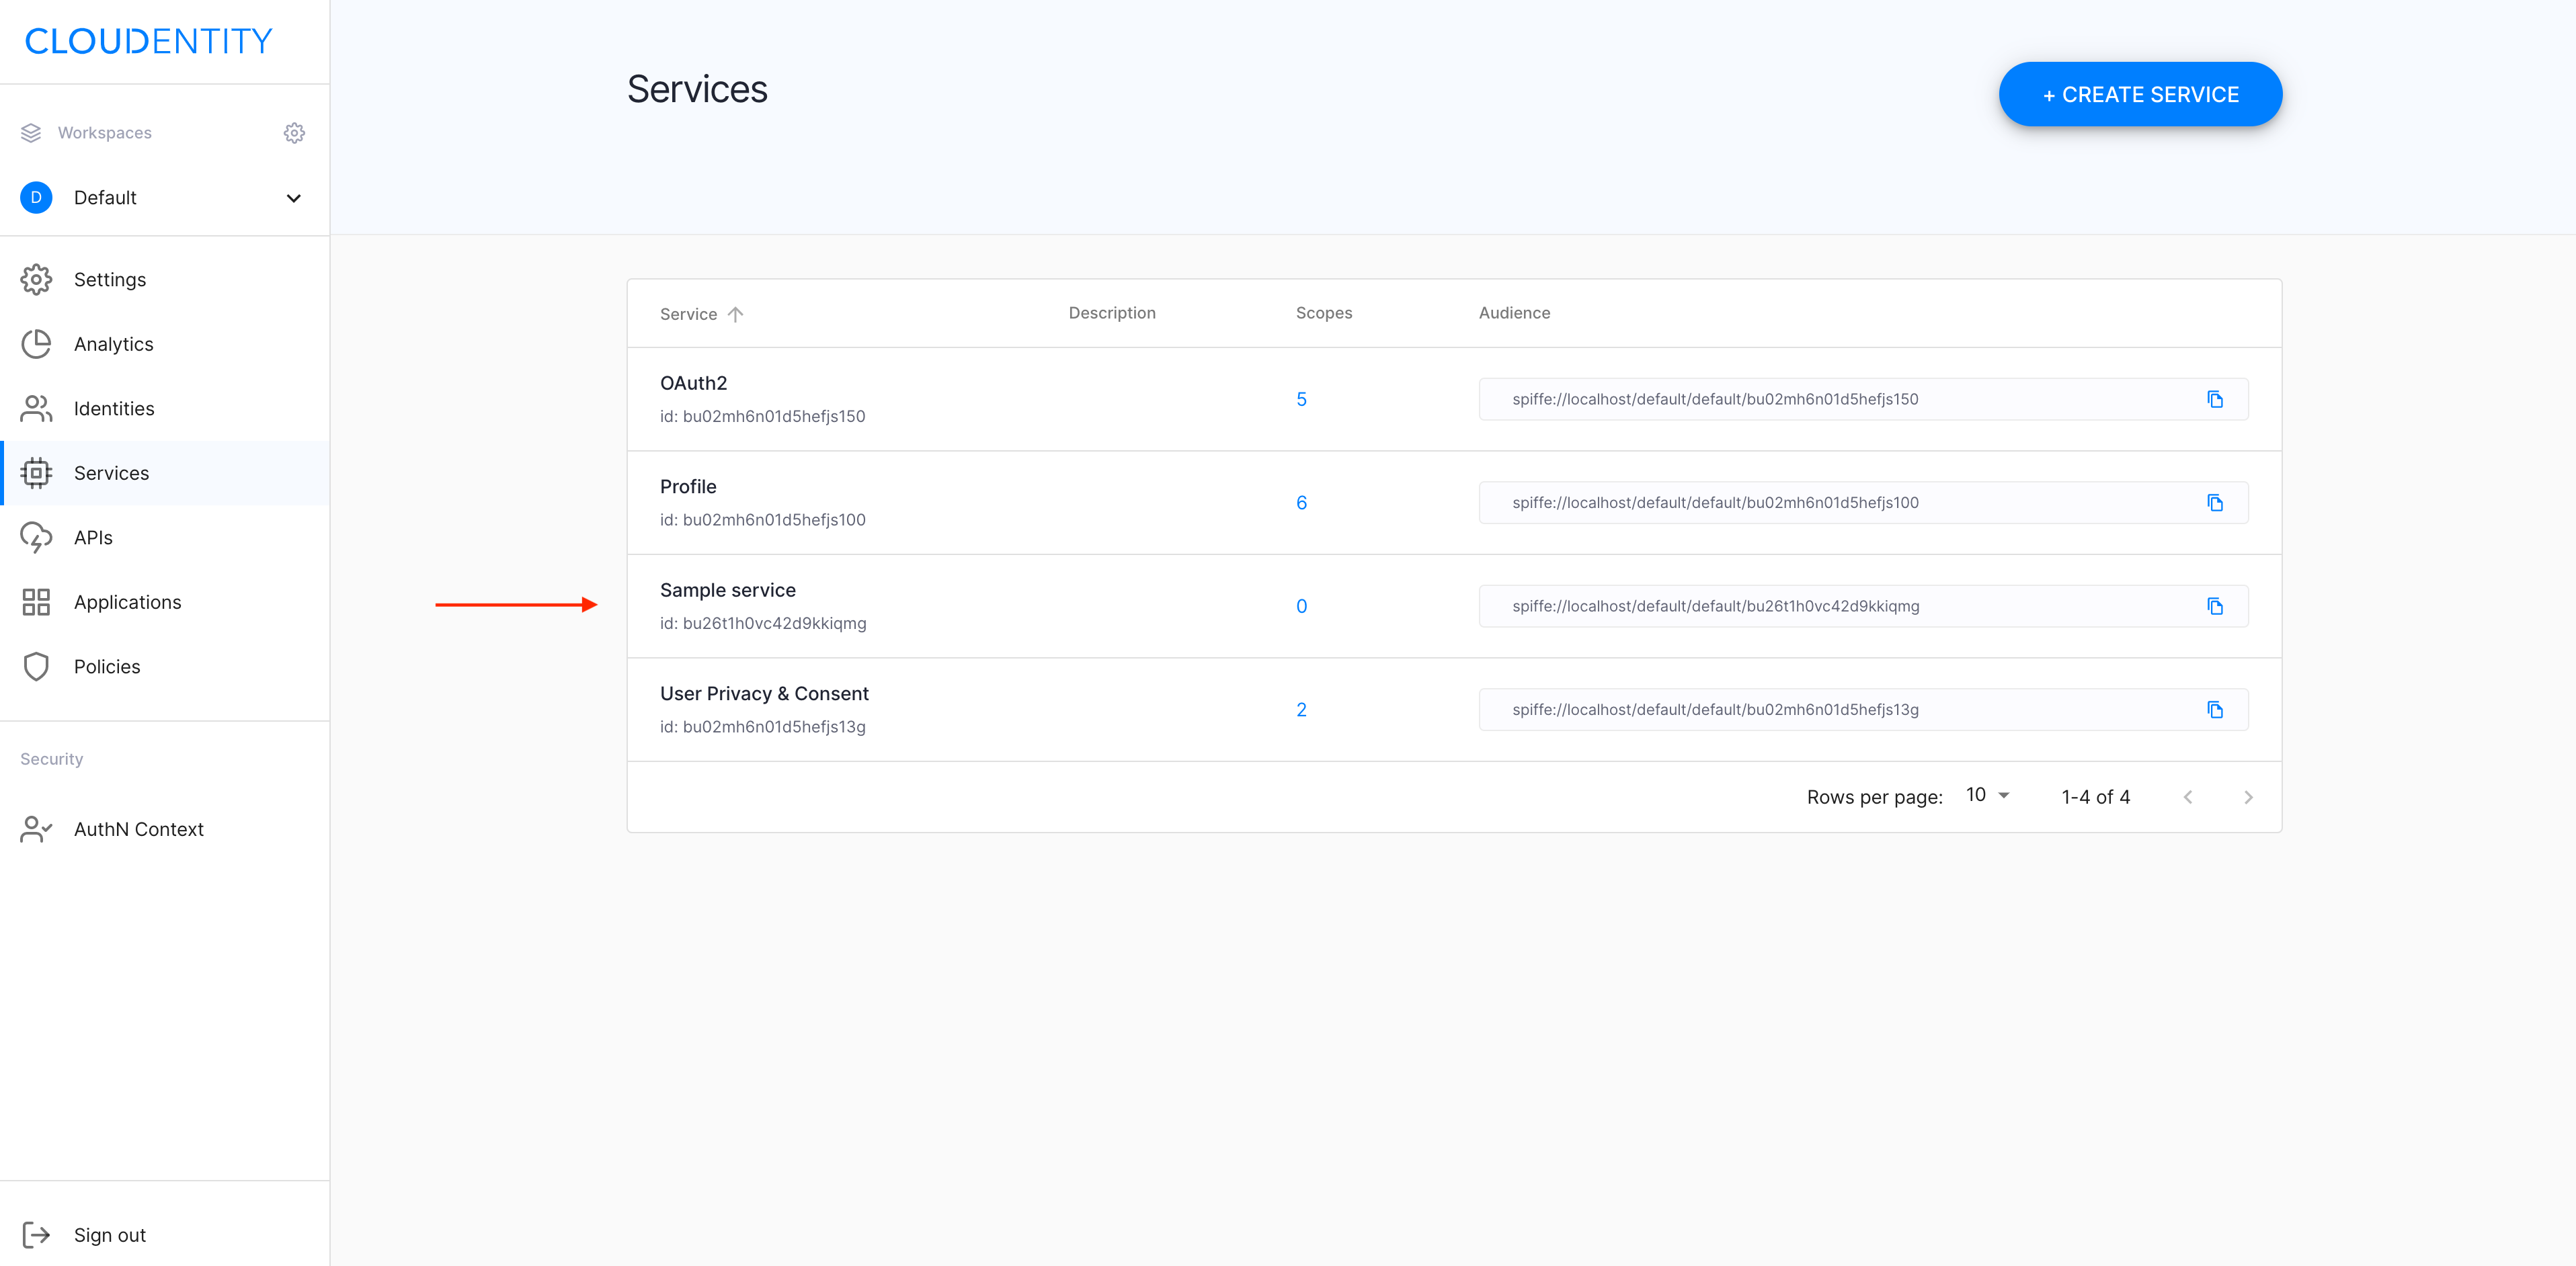
In the Services view, select a service that you want to set up a scope for.
-
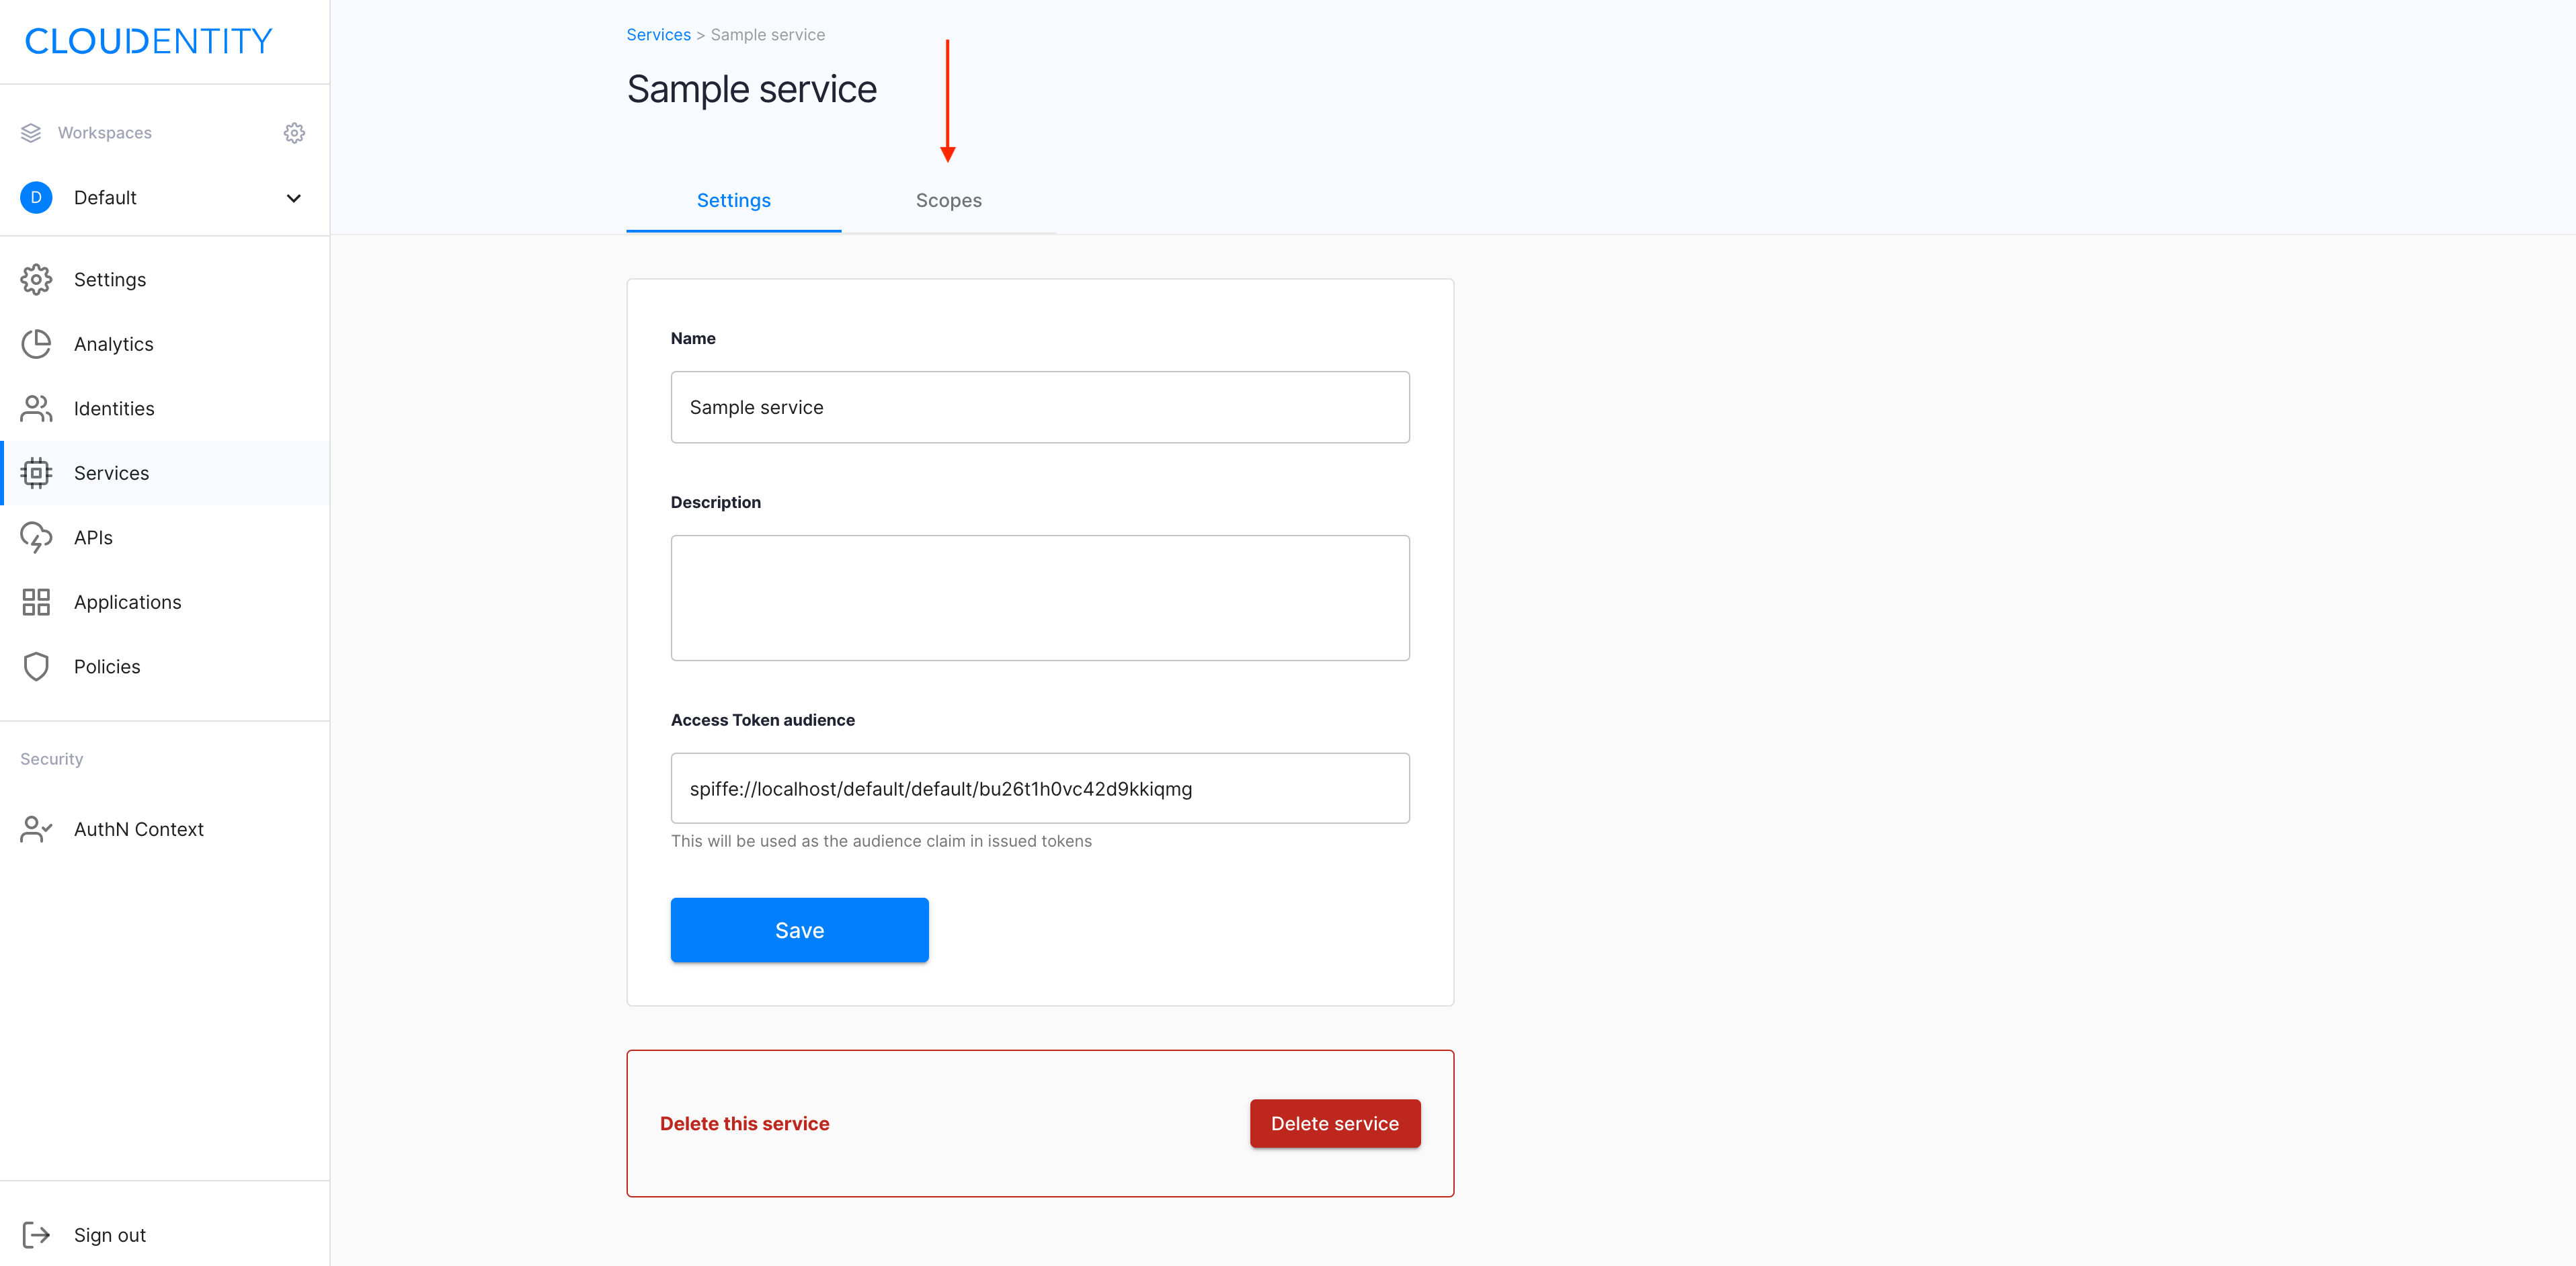
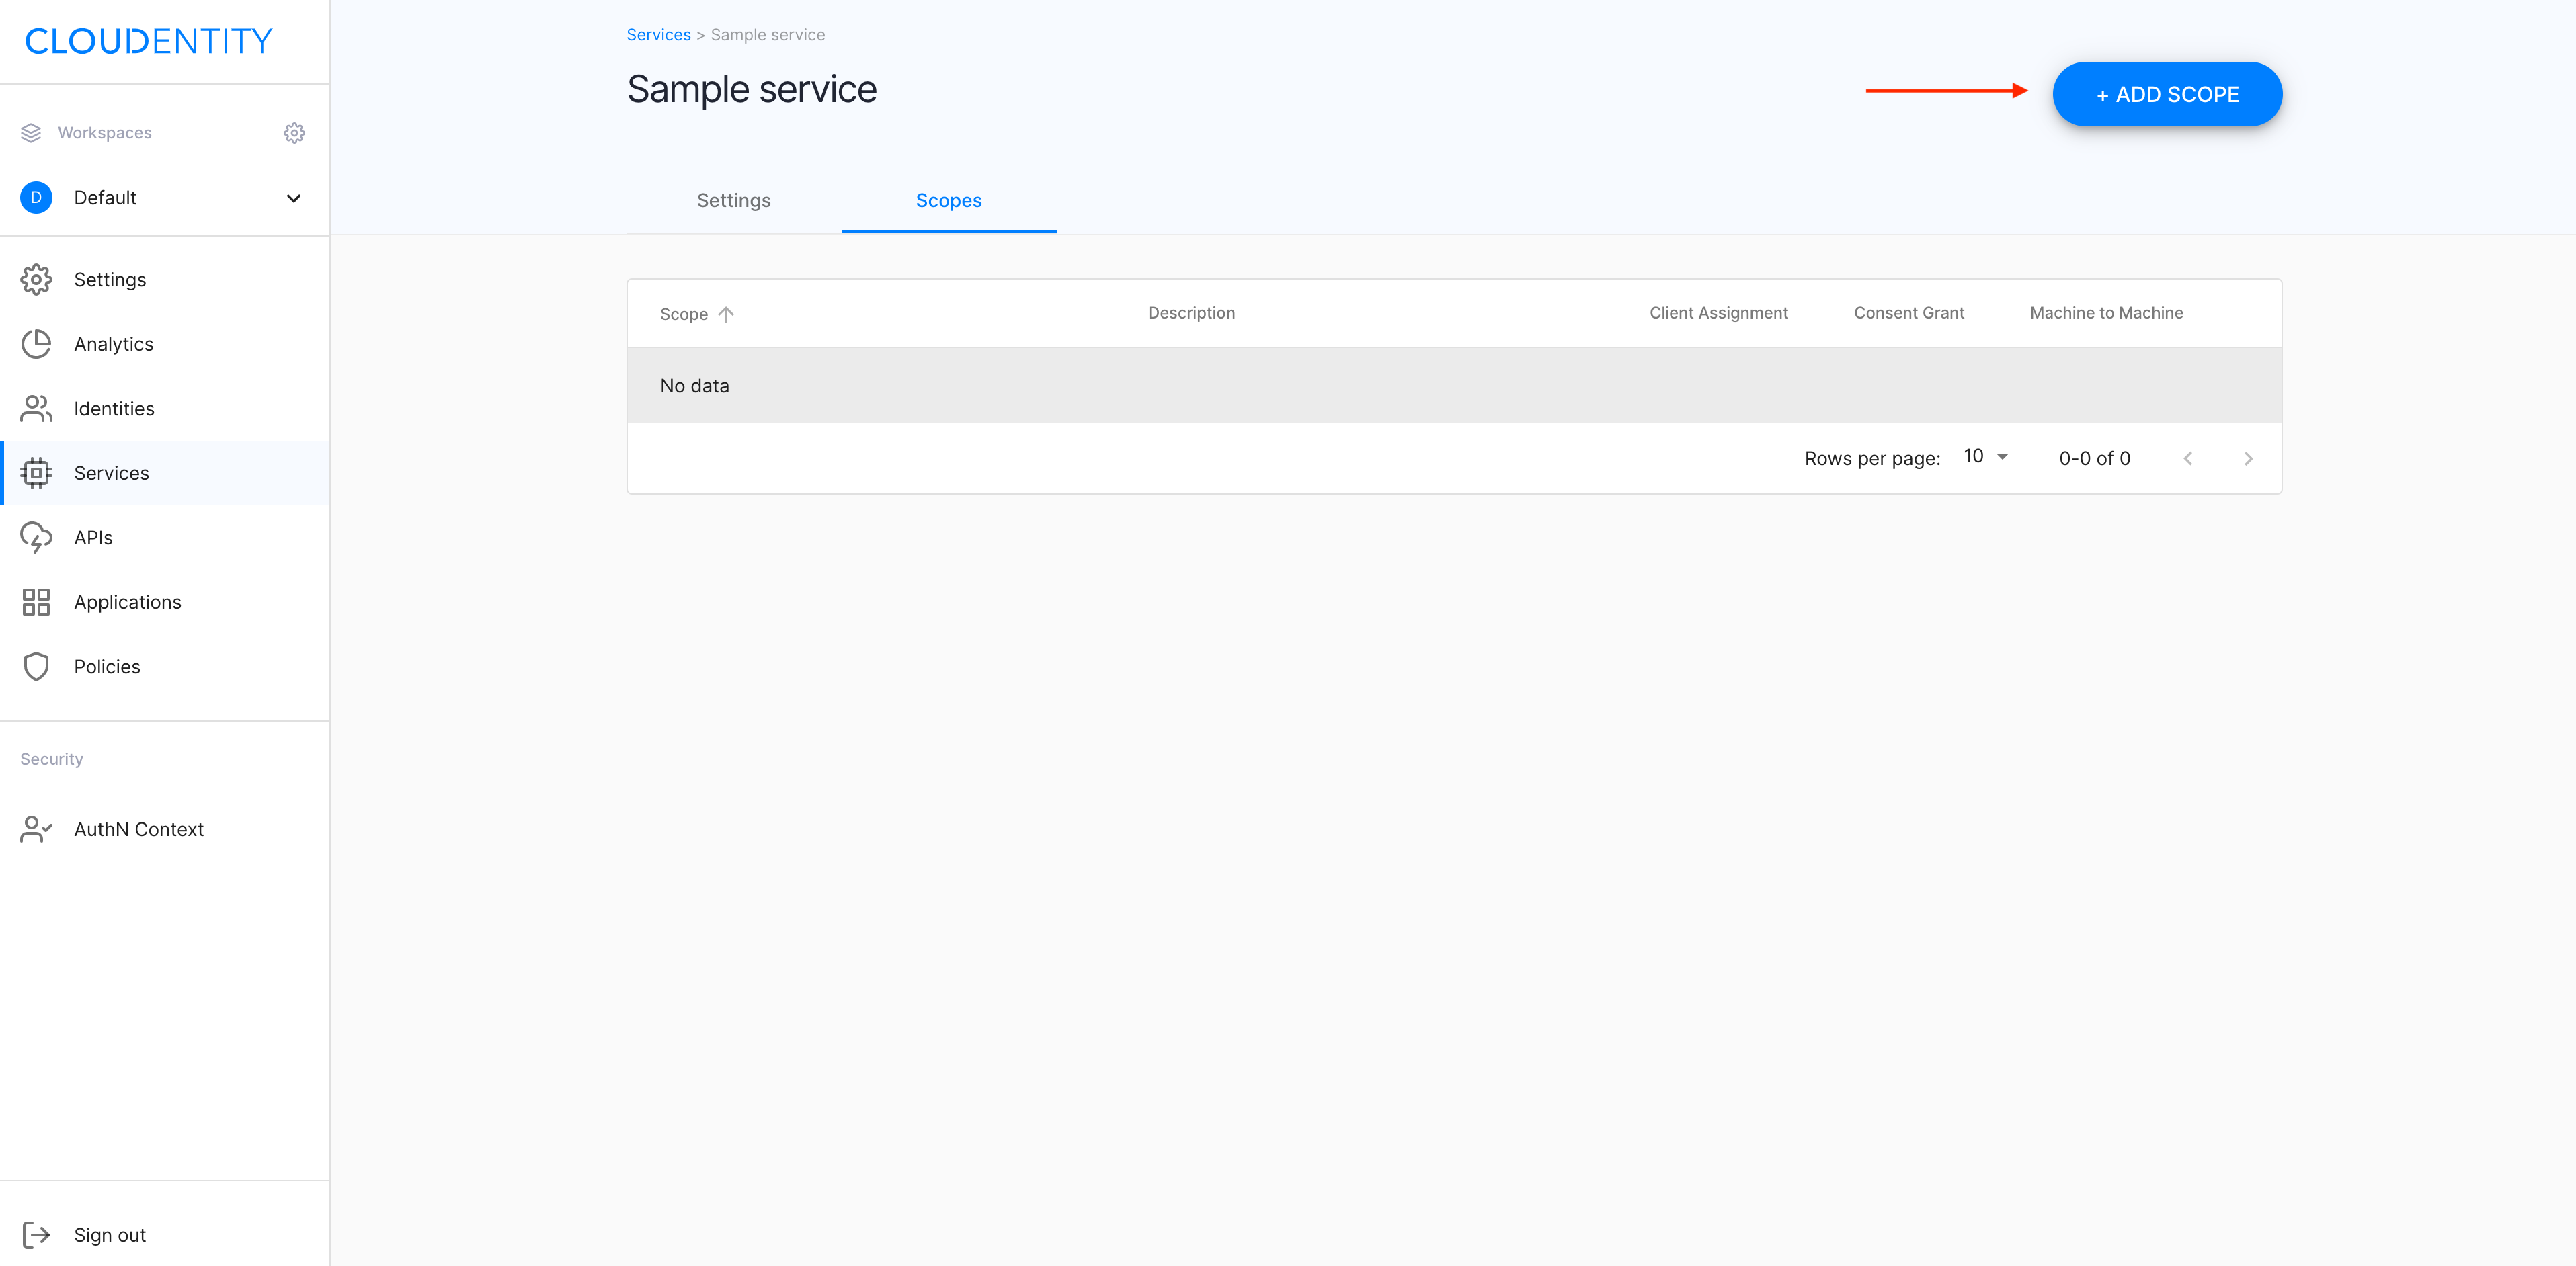
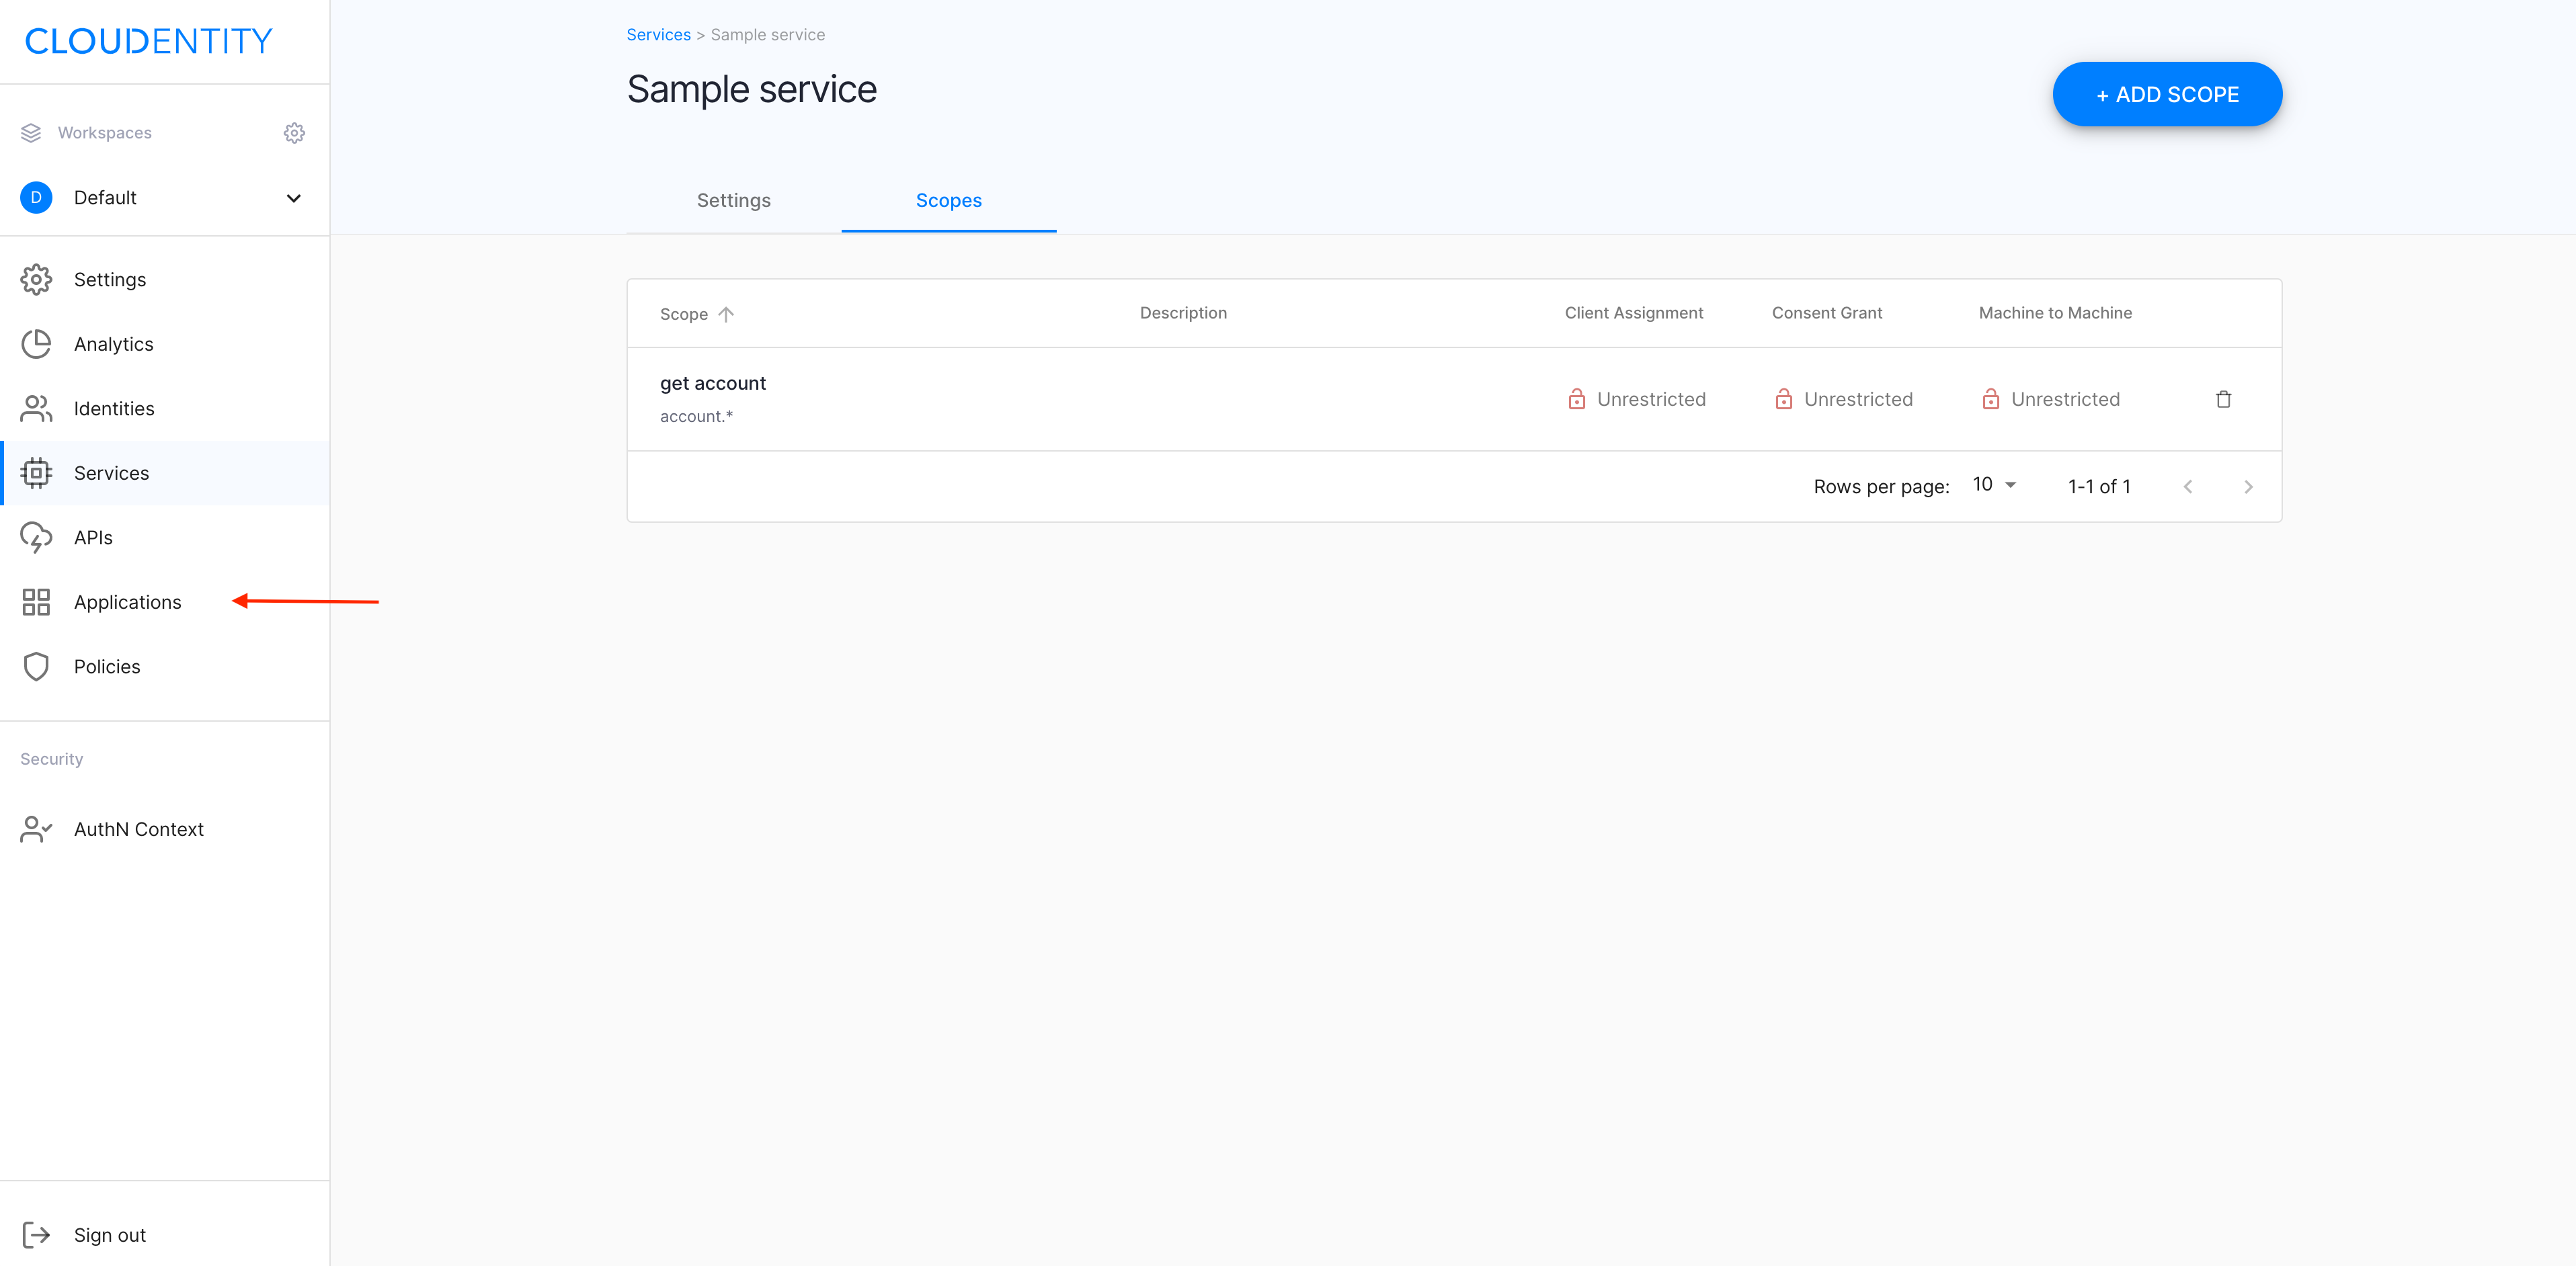
In your service view, select the Scopes tab.
-
In the Scopes tab, select ADD SCOPE.
-
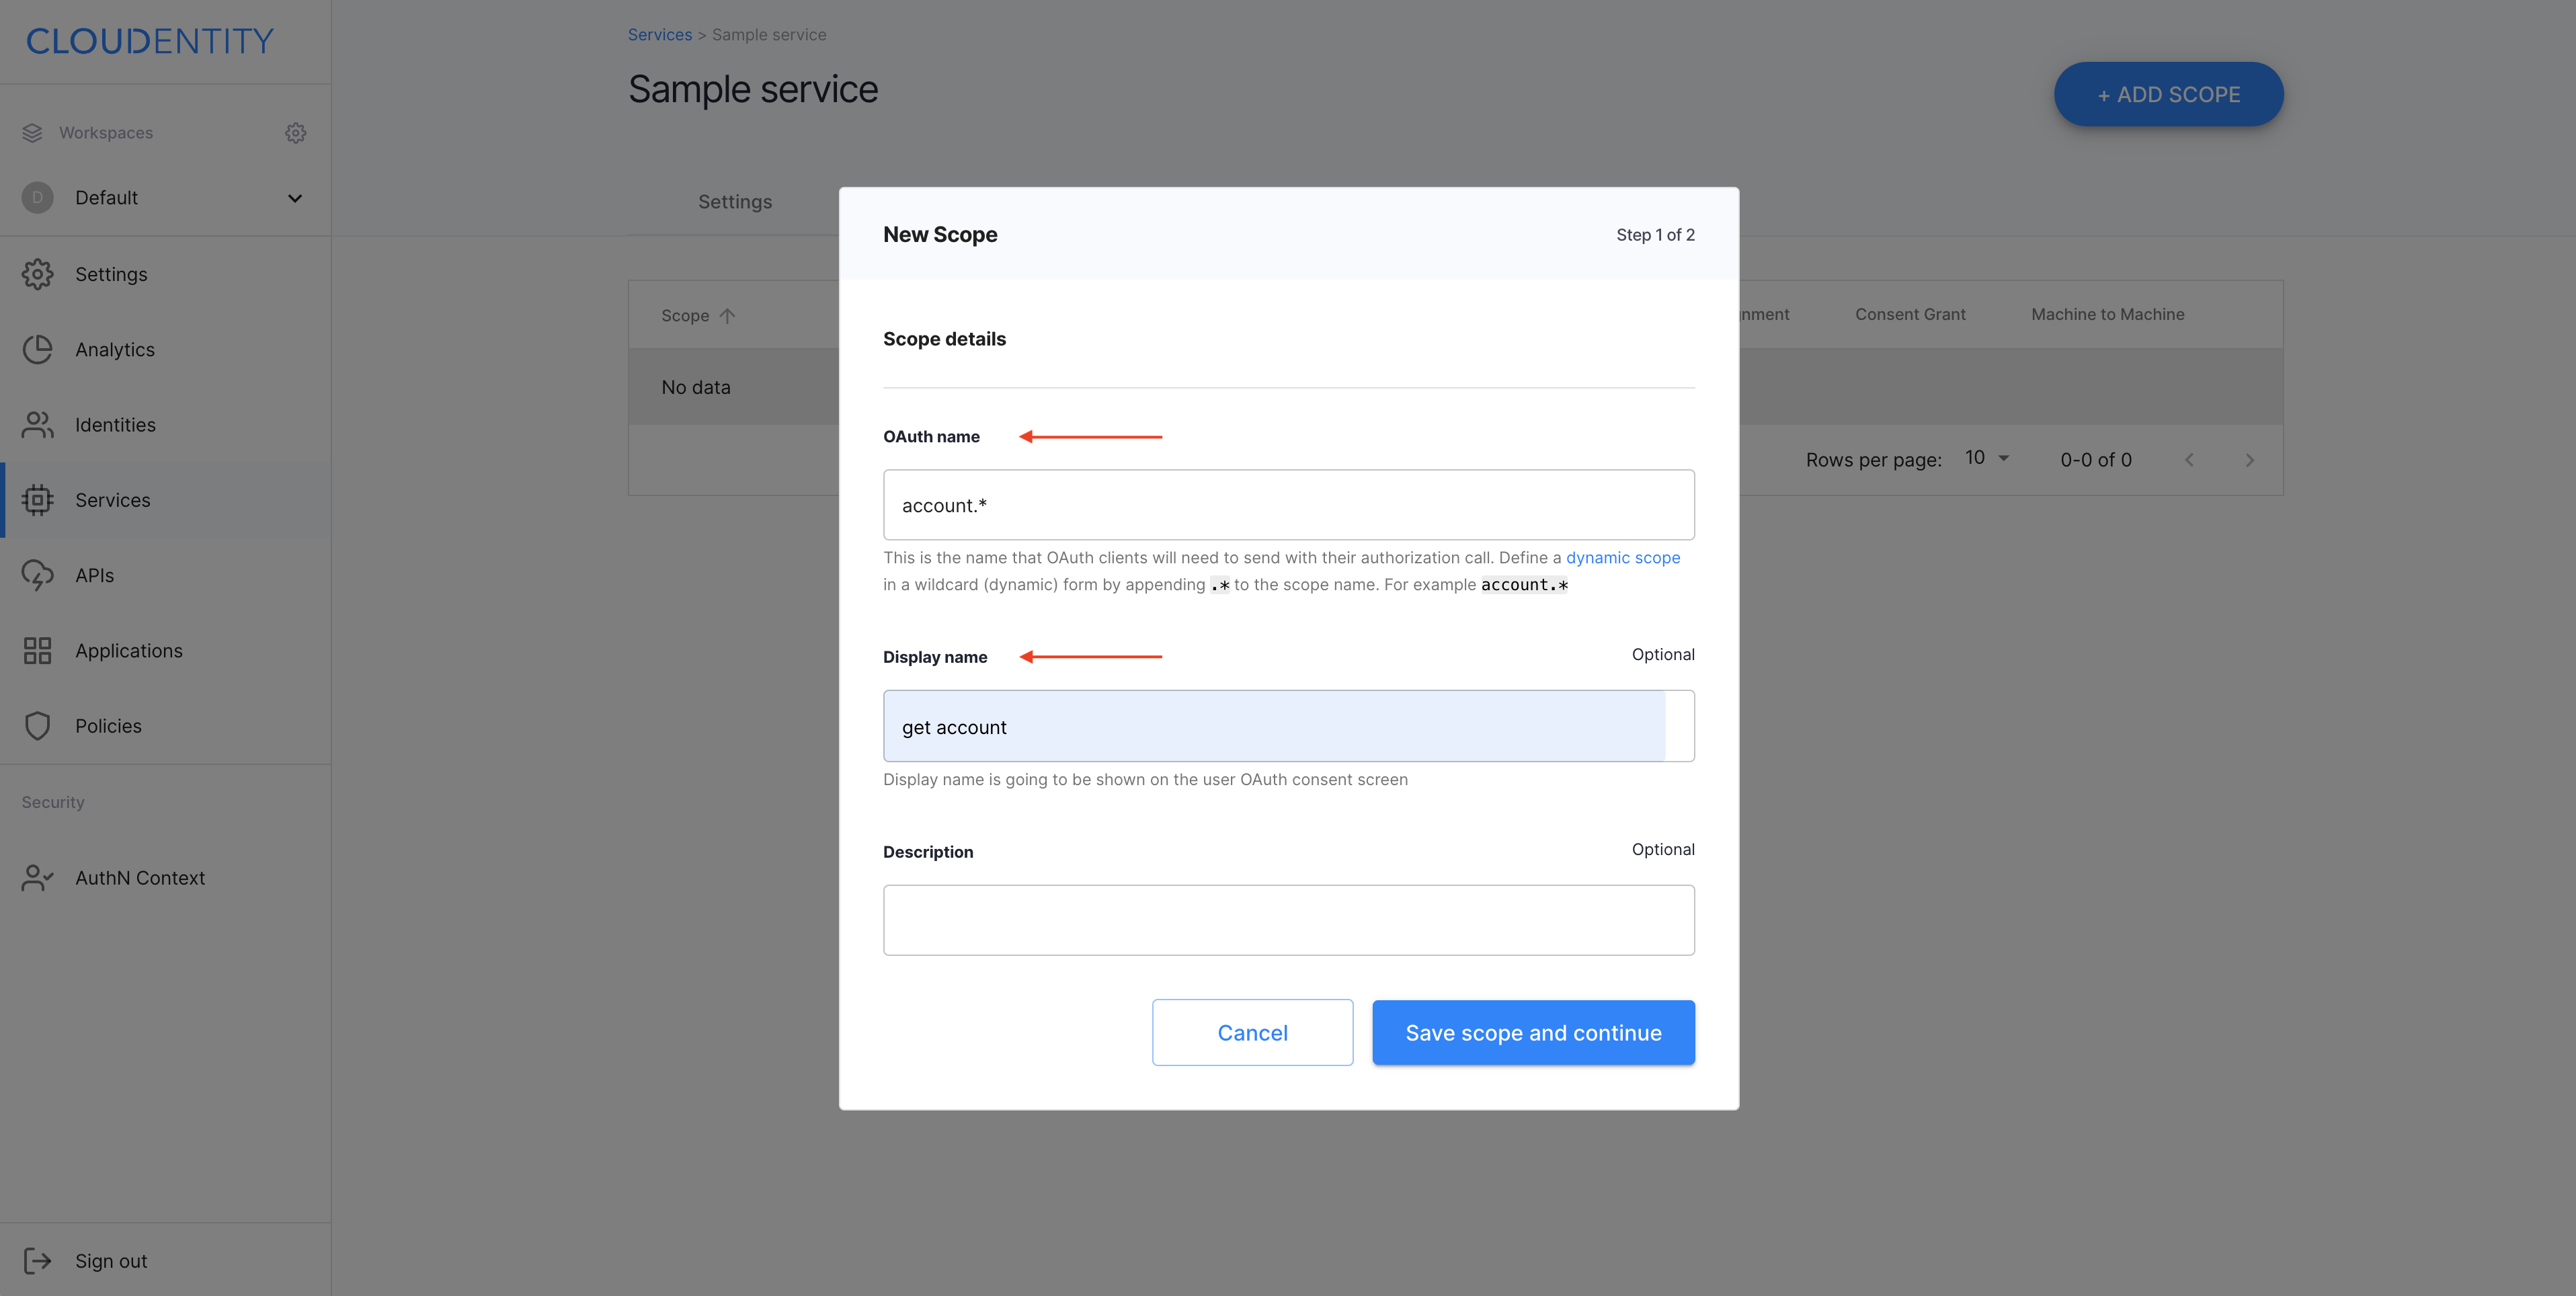
In step 1 of the New Scope view, enter an OAuth name and a display name for your scope. Next, select Save scope and continue to proceed.
-
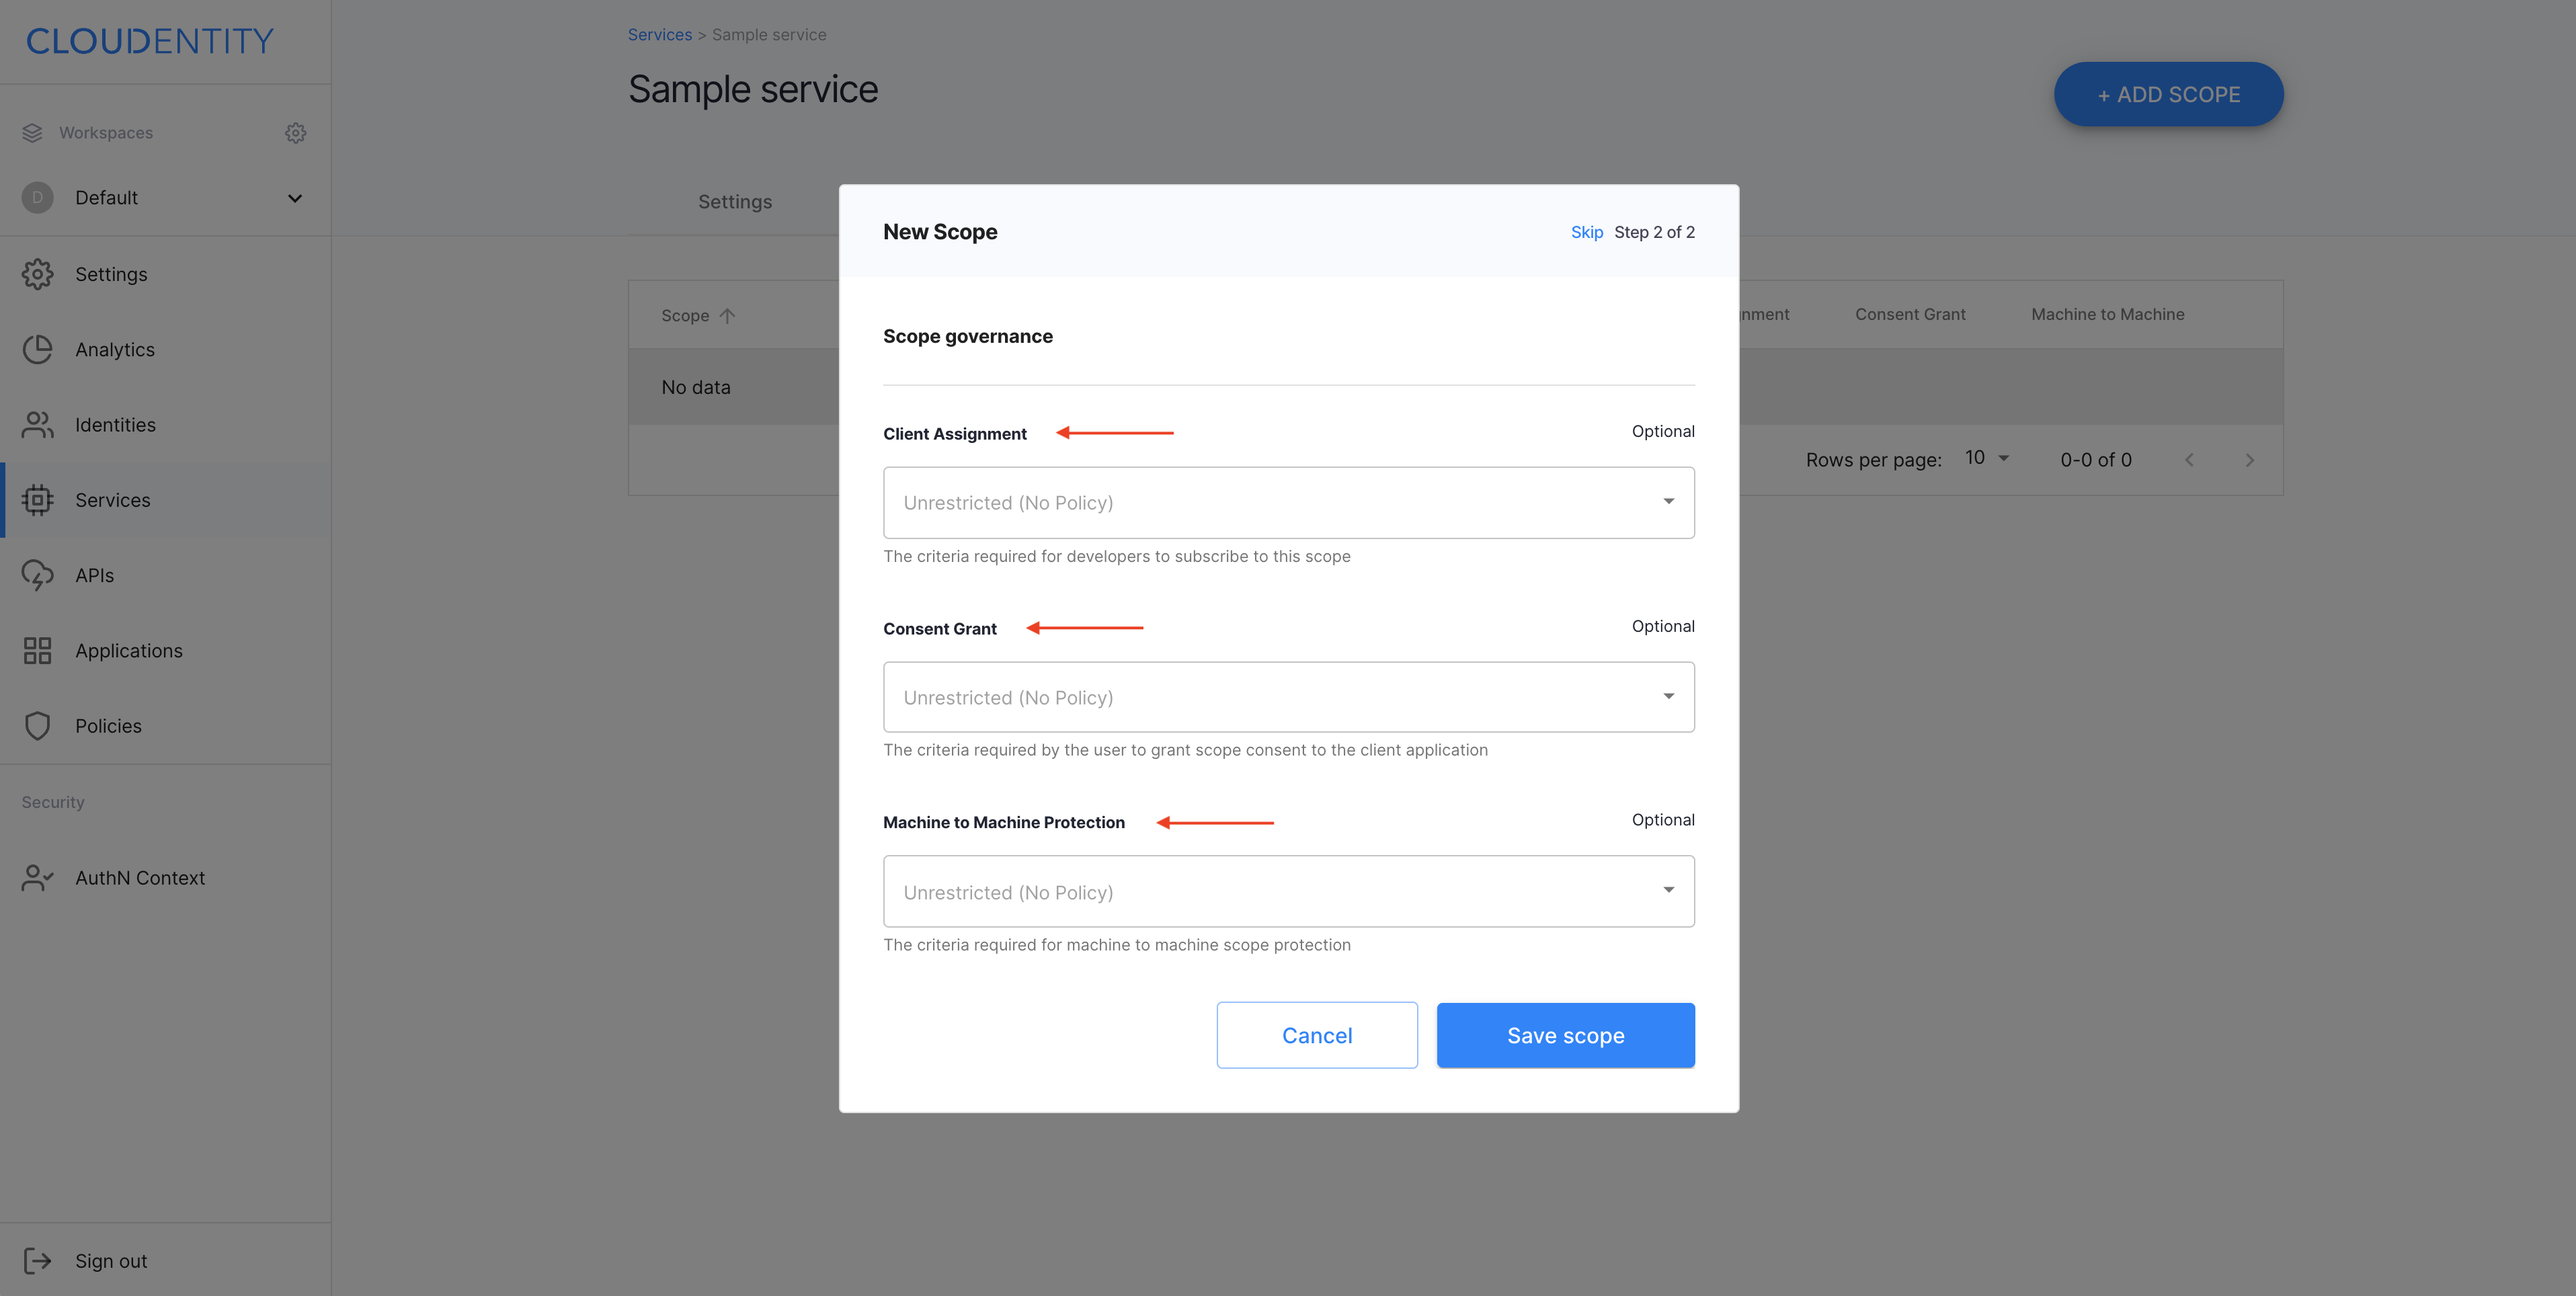
In step 2 of the New Scope view
-
Either select policies to set up criteria for client assignment, consent grant, and machine-to-machine protection and close the wizard with Save scope
-
Or select Skip to omit this step and proceed to the list of scopes with your new scope already included.

-
Enable scope for app service
-
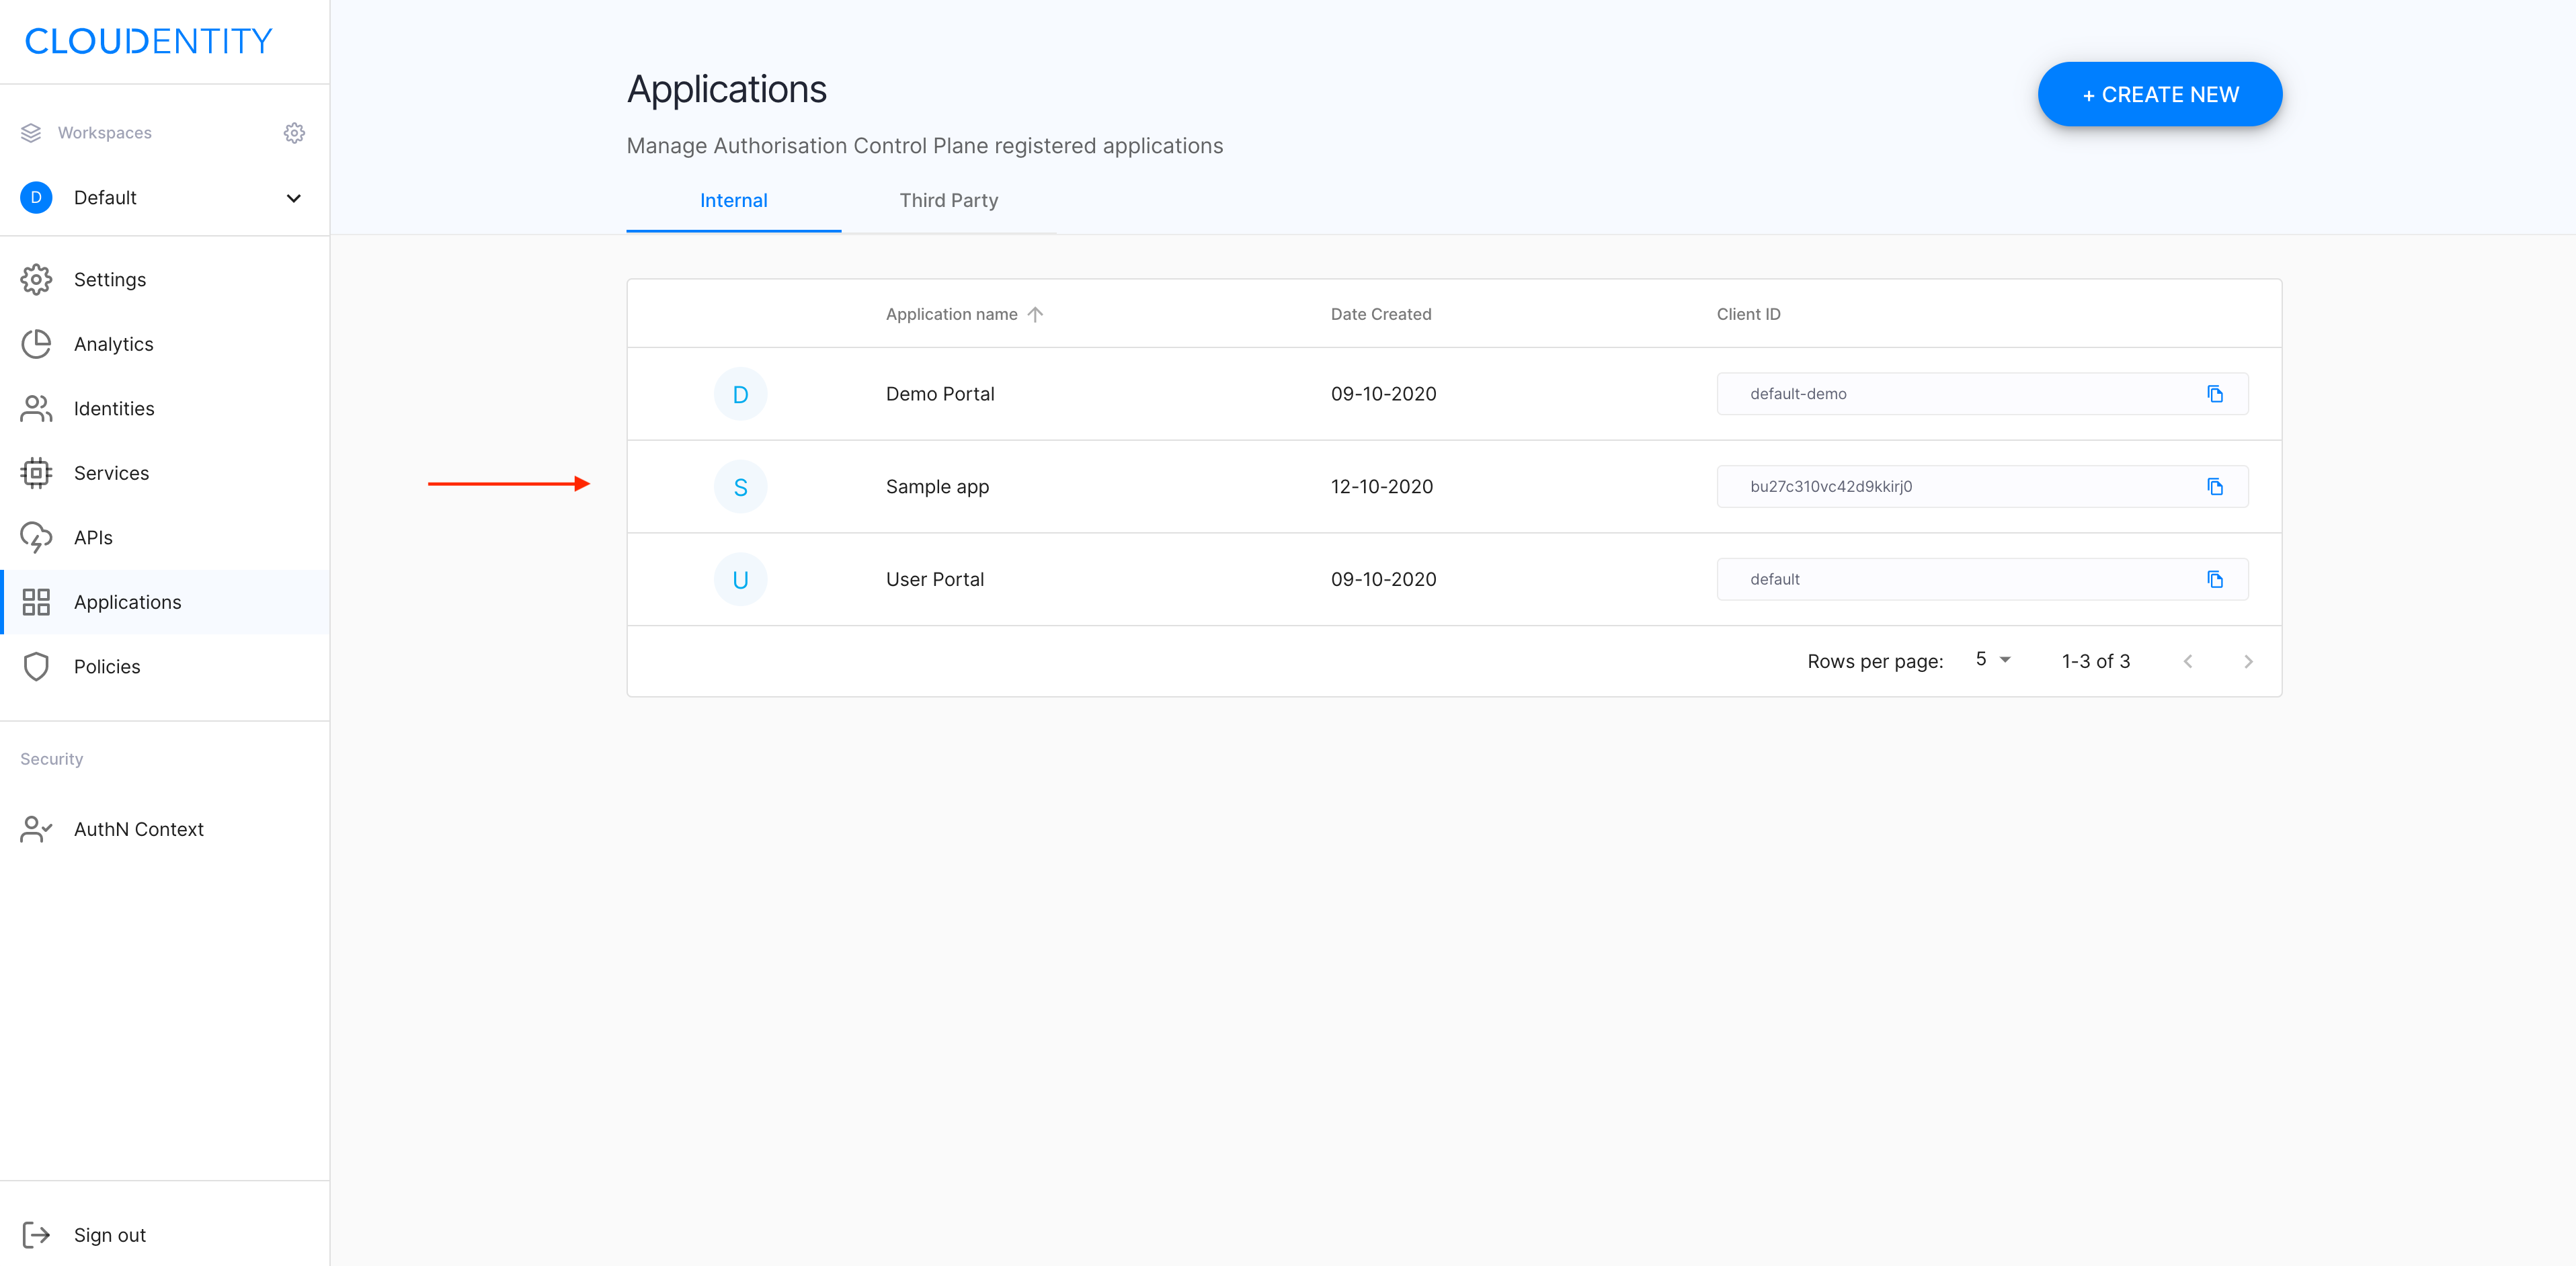
In the workspace, select Applications from the sidebar.
-
In the Applications view, select an application that you want to enable the scope for.
-
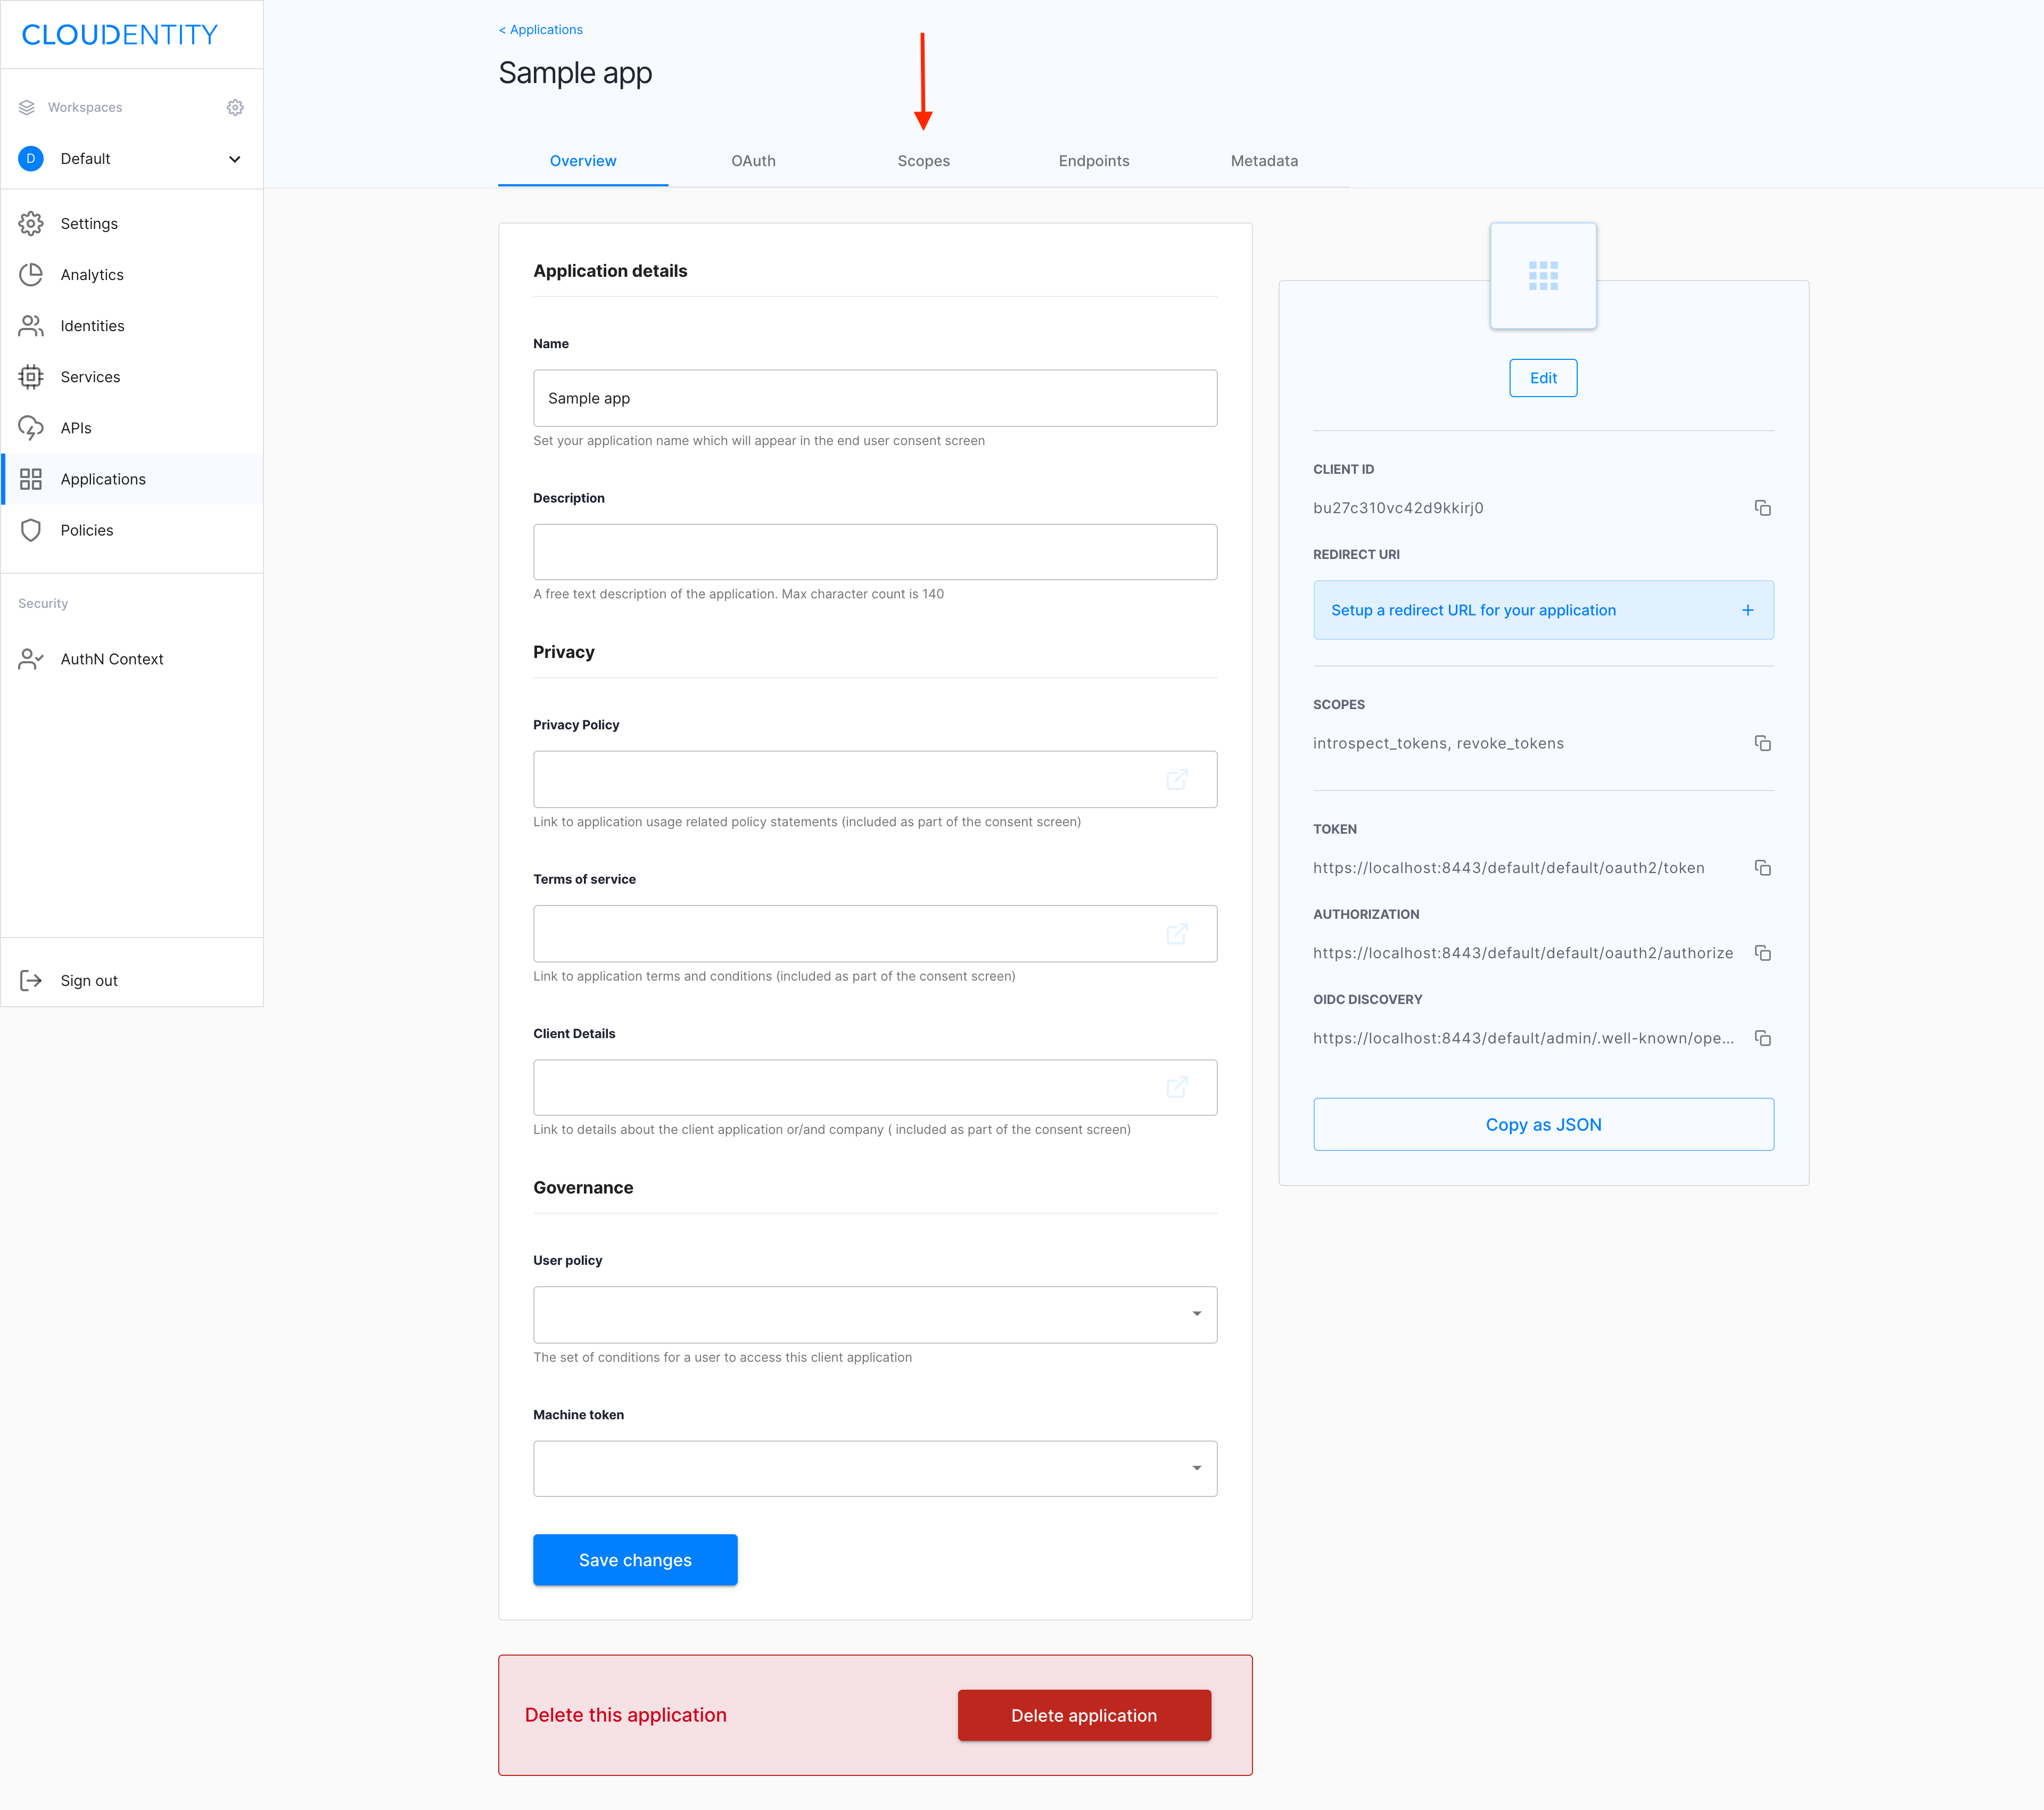
In your application view, select the Scopes tab.
-
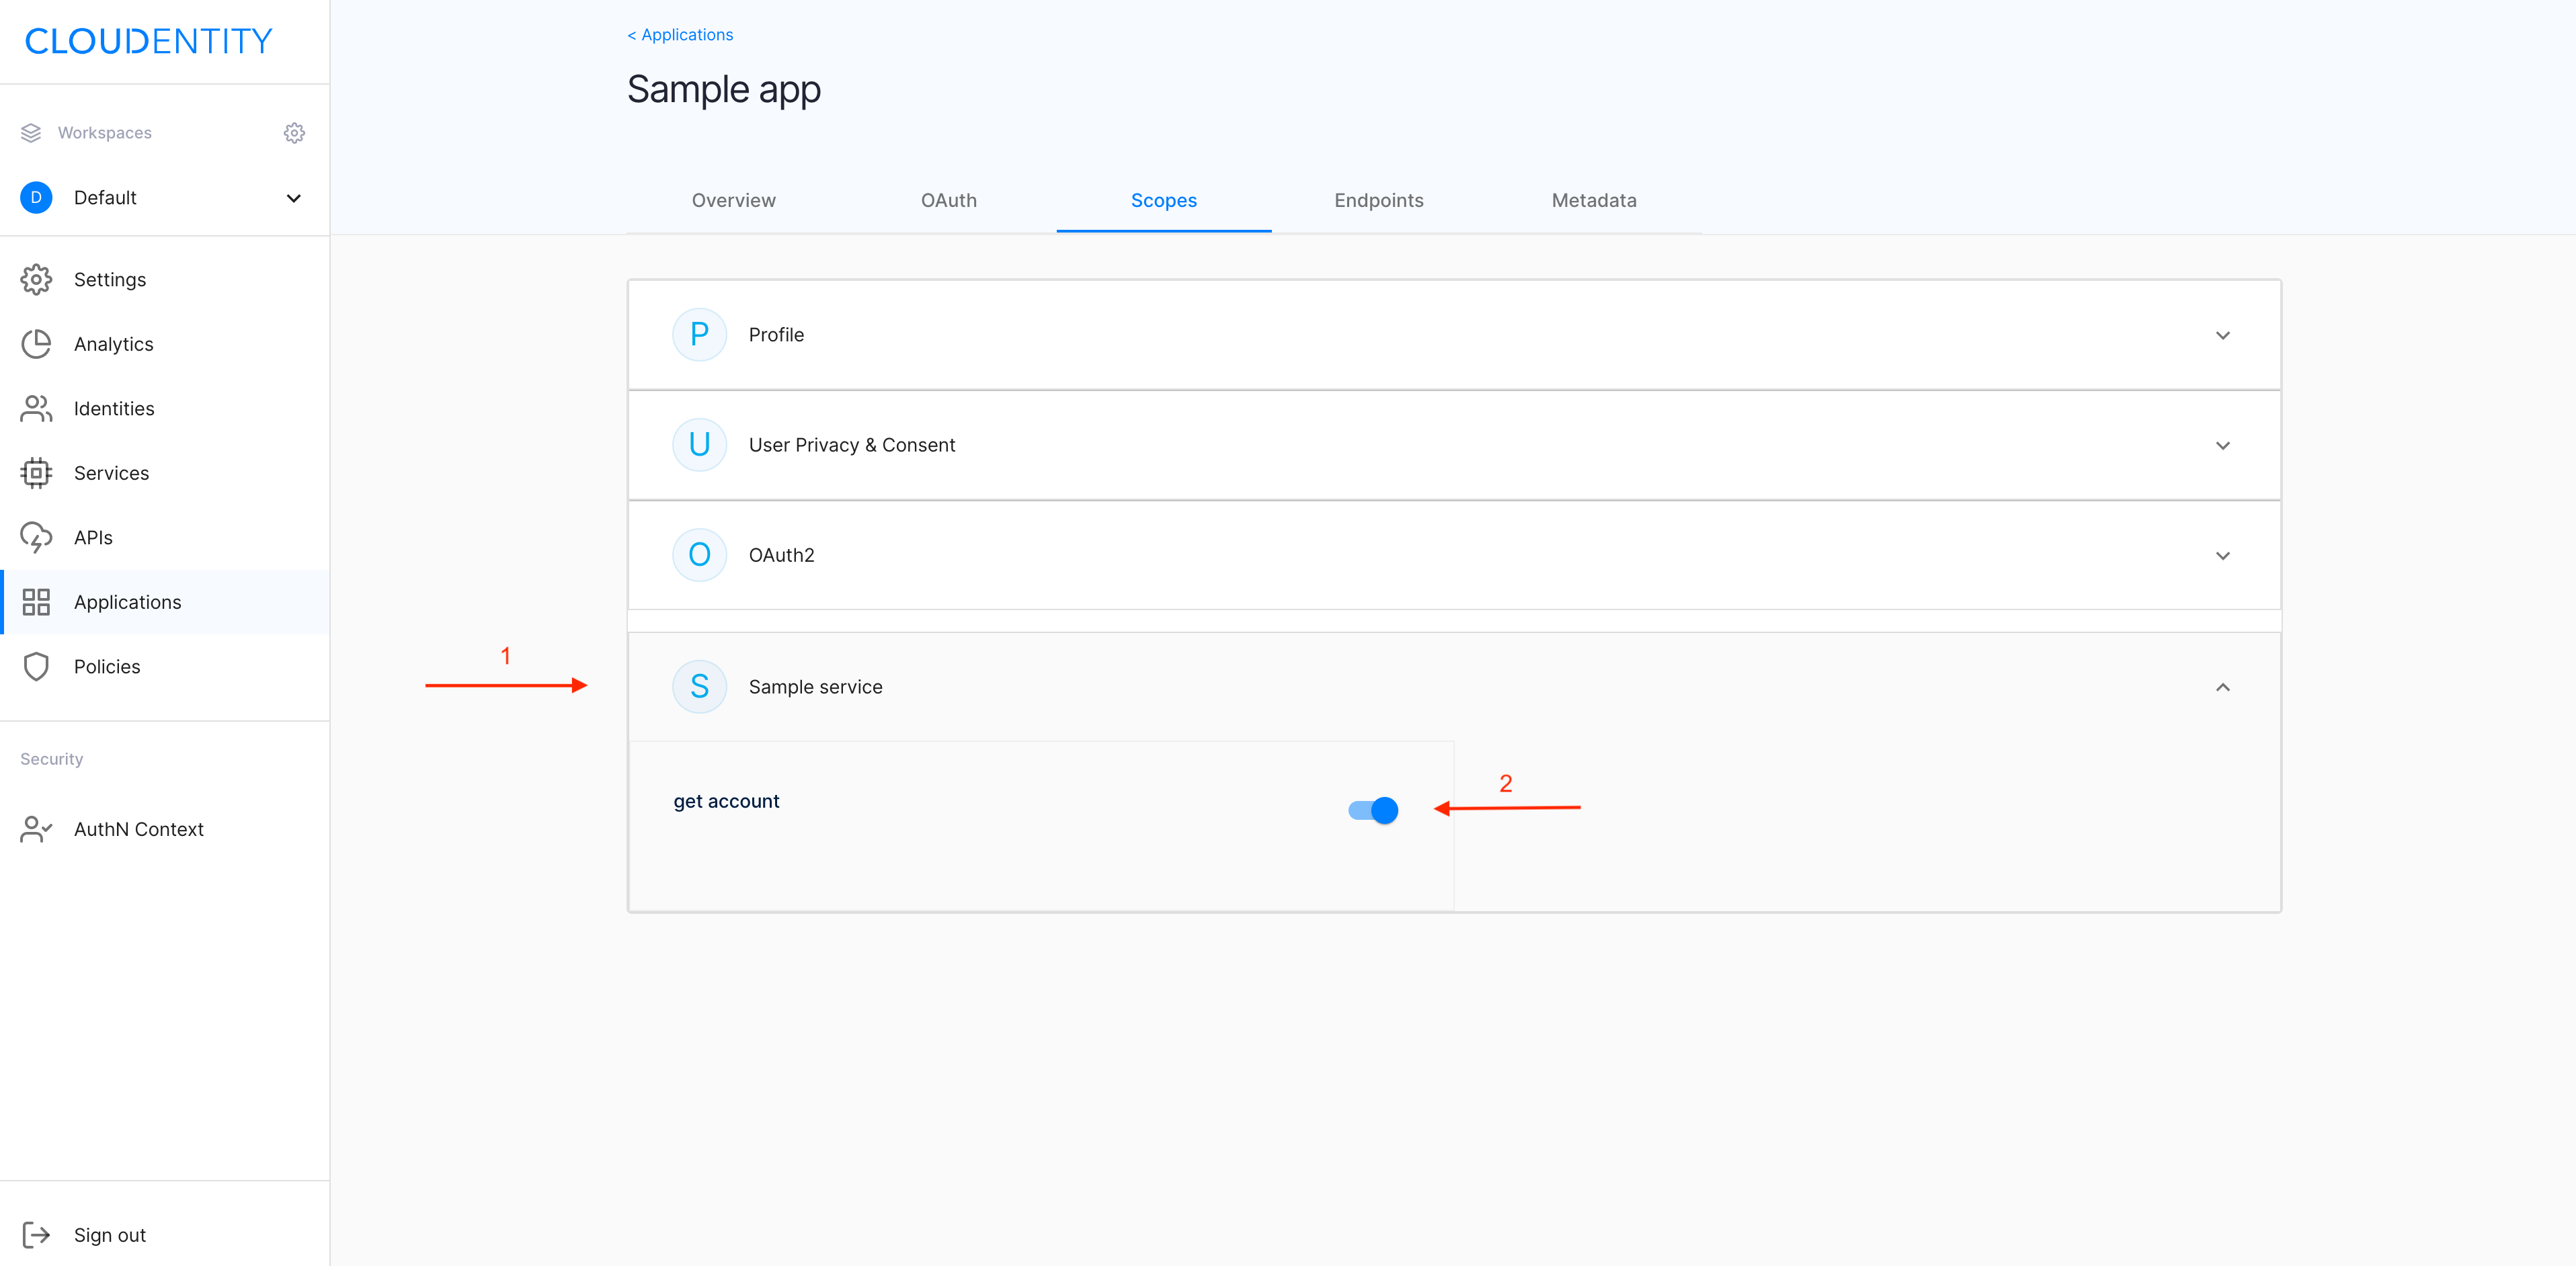
In the Scopes tab, select the service that you want to configure (1) and enable your new dynamic scope using the toggle switch (2).
Check if it works
To test your new dynamic-scope setup
-
Make sure that your application has a dynamic scope (for example,
account.*) enabled.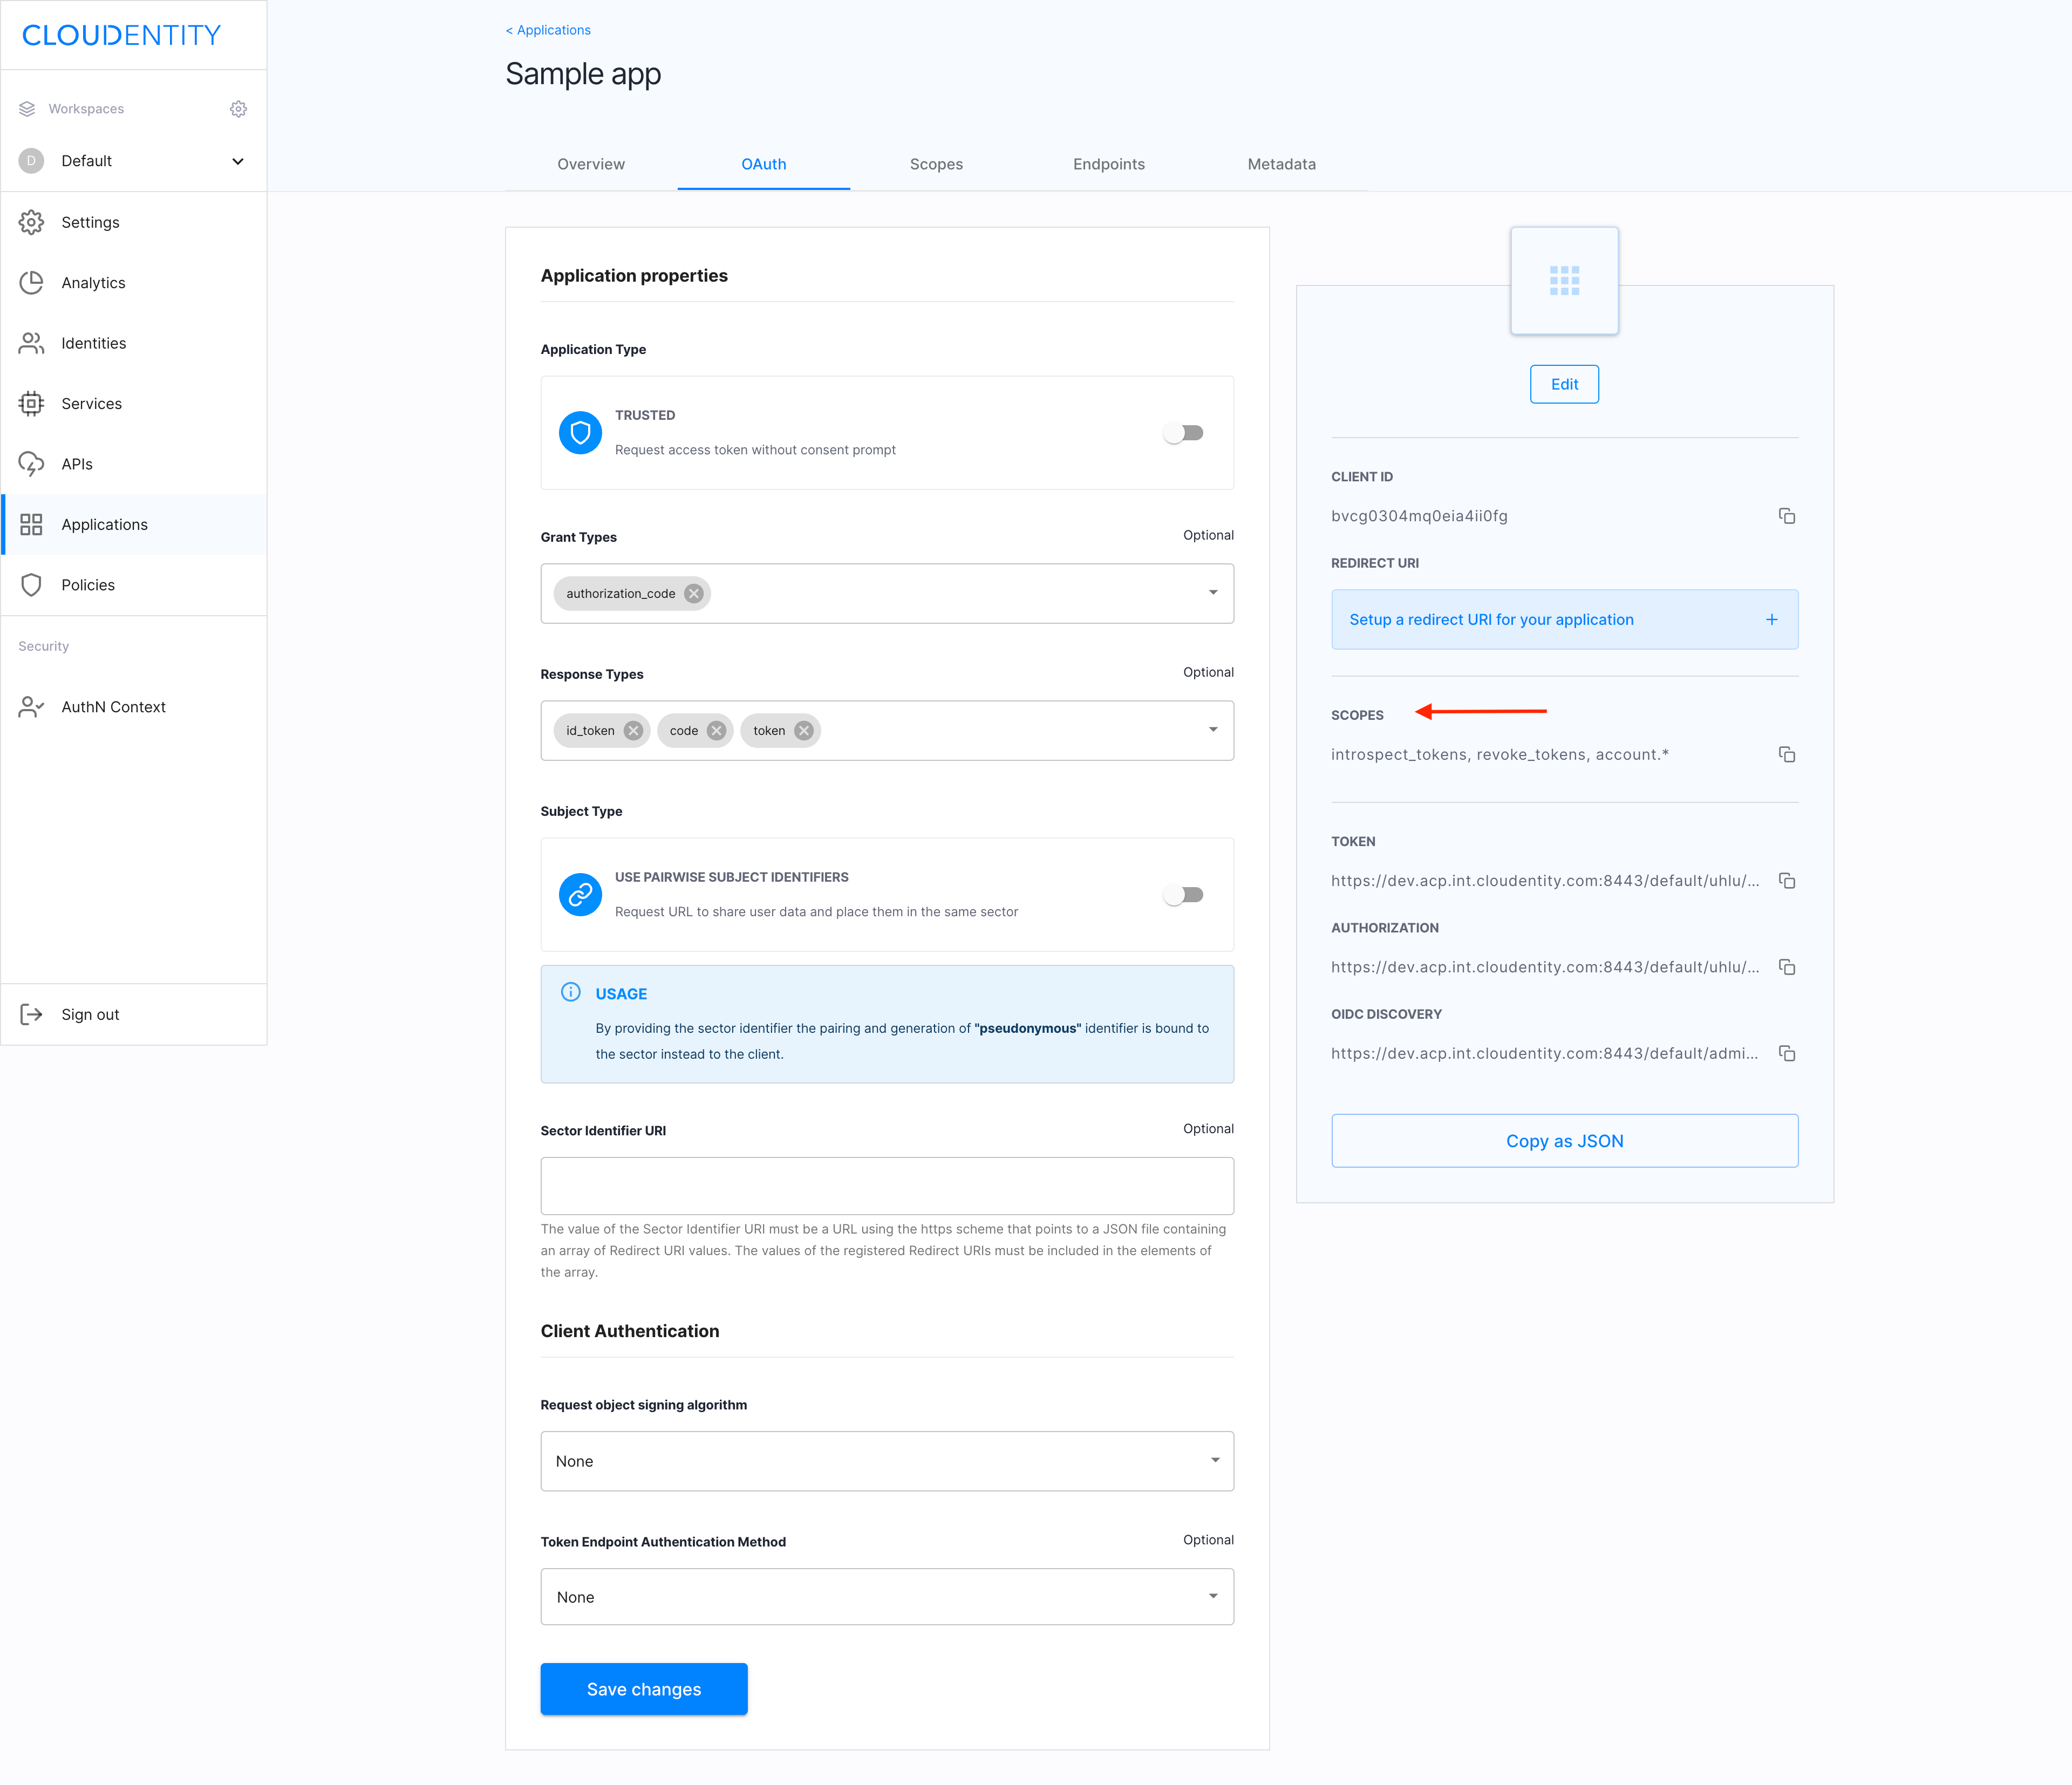
-
Make your application request a specific instance of your dynamic scope, for example
account.1.Example
Make an authorization call to
https://localhost:8443/default/default/oauth2/authorize?client_id=bu27qd10vc42d9kkisp0&redirect_uri=https://example.com&response_type=token&scope=email%20account.1 -
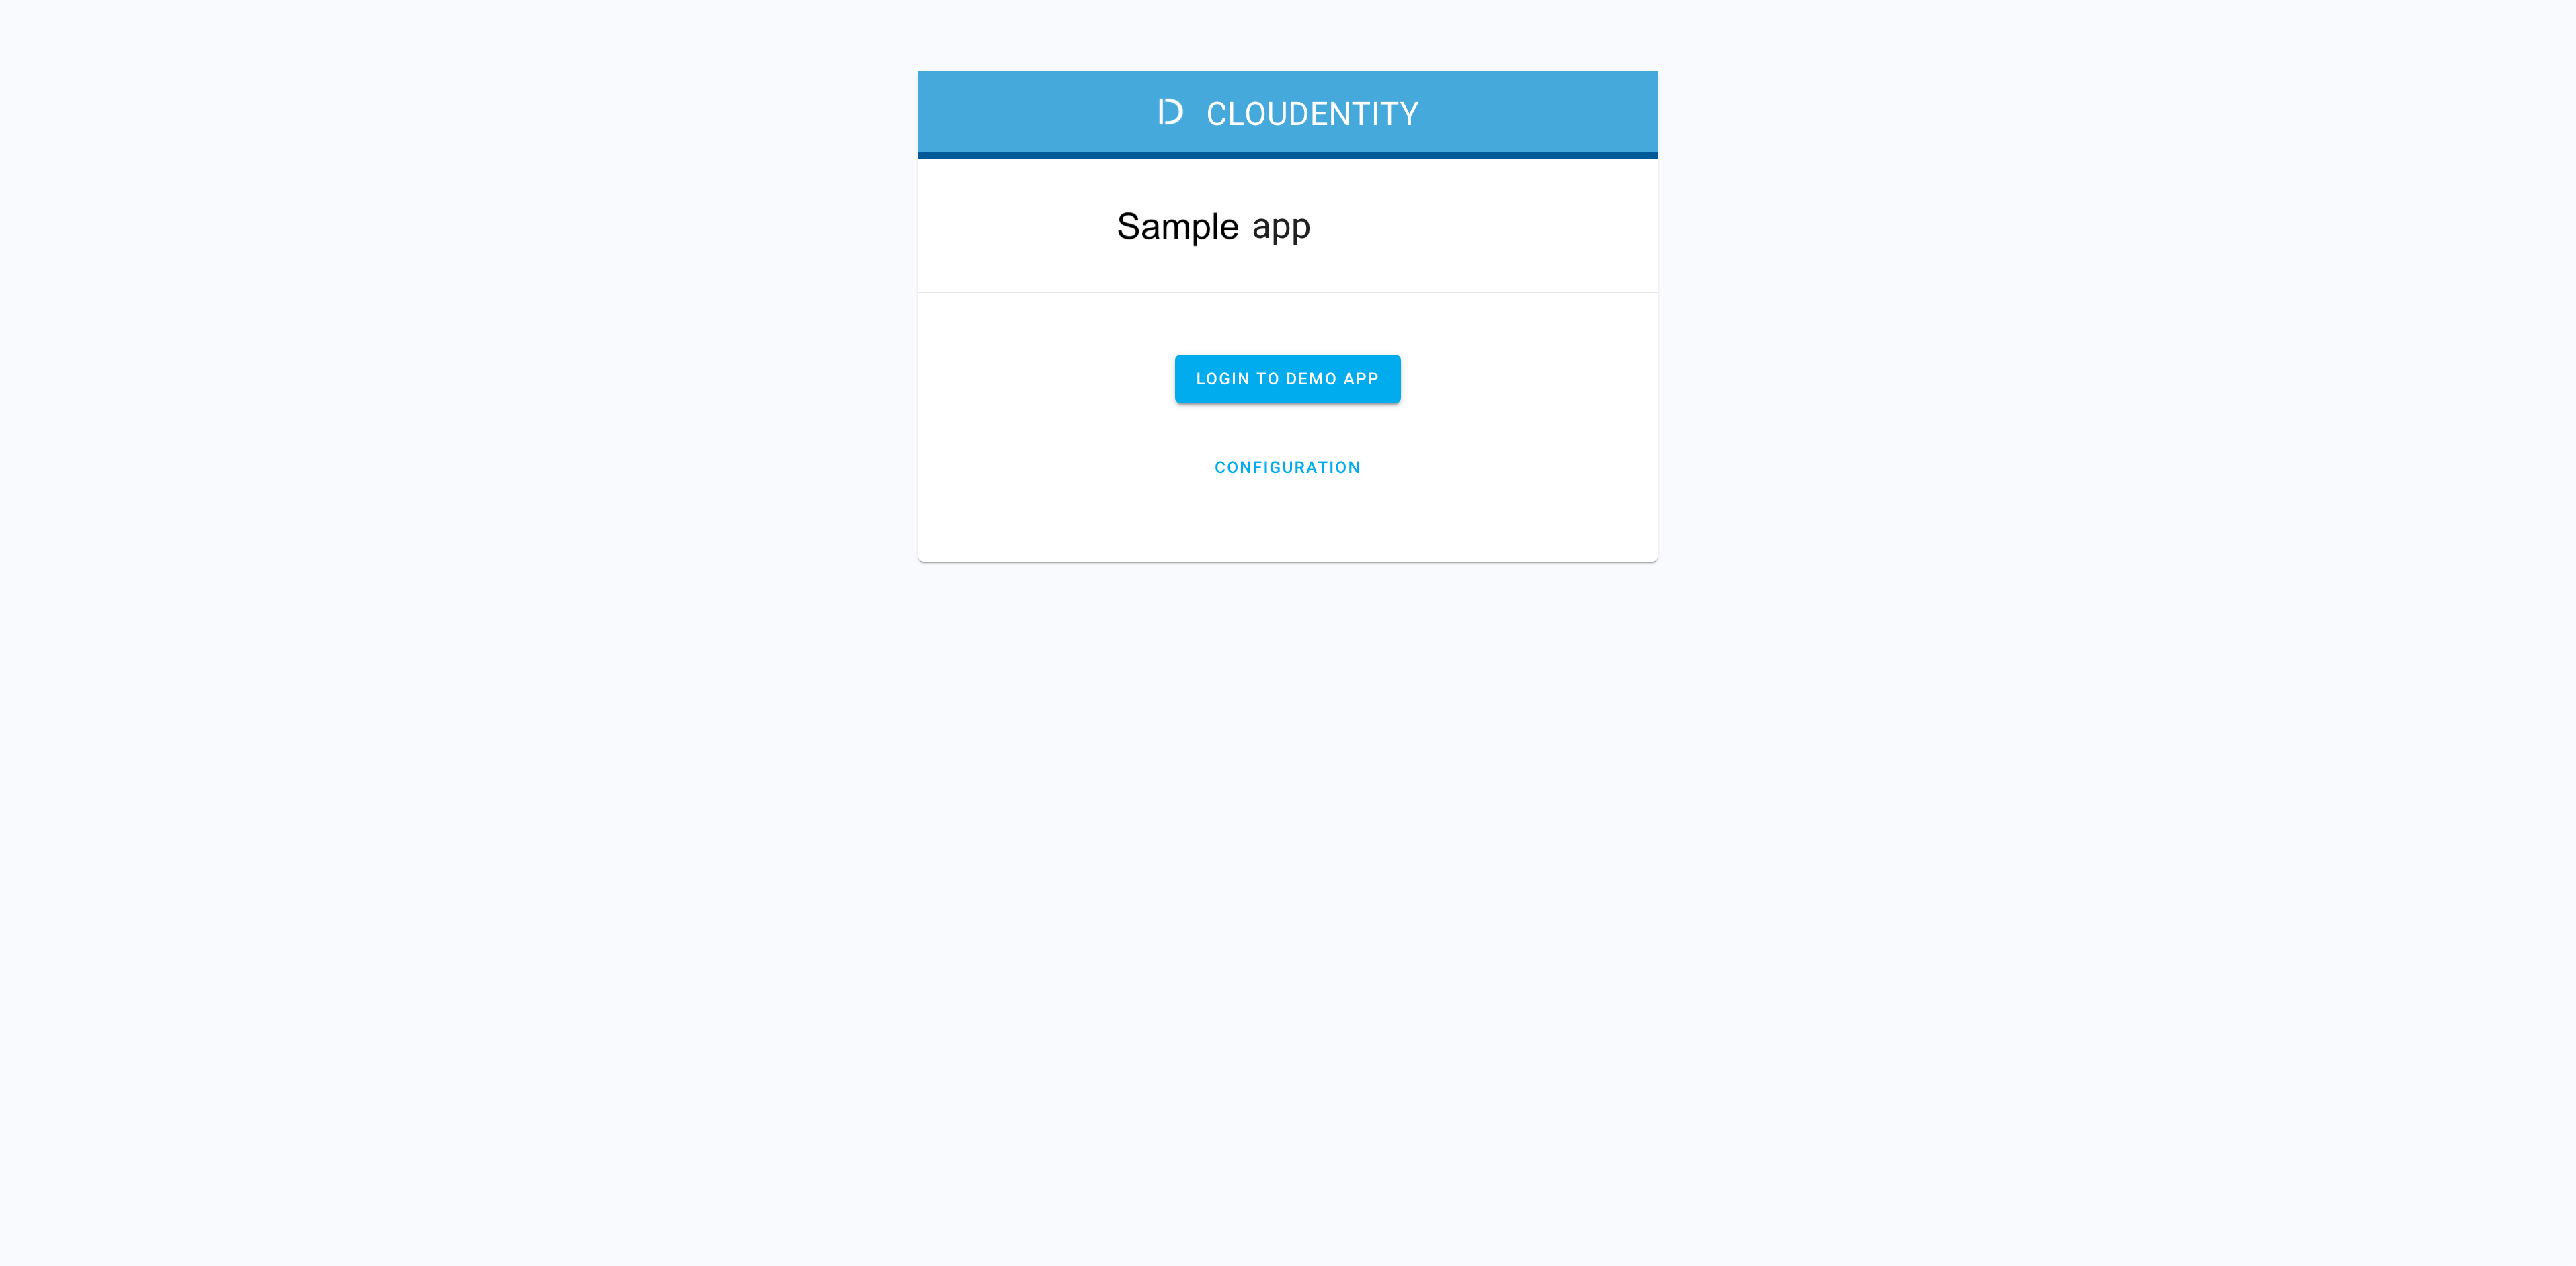
Log in to the application.
Result
The consent page opens and shows the application requesting access to dynamic scope
account.*resolved toaccount.1.
