Open Banking flow of actions powered by ACP
Description of how Open Banking works and what integration processes it requires. This article is to show the most typical Open Banking (OB) flow of actions. It explains who initiates particular actions to make the OB environment operational eventually. You'll find here a complex process of integration between multiple elements explain in simple terms.
OB participants
- In one of the most typical OB scenario, the OB flow of actions is triggered by the Fintech application user, who is usually a bank customer.
- The user initiates a request in the Fintech application.
- The application connects to the bank, which is another key participant of the OB flow represented by personas of the bank administrator and the bank customer.
- Last but not least, ACP acts as an enabler for most of the interactions and integrations that take place along the OB flow.

Read more
For more information on profiles of typical participants of the OB process, see Open Banking actors.
Integration to the bank
ACP is an OAuth server compatible with specifications for FAPI (Financial API) and Open Banking UK. The key mechanism supported by ACP to integrate with the bank is the use of the custom consent page. It offloads ACP from necessity to retrieve and manage users' accounts, which becomes the responsibility of the bank. The bank needs to implement their own custom consent page, in which the user is asked to grant the account access to the Fintech application.
Read more
For more information on the custom consent page in the context of Open Banking, see
Open Banking covers diverse scenarios and multiple use cases. However, it’s typically always about the integration of one entity to another for a safe and efficient information exchange. Key processes enabling the OB flow are
-
Integration with ACP APIs and bank APIs
-
Integration of the bank with ACP
-
Integration of the financial application with the bank
-
Integration of the financial application with ACP.
OB course of actions

Intent to connect
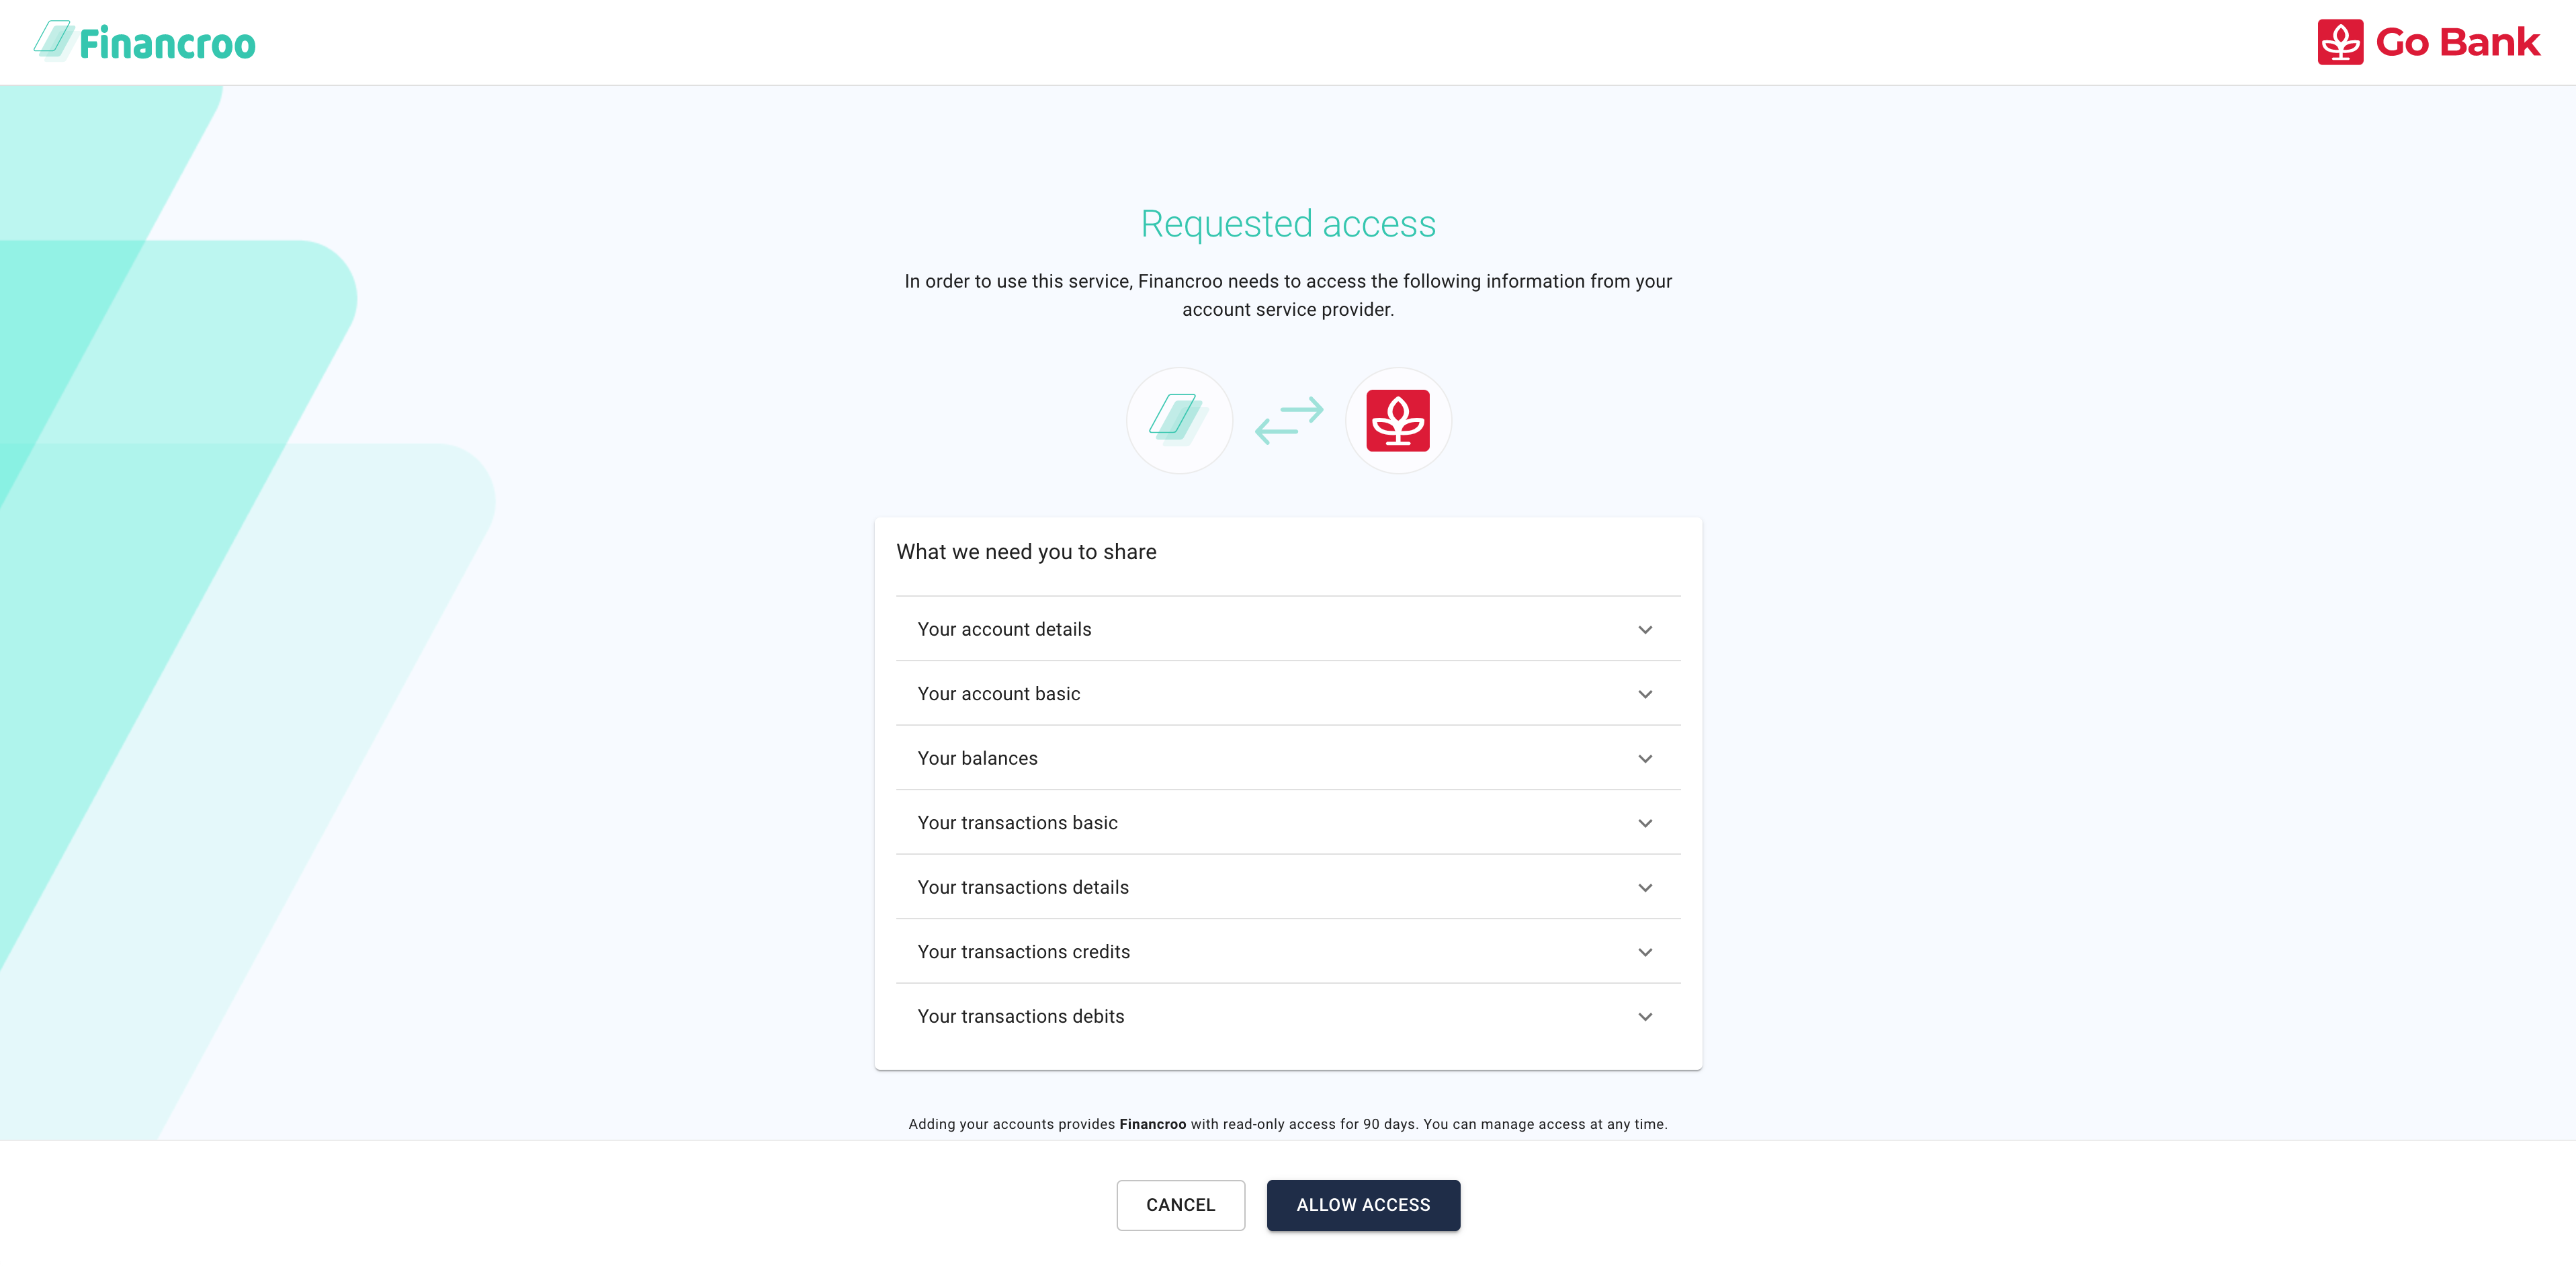
In the Fintech application, the app user initiates a request for an information/action from a particular bank. If this is the first time the user requests information from a particular bank, the application prompts him/her to select a bank to be connected. Next, the application displays a consent page asking the user what data to request from the bank (what data the user wants to share to the app from the bank).
Note
OB specifications require financial applications to ask the user what data they want the application to request from the bank on their behalf, for example, account details, lists of payments or transactions.
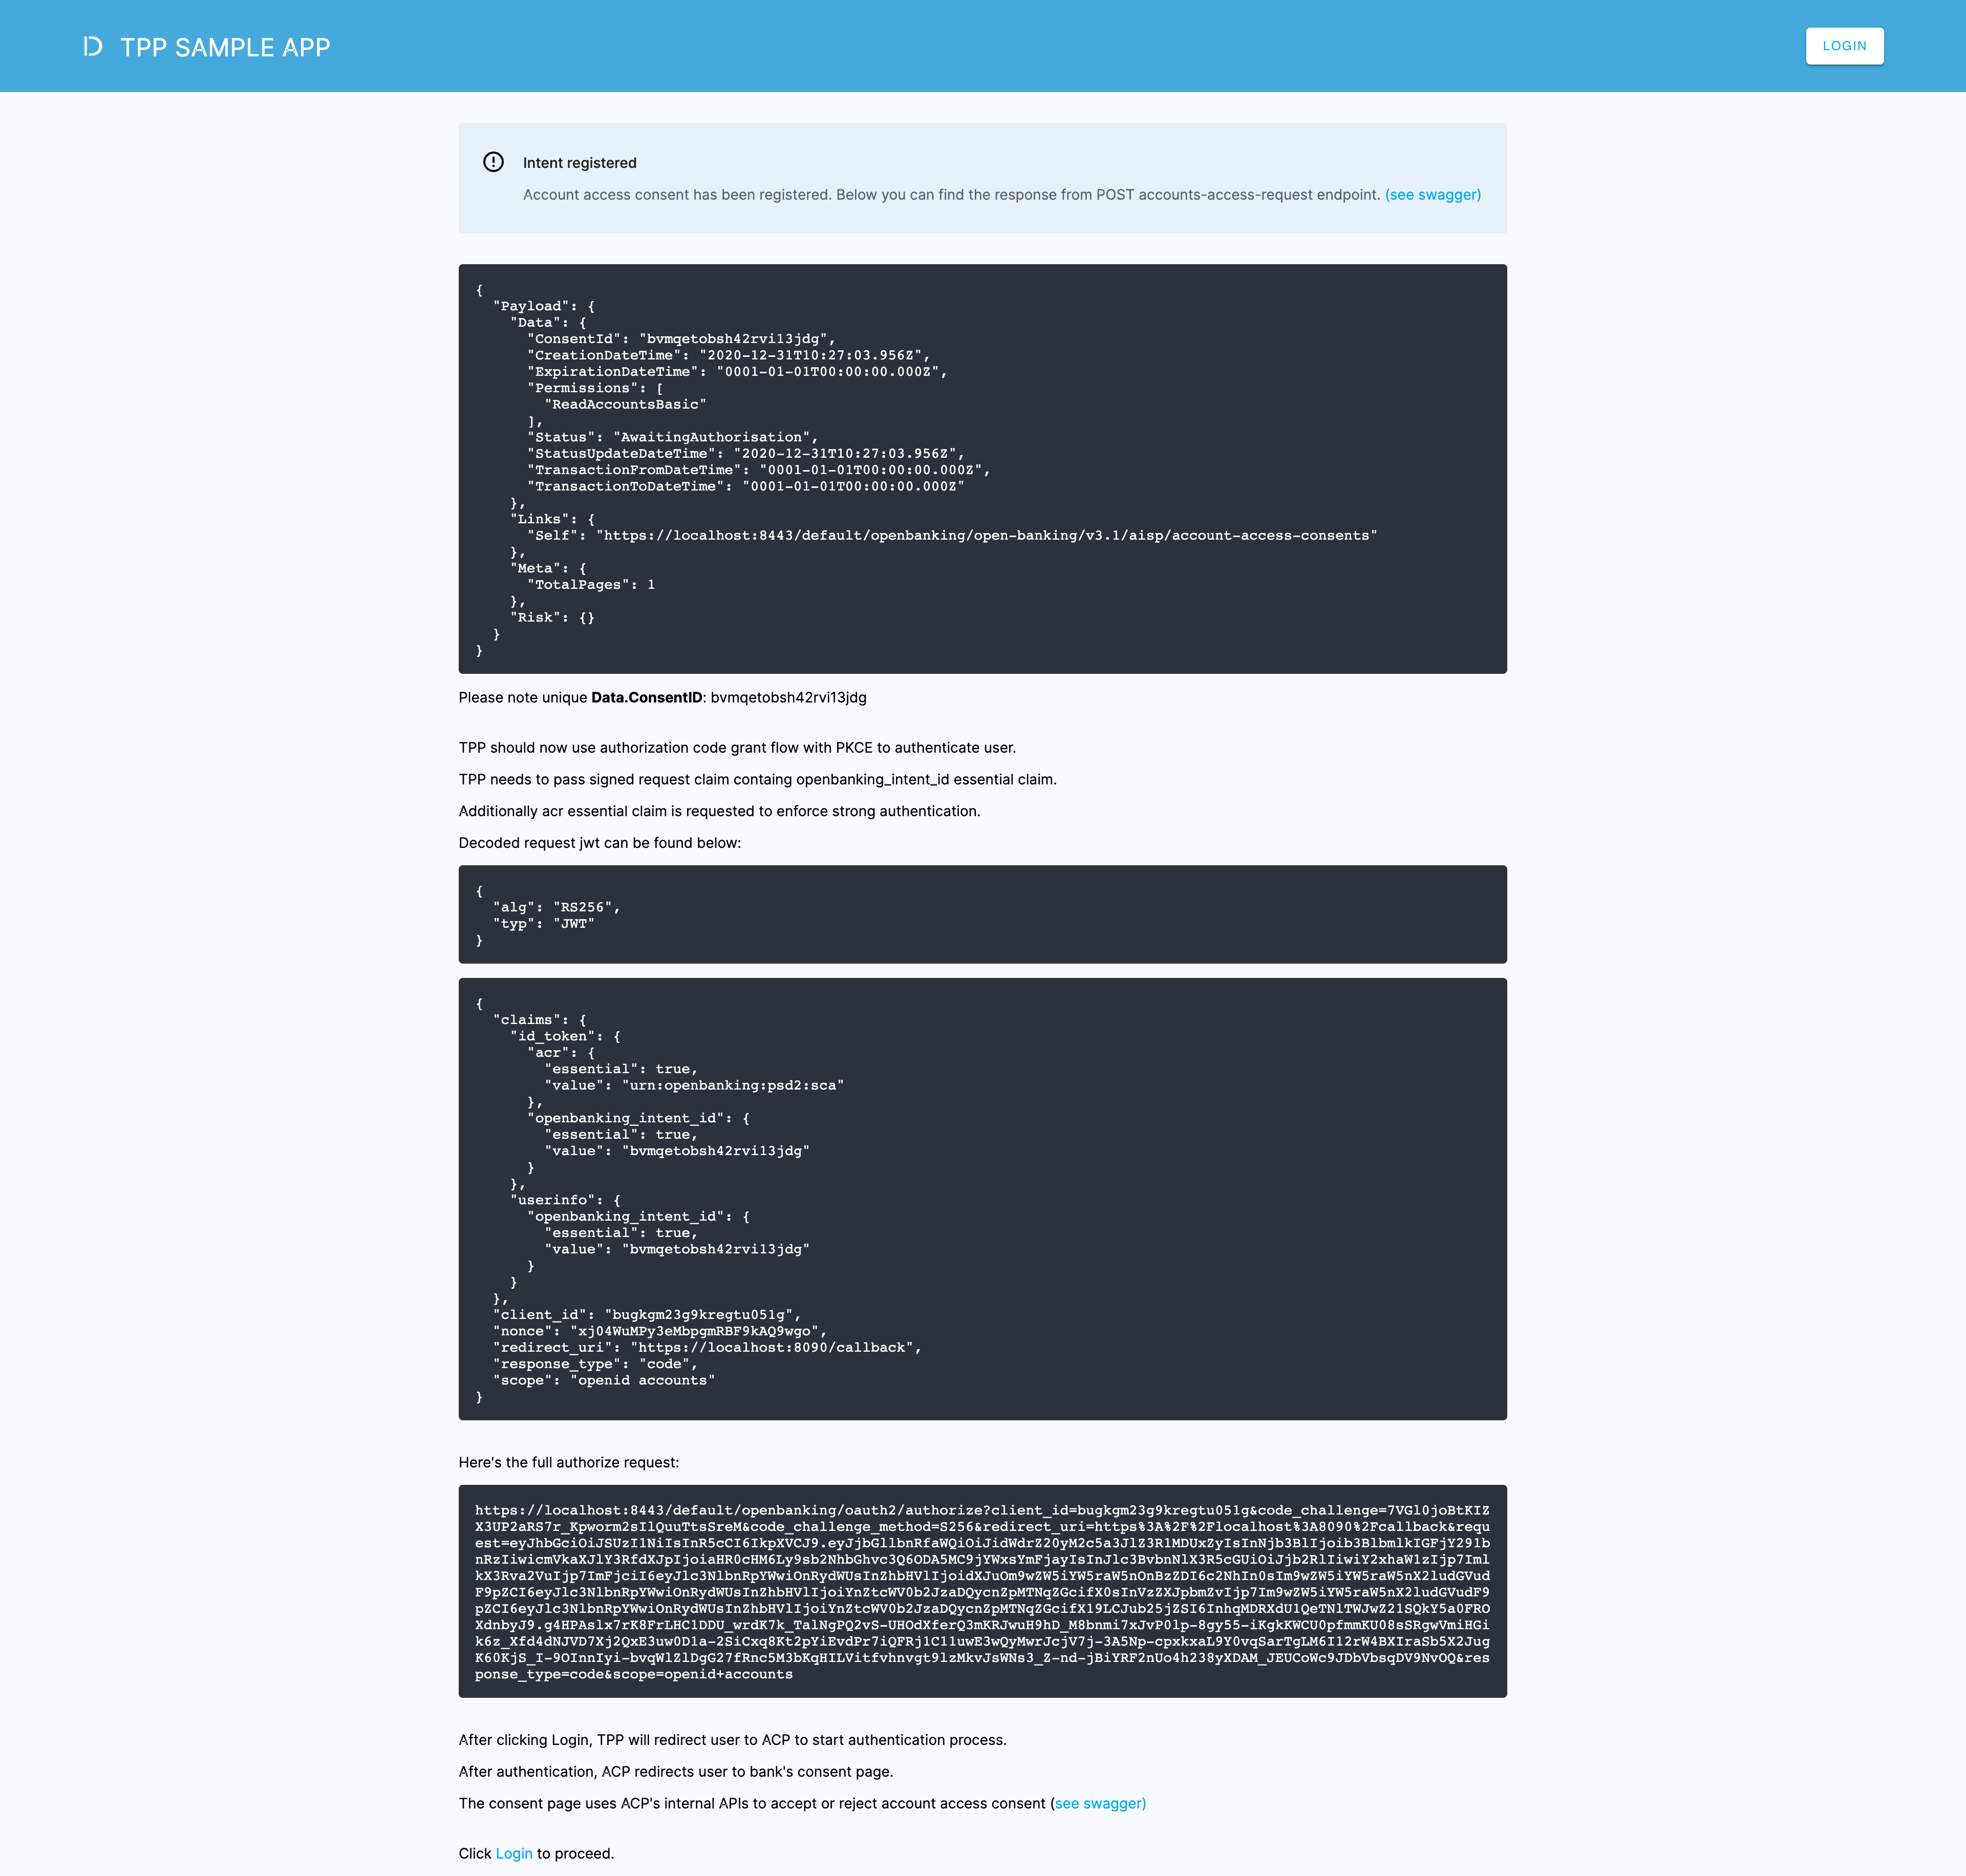
Intent registration
-
The application connects to ACP and receives client credentials that allow the app to log in to ACP.
-
Using the client credentials, the application logs in to ACP and receives a token.
-
Using the token, the application sends information to ACP (ACCOUNT ACCESS CONSENT API) that it needs an access to specific account(s) in the bank.
Note
ACP exposes API that allows applications register an intent to access a particular scope of data (consents).
-
In the response, the application receives
ConsentIdfrom ACP.
Result
The user’s intent to connect to the bank is registered in ACP.
Consent request
The application redirects the user to ACP to start the authentication of the user.
Consent grant
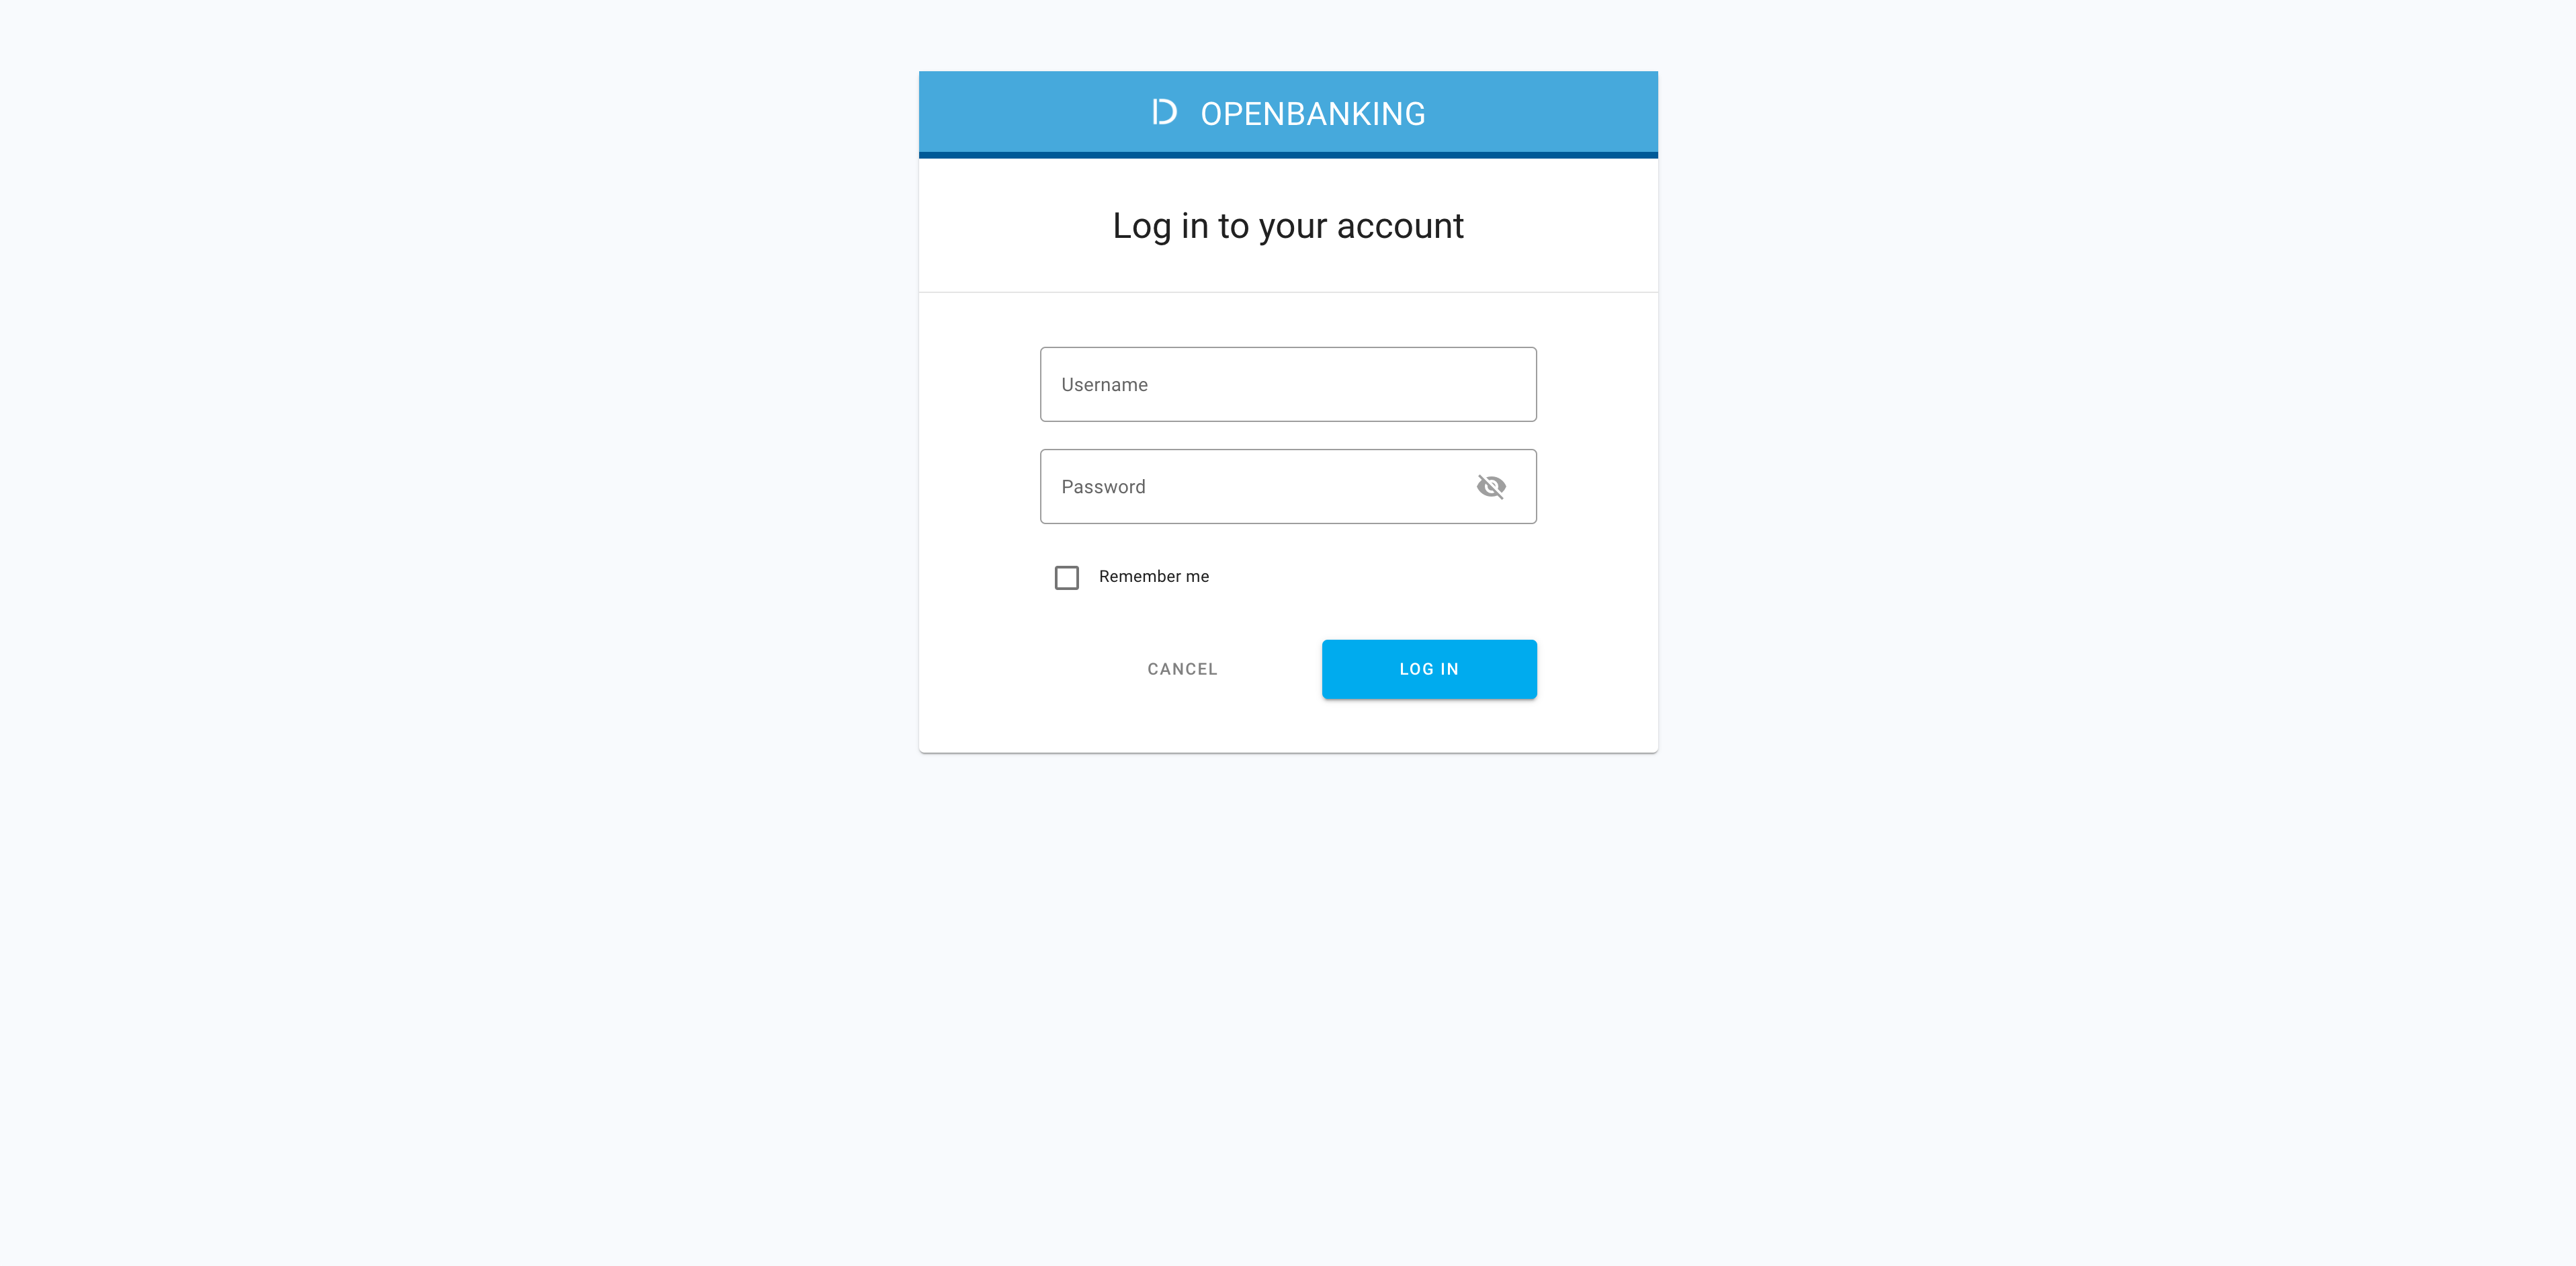
With ACP the user logs in to the bank (authentication) using an external identity provider.
Consent registration
The identity provider of the bank sends the account consent confirmation and registration to ACP.
Back to the app
The user gets back to the application to follow up.
Strong client AuthN
The application requests a token from ACP. The strong client authentication is performed.
AuthZ & verification
-
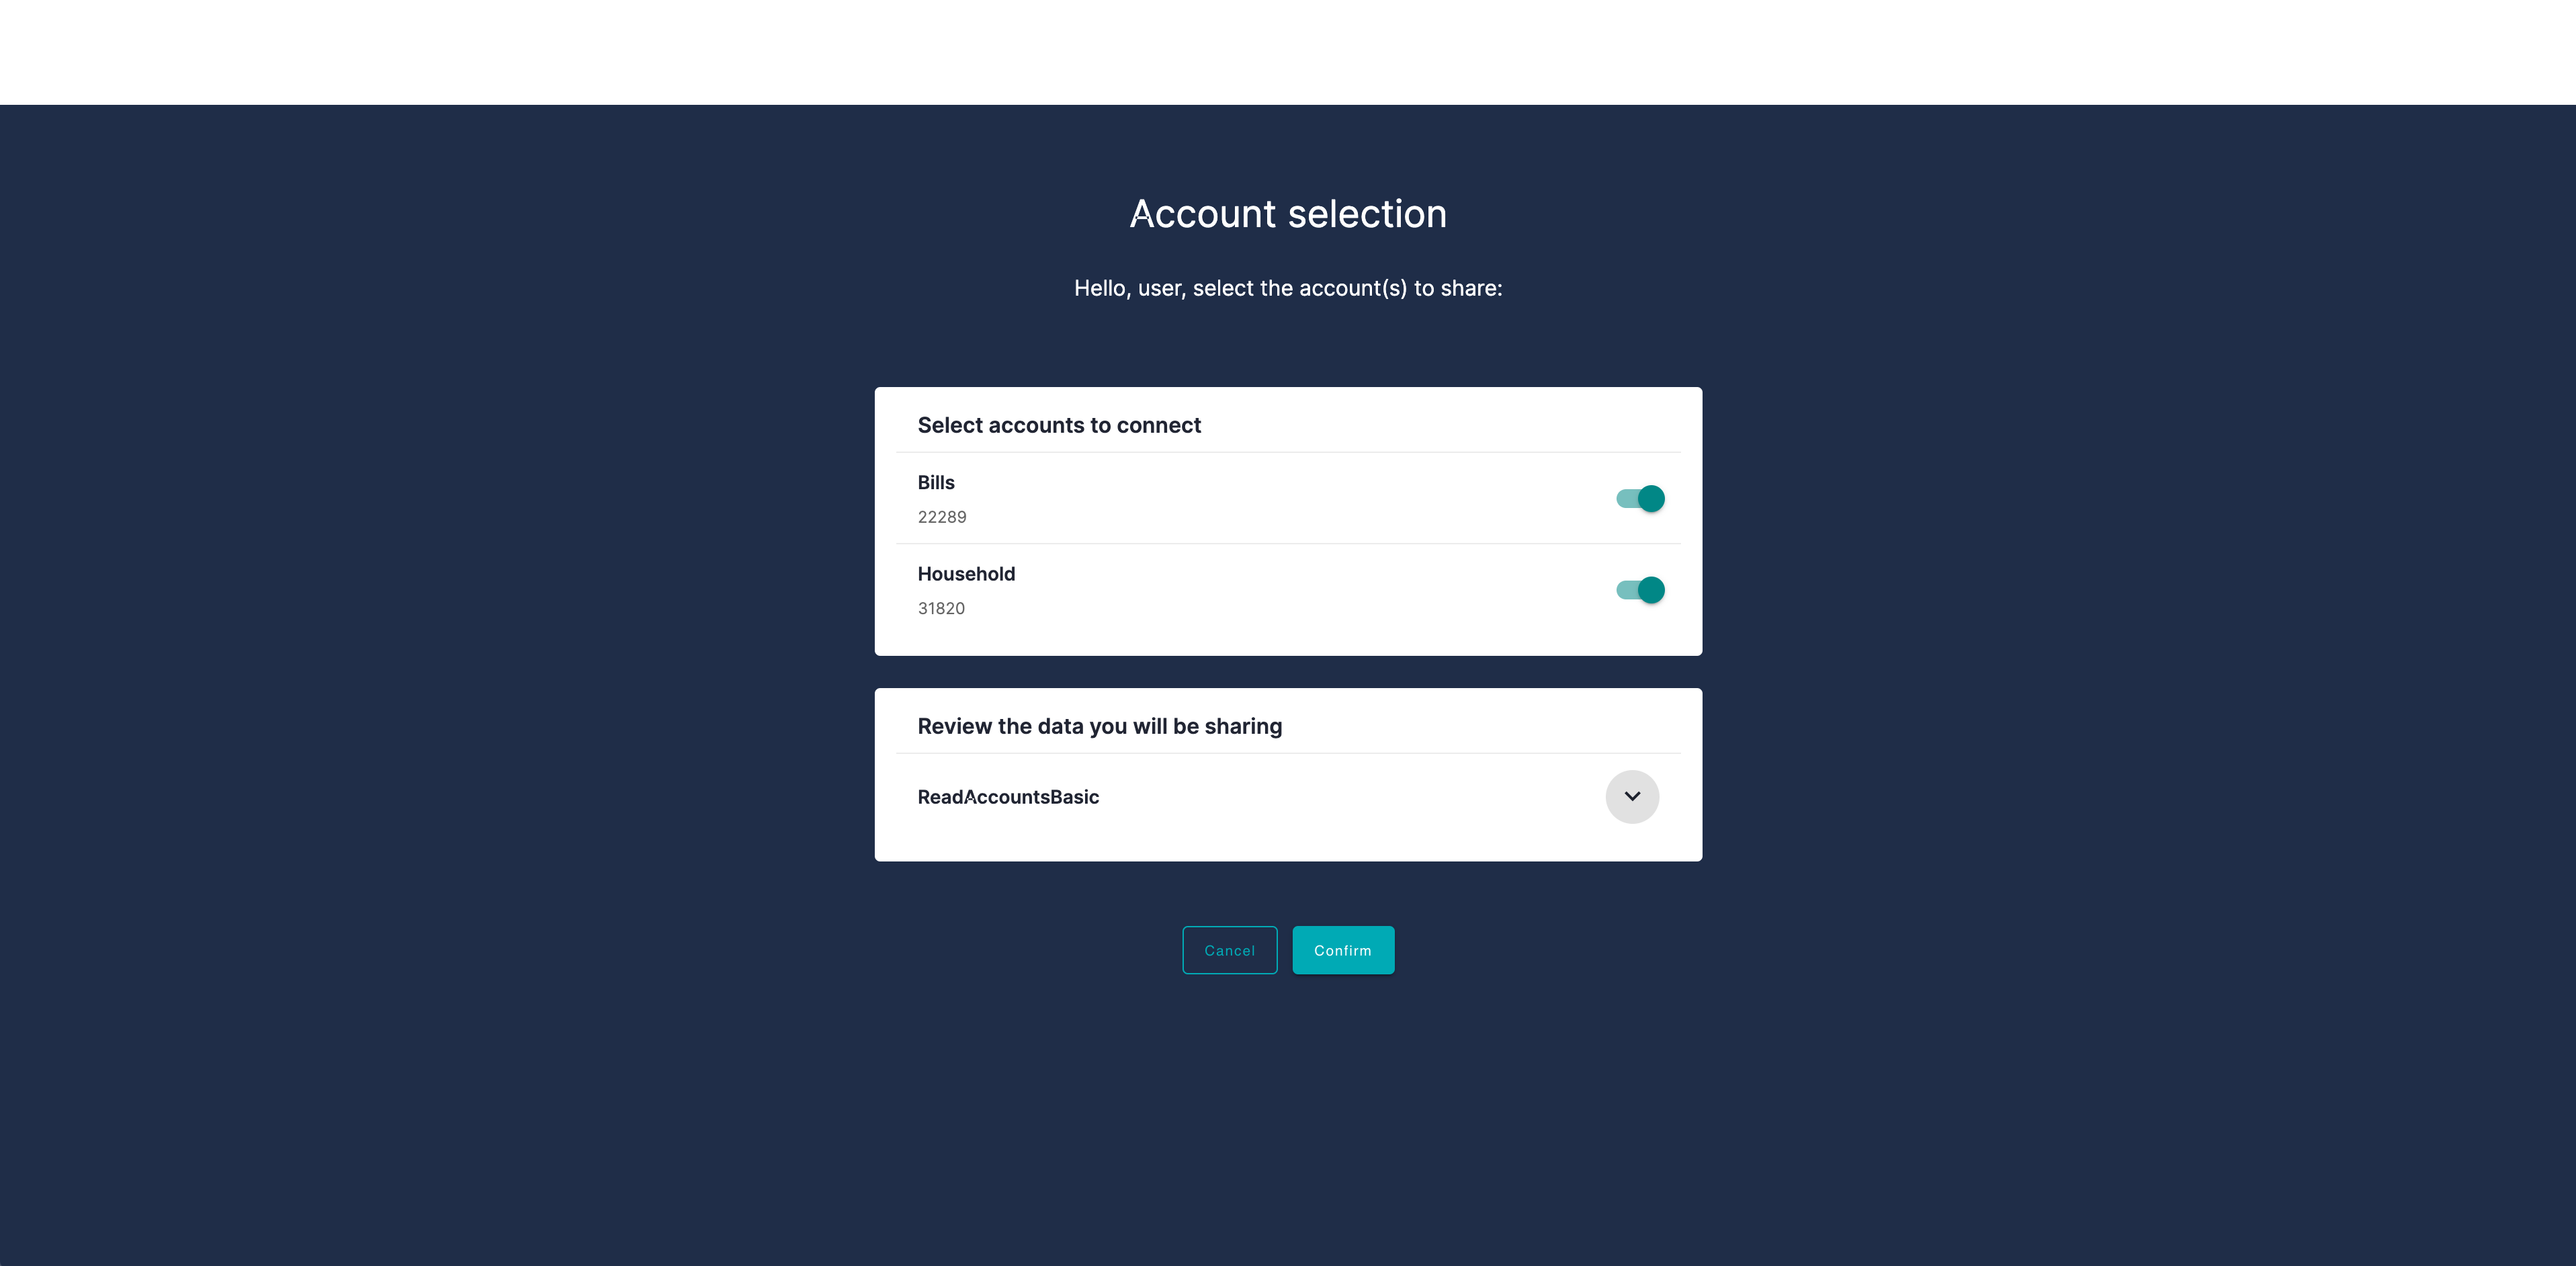
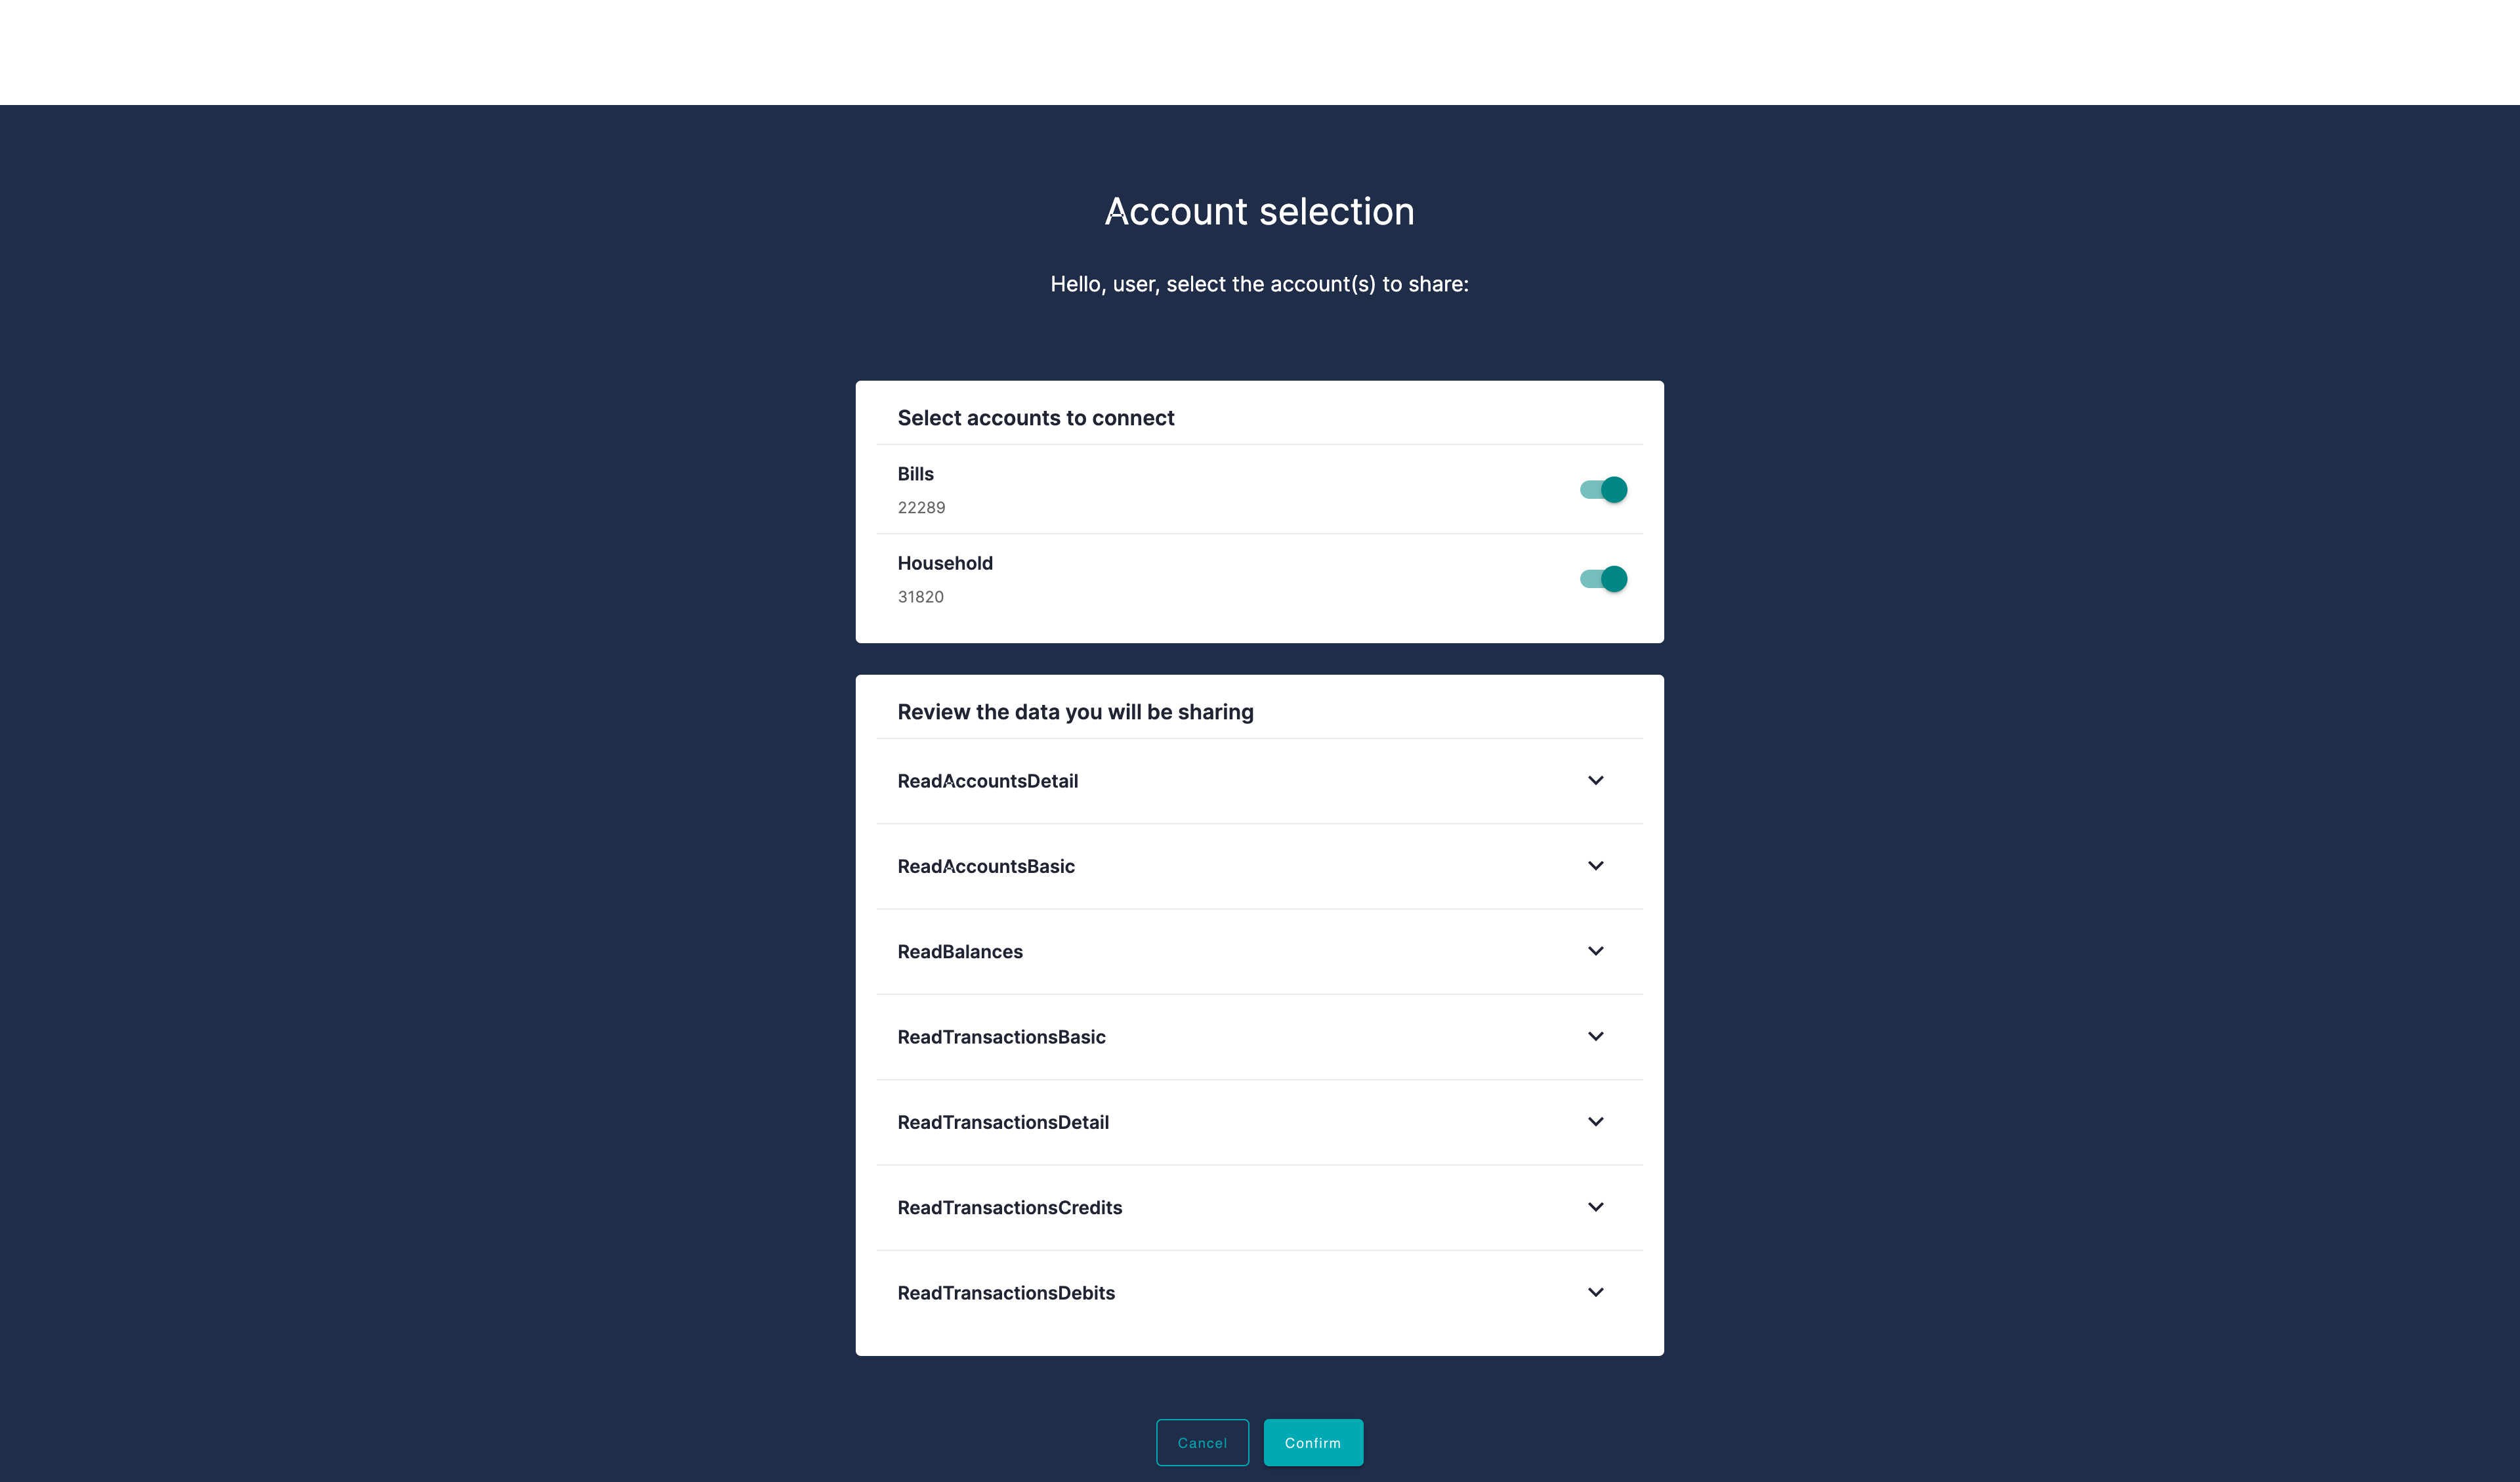
ACP redirects the user to the bank consent page. The user defines the accounts to be connected and scopes of data to be shared in the application.
-
The consent page uses ACP internal APIs to verify the account access consent (to accept or reject the consent).
-
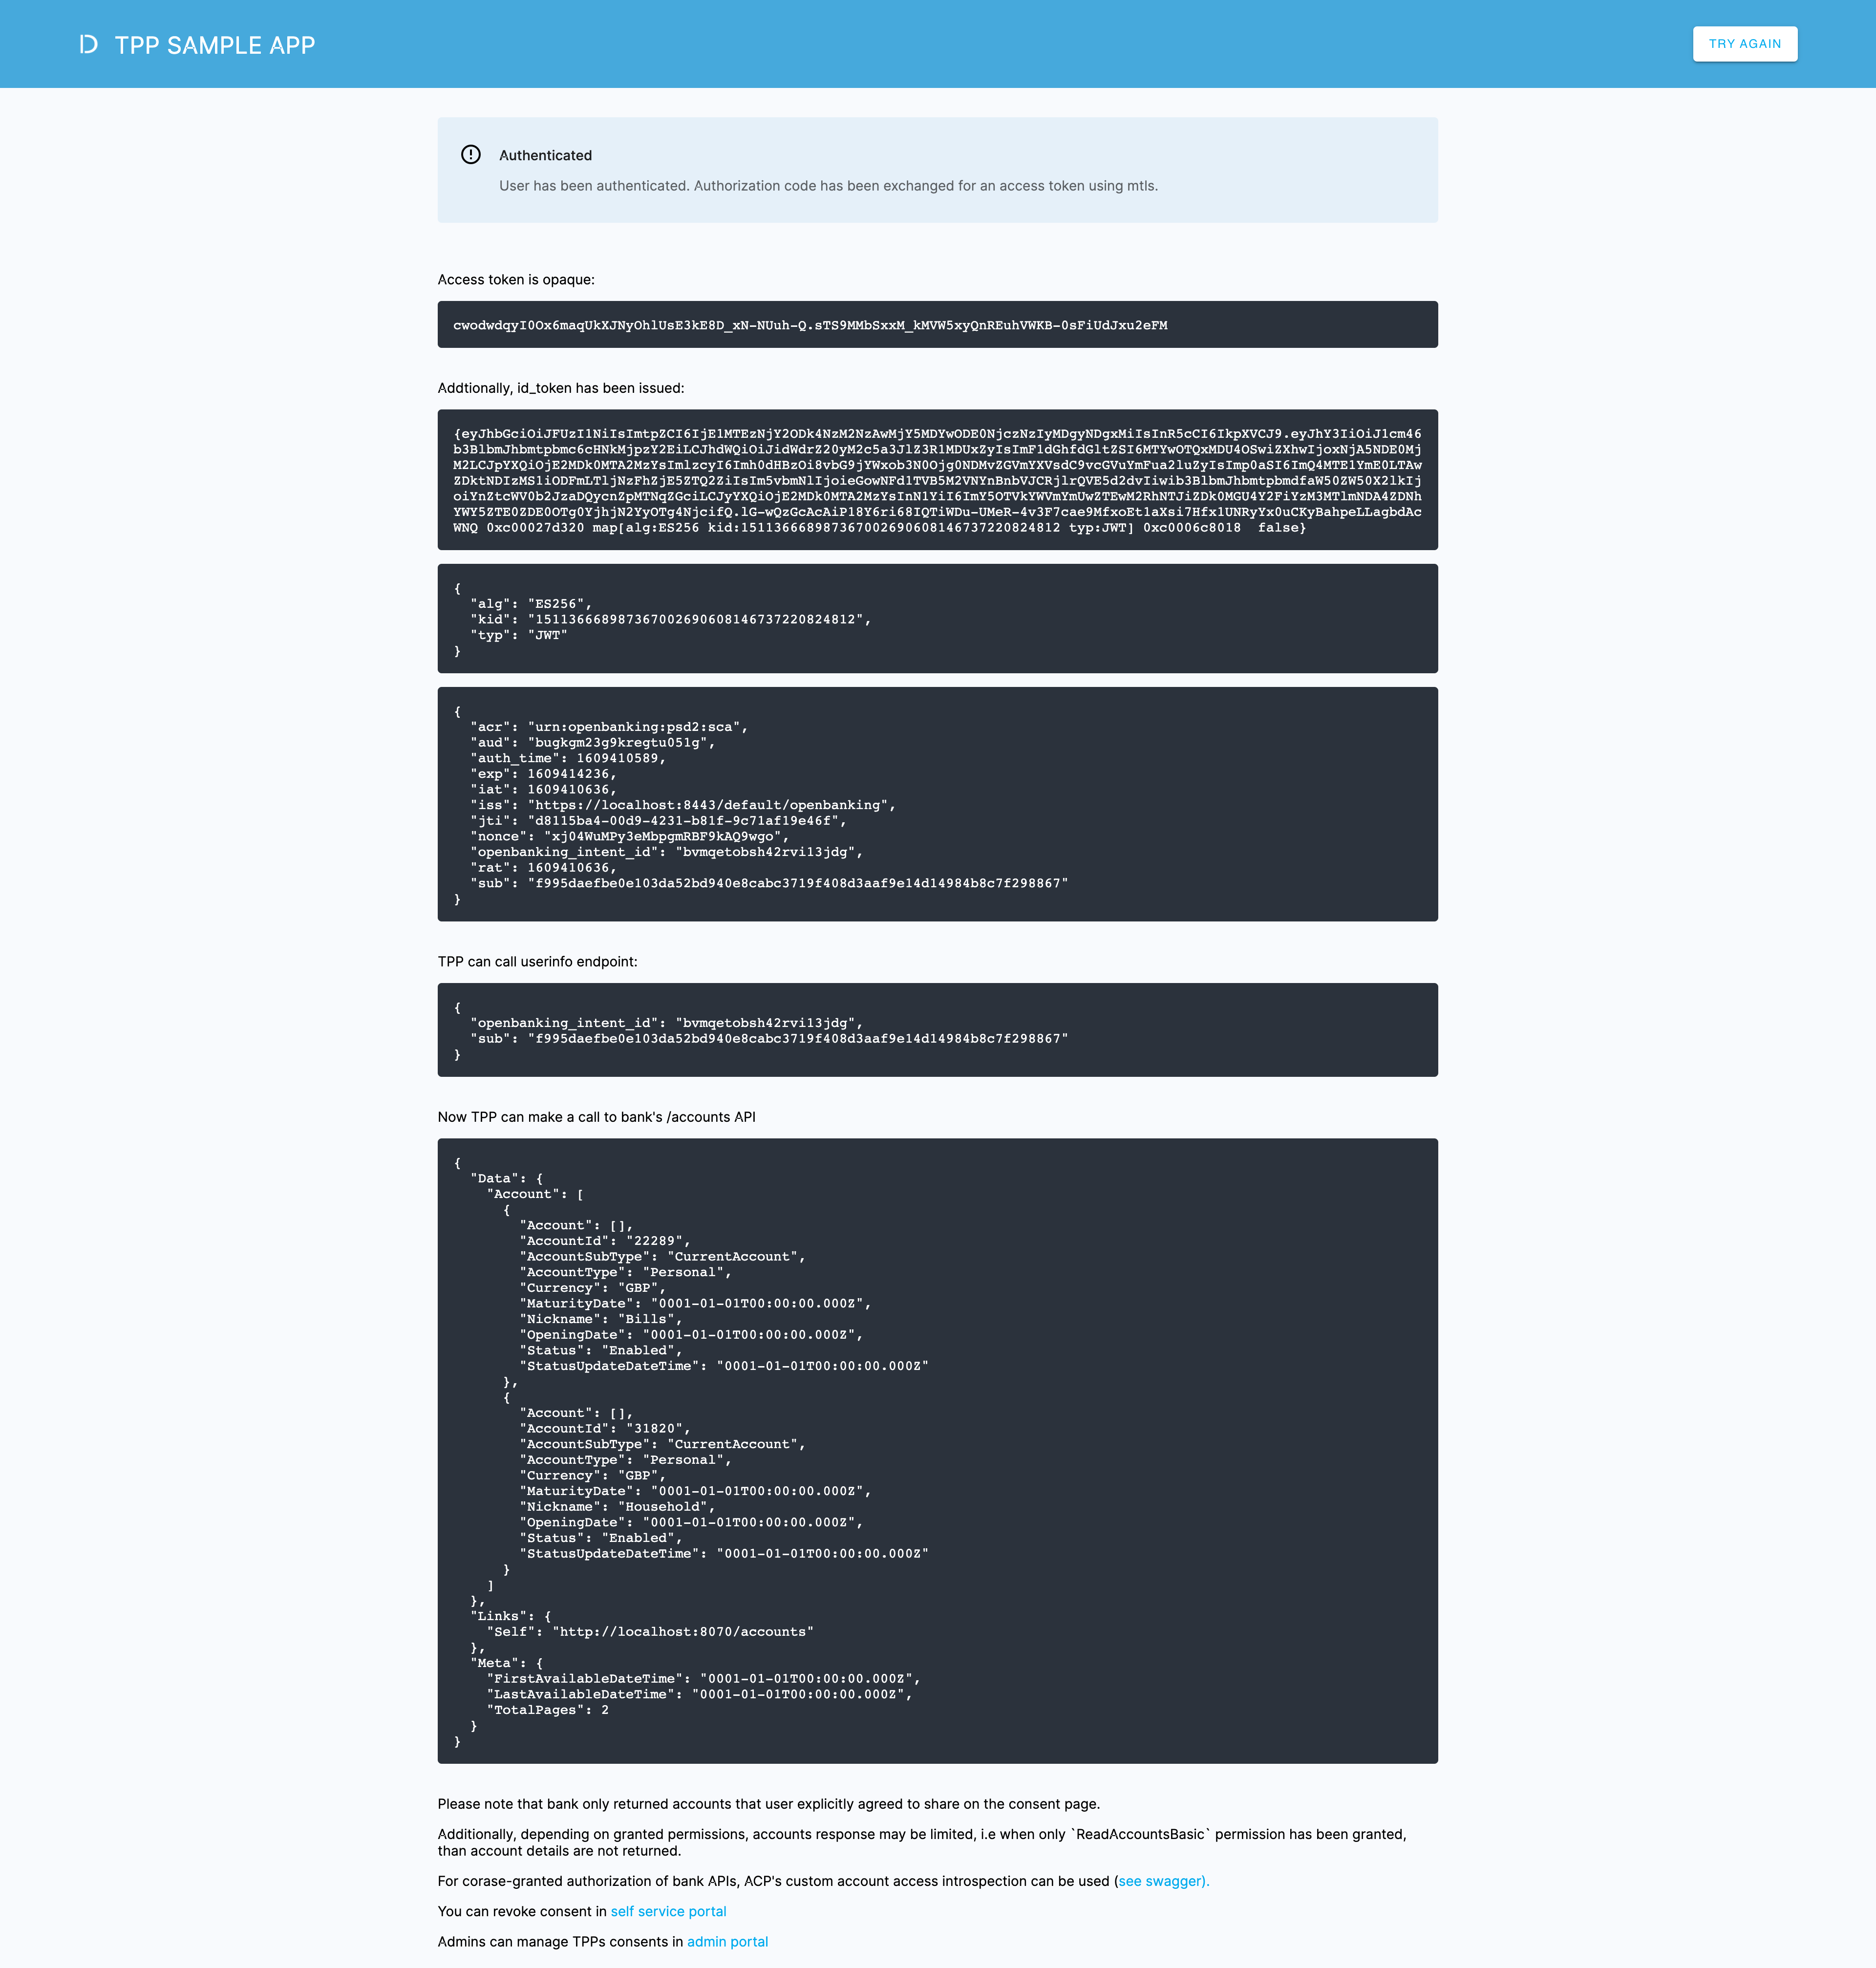
An authorization code of the application is exchanged for an access token (provided from ACP) using mTLS.
Token grant
The application receives an opaque access token and an ID token from ACP.
Result
The application has been integrated with the bank. The application can call API of the bank on your behalf. It can retrieve, for example, a list of accounts or a transactions history.
OB API GET /accounts
Fintech application makes a call to the bank’s /accounts API.
Result
The bank returns data on accounts that the user explicitly agreed to share on the consent page. The app can use / display the returned data to the user as needed.
Try OB in the sandbox
To see how OB works, visit cloudentity/openbanking-quickstart, which is a mock banking environment where you can play with sample Fintech applications, integrate with a simulated bank, and explore how the inbuilt ACP component enables the whole flow.
The sandbox offered by ACP includes the following mock components:
- TPP SAMPLE APP (Fintech app)
- Financroo (Fintech app)
- Administrator portal
- Self-service customer portal
- Fake bank (sample bank APIs)
- Consent page (sample consent of the bank)
- ACP instance.
Get the sandbox
-
Navigate to cloudentity/openbanking-sandbox in your browser.
-
Clone the repository by executing
git clone git@github.com:cloudentity/openbanking-sandbox.gitin the terminal. -
Start the OB sandbox by executing
make runin the terminal.
Check the backend
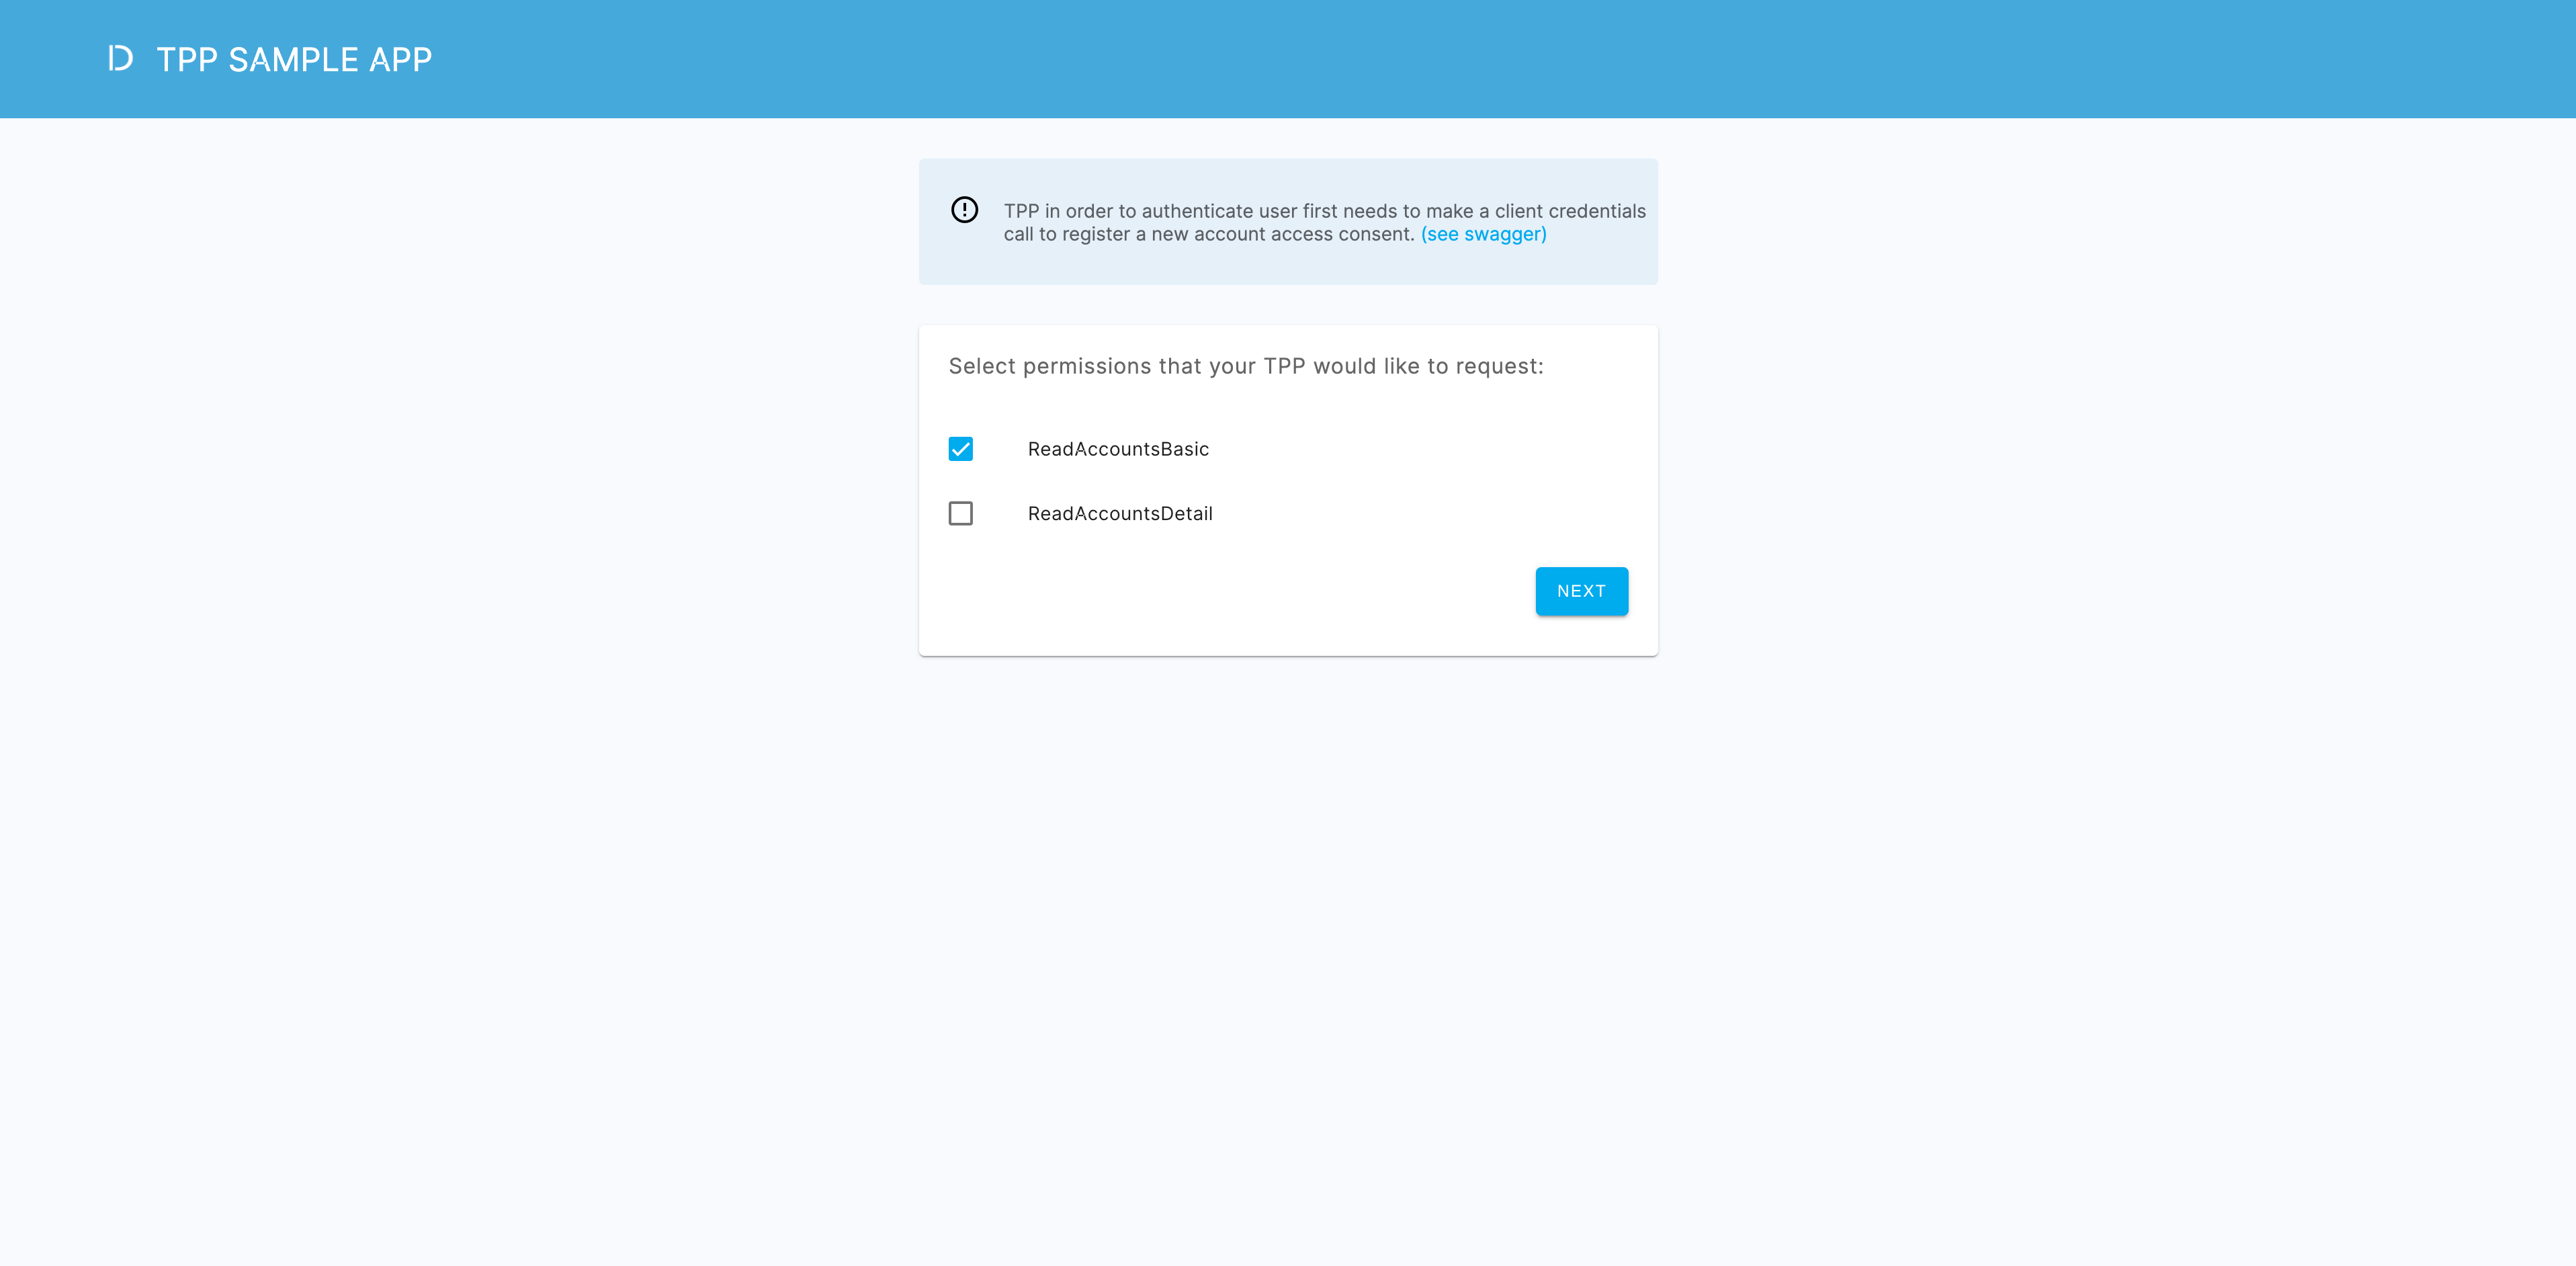
TPP SAMPLE APP
In the sandbox, there is TPP SAMPLE APP designed so that you can see all the processes ongoing in the background when you go through consecutive steps to integrate with the bank. The application does not have a proper UI for purpose and displays technical details on the OB flow instead.
-
In your browser, navigate to
https://localhost:8090/to access TPP SAMPLE APP.Note
Login credentials are specified in README of the quickstart repository.
-
Select data to be shared from the bank to the application.
-
See what actions lead to the intent registration and what follows.
-
Log in to the fake bank with the identity provider of the bank.
-
Visit the bank consent page to select accounts and data to be shared.
-
Check what actions lead to the completion of authentication and authorization. Explore the issued tokens, API calls made, and more.
Check the frontend
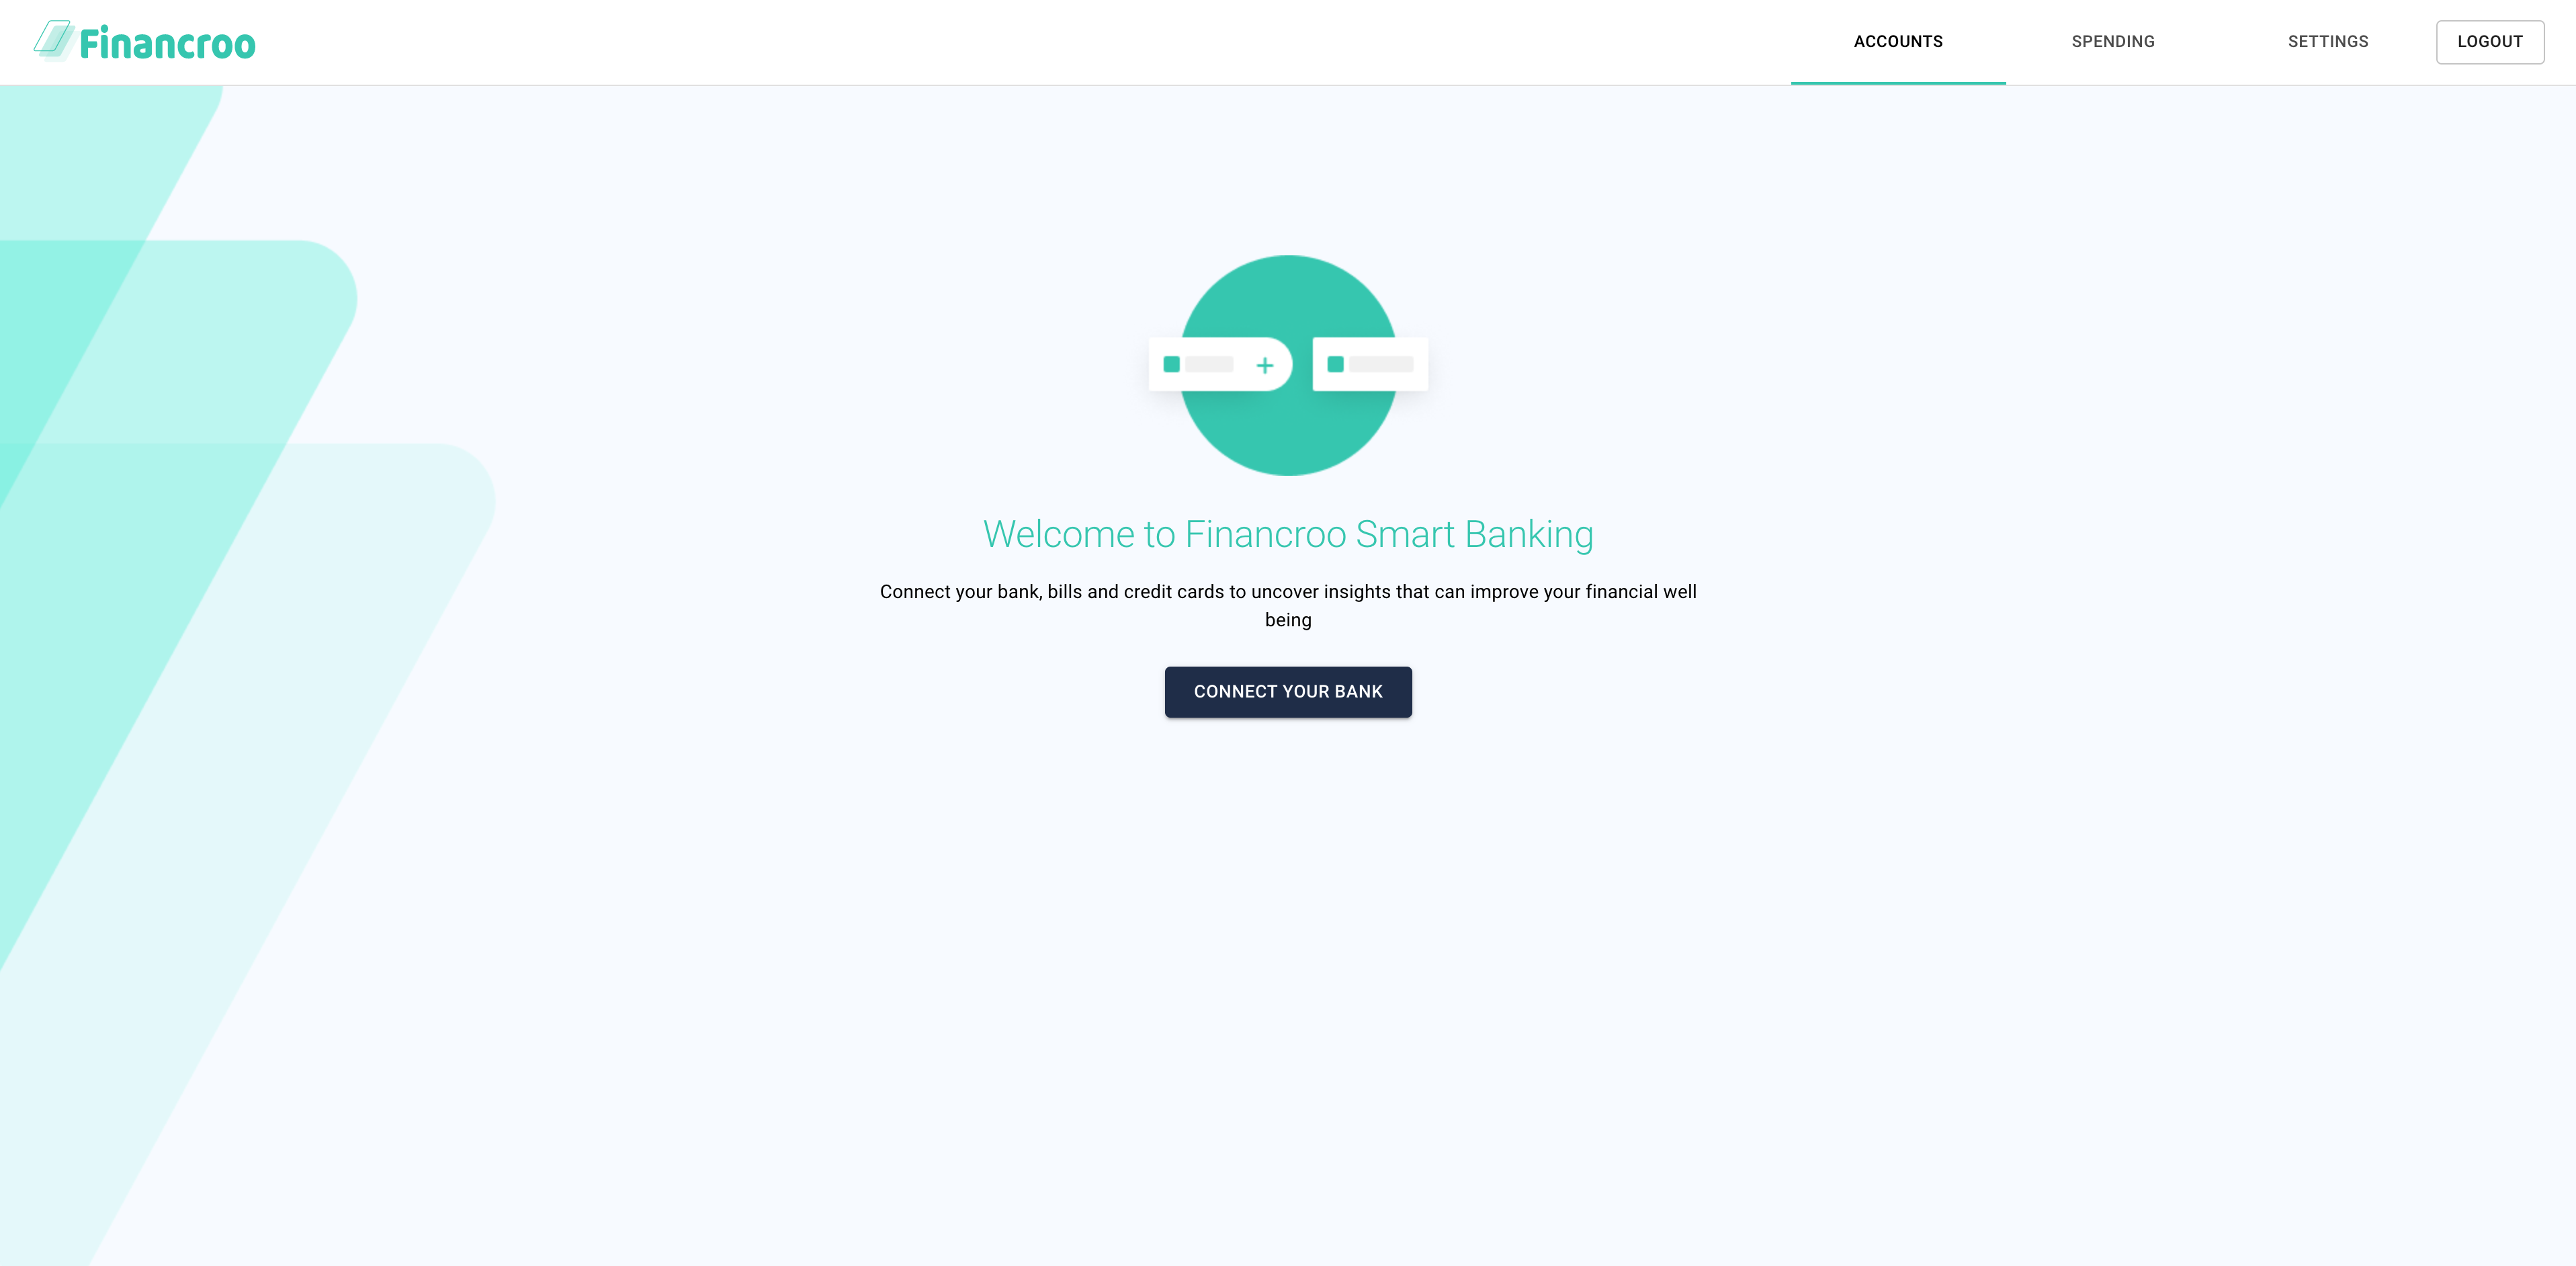
Financroo
In the quickstart, there is another application, Financroo, with a proper UI to guide you through a real-life experience of integrating with the bank. Financroo is a mock Fintech application that shows you only what the end user actually sees when operating the application. You go through the very same steps as with TPP SAMPLE APP but with no technical detailed displayed.
-
In your browser, navigate to
https://localhost:8091/to access Financroo.Note
Login credentials are specified in README of the sandbox repository.

-
Log in to the mock financial application.

-
If you have not connected to the bank in this application so far, do it now.
-
Select a bank to be connected.
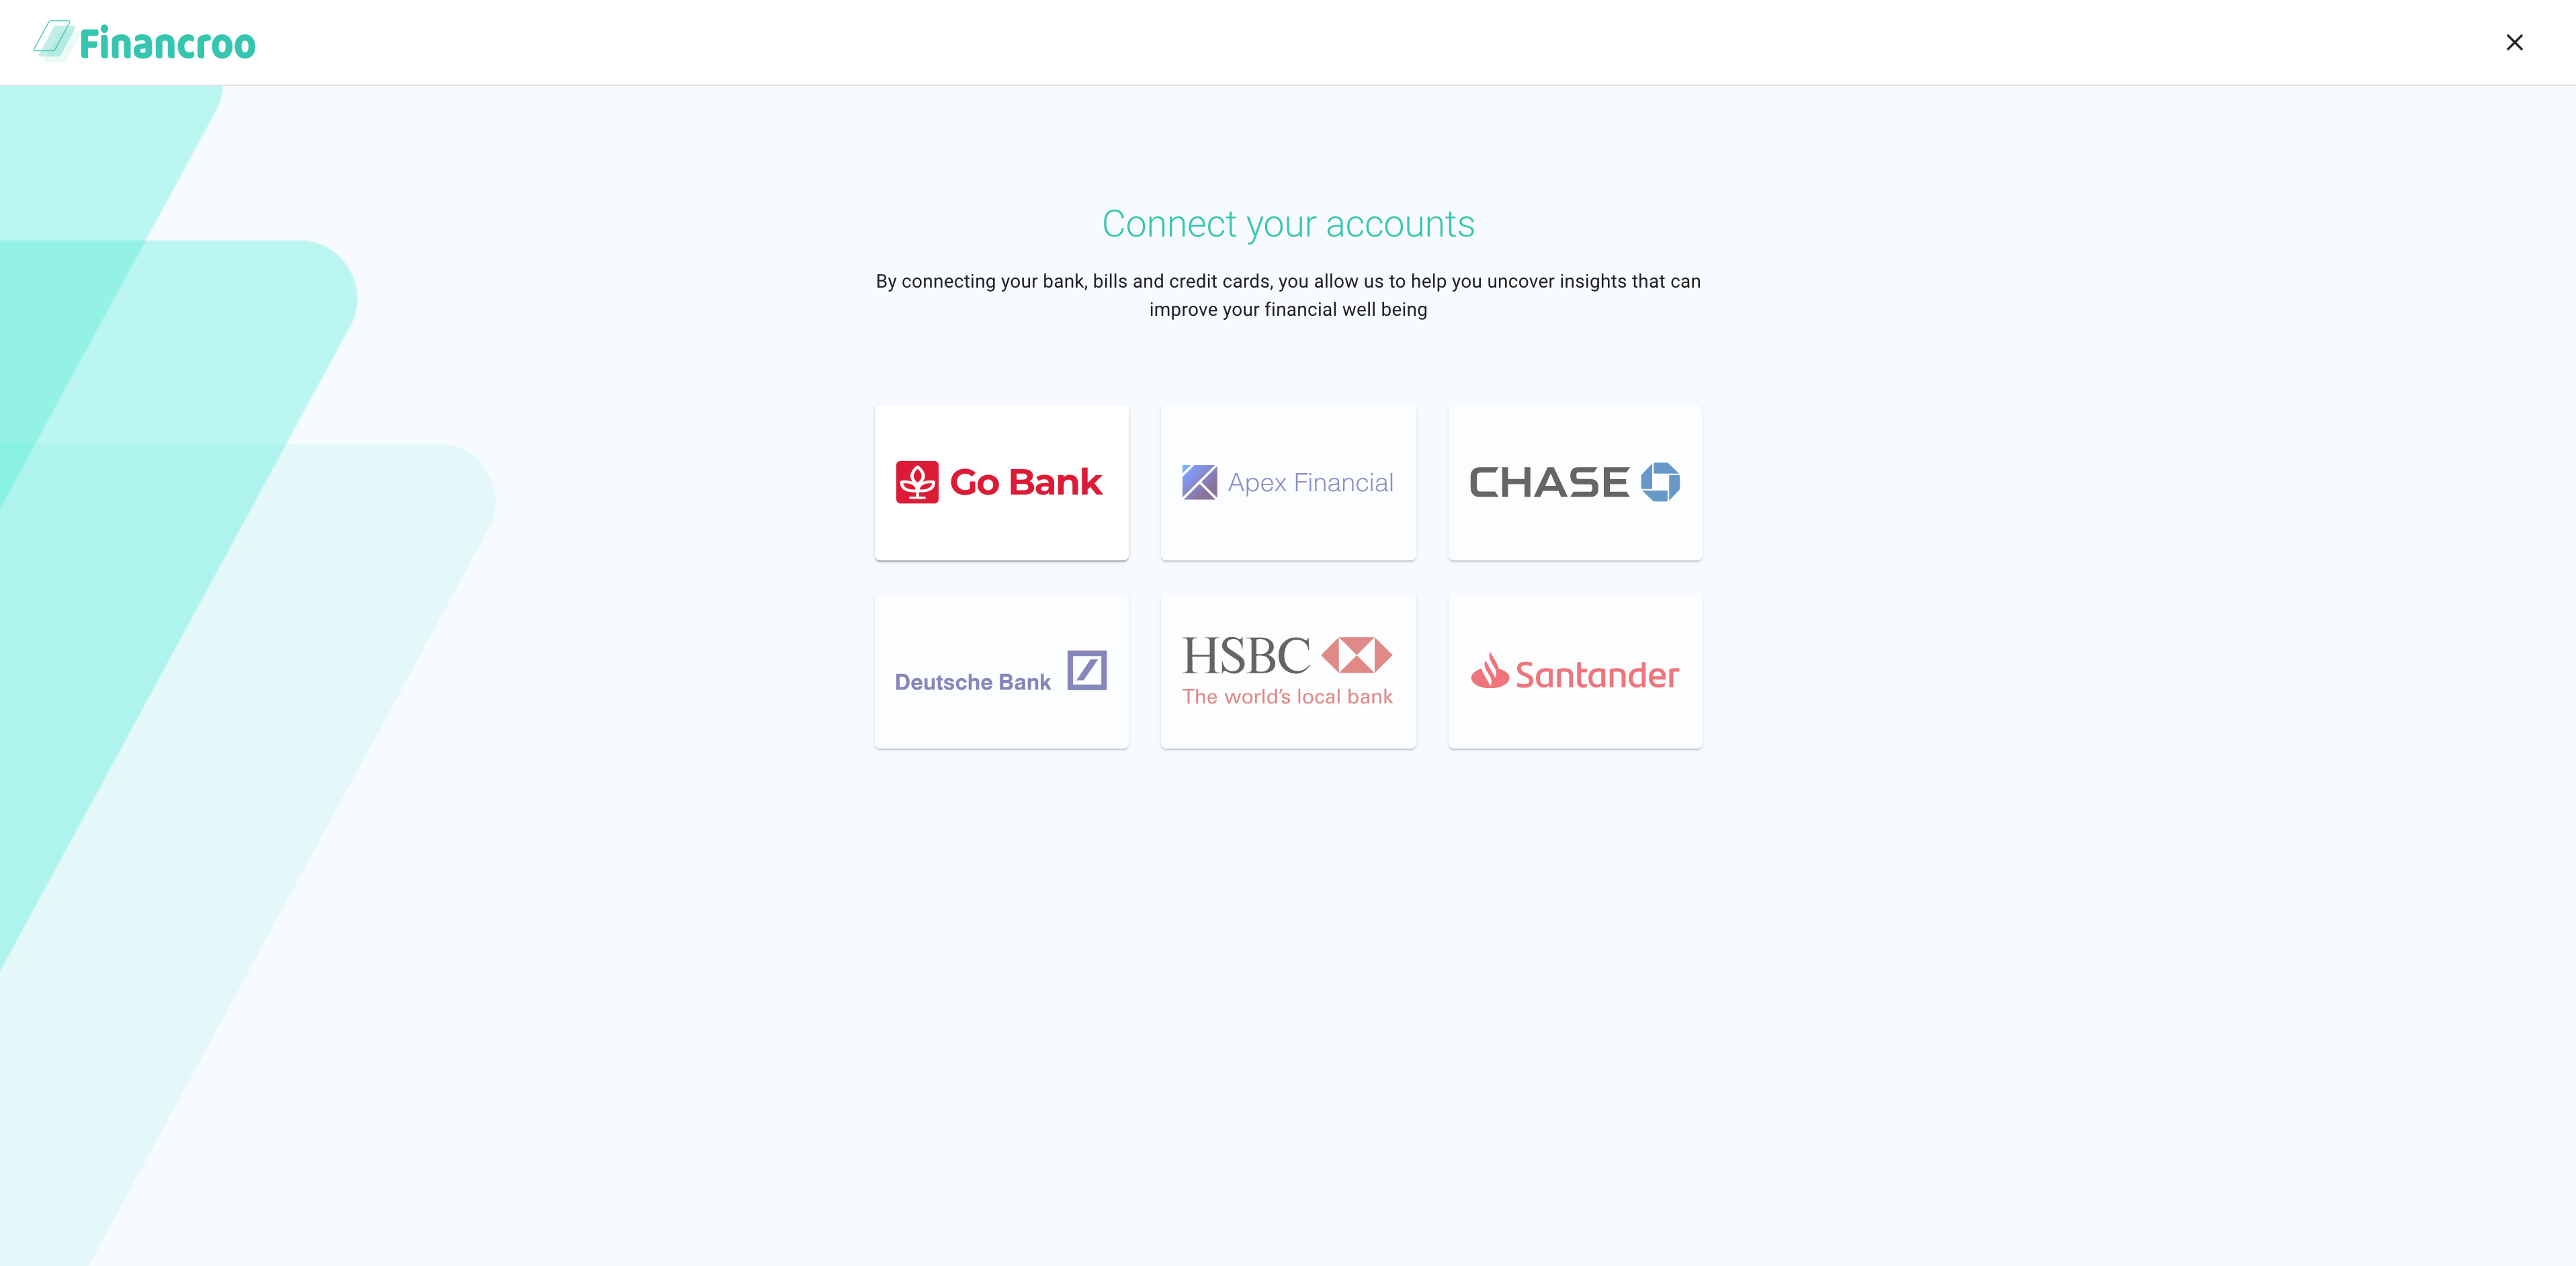
-
Specify what data you want to share to the application from the bank.
-
Log in to the bank with the identity provider of the bank.

-
Visit the bank consent page to select accounts and data to be shared.
Result
The requested information from the bank has been shared to the application. The application displays multiple widgets populated with the financial data.
-
Play with the application UI to filter the available information as needed.
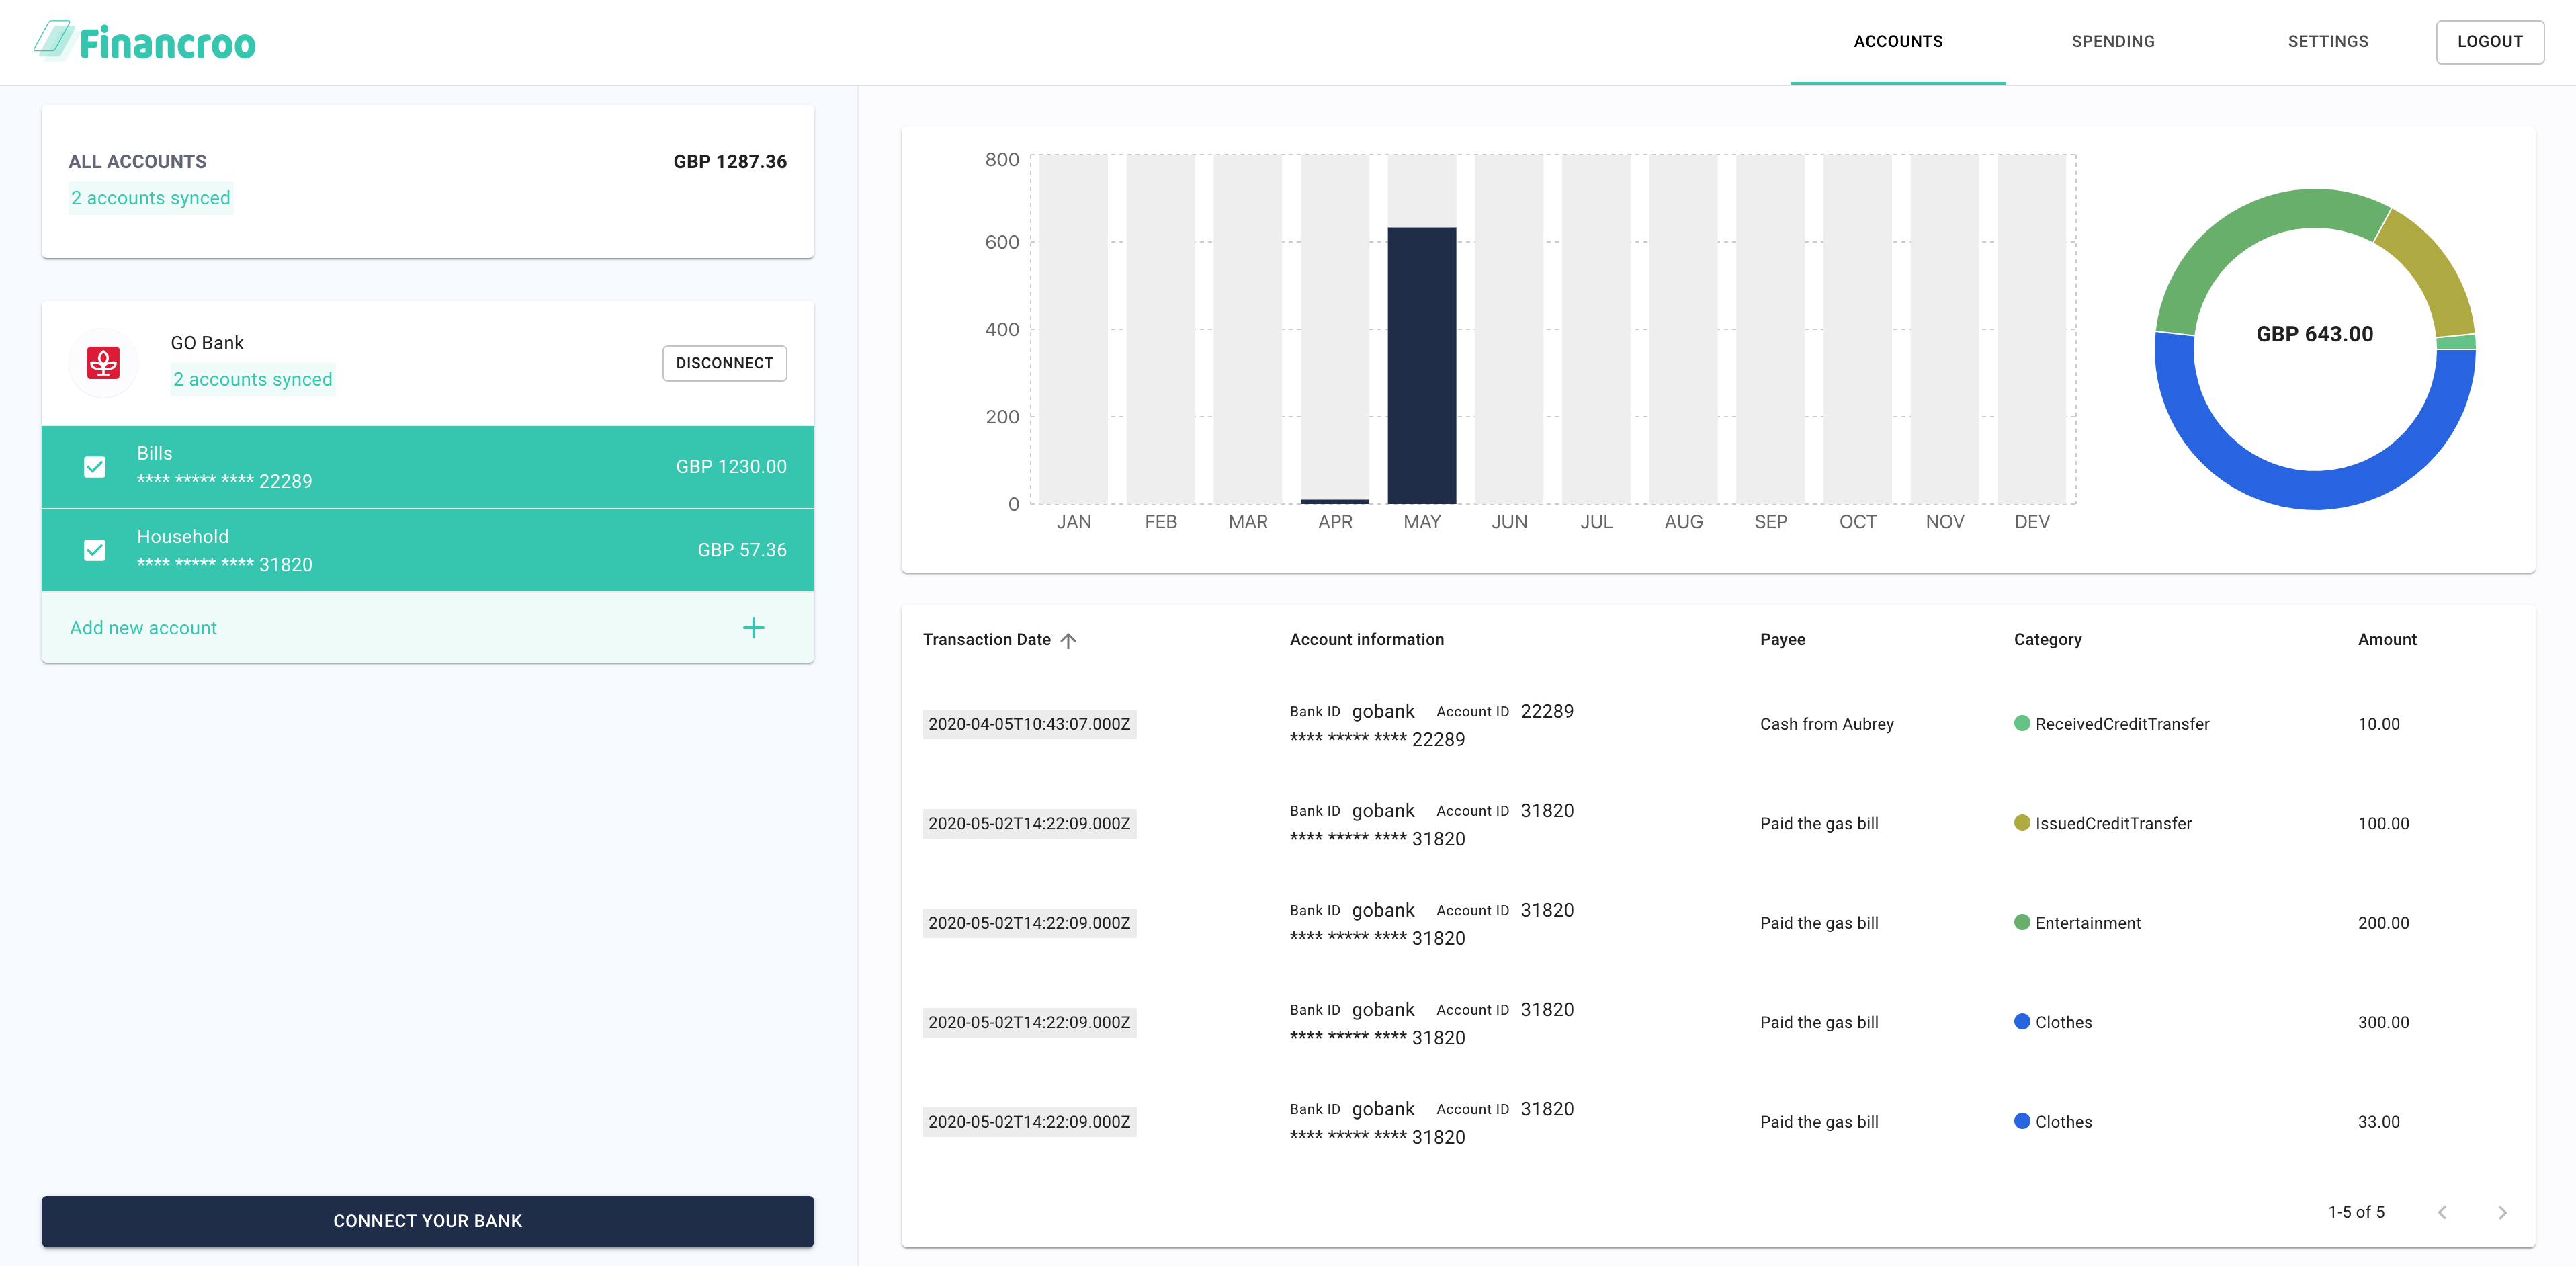
Here’s what your integrated app can show you:
- Banks connected
- Accounts for each of the connected banks
- Information on recent transactions
- Aggregation of spending
- Categories assigned to each transaction
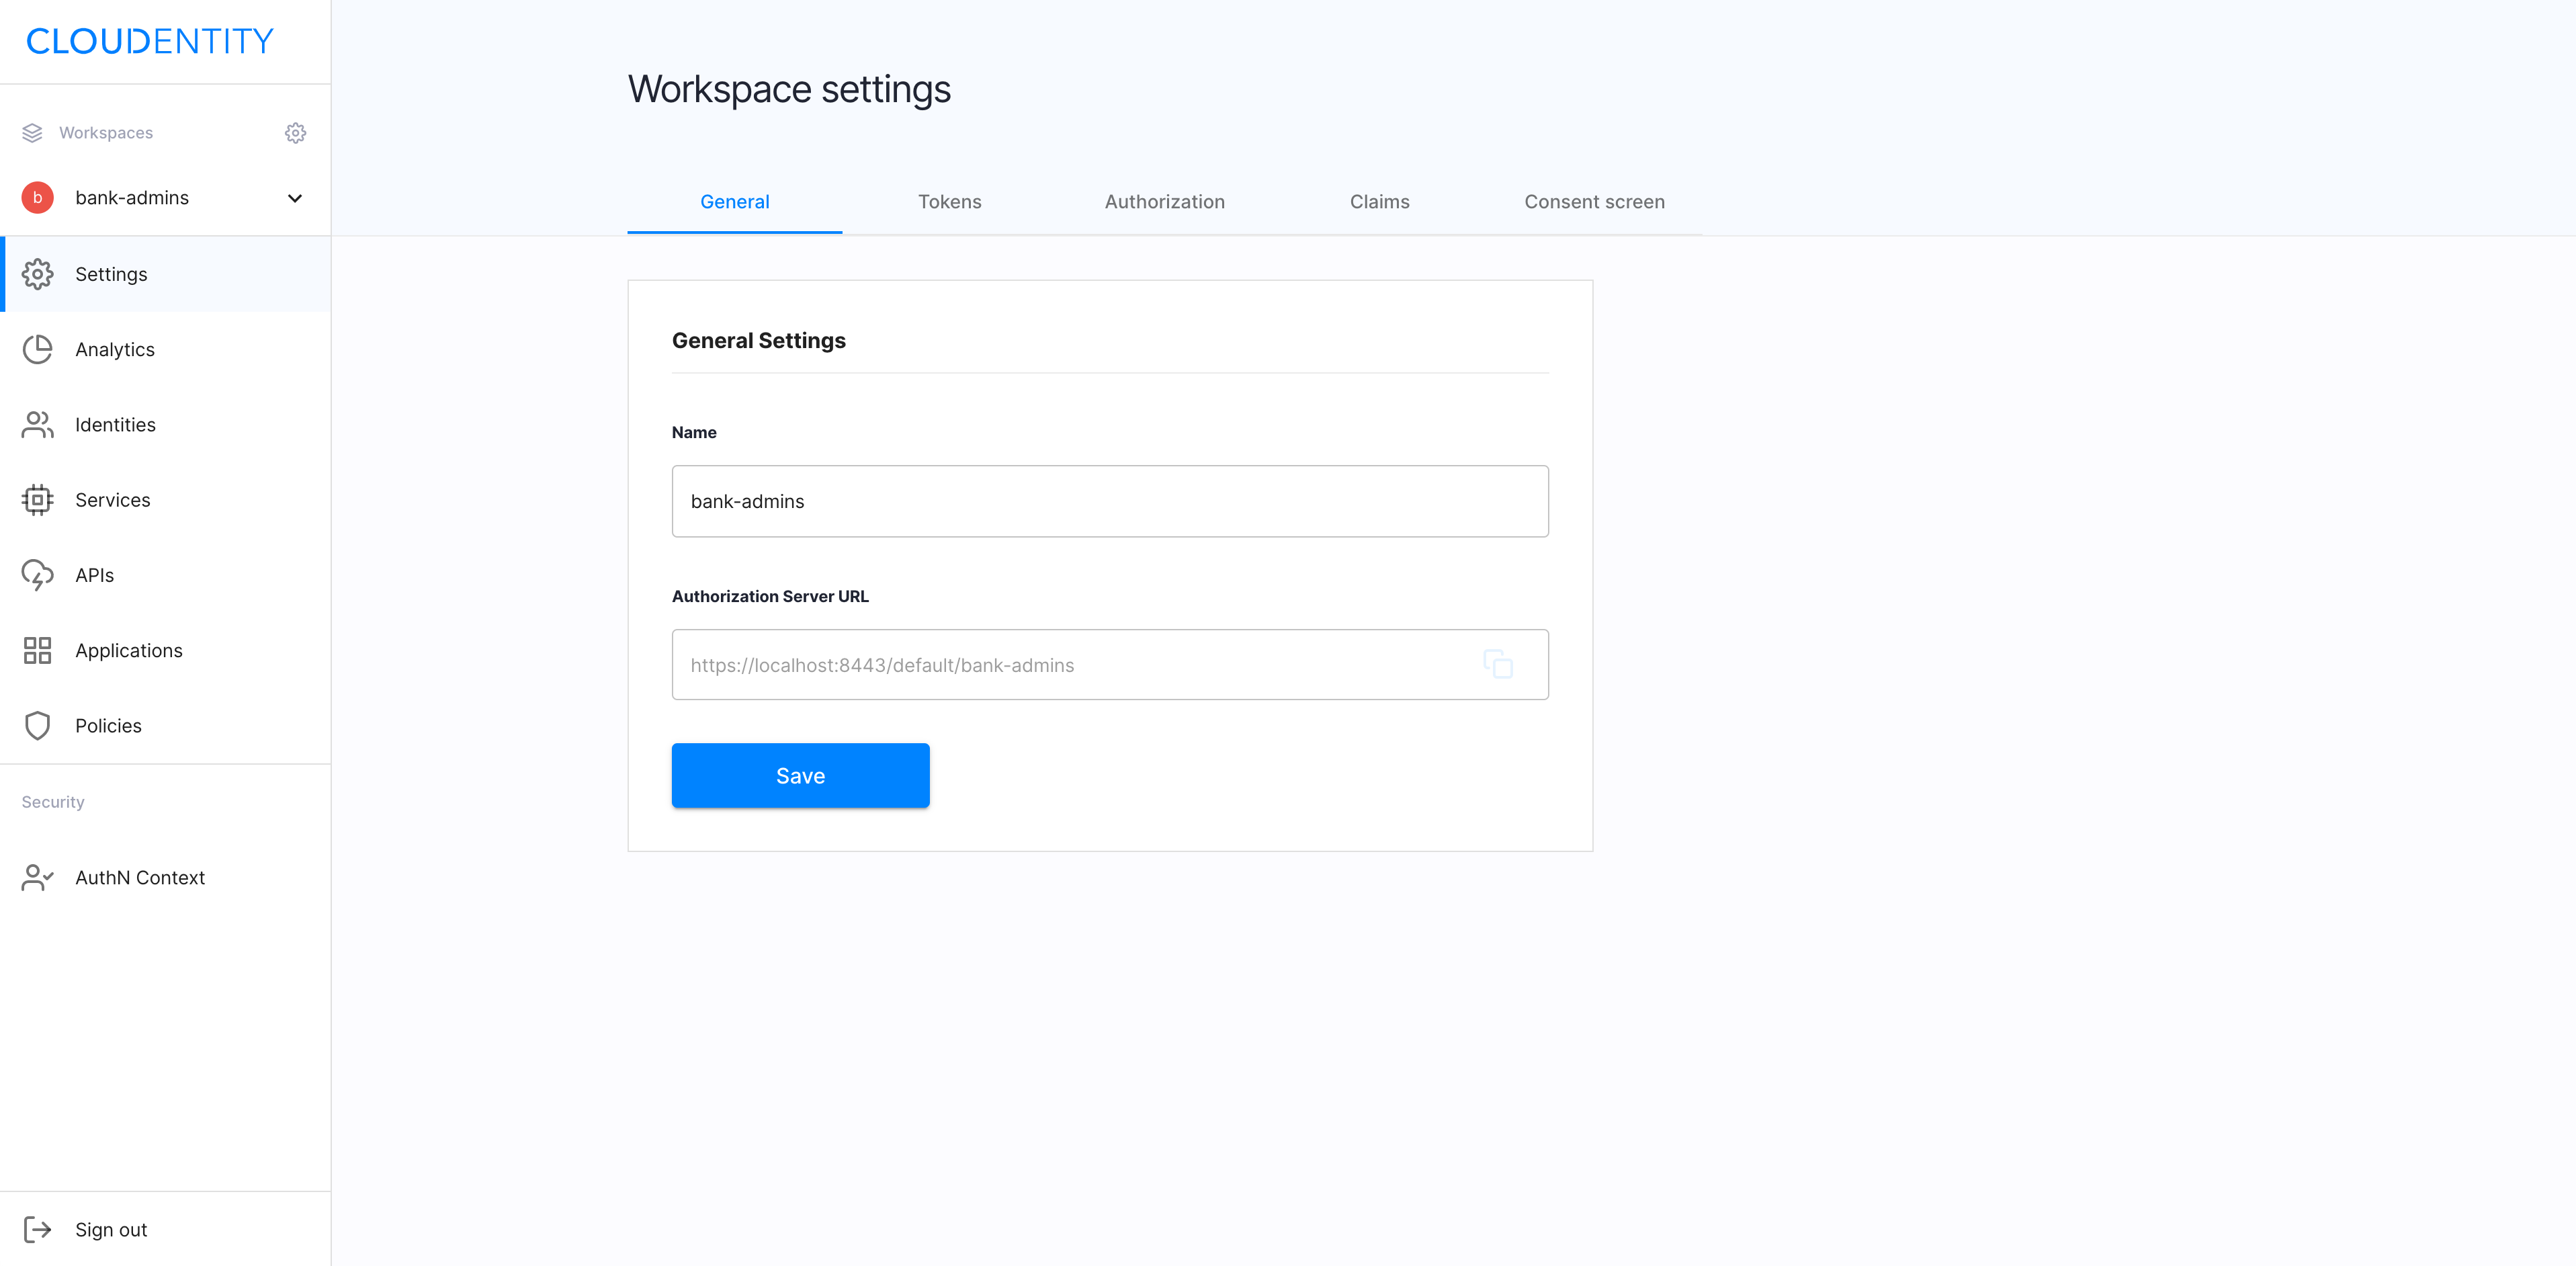
ACP configuration
-
In your browser, navigate to
https://localhost:8443/app/default/admin/to access the ACP portal and check what workspaces and applications are available inside (see, for example, an app for managing consents).Note
Login credentials are specified in README of the quickstart repository.
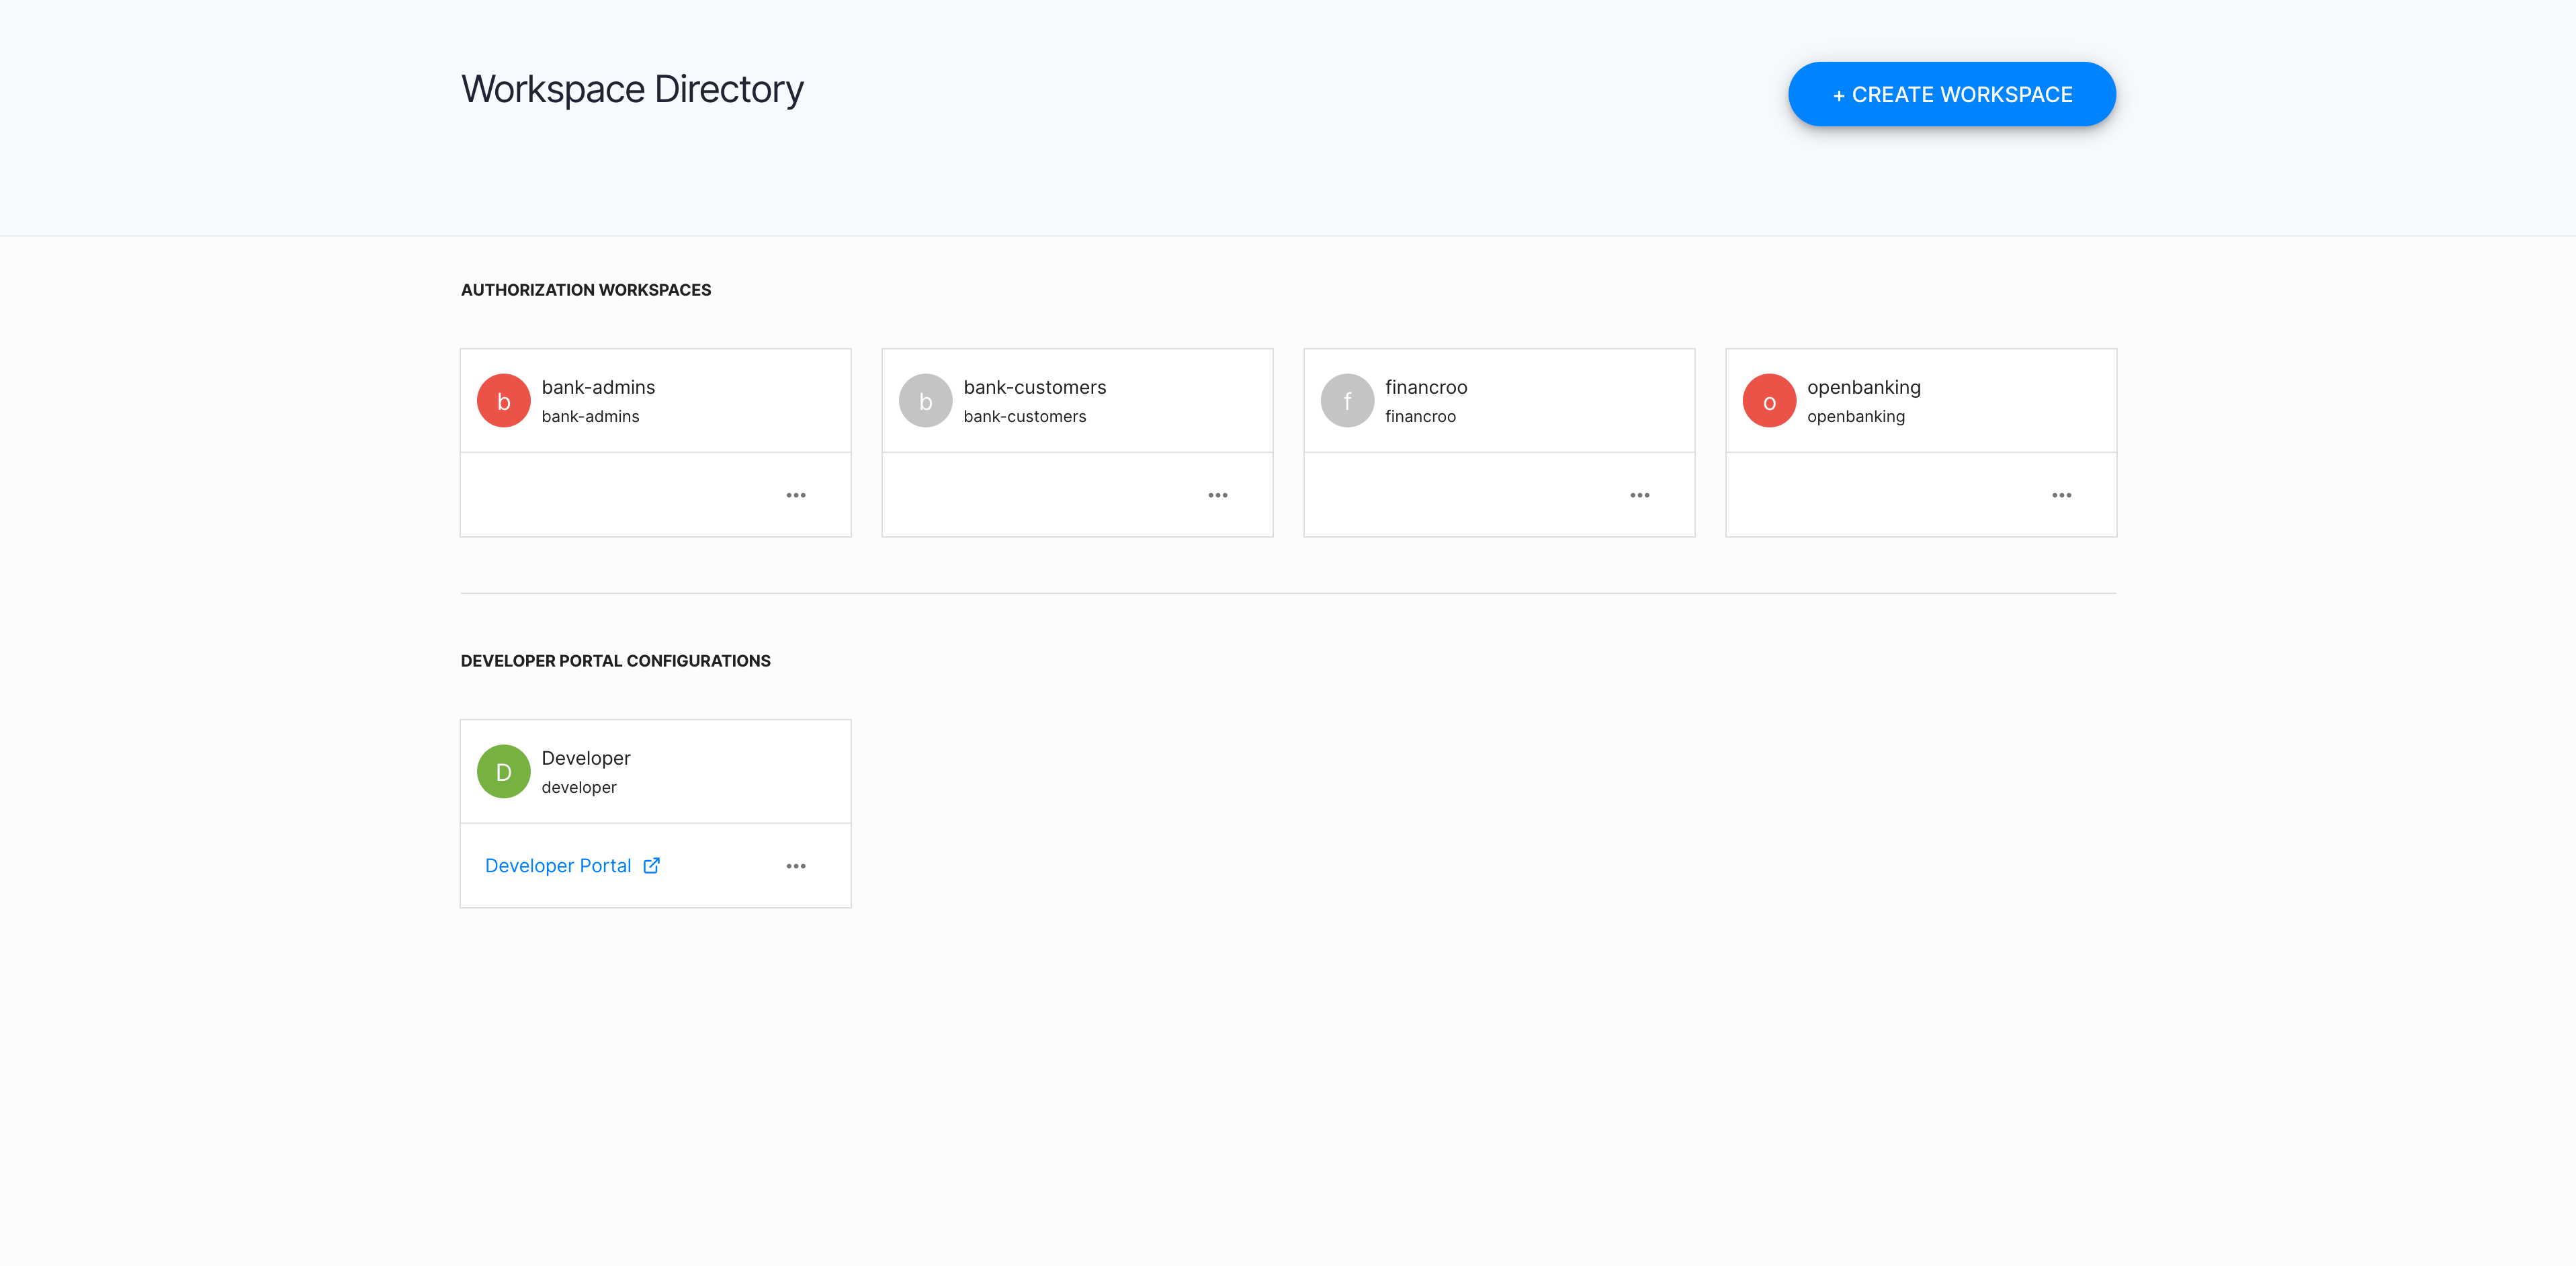
In the ACP portal available from the sandbox, you can see how things are configured and set up. You can check what features ACP provides for authorization to the sandbox applications in a specific precisely-defined way that is in line with OB specs.
-
Select specific workspaces to check their settings predefined for OB purposes.
You can explore all the workspaces provided and check their specific configurations. Additionally to the workspace for the Fintech application, there are also workspaces for banks administrators and the customer self-service.
Example
In accordance with OB specs, clients need to connect using the TLS auth method, which is why TLS is enabled by default in the authorization setting of the workspaces.