Connecting IntelliTrust™ IDP
Instructions on how to connect the IntelliTrust™ IDP to ACP
Prerequisites
- You have an IntelliTrust account.
Register application
-
In you browser, navigate to Entrust Datacard® IntelliTrust™ Authentication Service for your organization (
https://name-of-your-organization.us.trustedauth.com) and log in.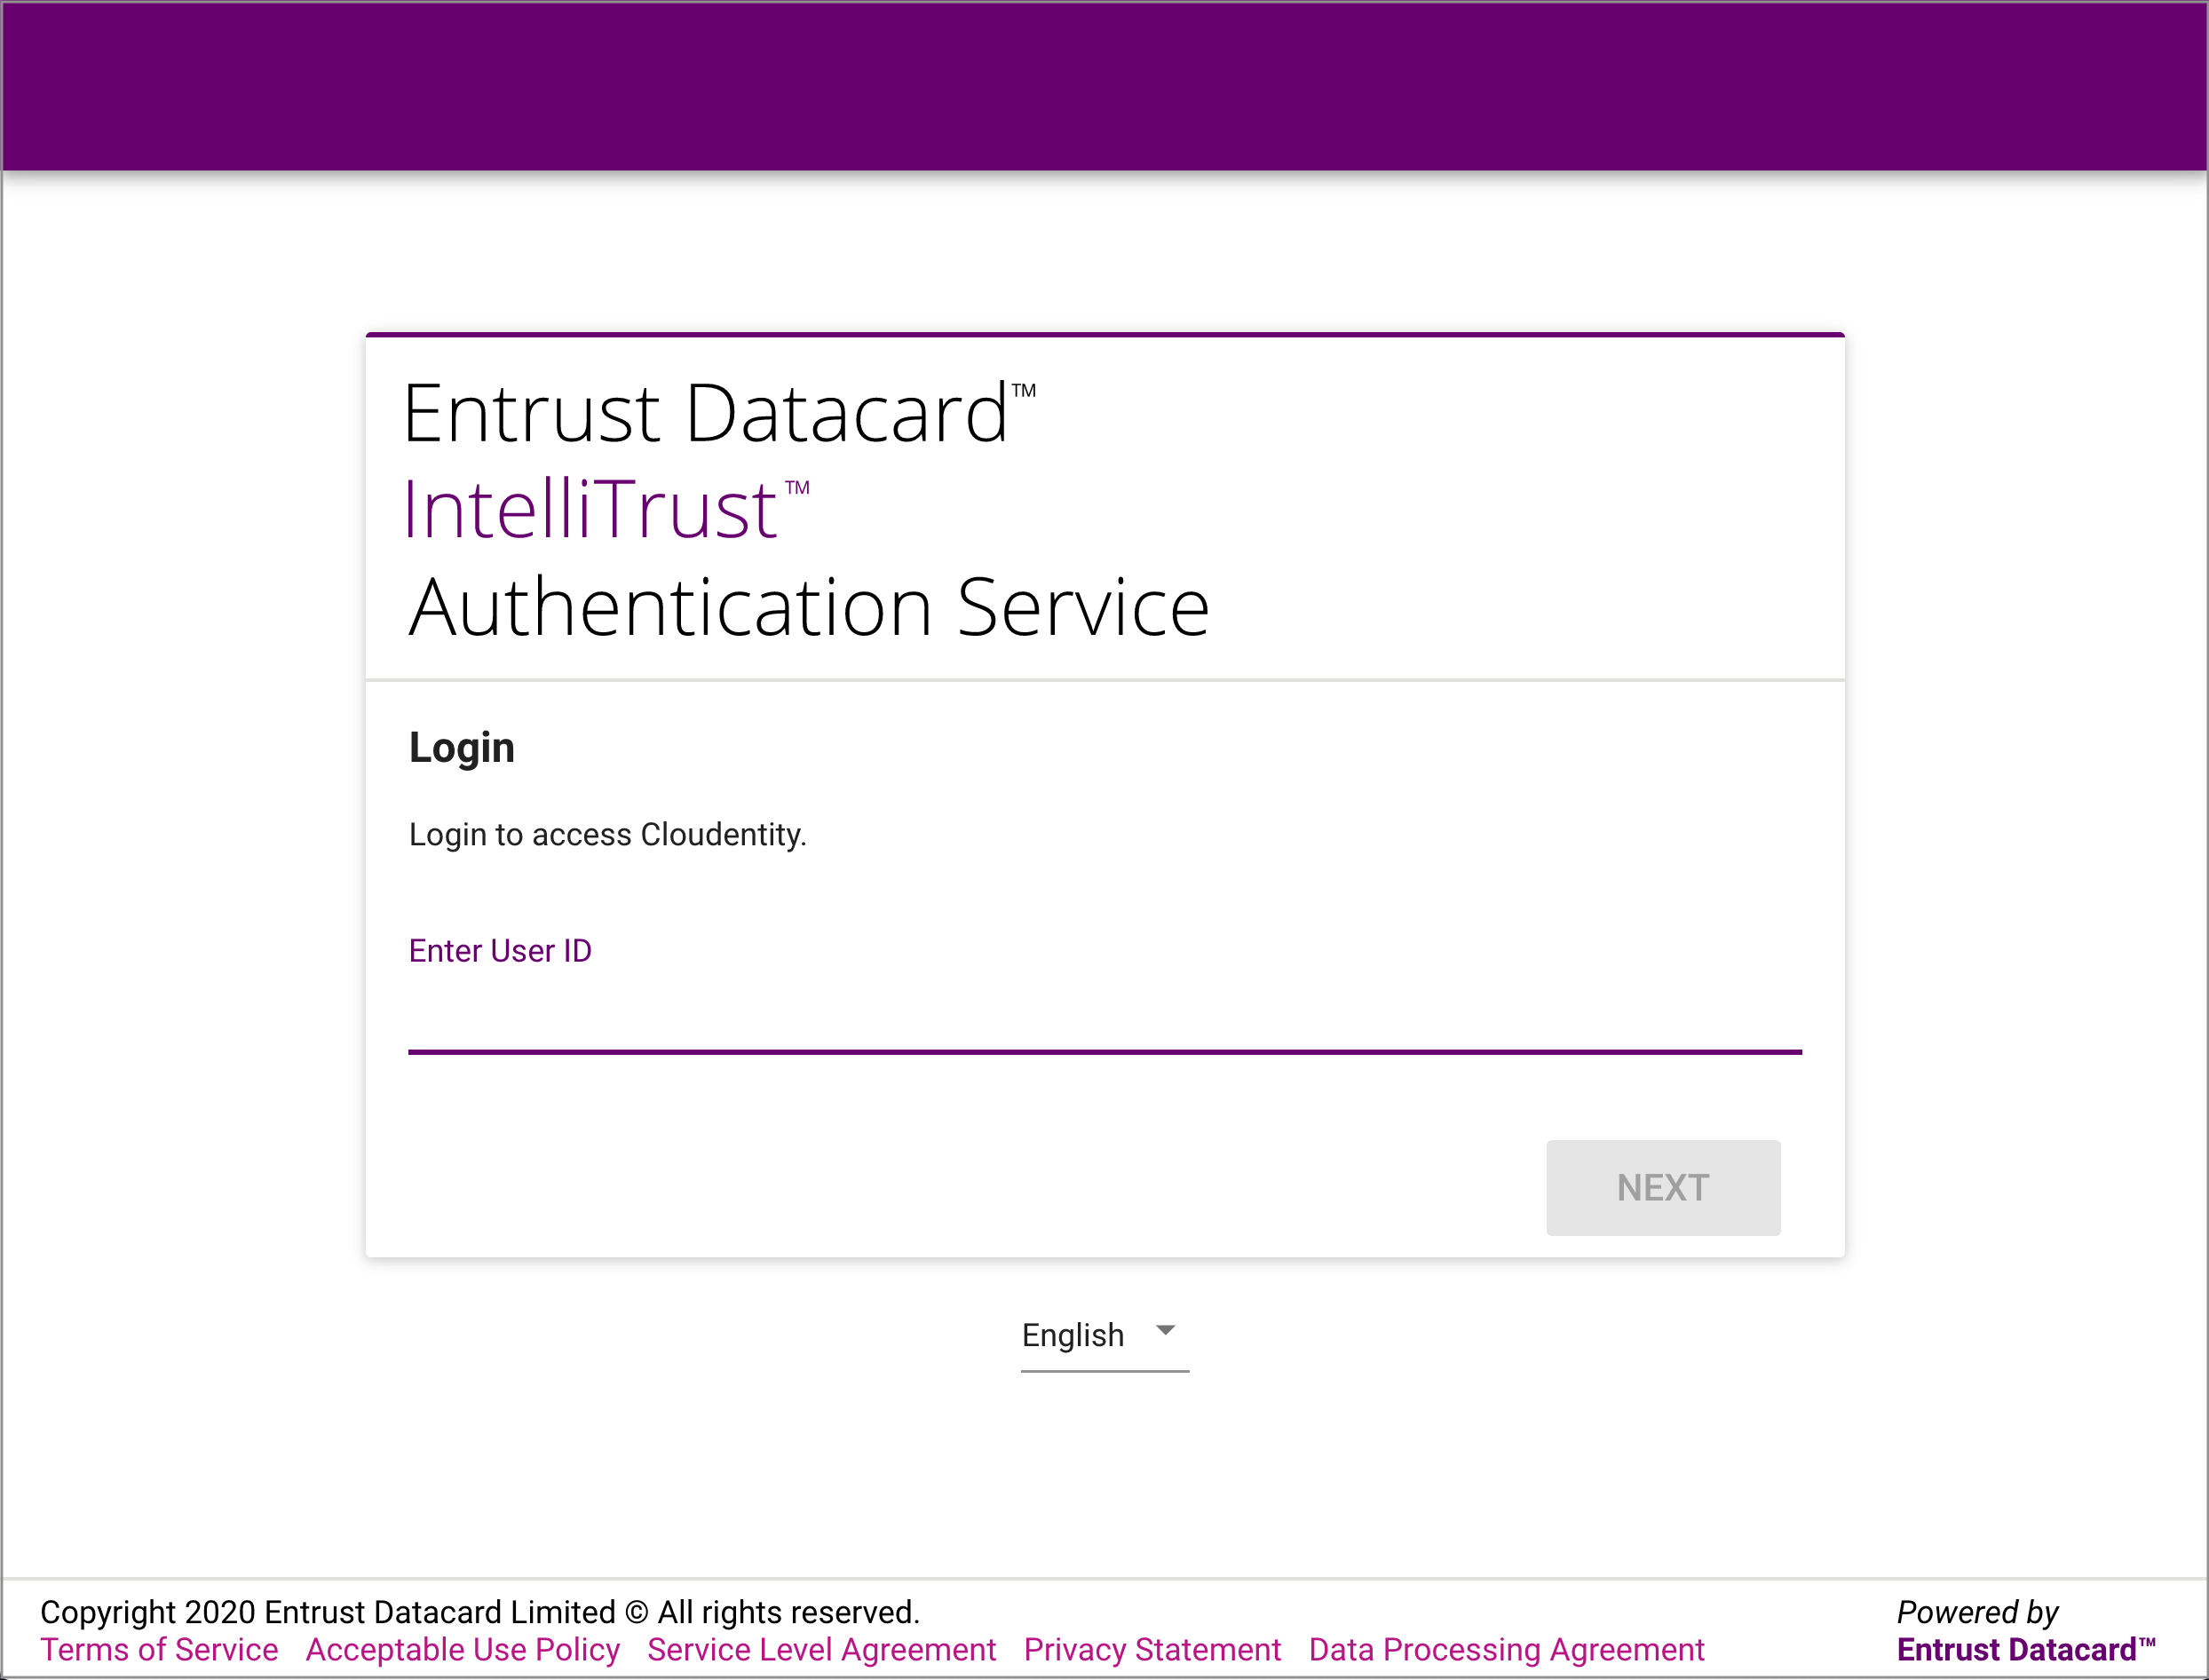
-
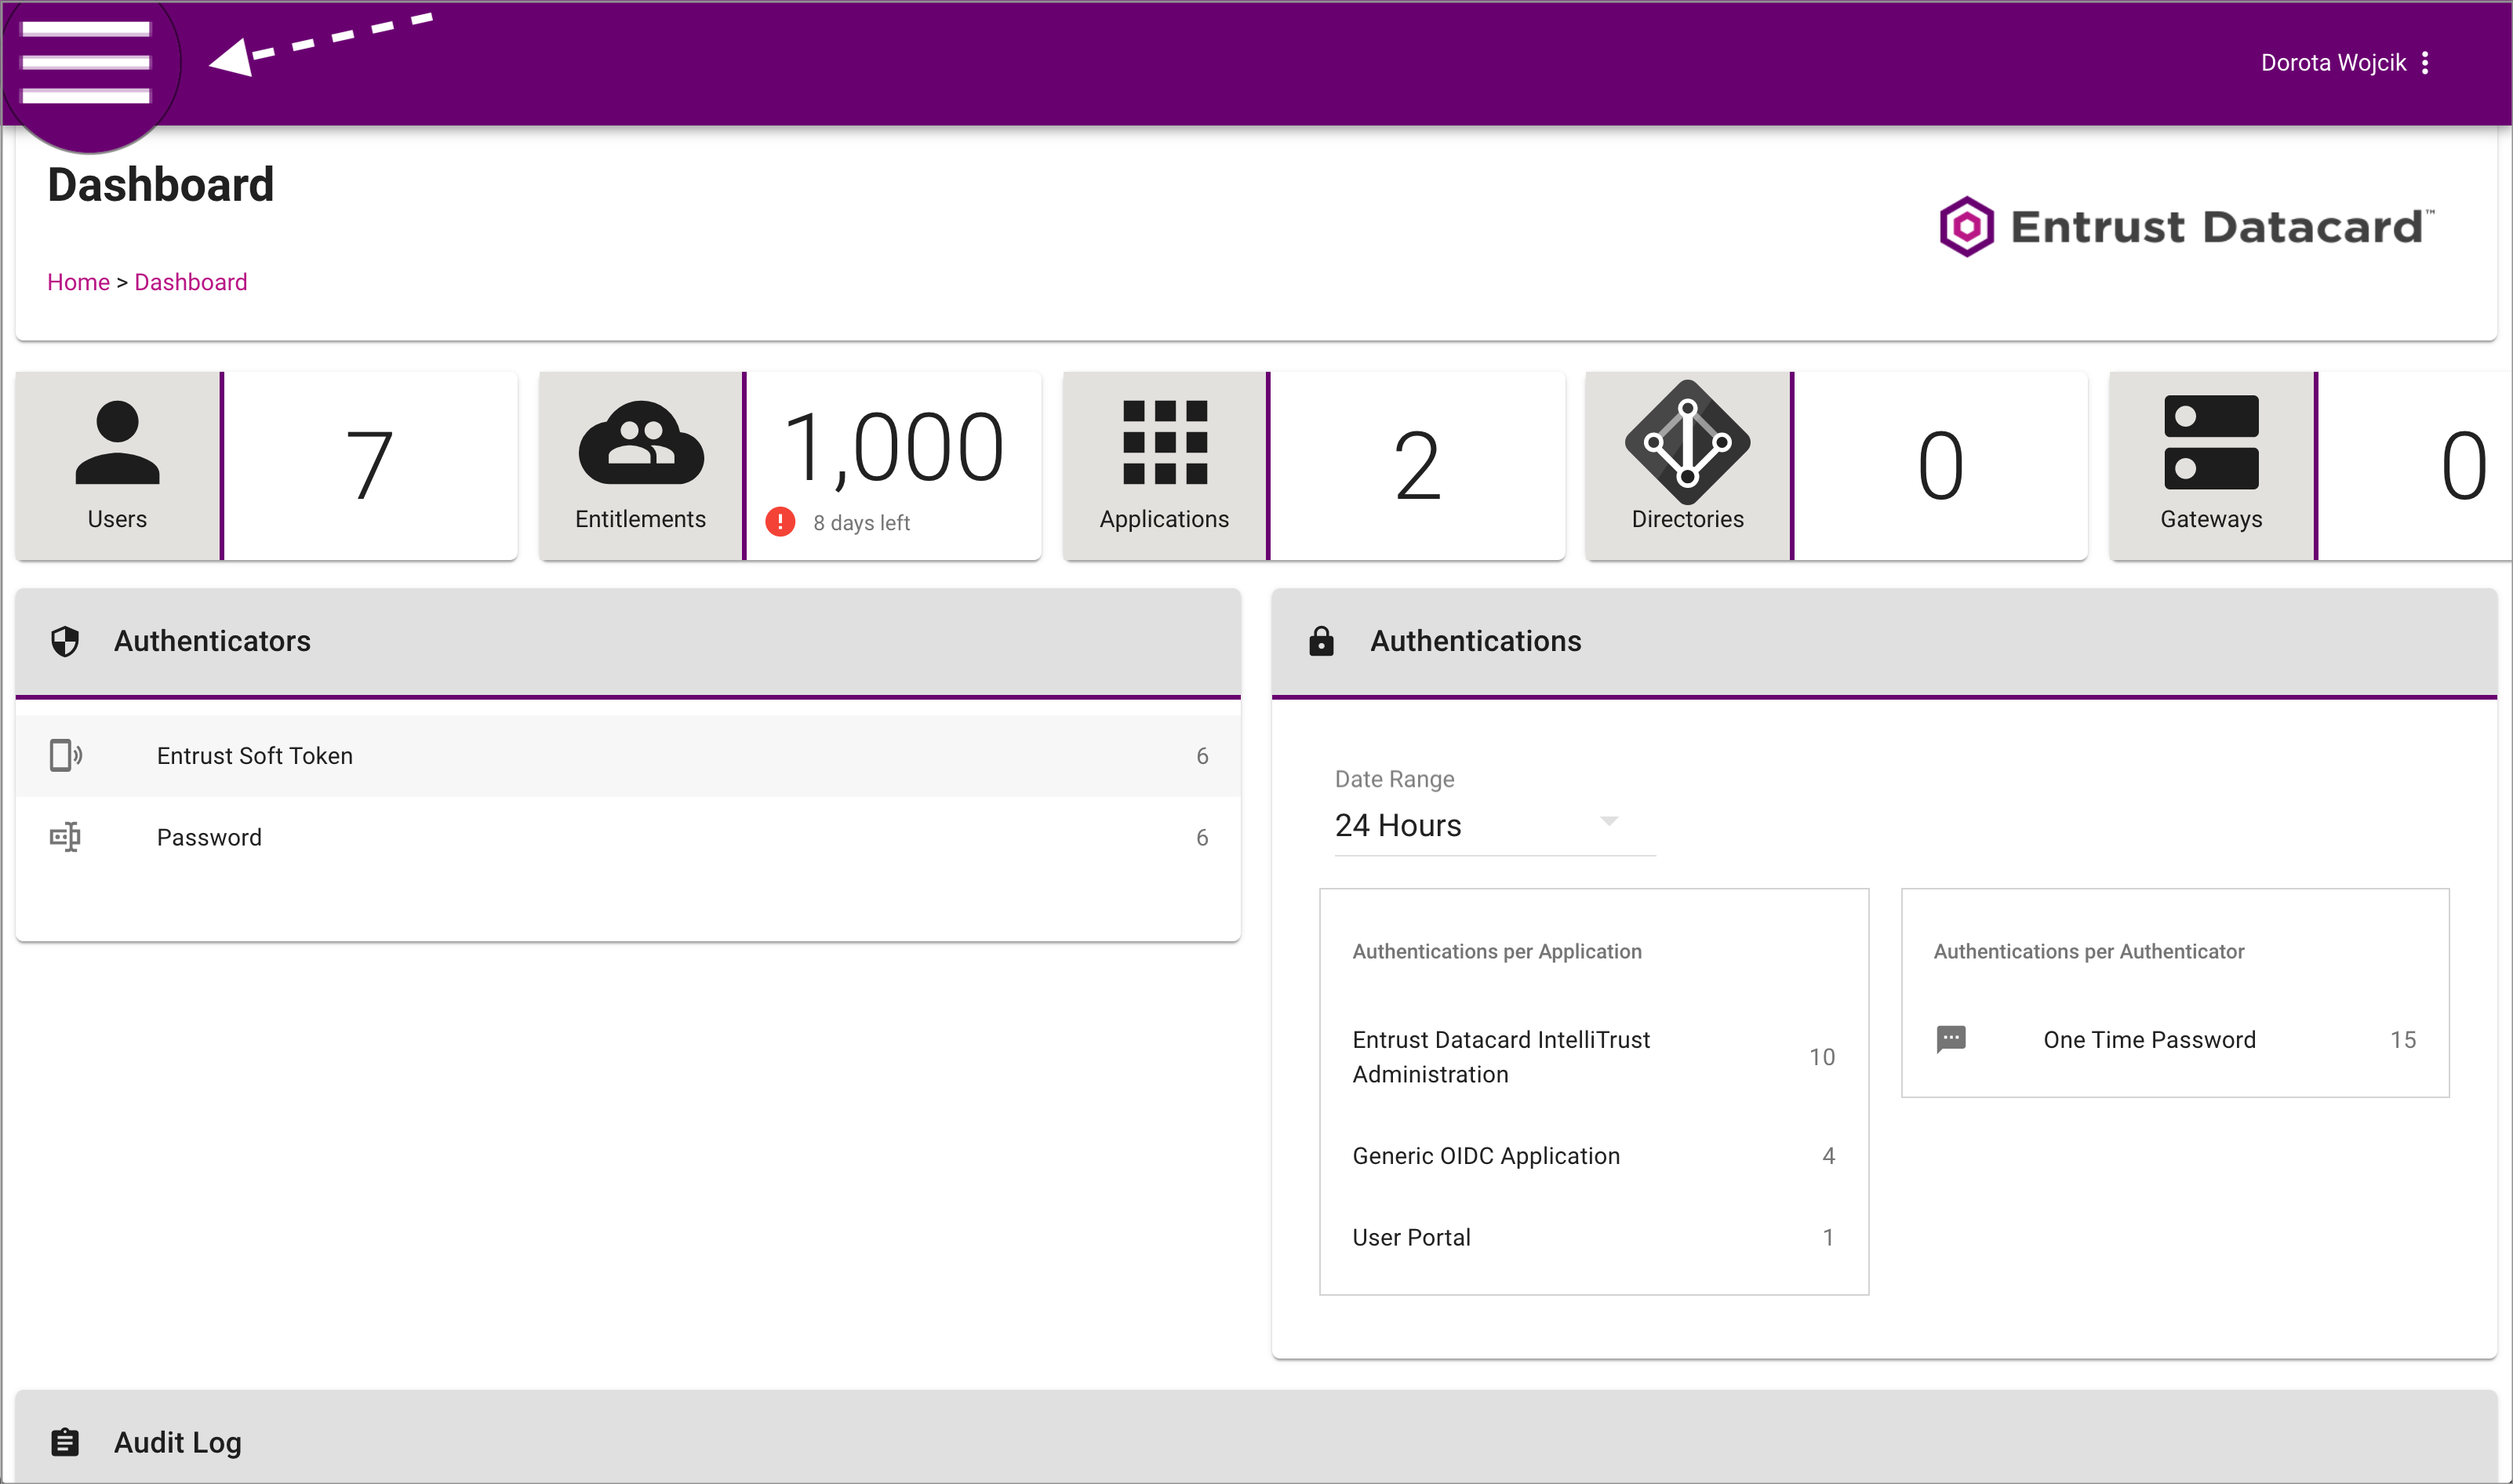
Select the portal-menu icon from the top left corner.
-
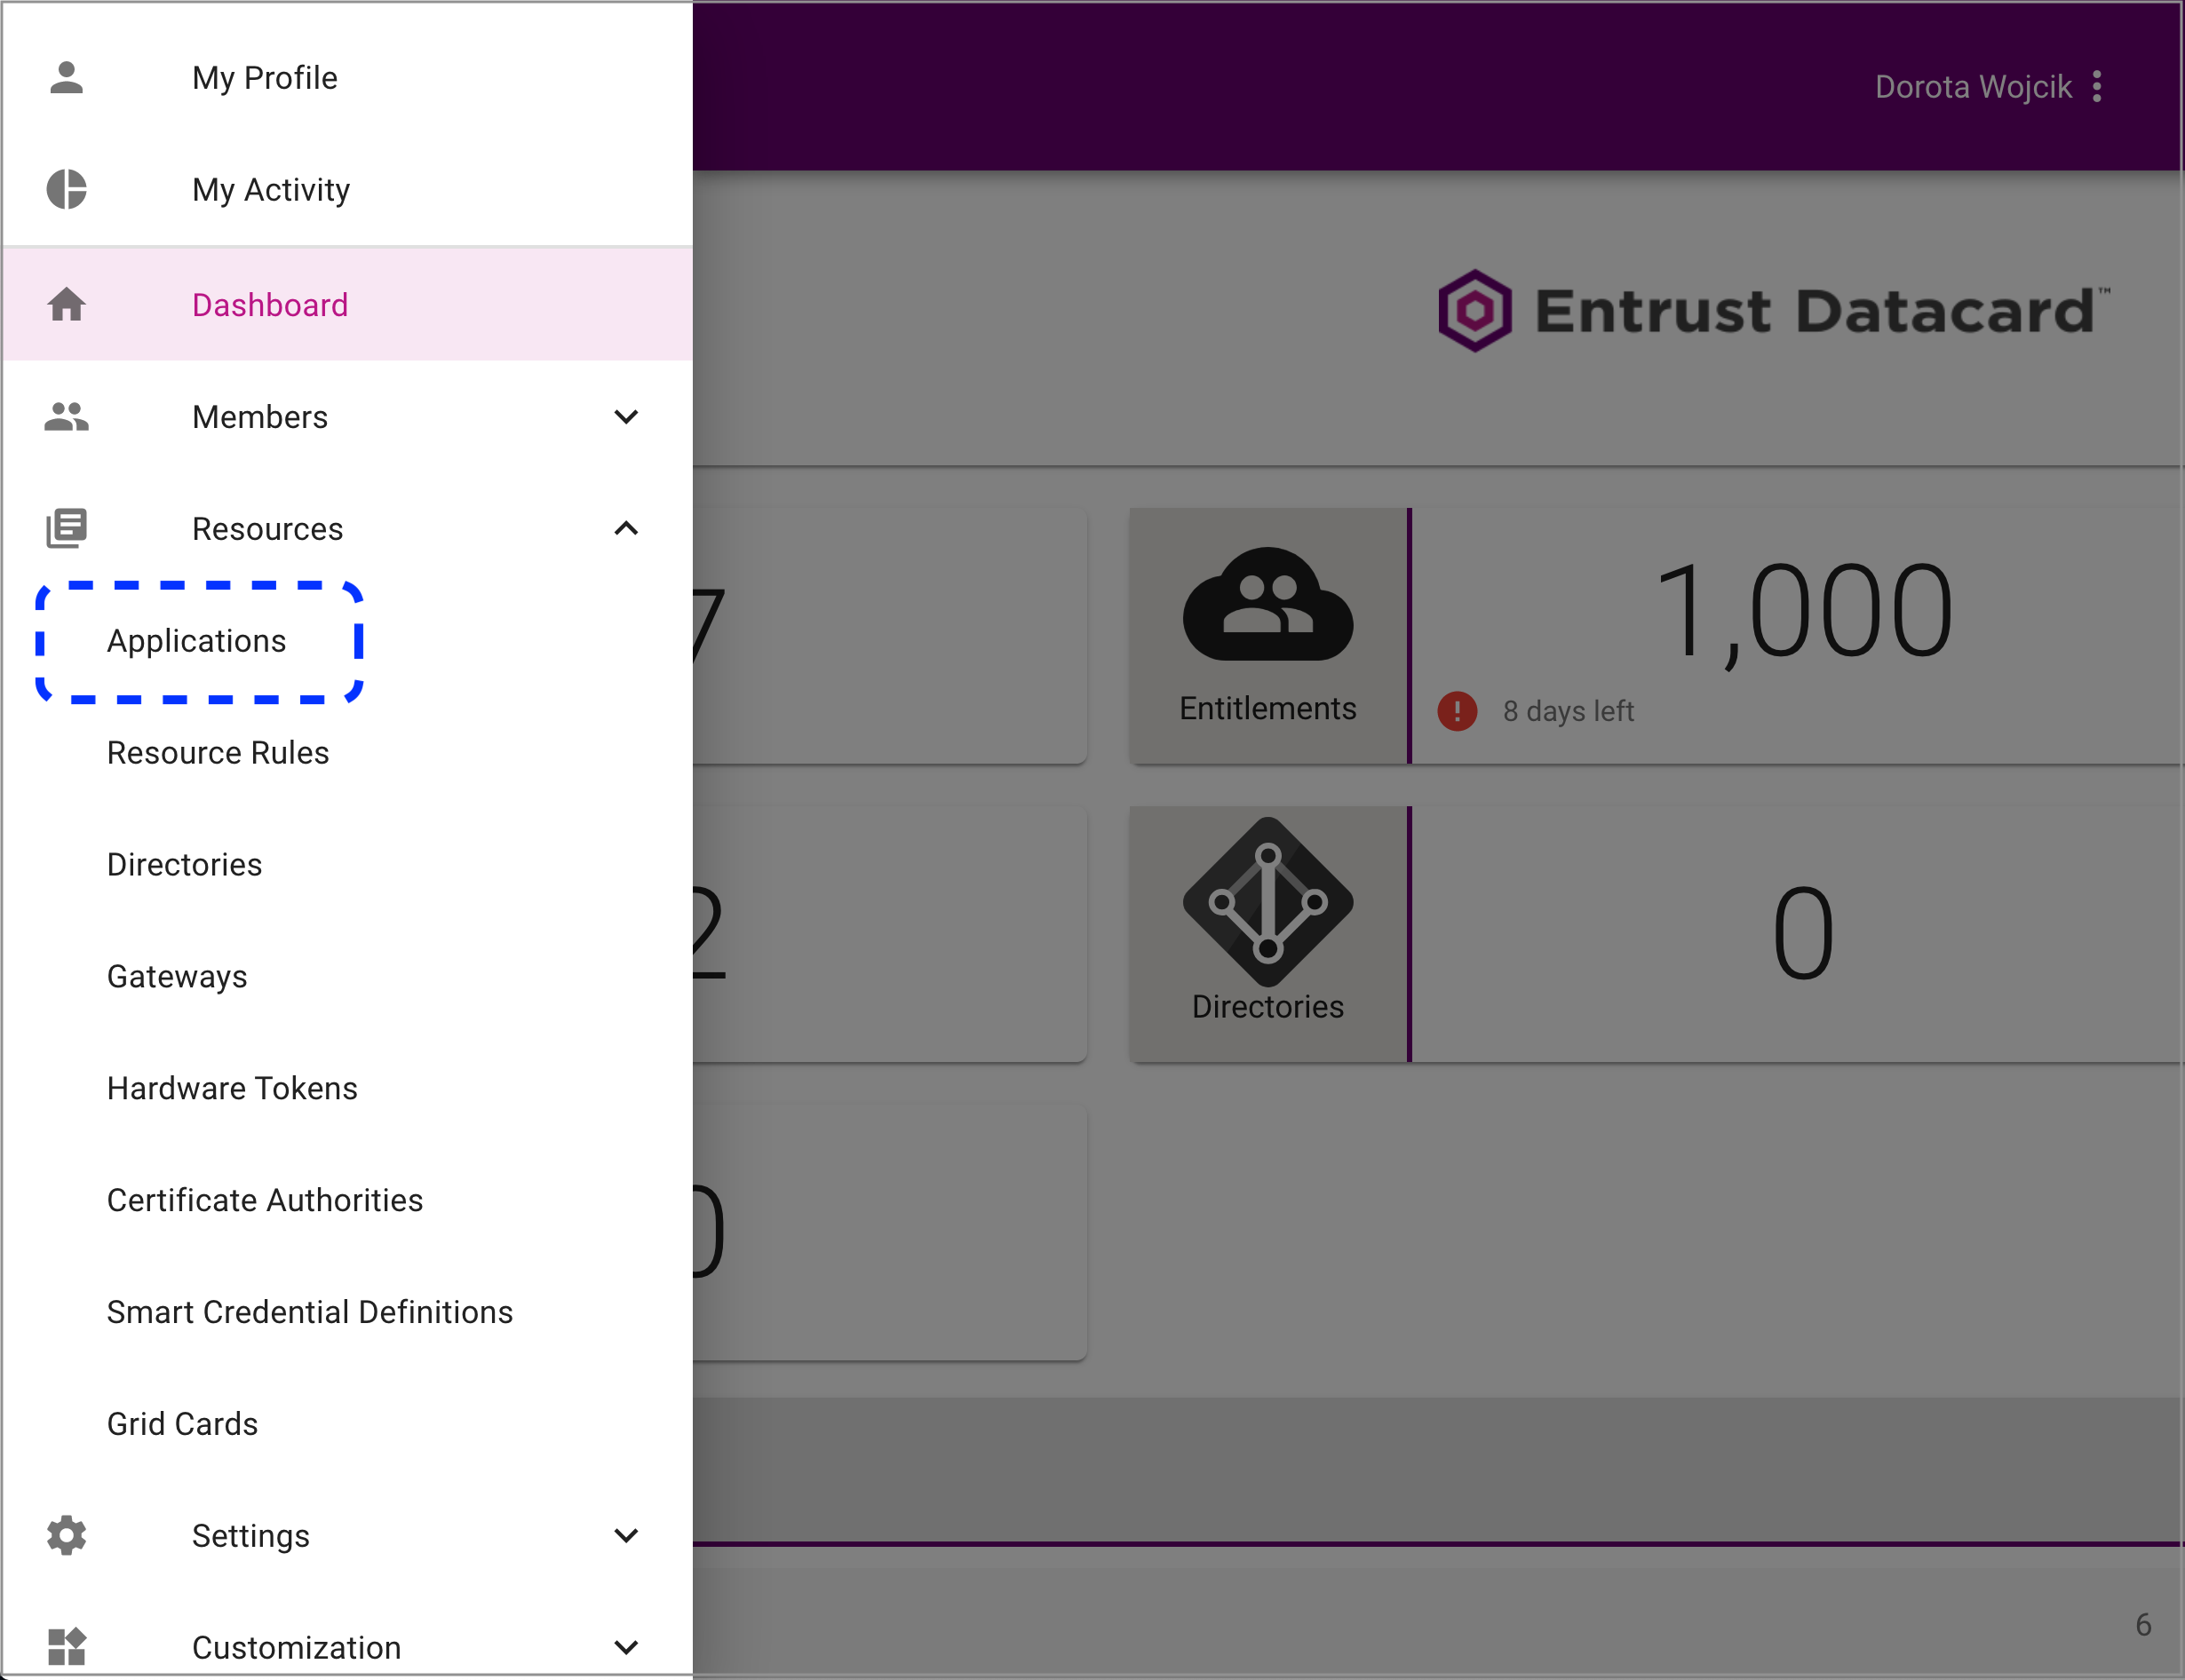
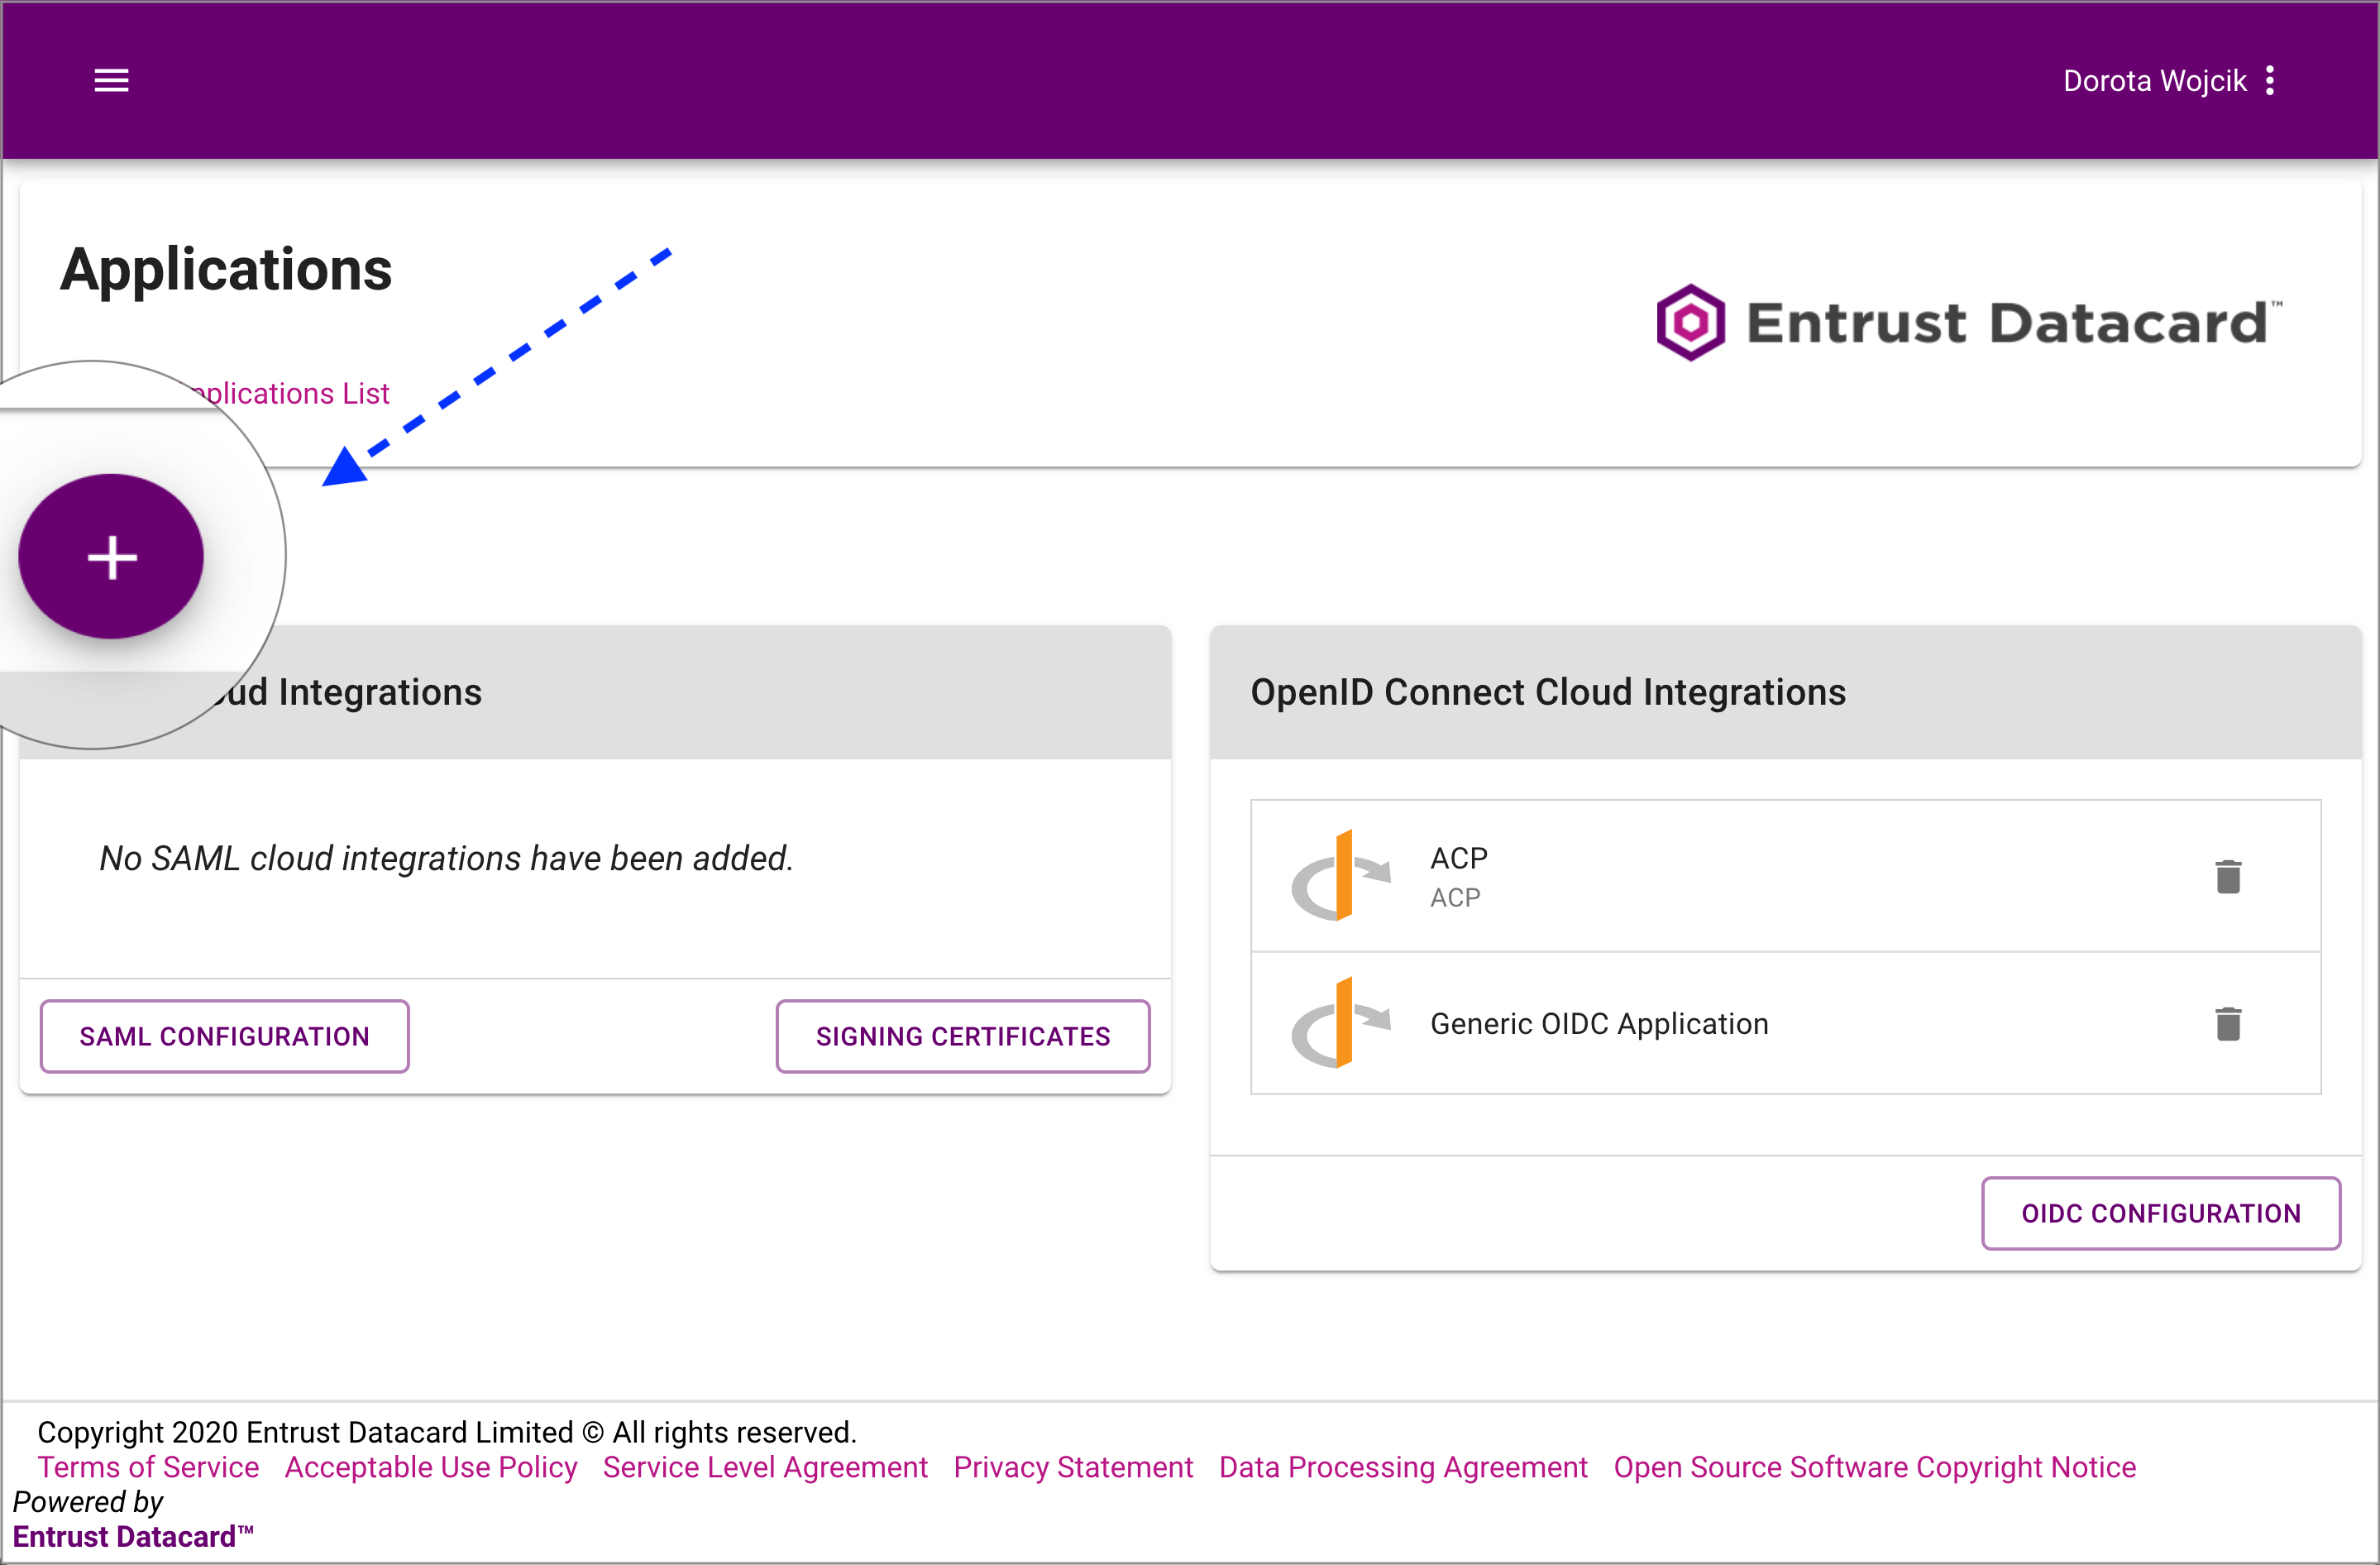
Select Resources > Applications from the portal menu.
-
Select the + icon to add a new application.
-
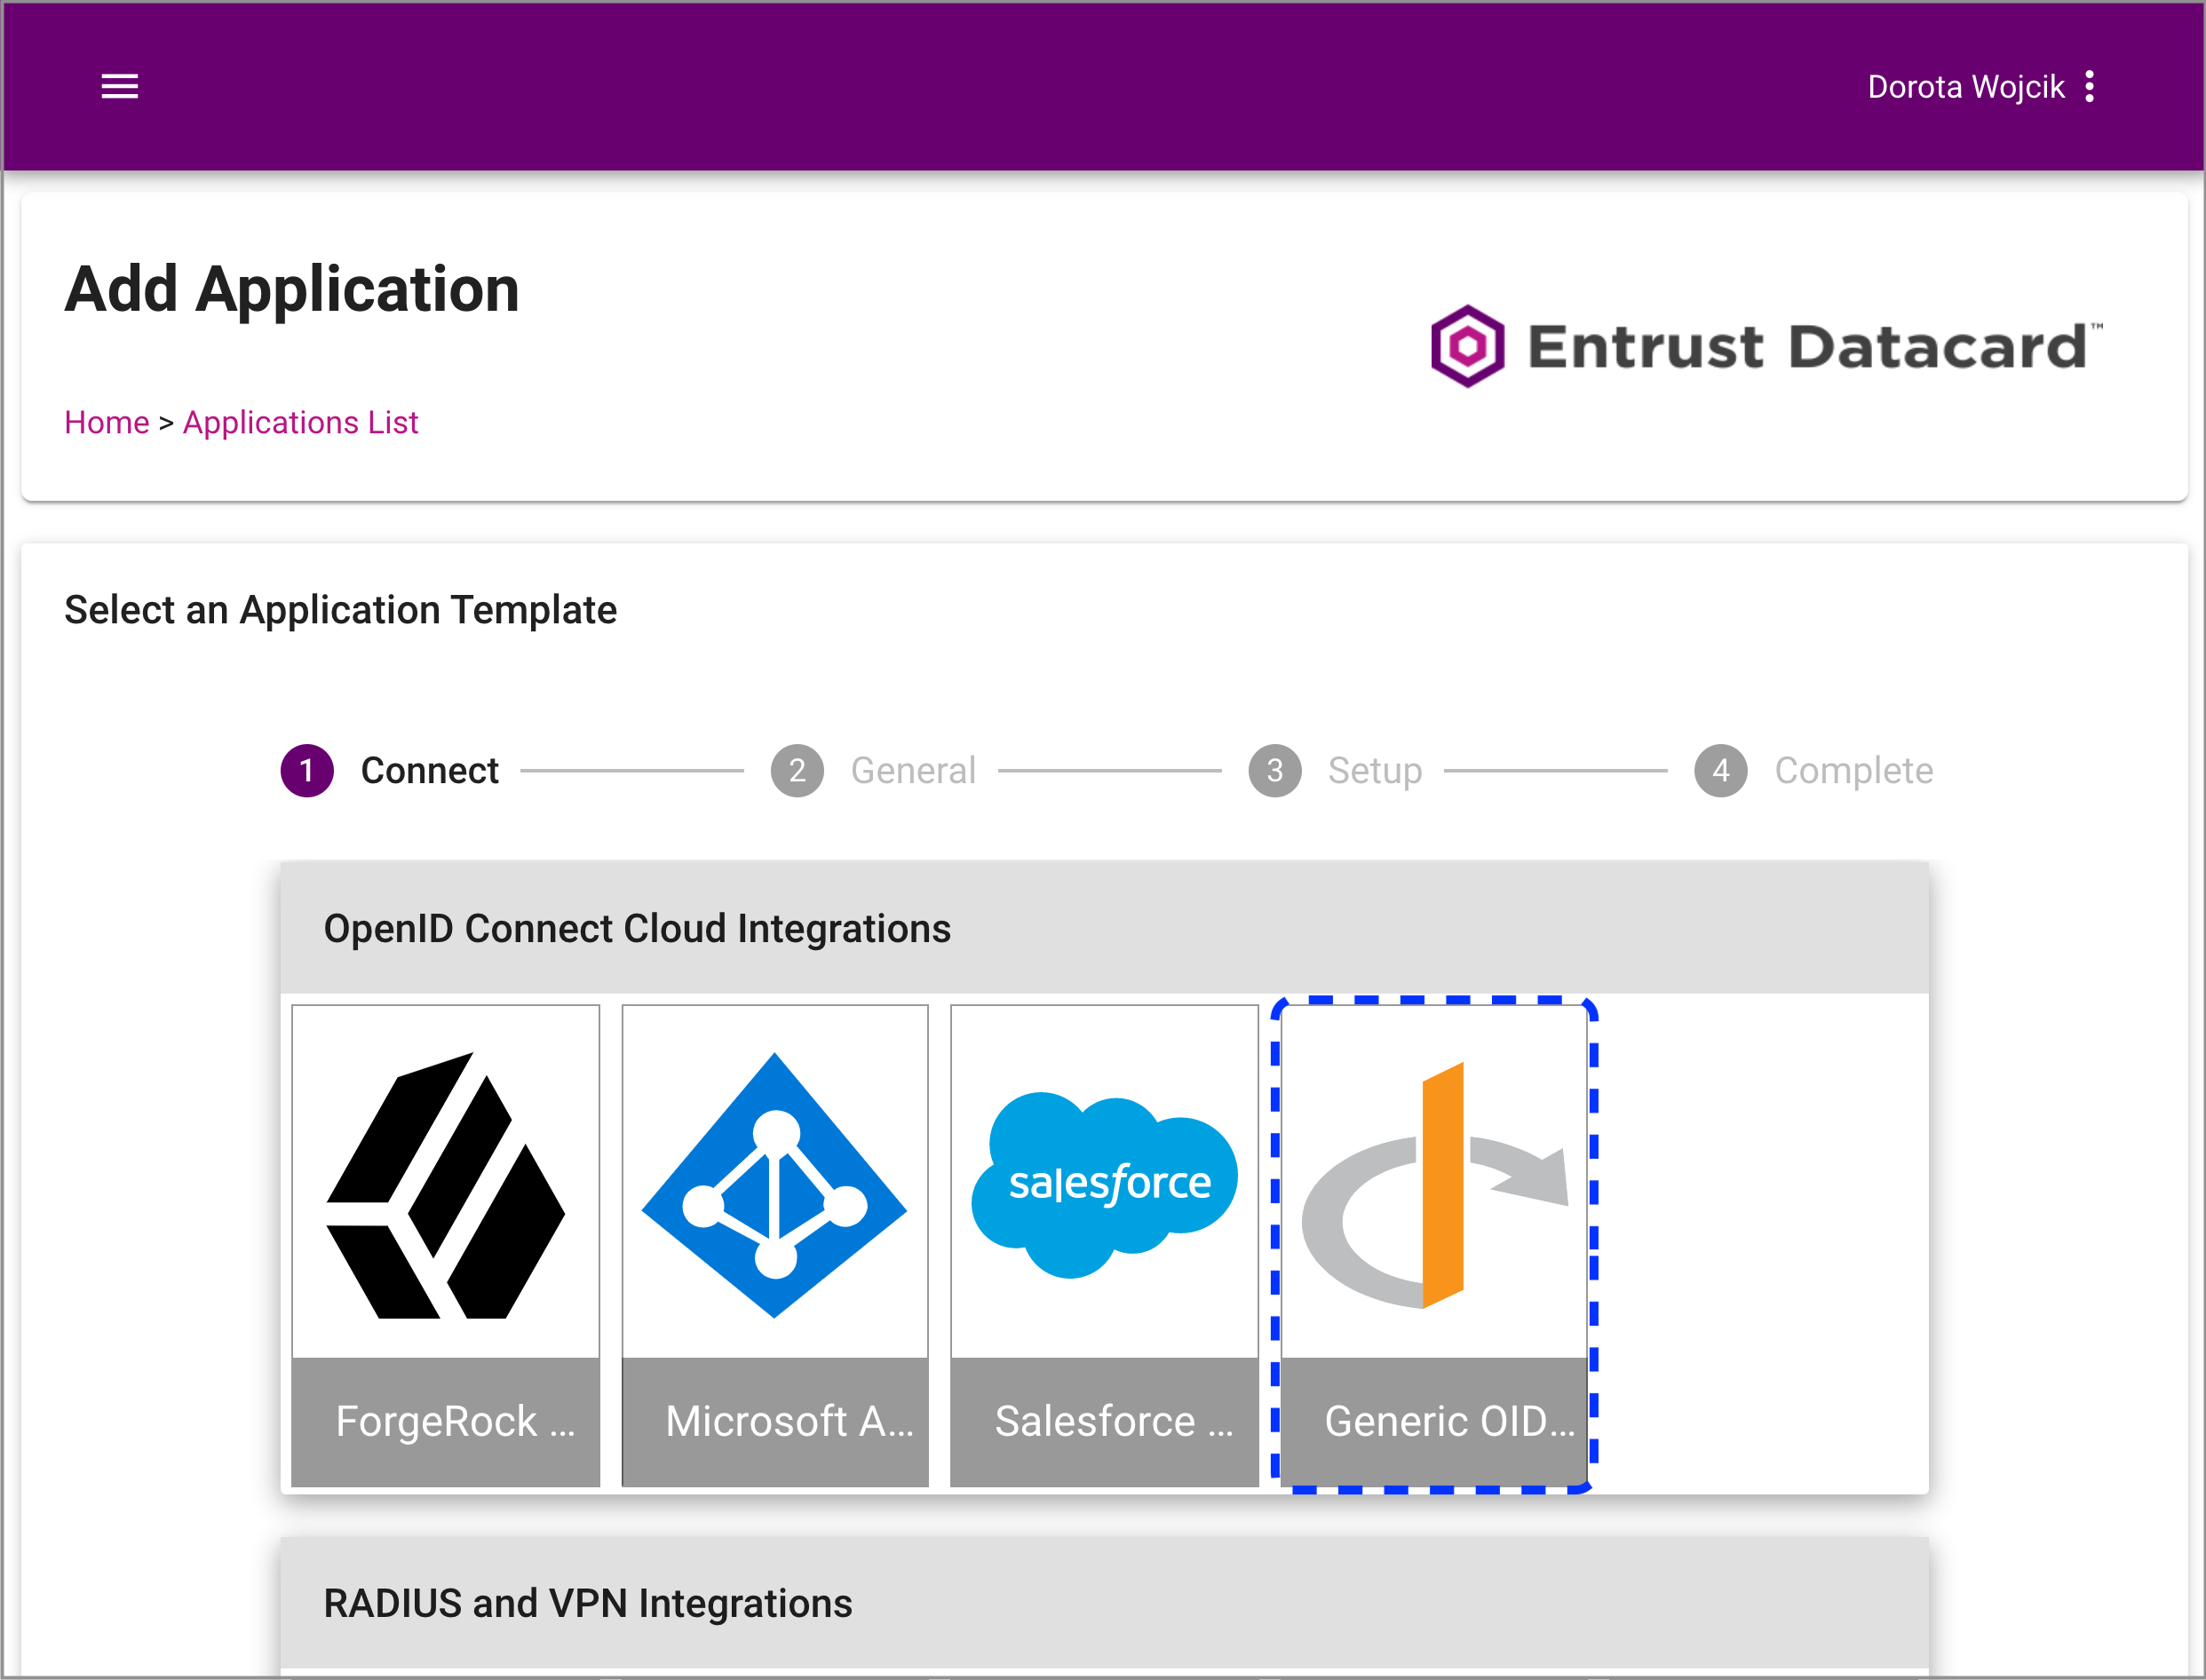
Select Generic OIDC Application as an application template.
-
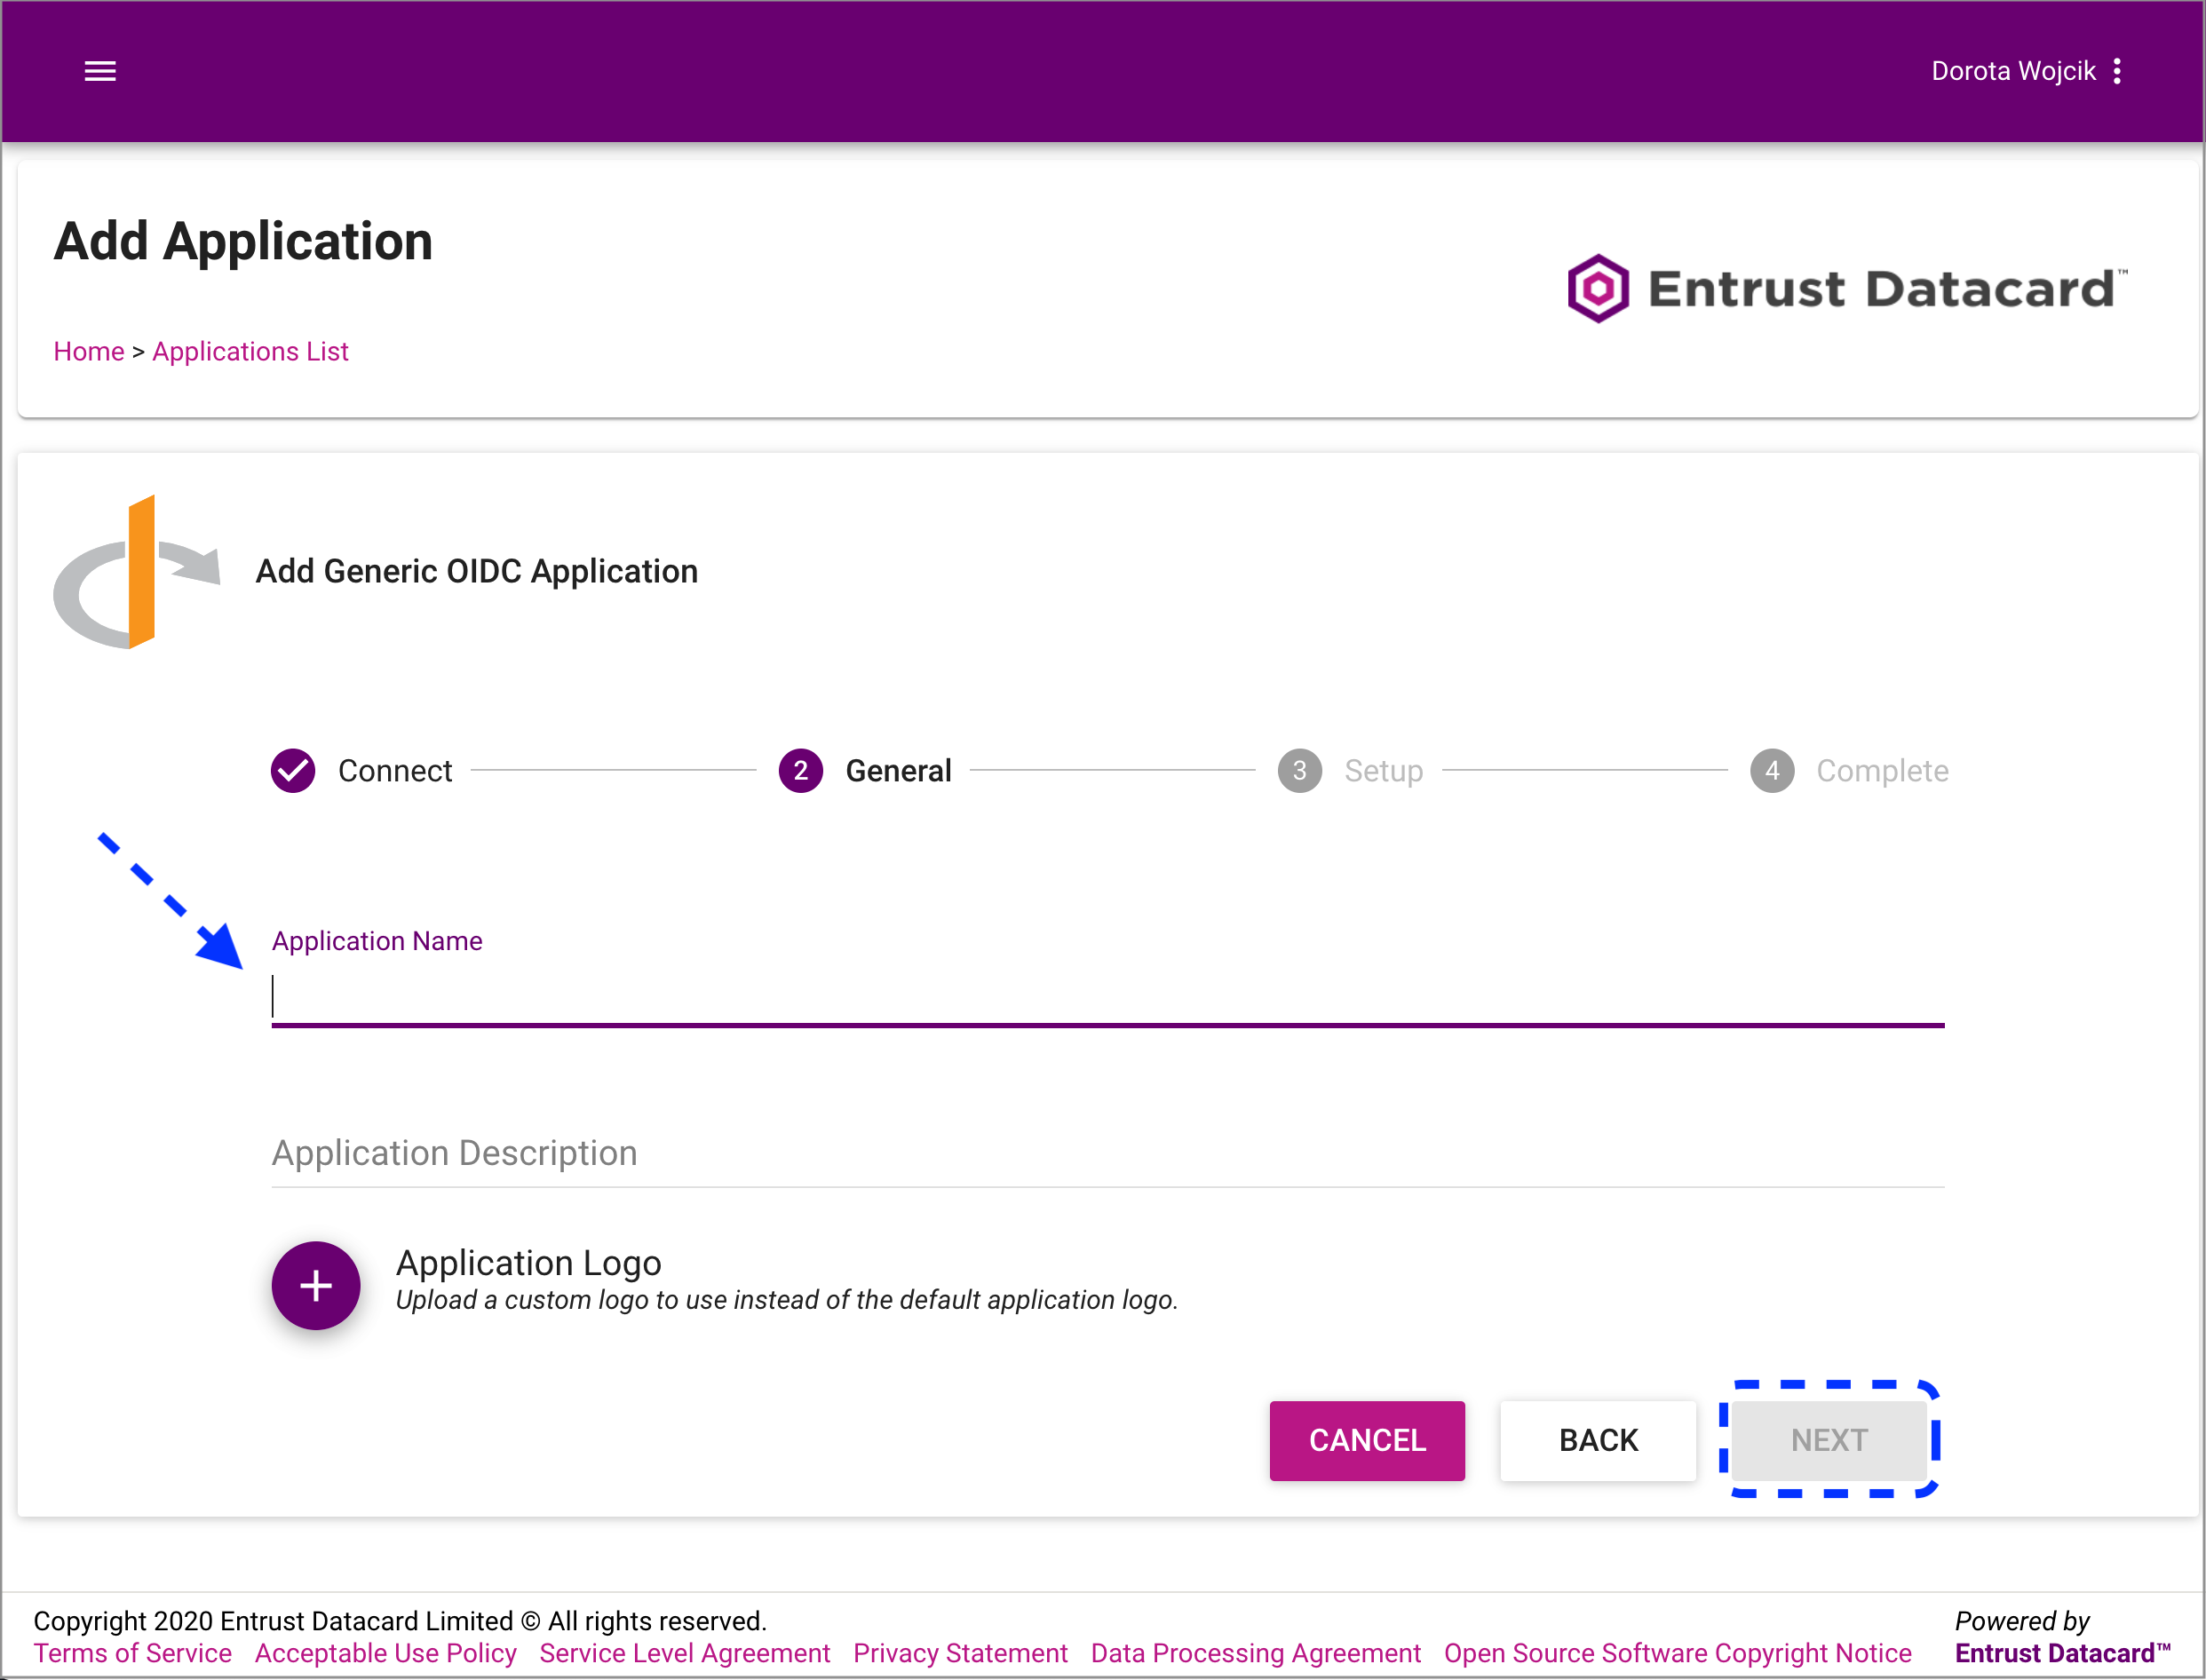
Enter a name for your application and select Next.
-
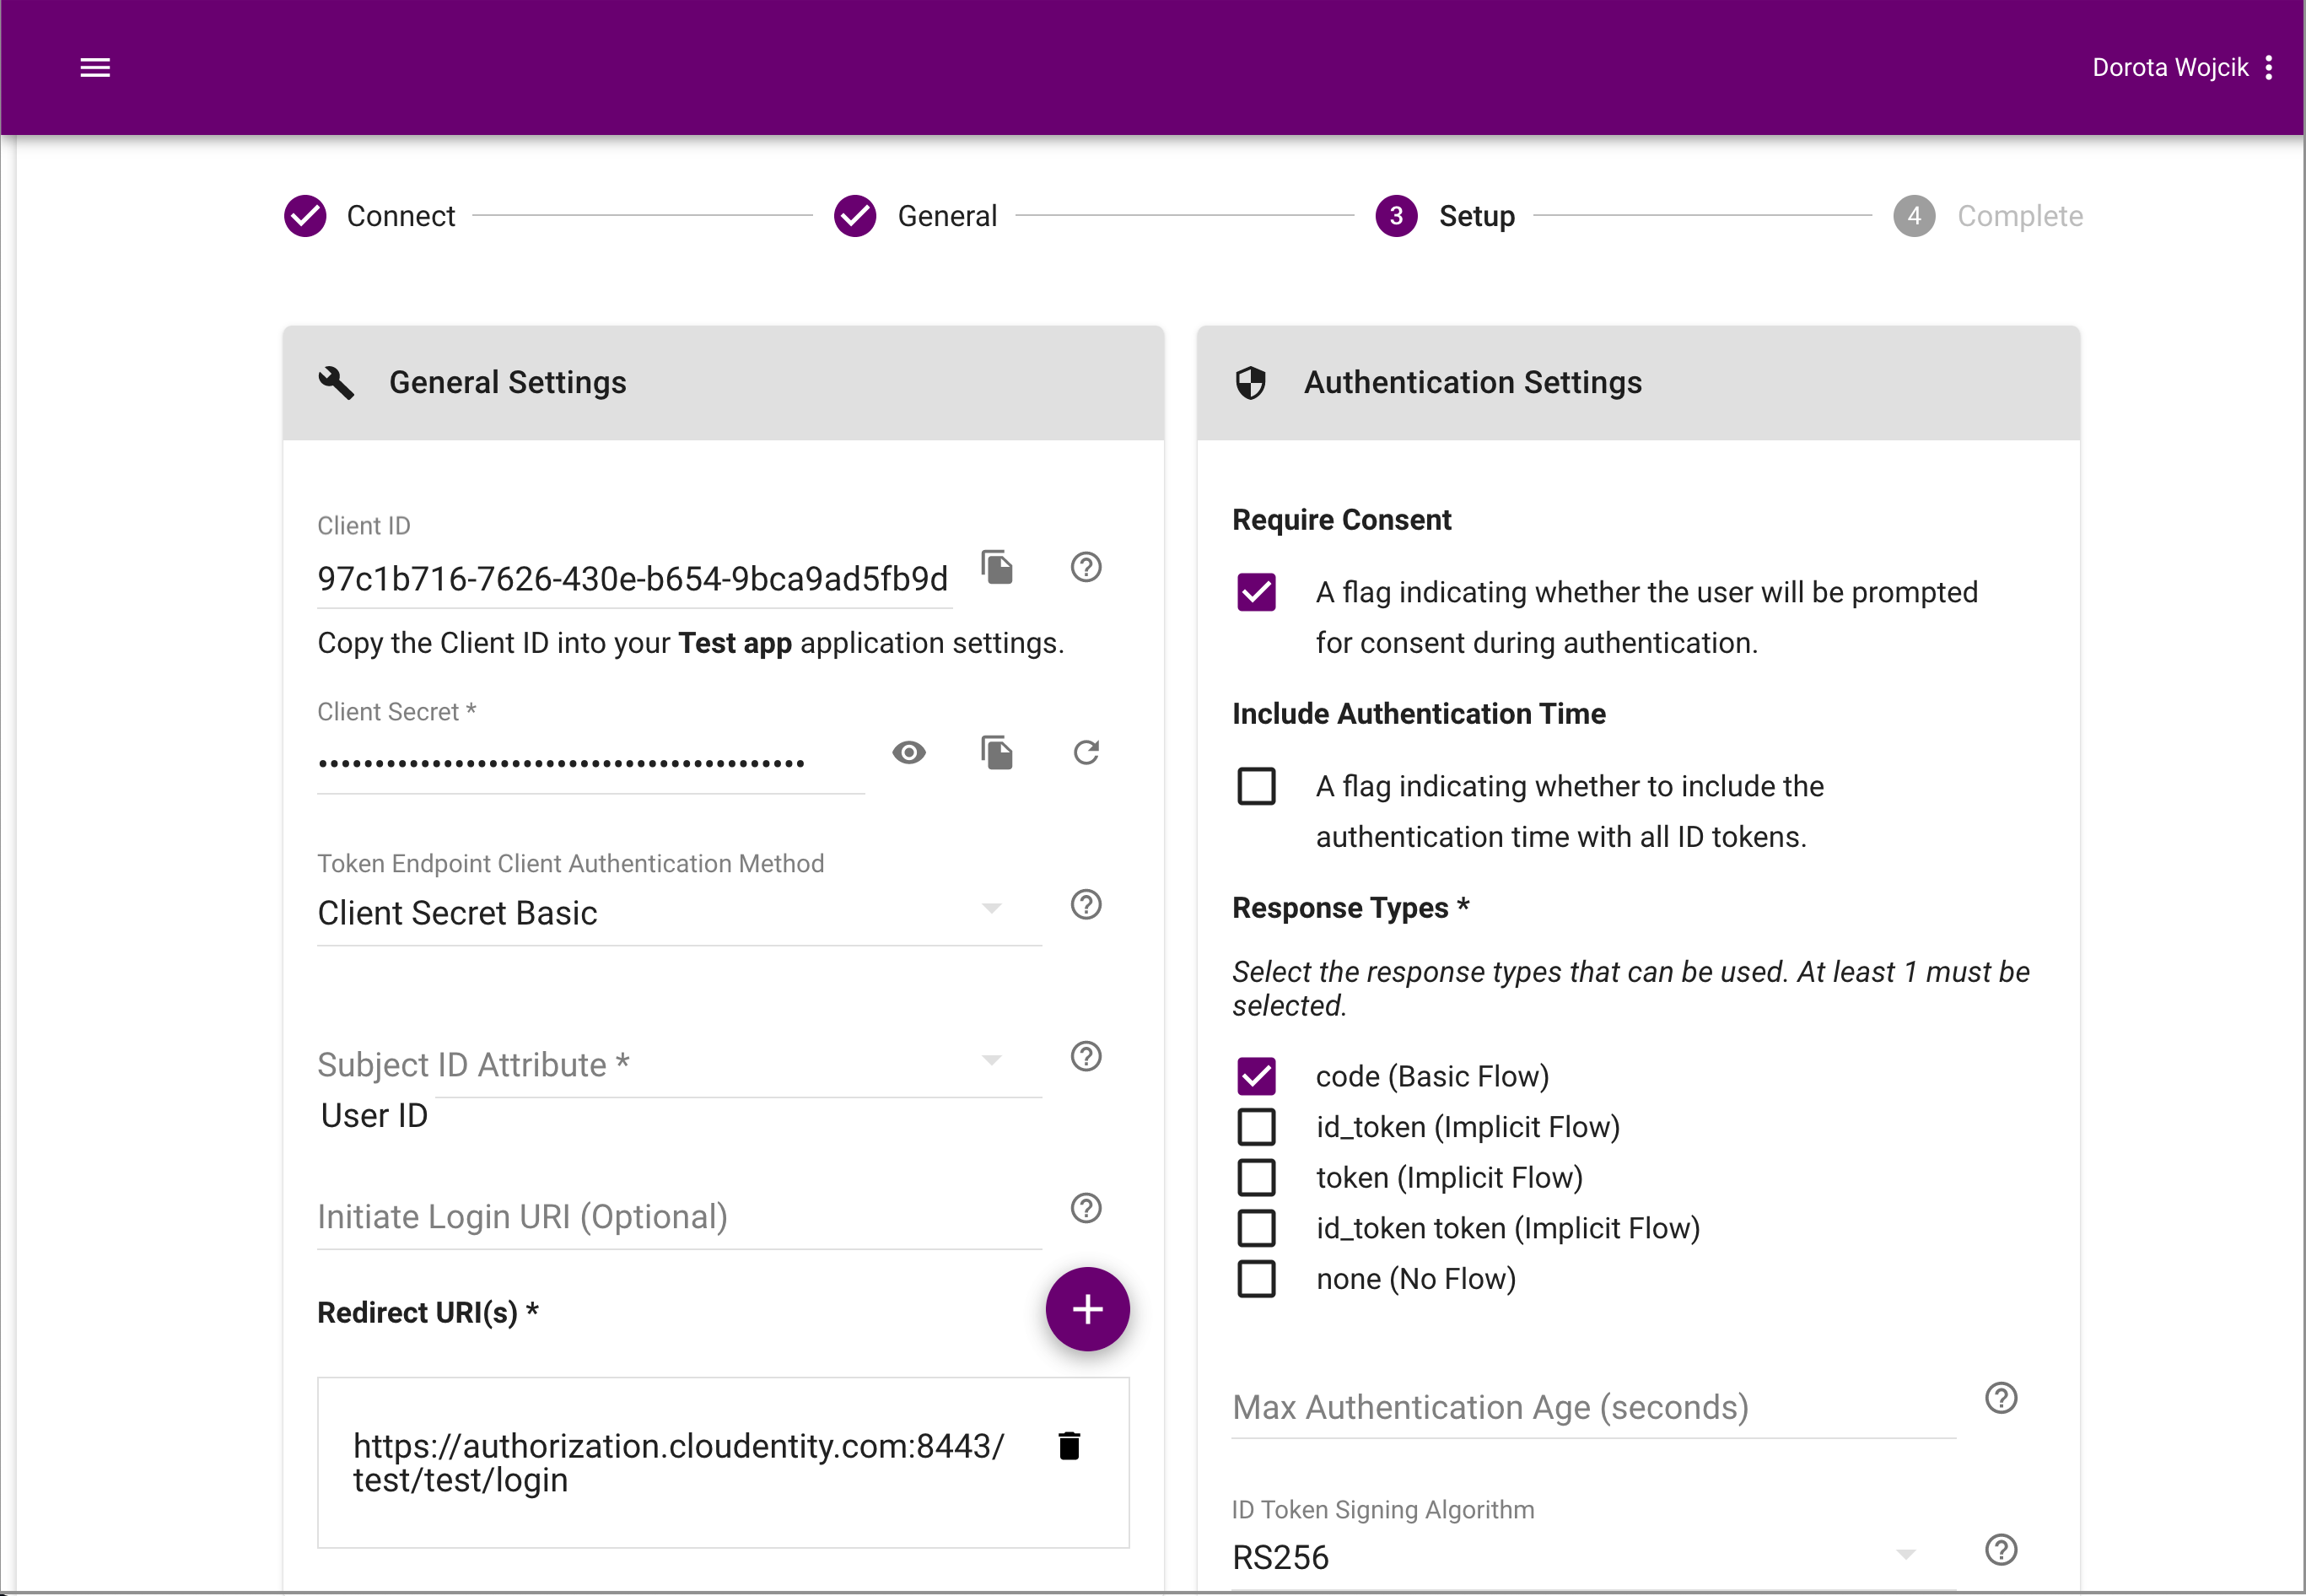
Configure General Settings and Authentication Settings for your application.
-
Set Subject ID Attribute to User ID.
-
Enable Require Consent.
-
Set Response Types to code (Basic Flow).
Redirect URL for your application
For the redirect URL, you need to proceed to the Connect IDP part now. Follow its steps until you get the redirect URL in steps 3-4. Use the redirect URL provided to create your application.
-
-
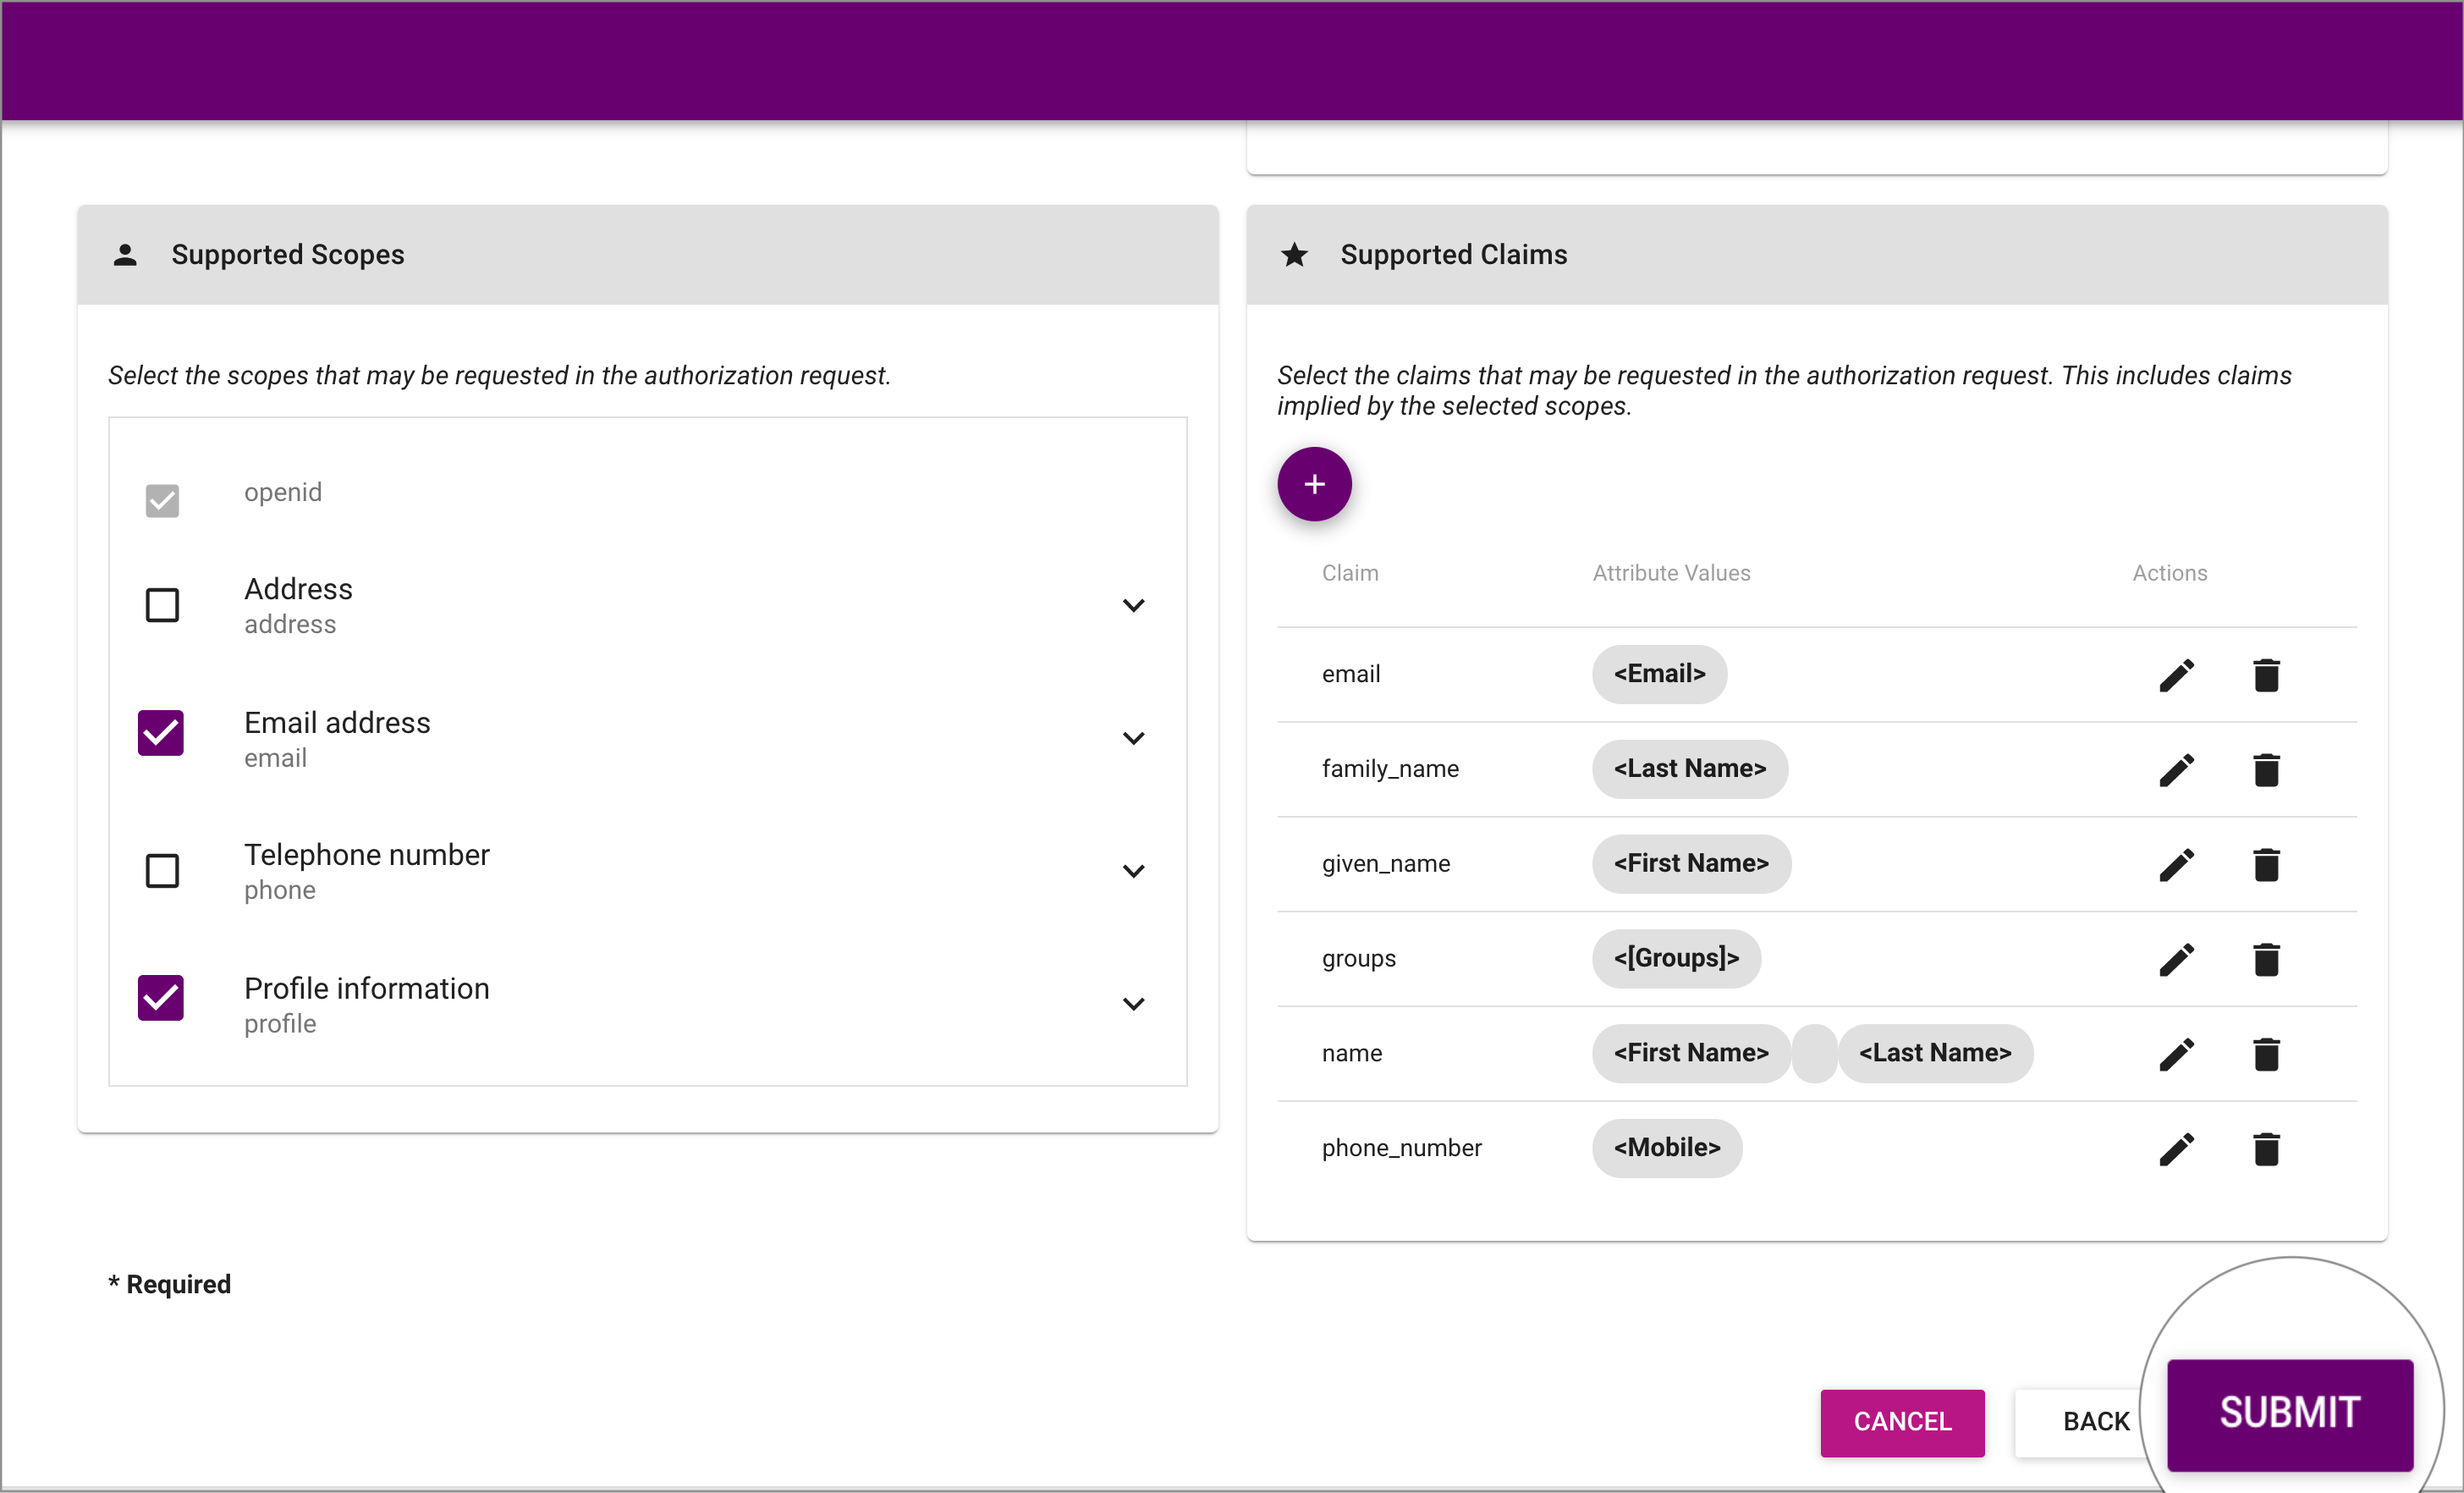
Move on to the Supported Scopes section and enable scopes: openid, email, and profile.
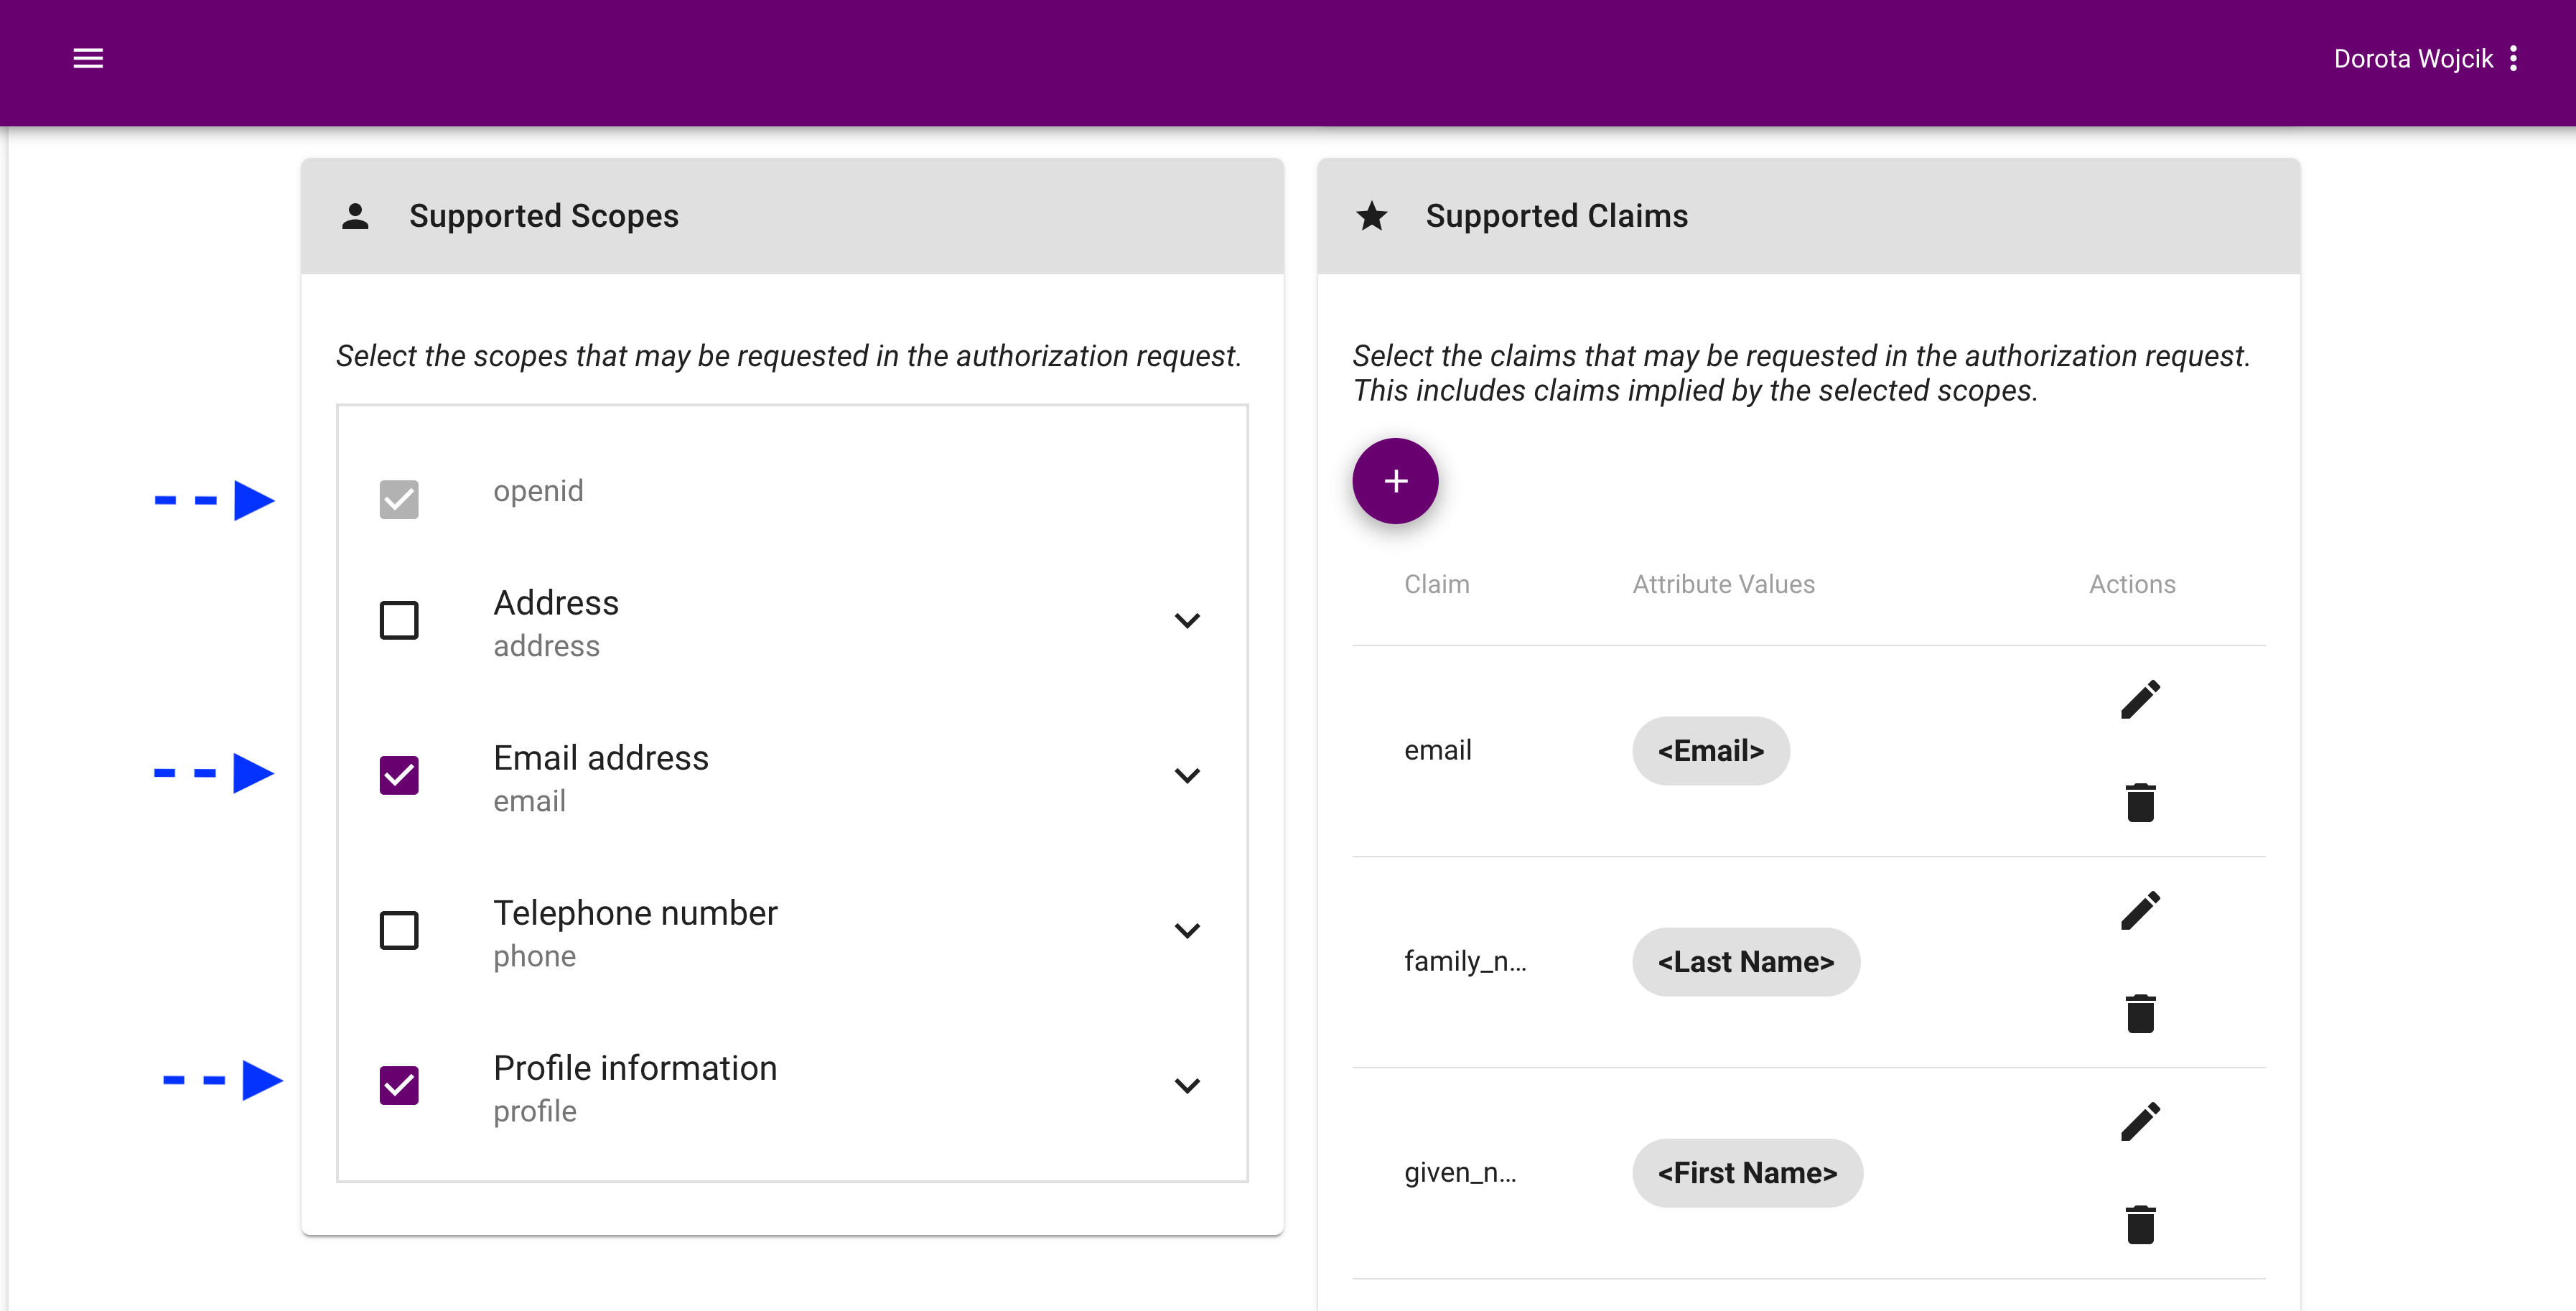
-
Optionally, configure Supported Claims for your application.
Note
You need to add the groups claim if you want to enable the Fetch groups option for your IDP in the ACP administrator portal (see step 4 in Advanced settings).
-
Select the + icon to add a new claim.
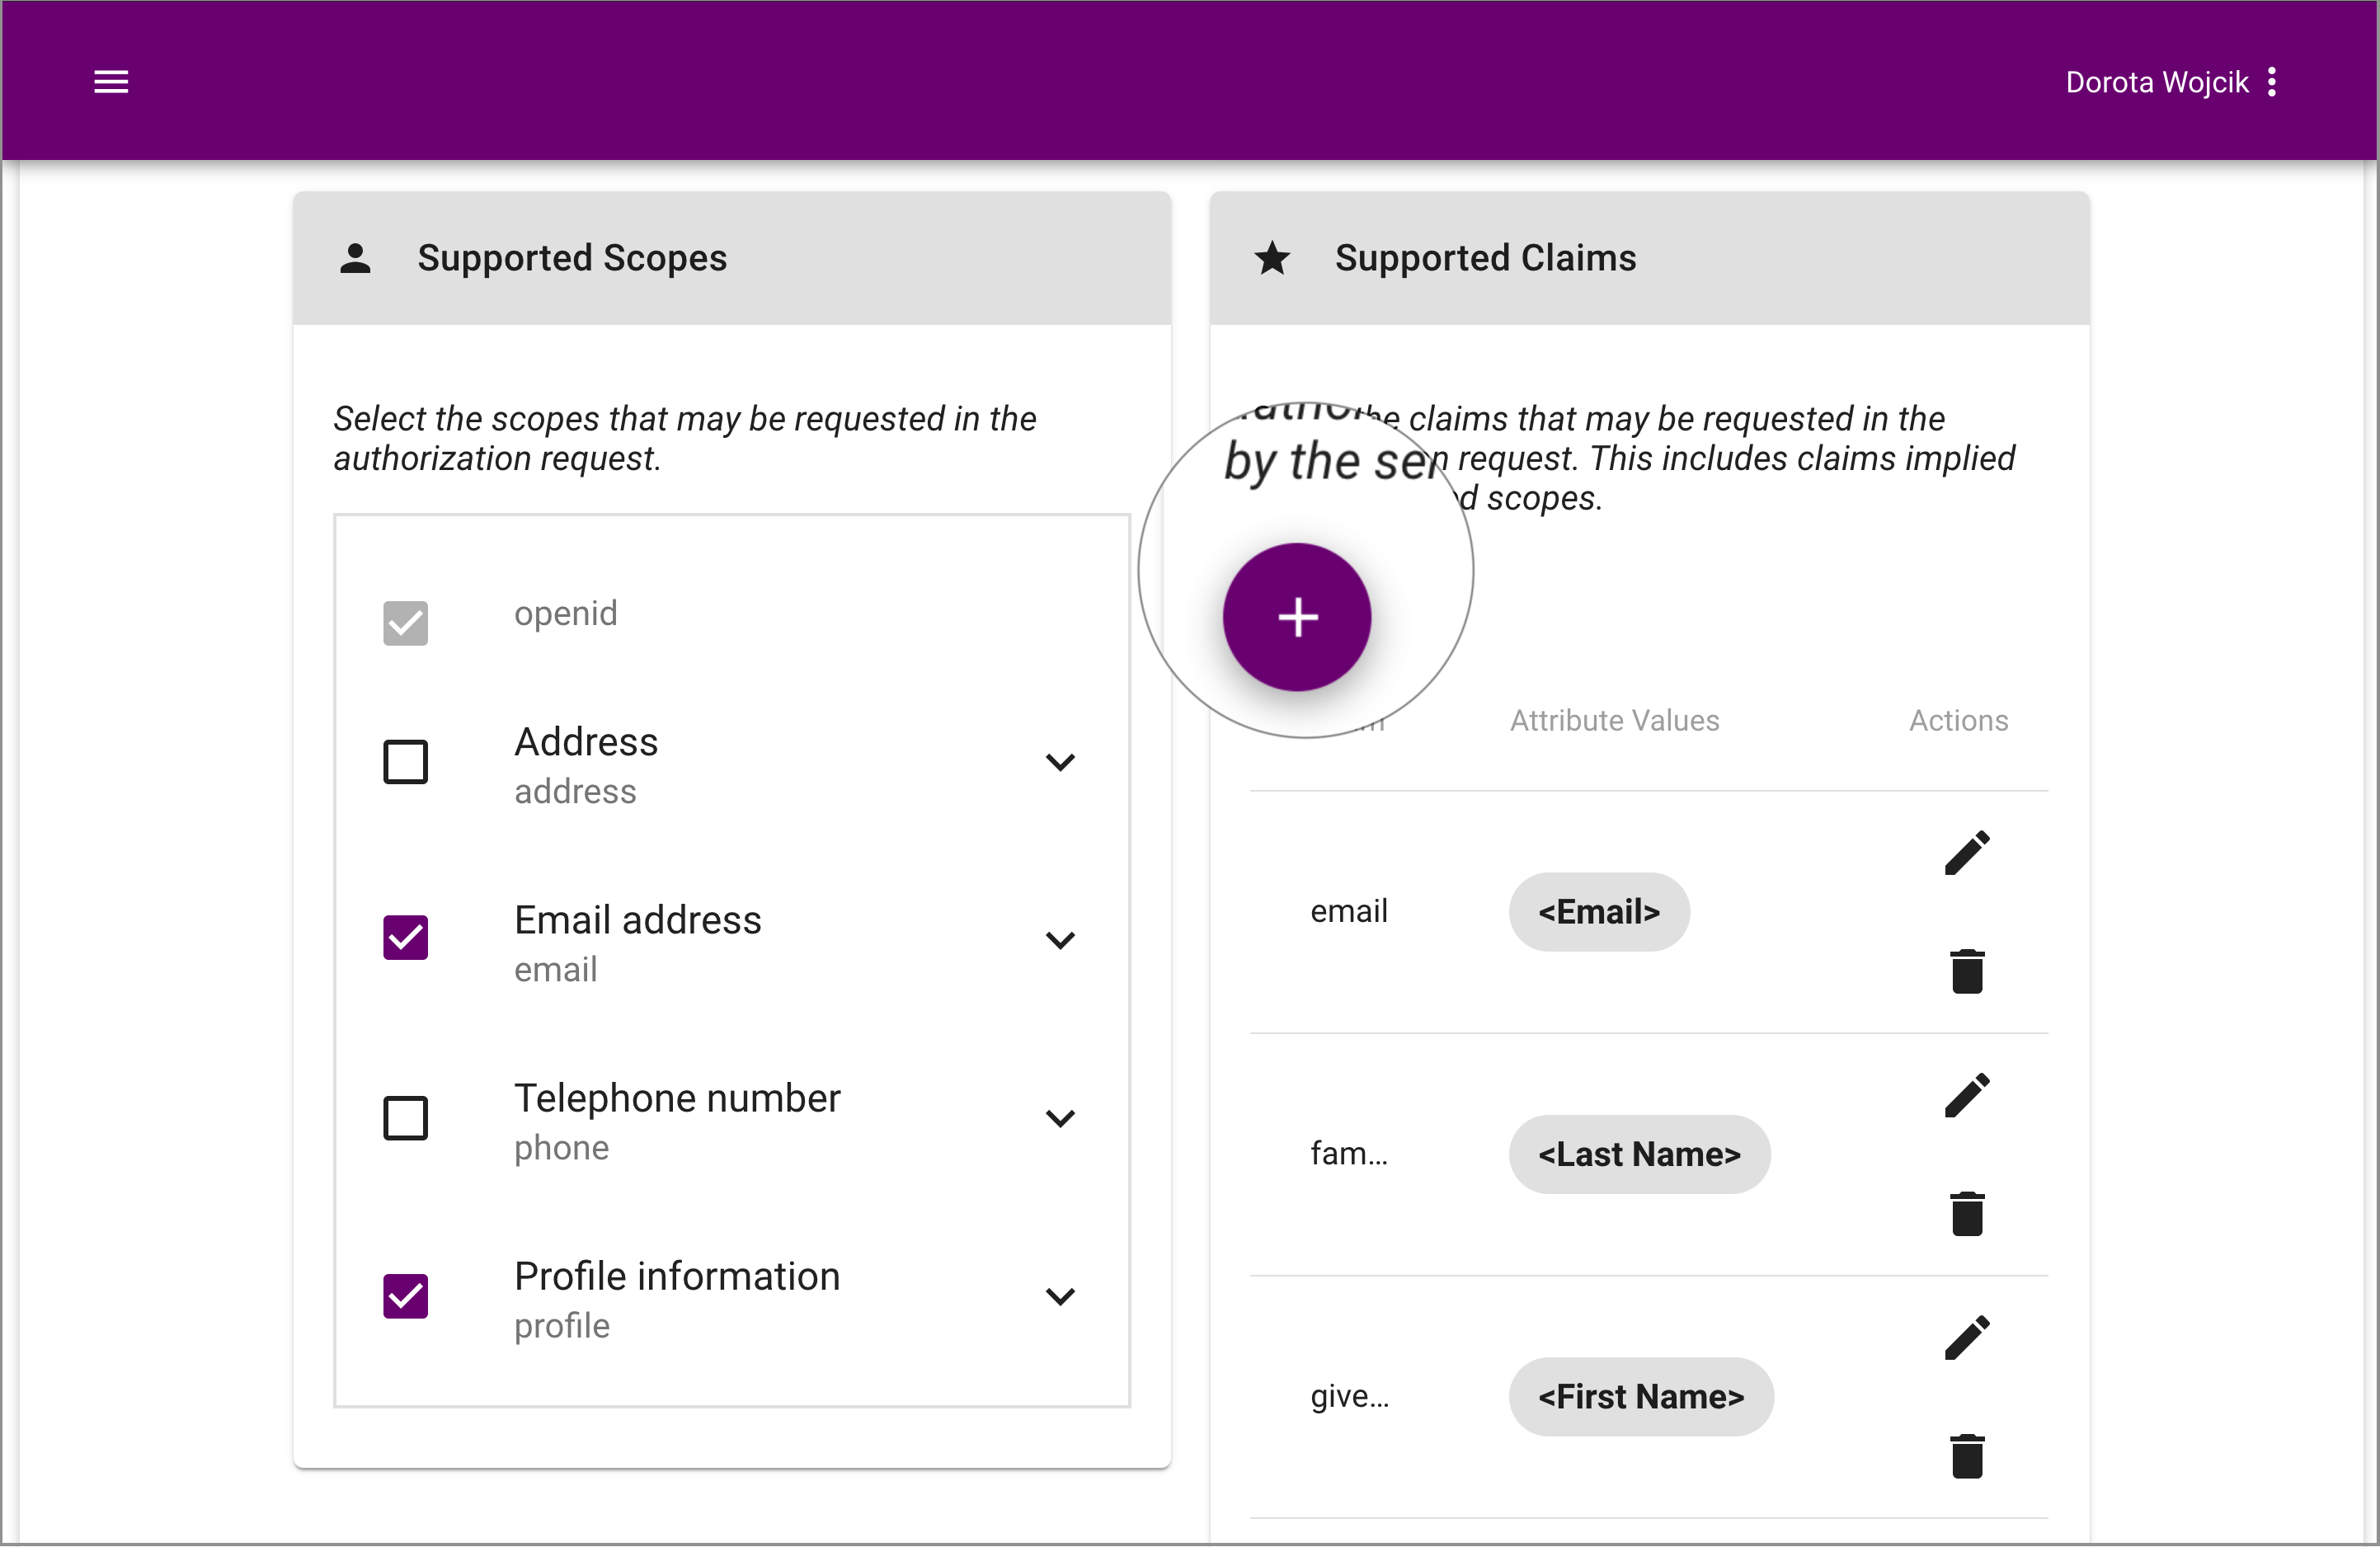
-
In the Add Claim popup window
-
Select groups.

-
Set Association Type to User Related Value.
-
Set Association Value to [Groups].
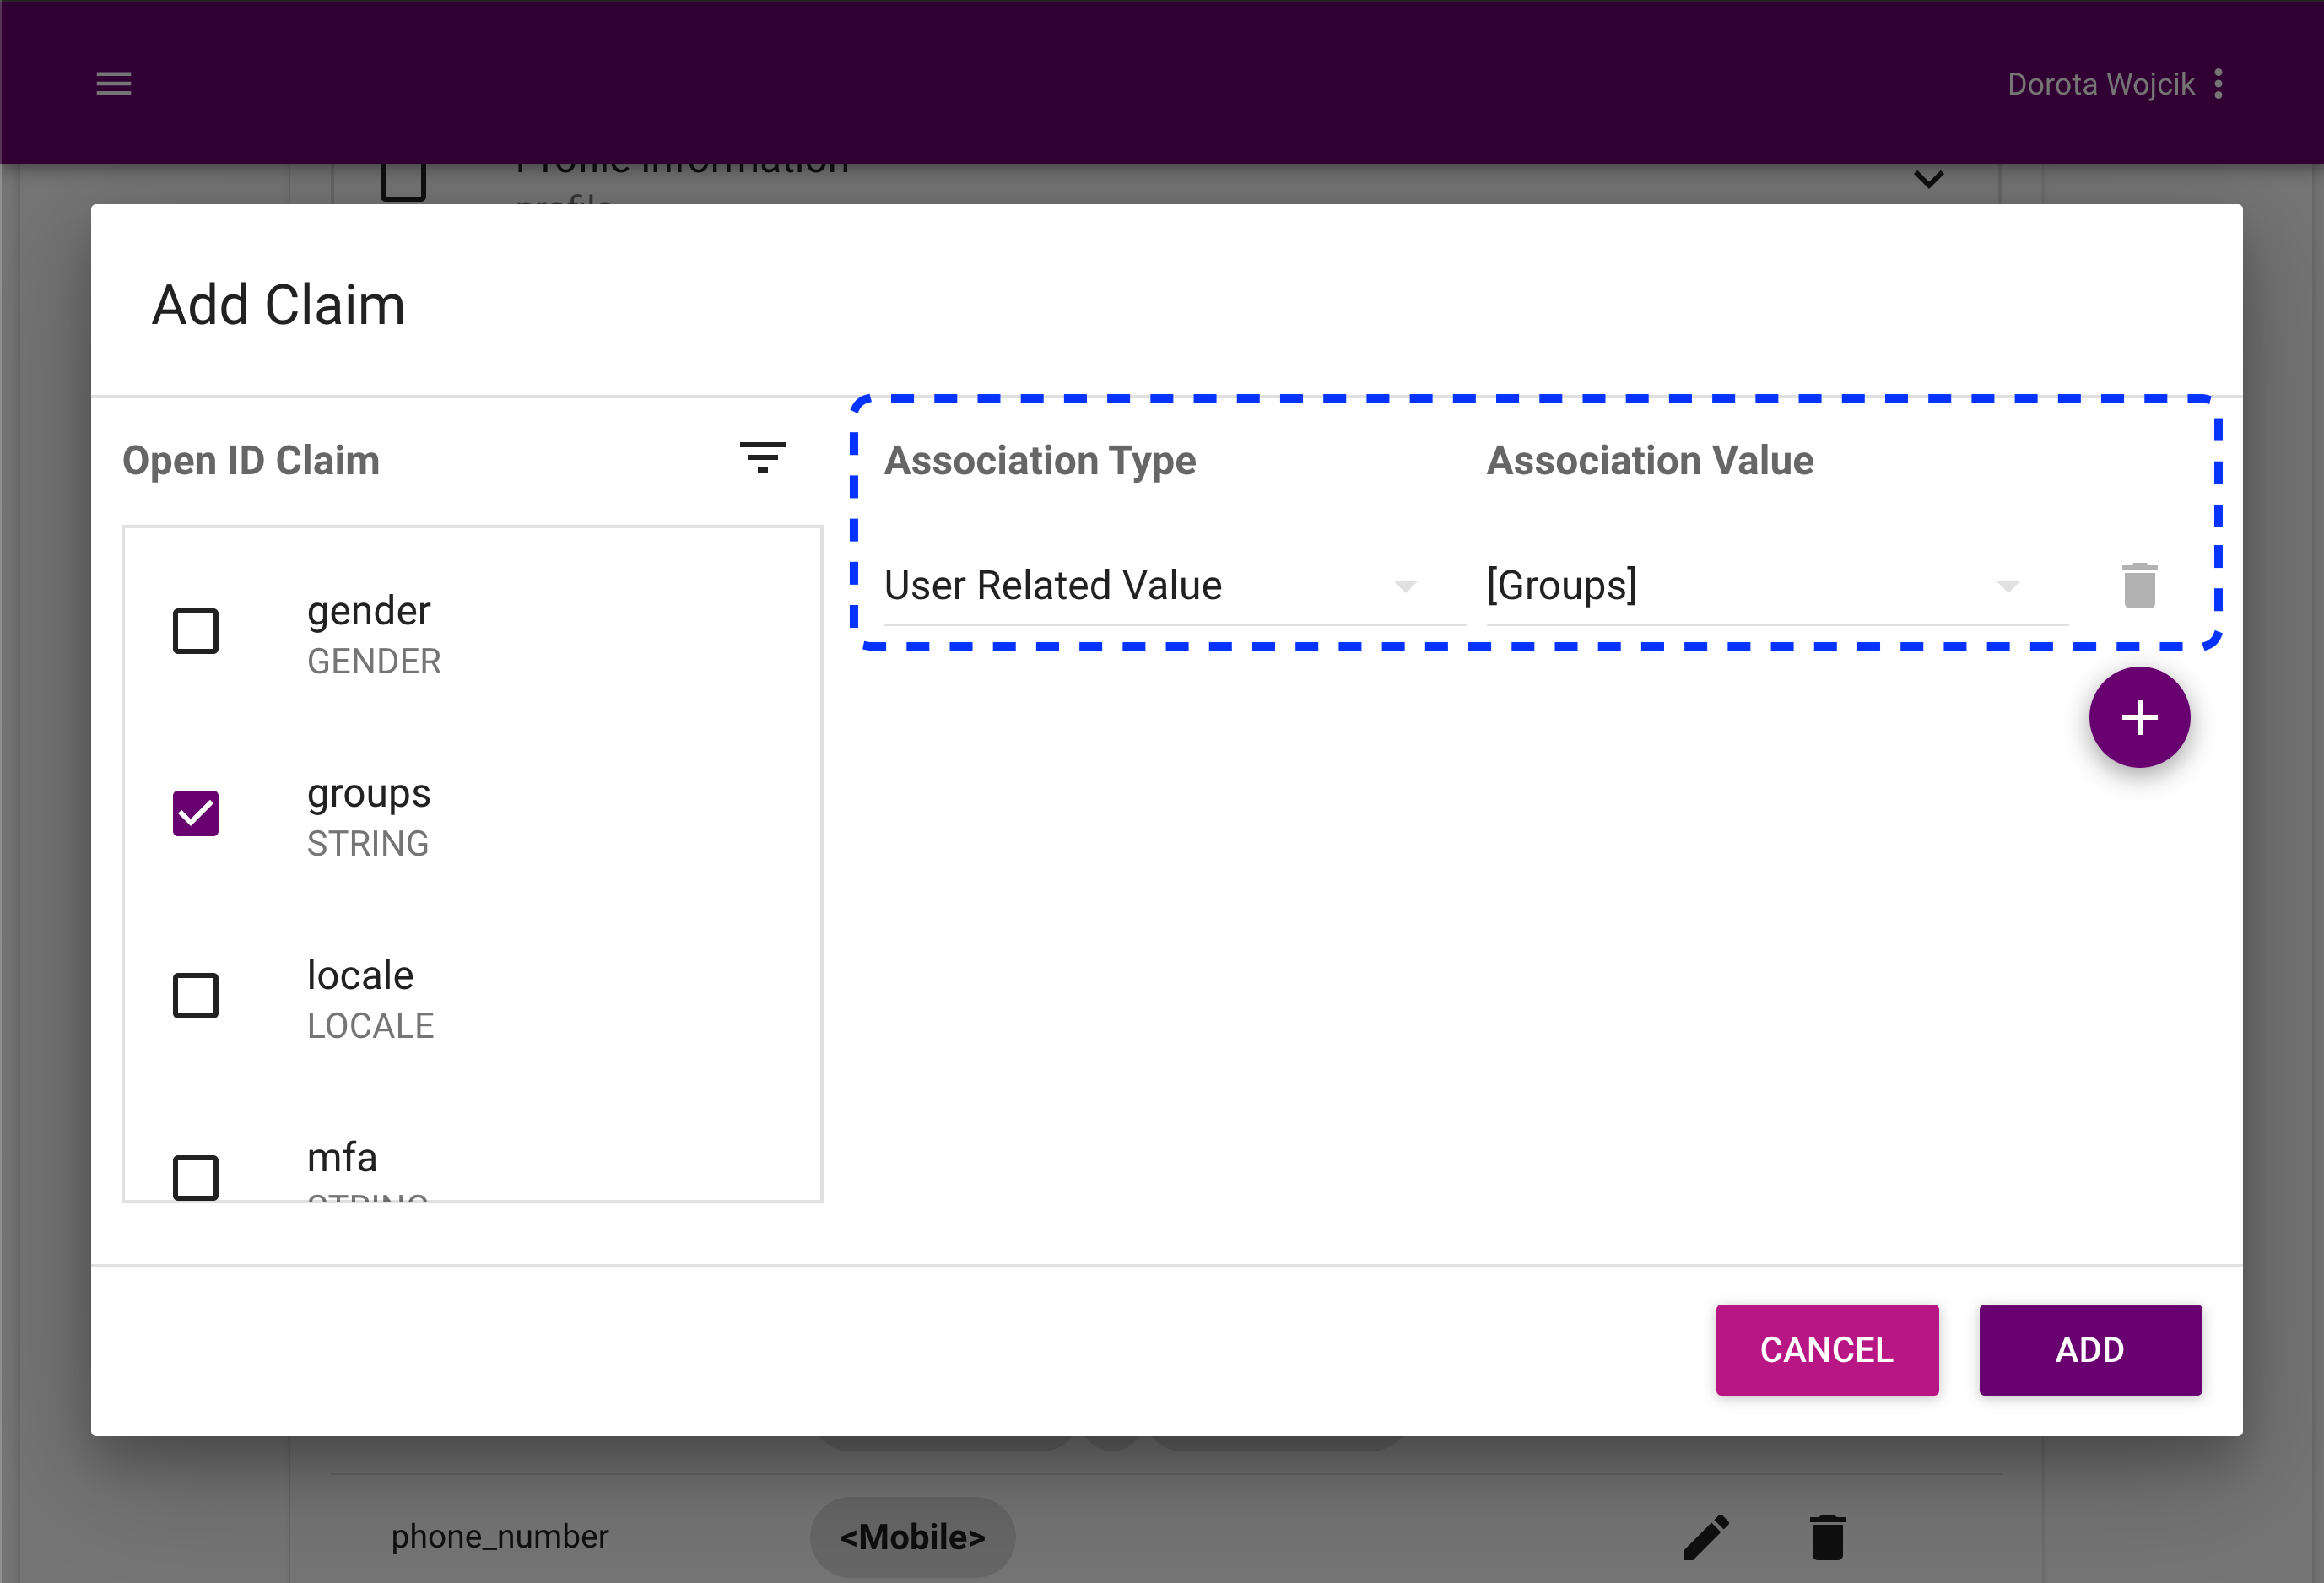
-
Select Add.
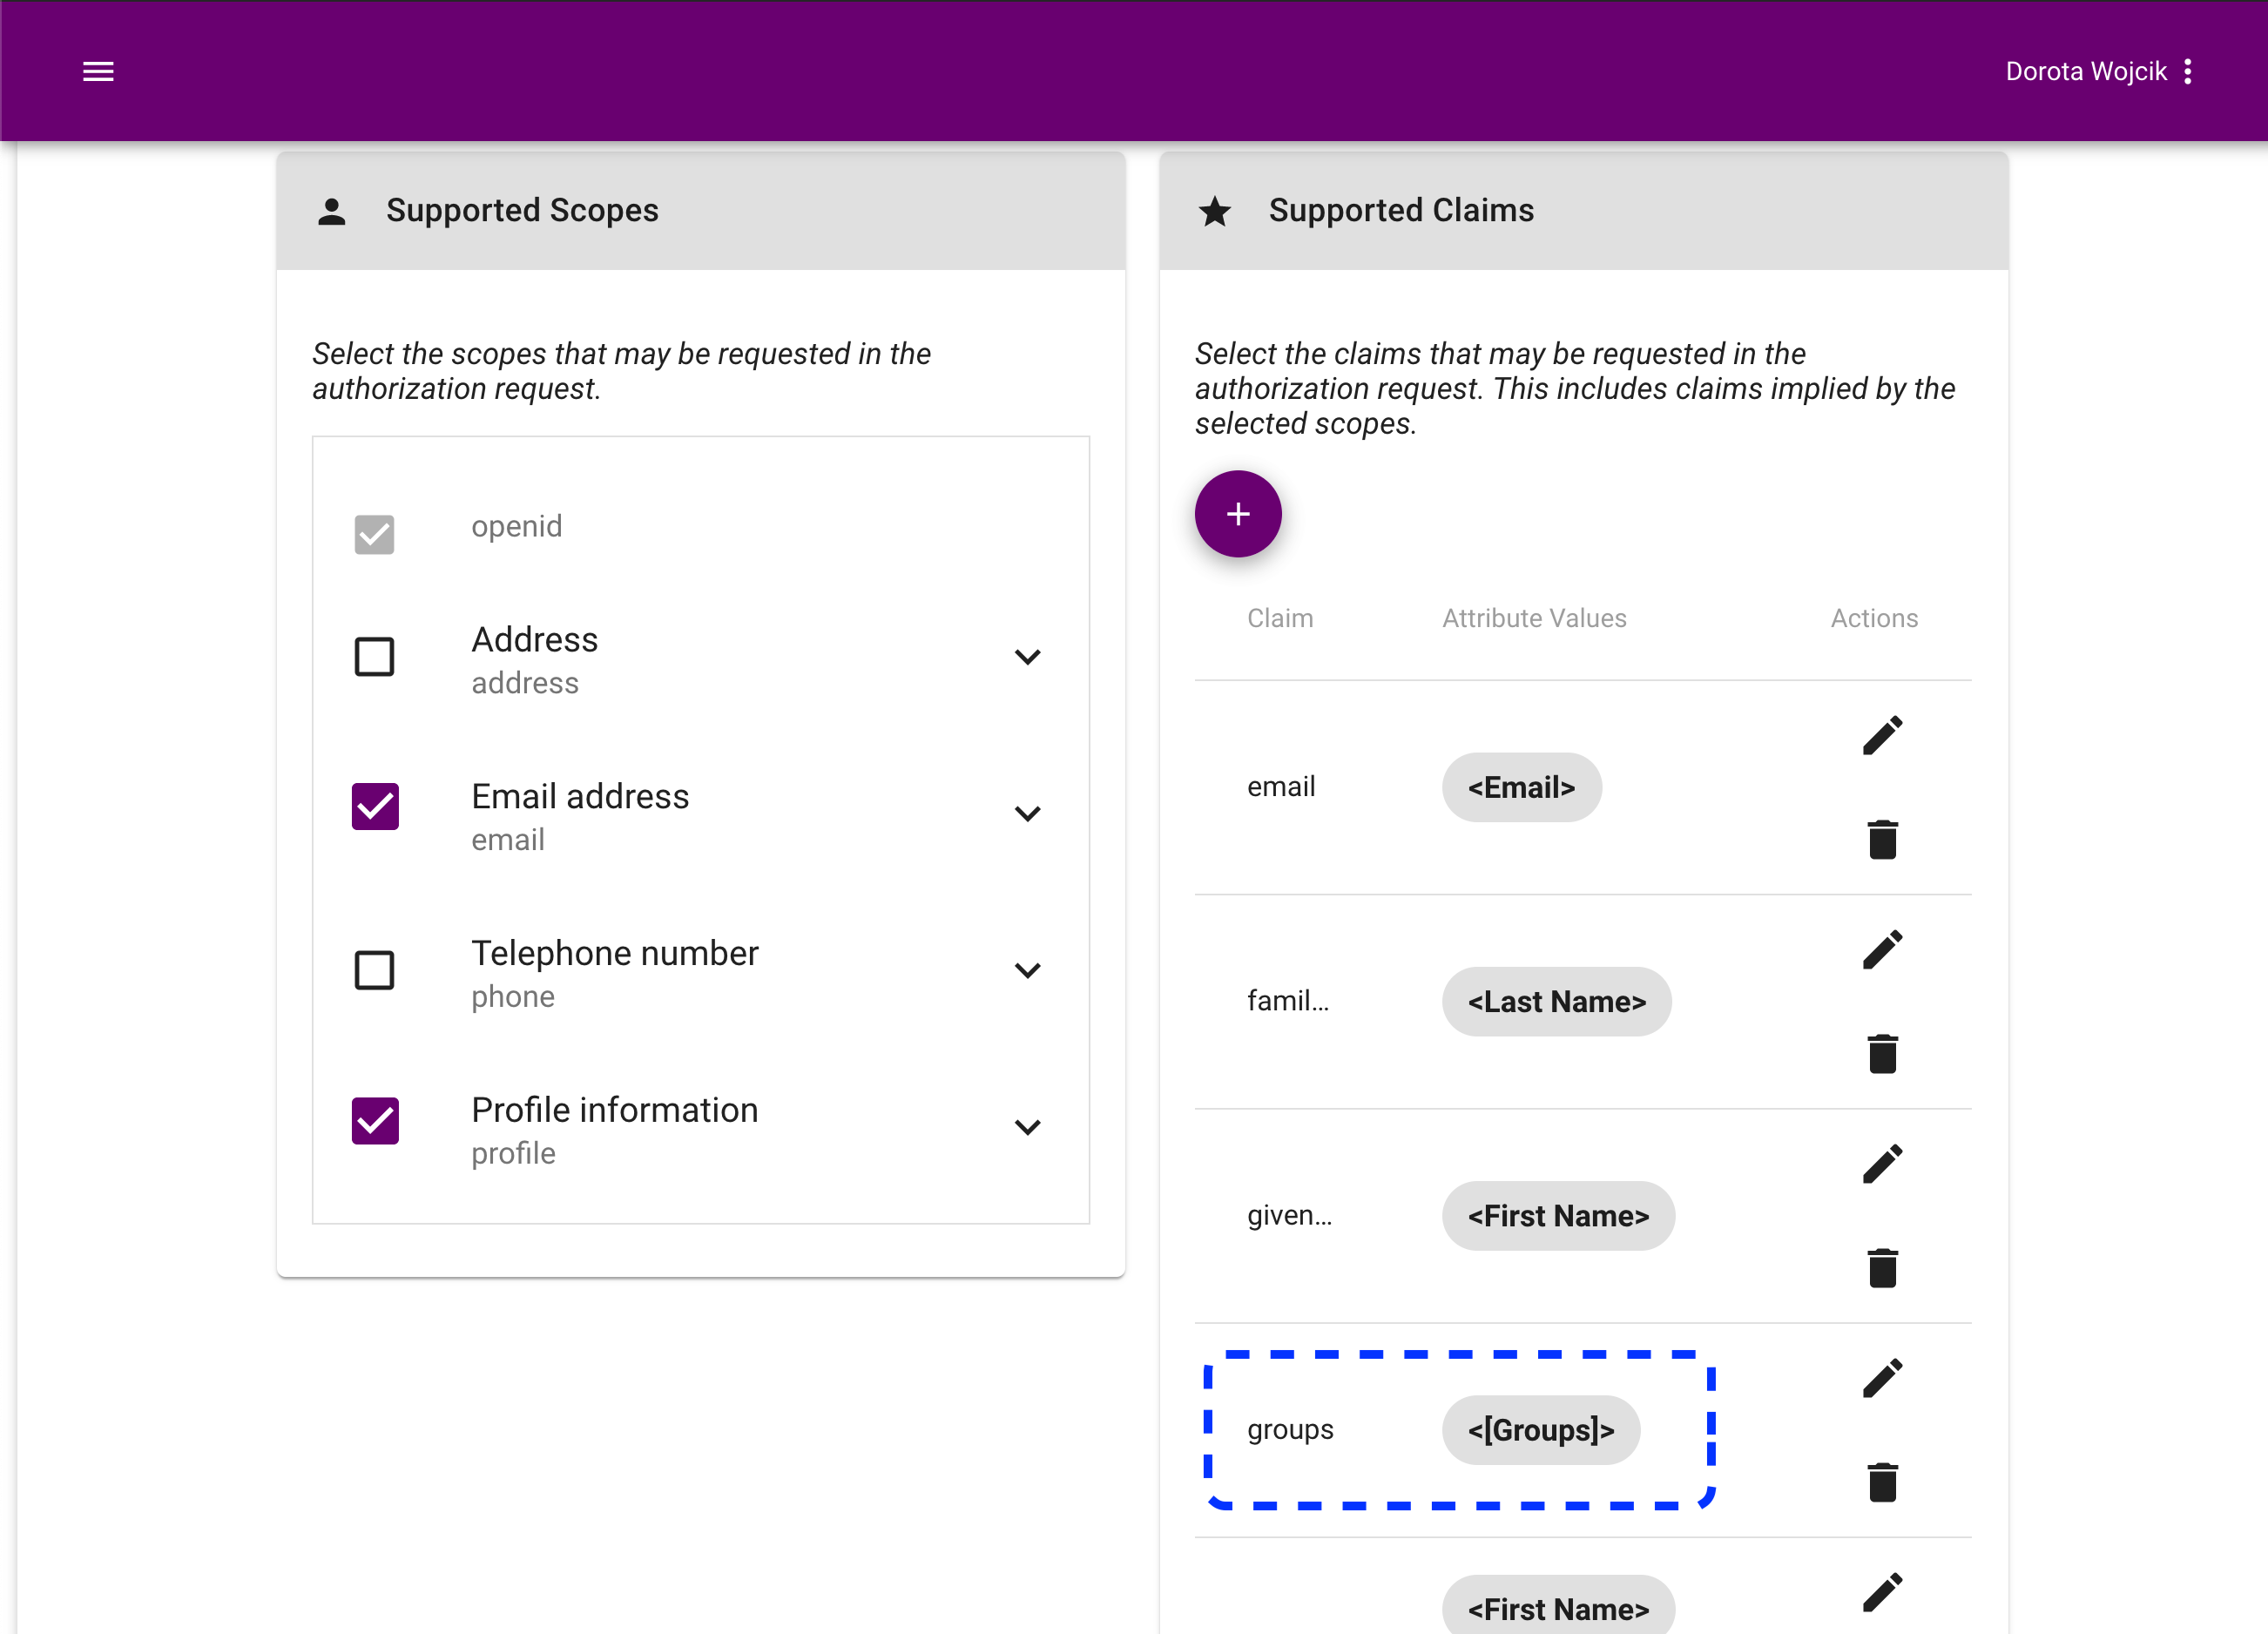
Result
Your claim is ready.
-
-
-
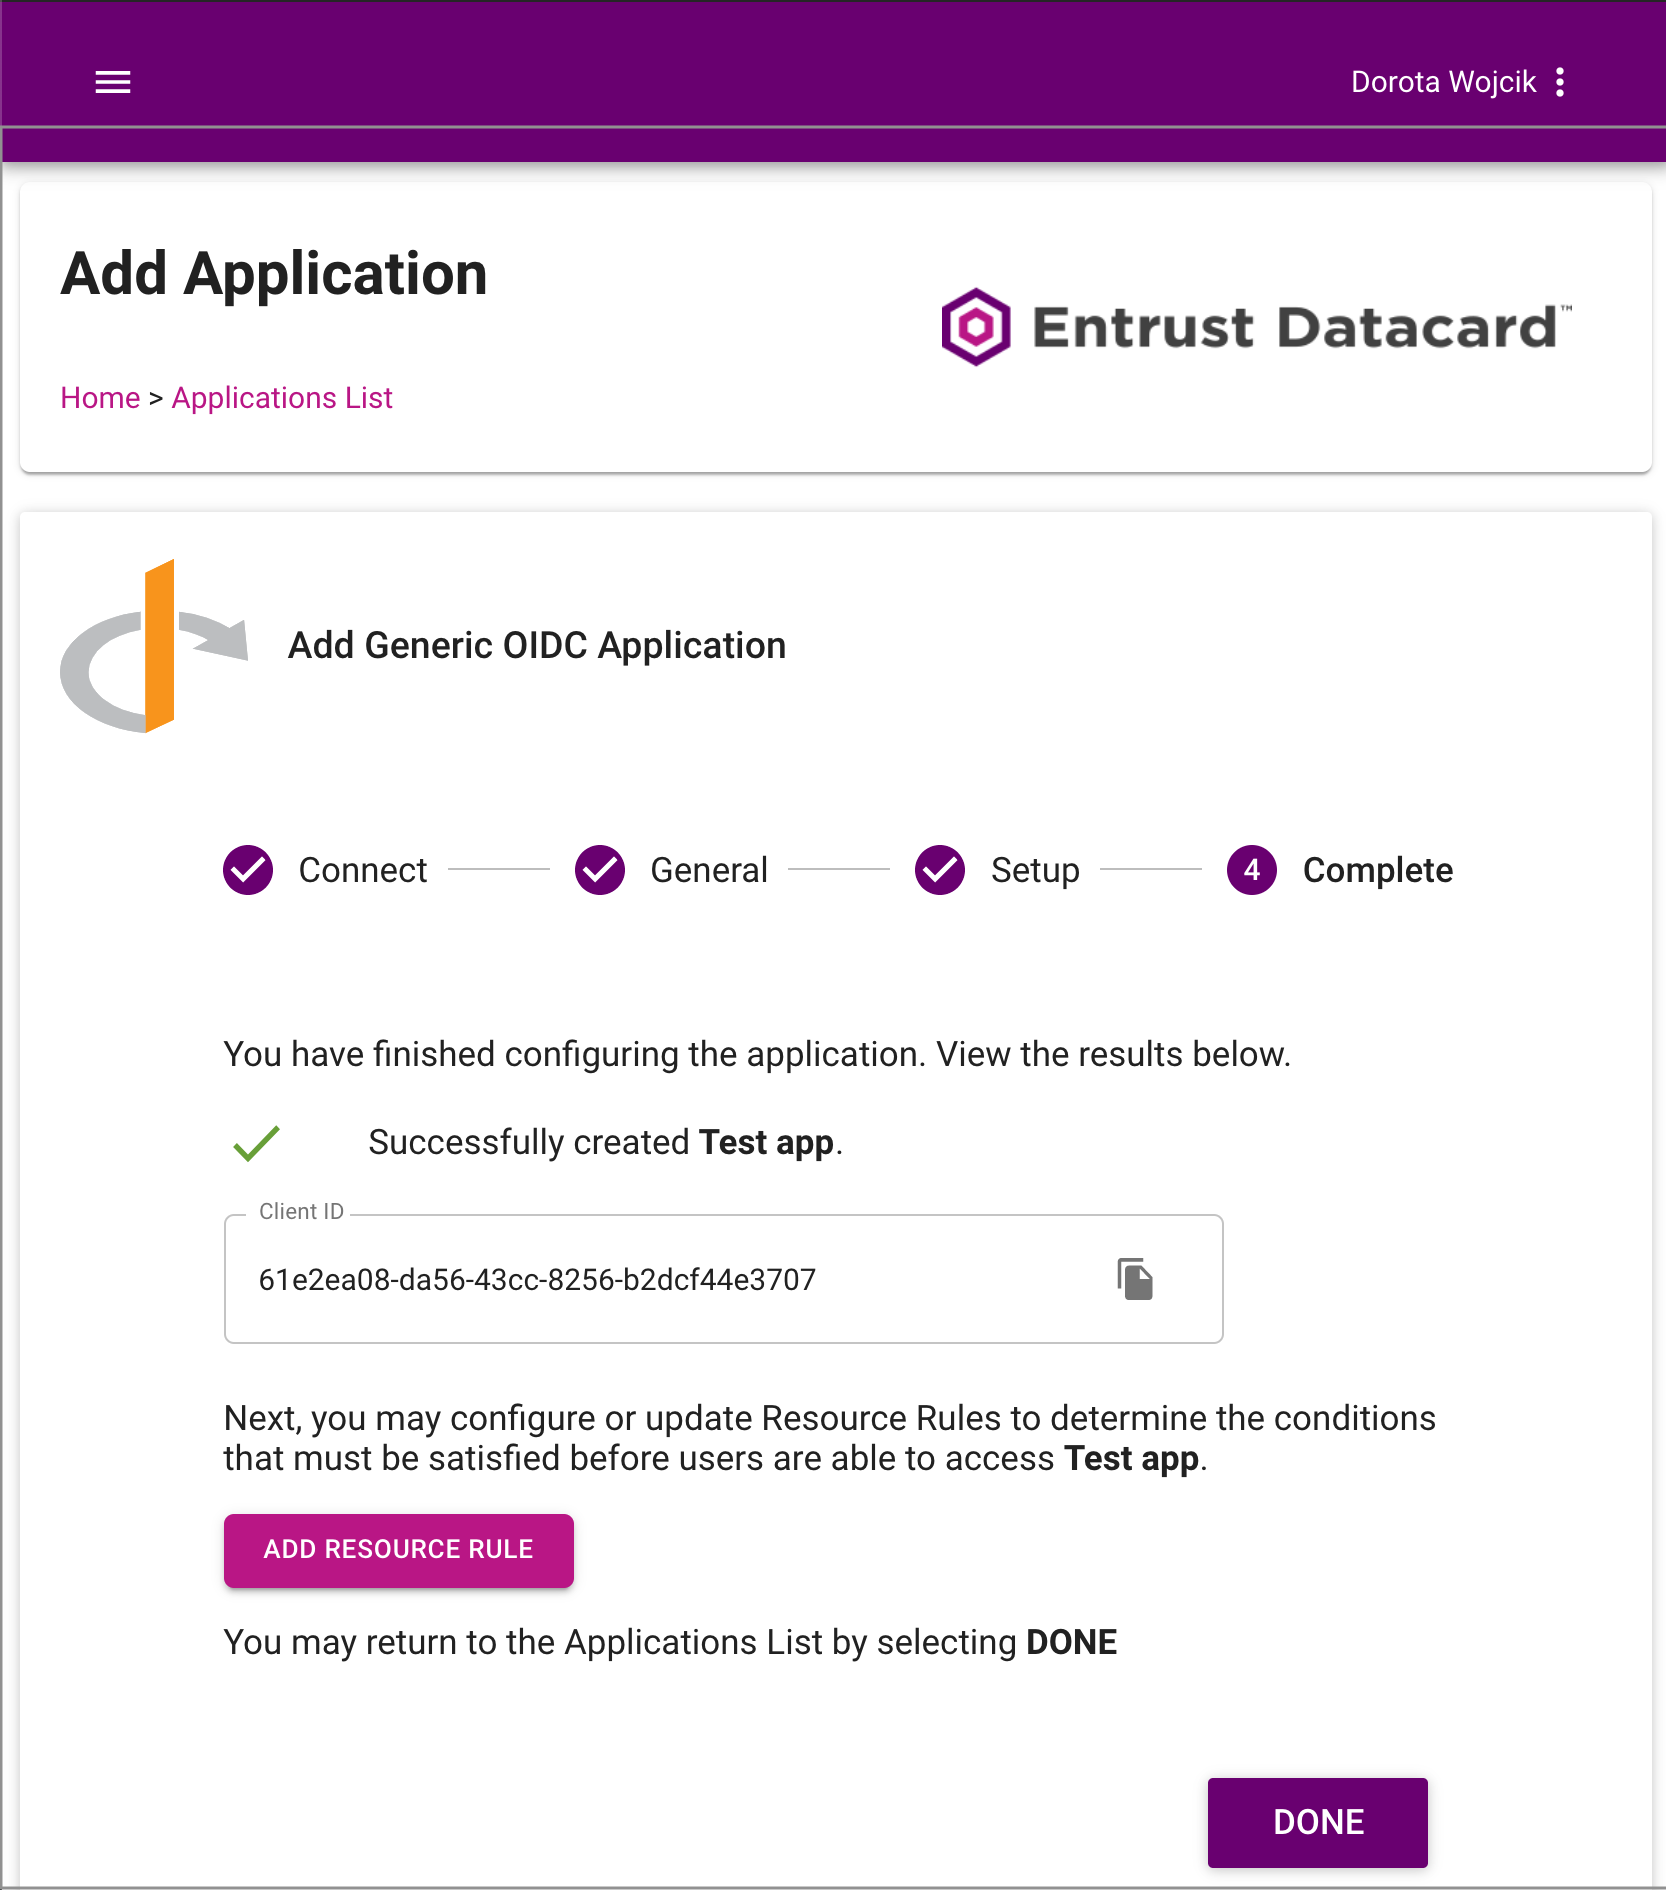
Select Submit to finalize the setup of your application.
Result
Your application is ready.
Connect IDP
-
Go to https://localhost:8443/app/default/admin for the ACP administrator portal and log in with your credentials.
Result
The administrator portal is displayed.
-
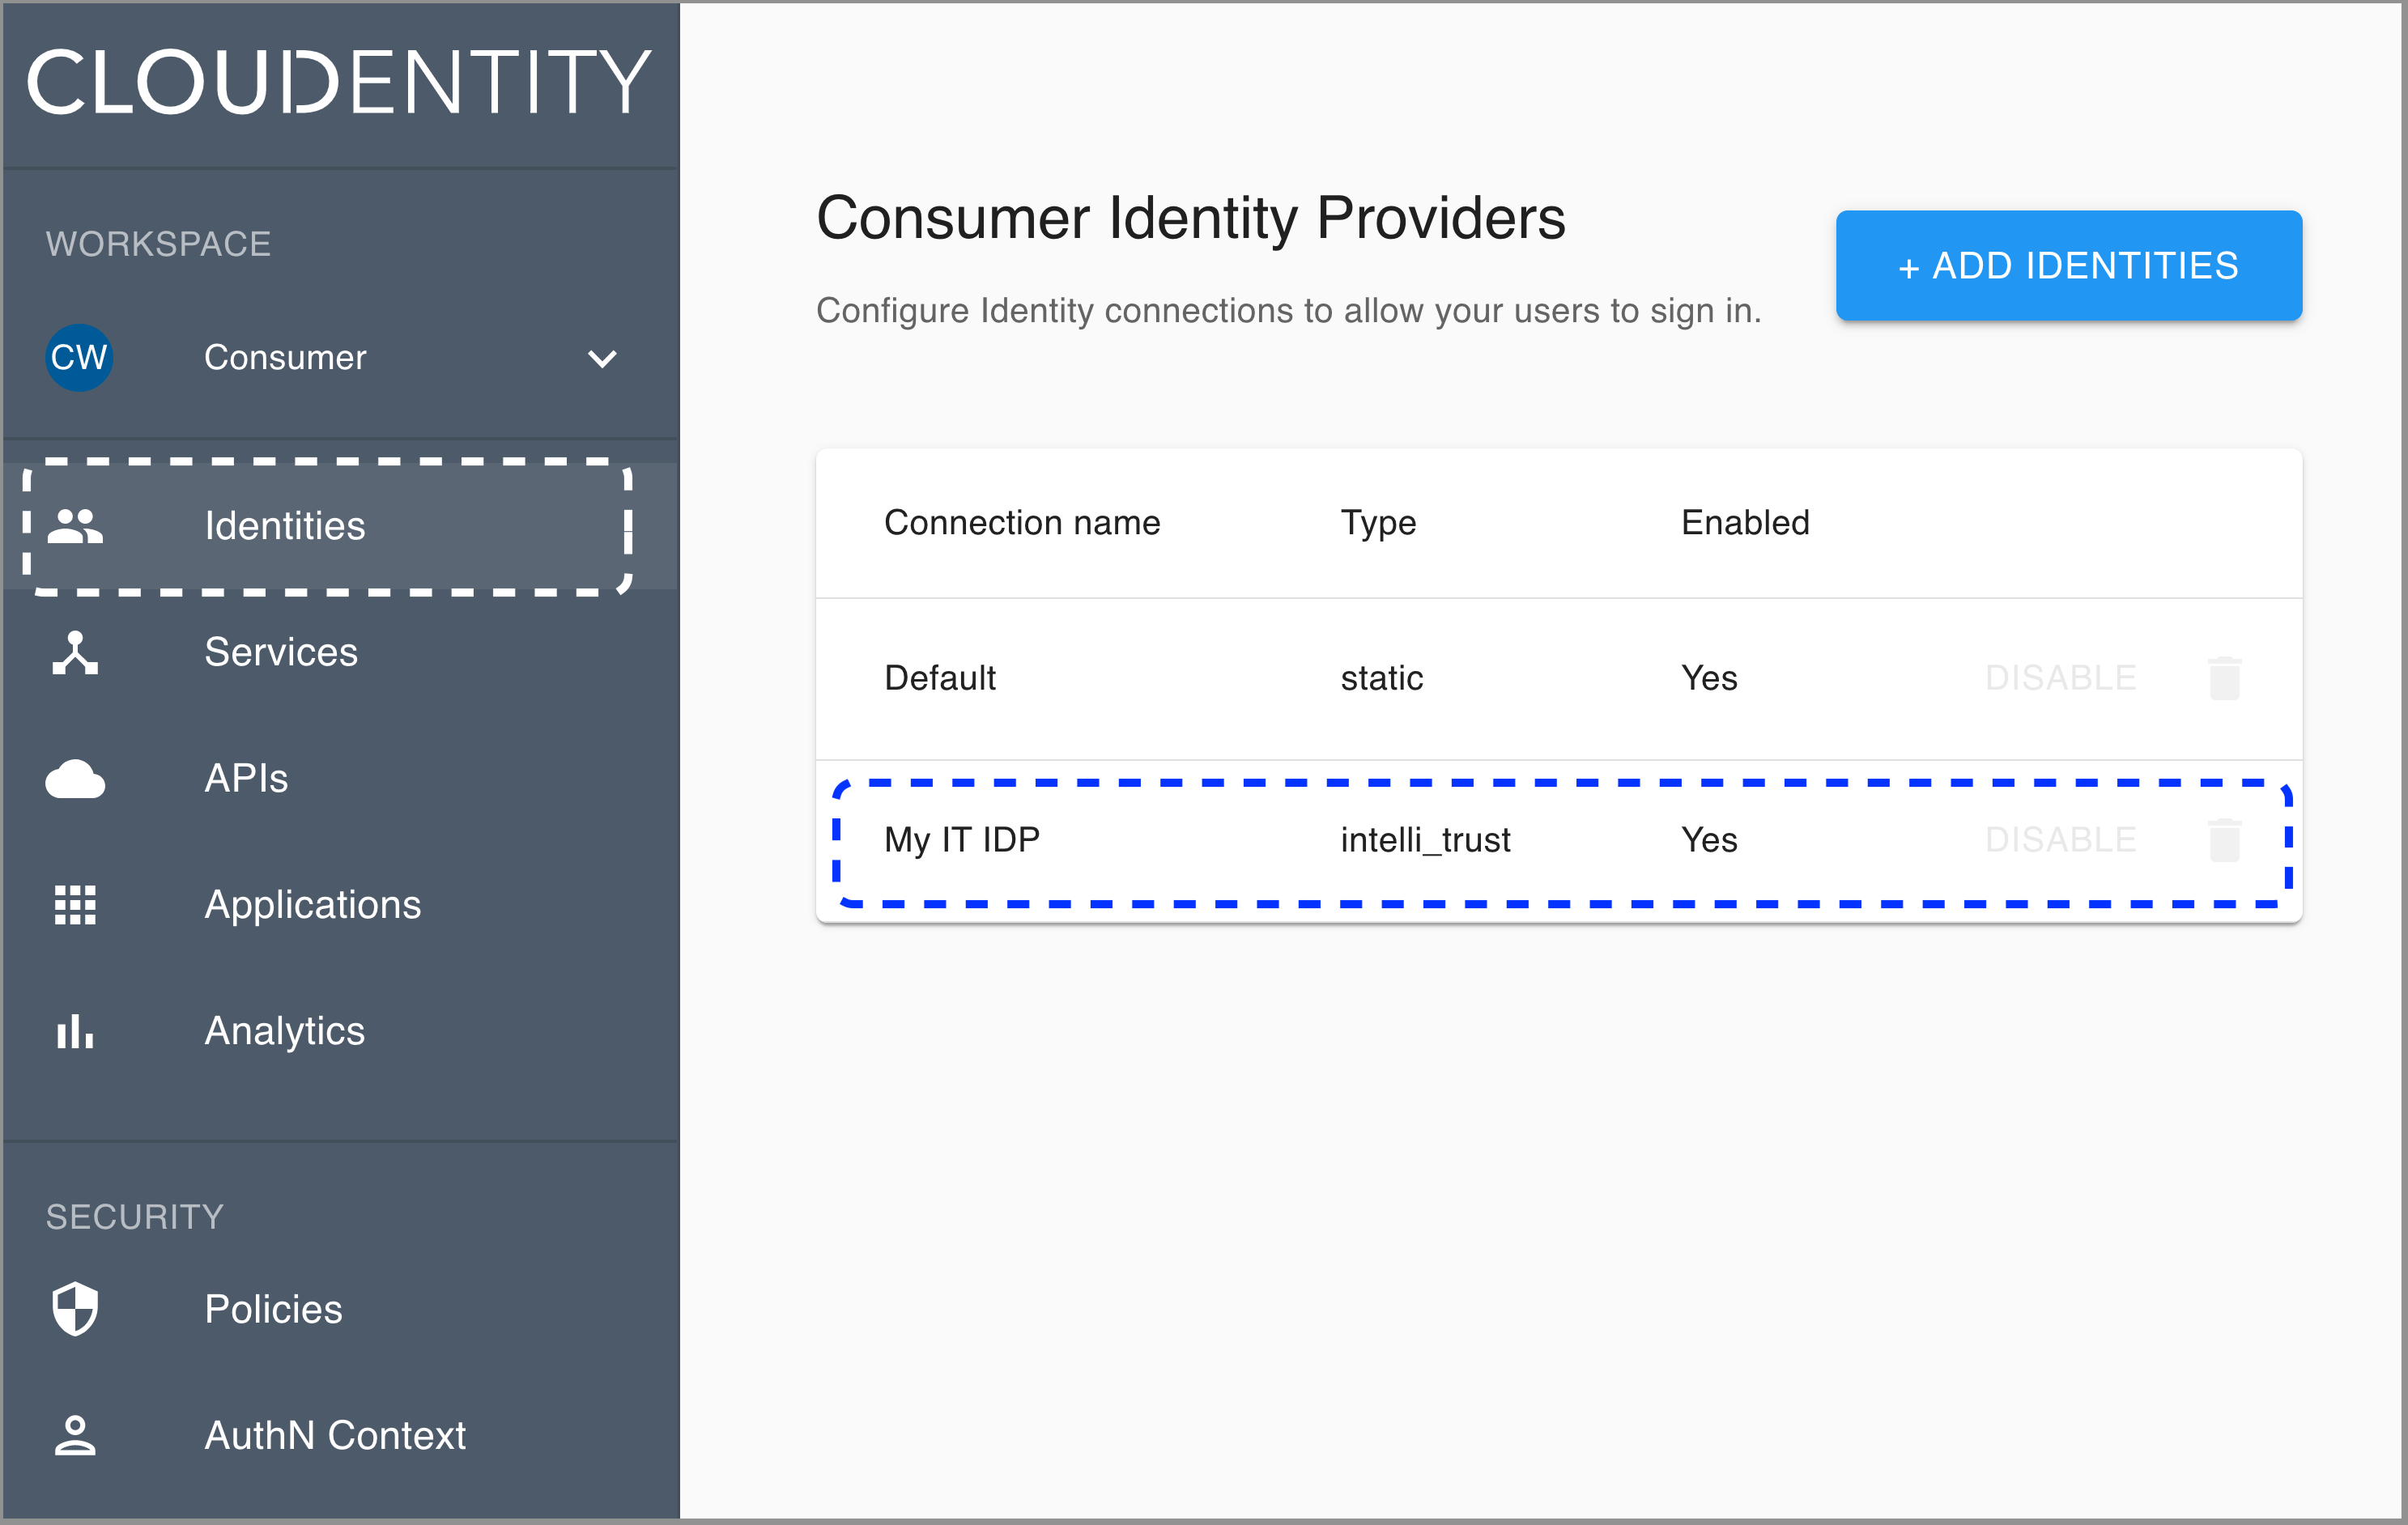
Make sure you are in the Consumer workspace (selectable from the left sidebar) and select ADD IDENTITIES to add a new connection.
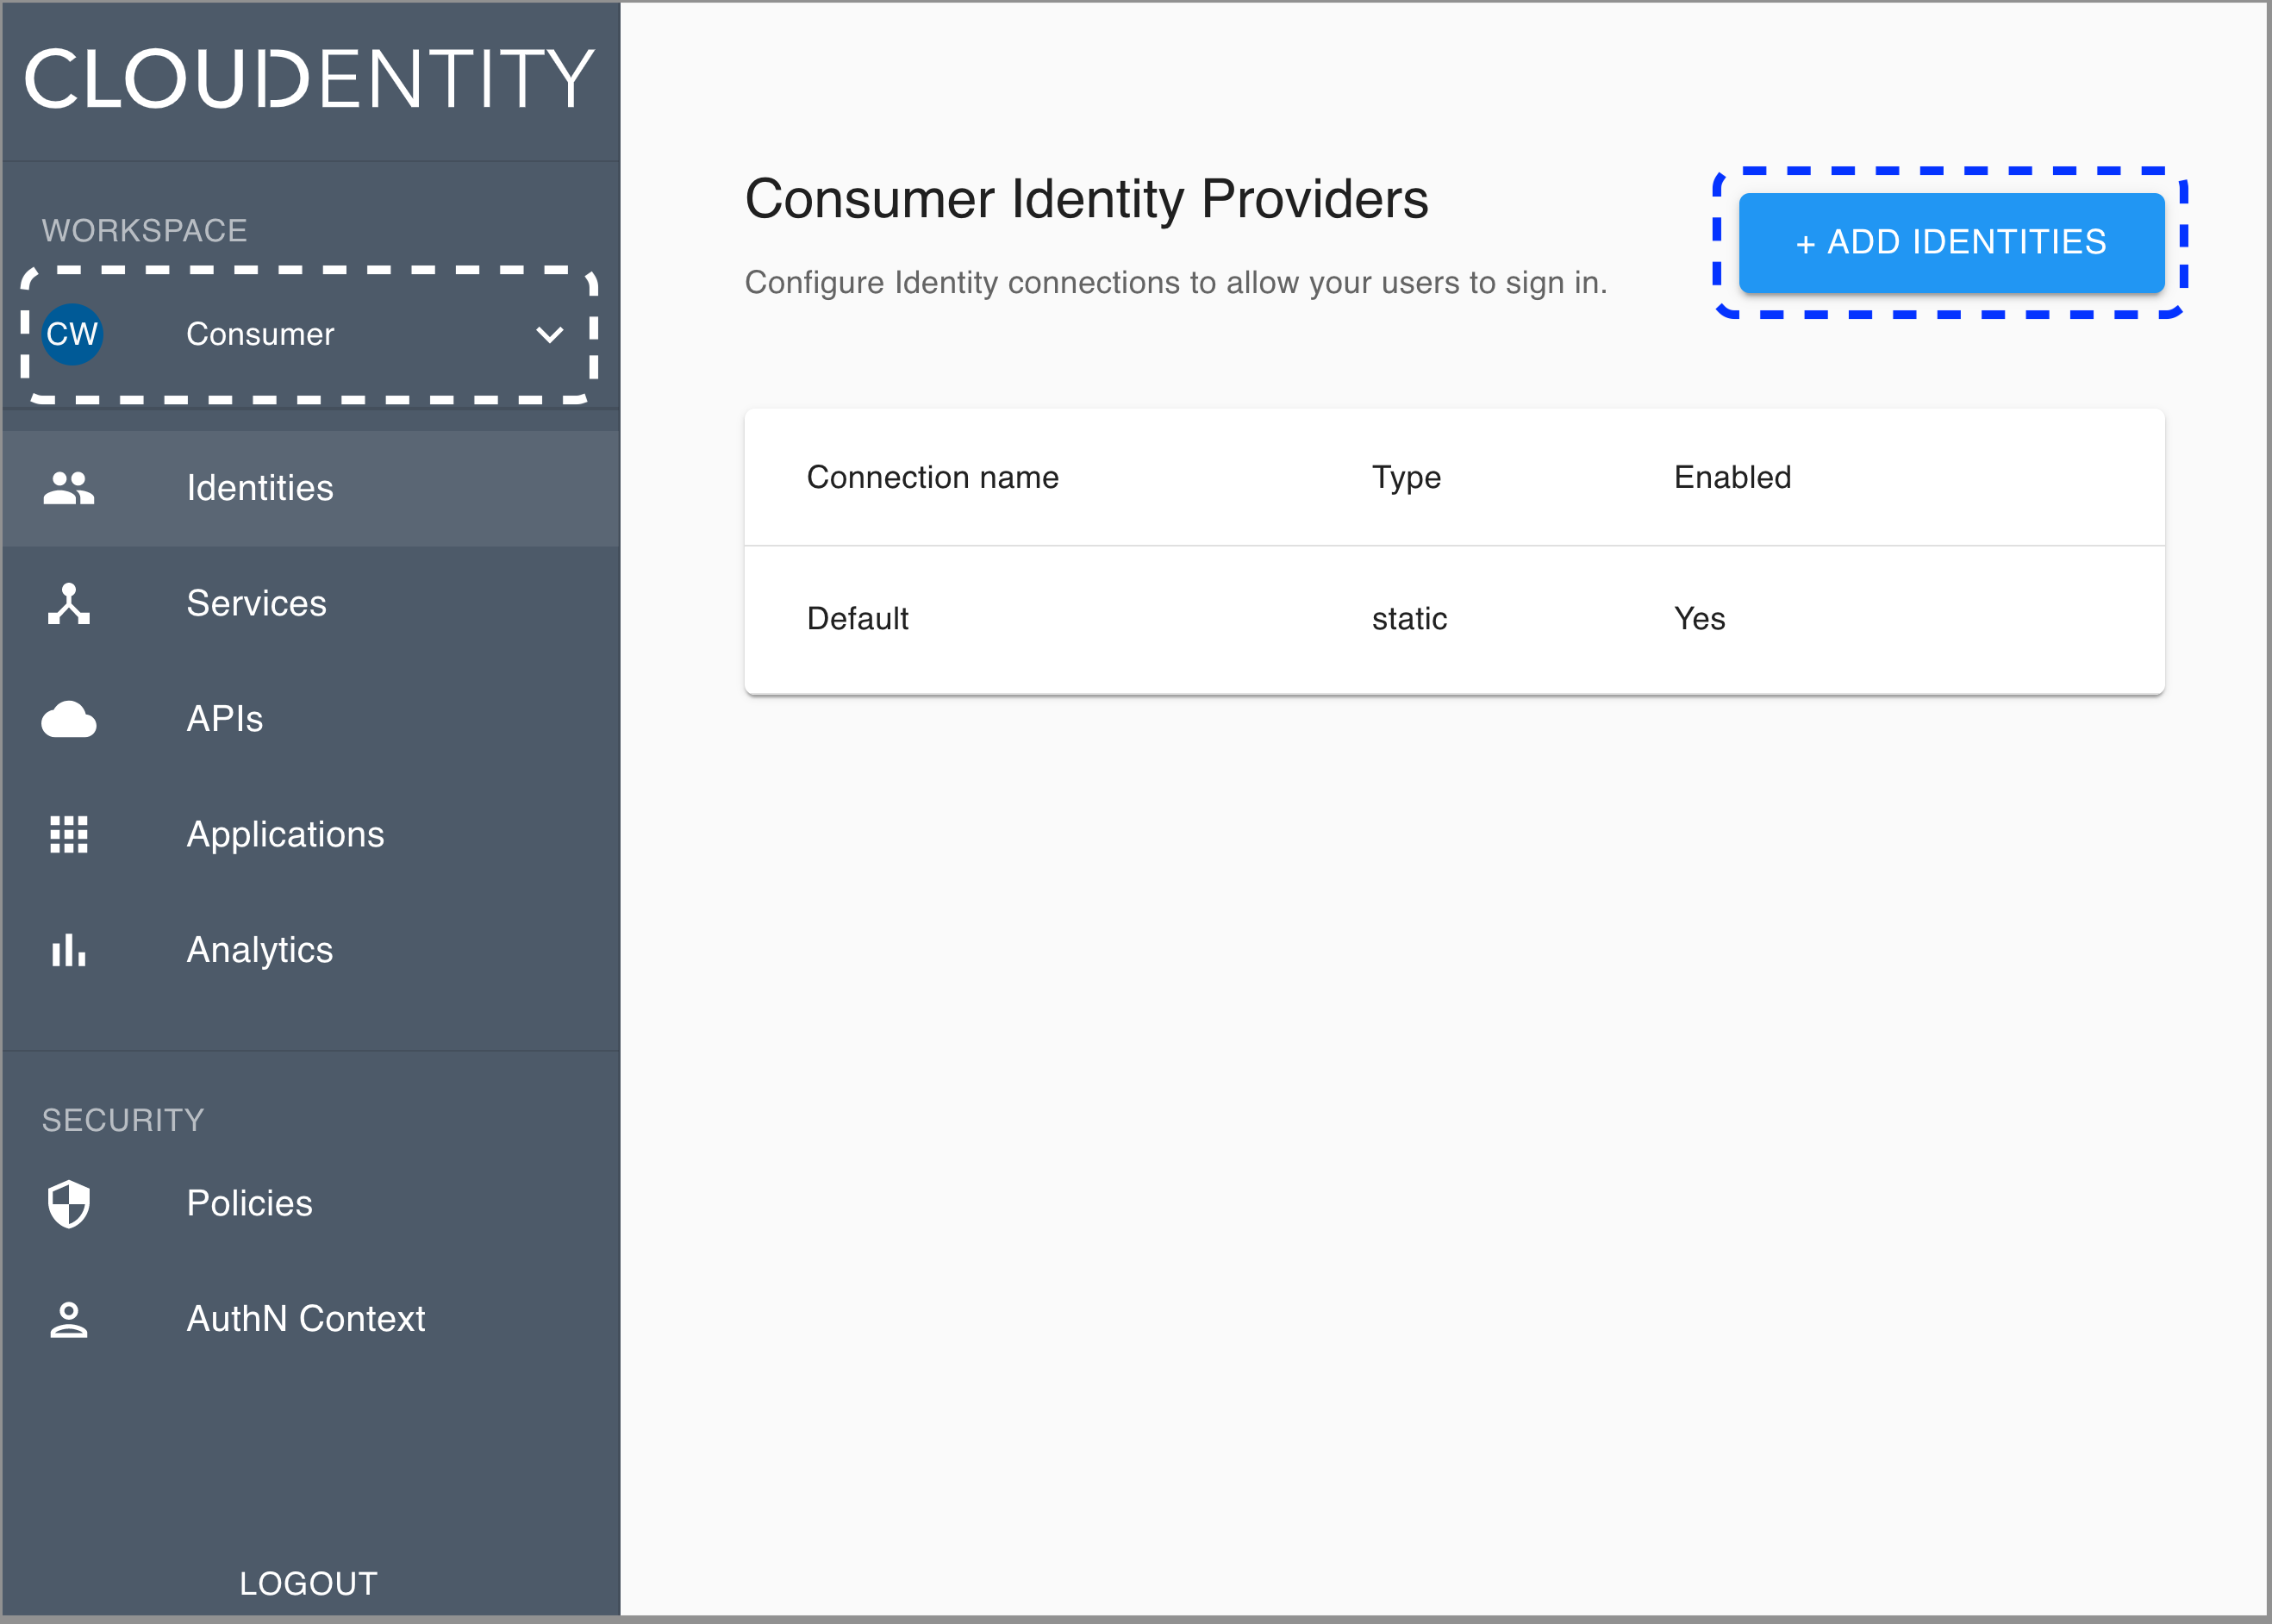
Result
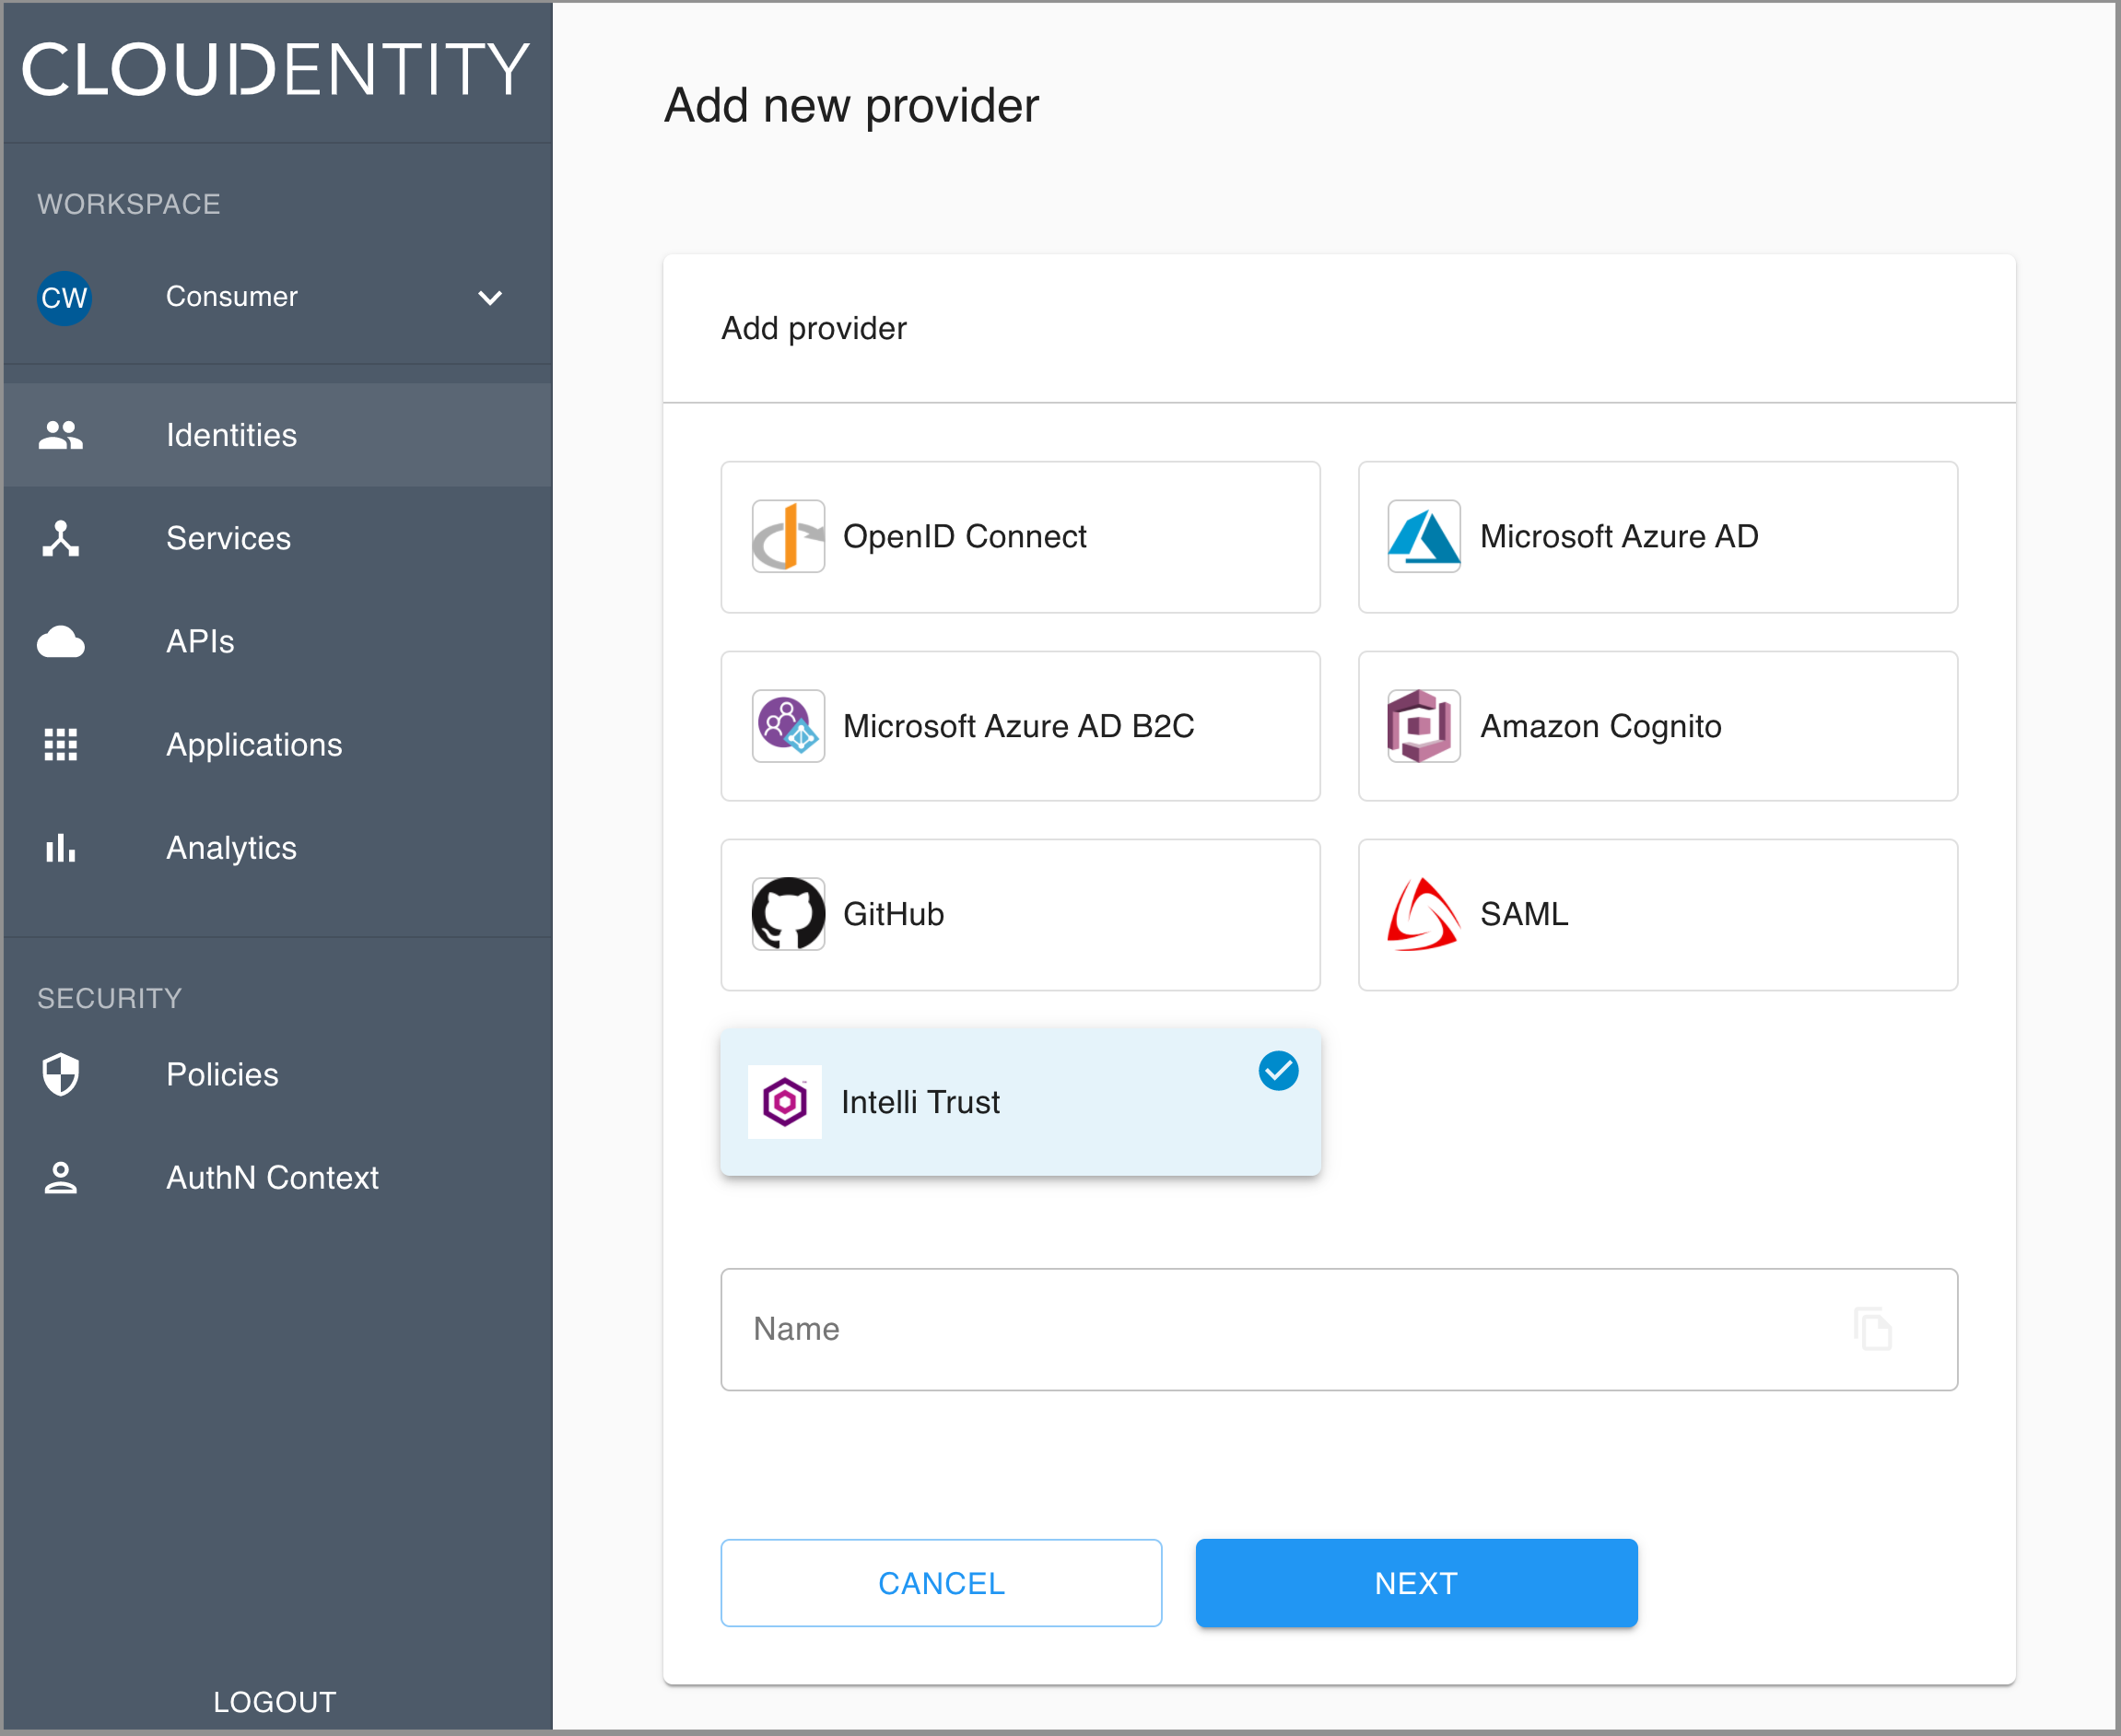
The pop-up dialog box shows and lists available predefined IDP templates.
-
Select the Intelli Trust template, enter the name for your new identity provider, and click Next.
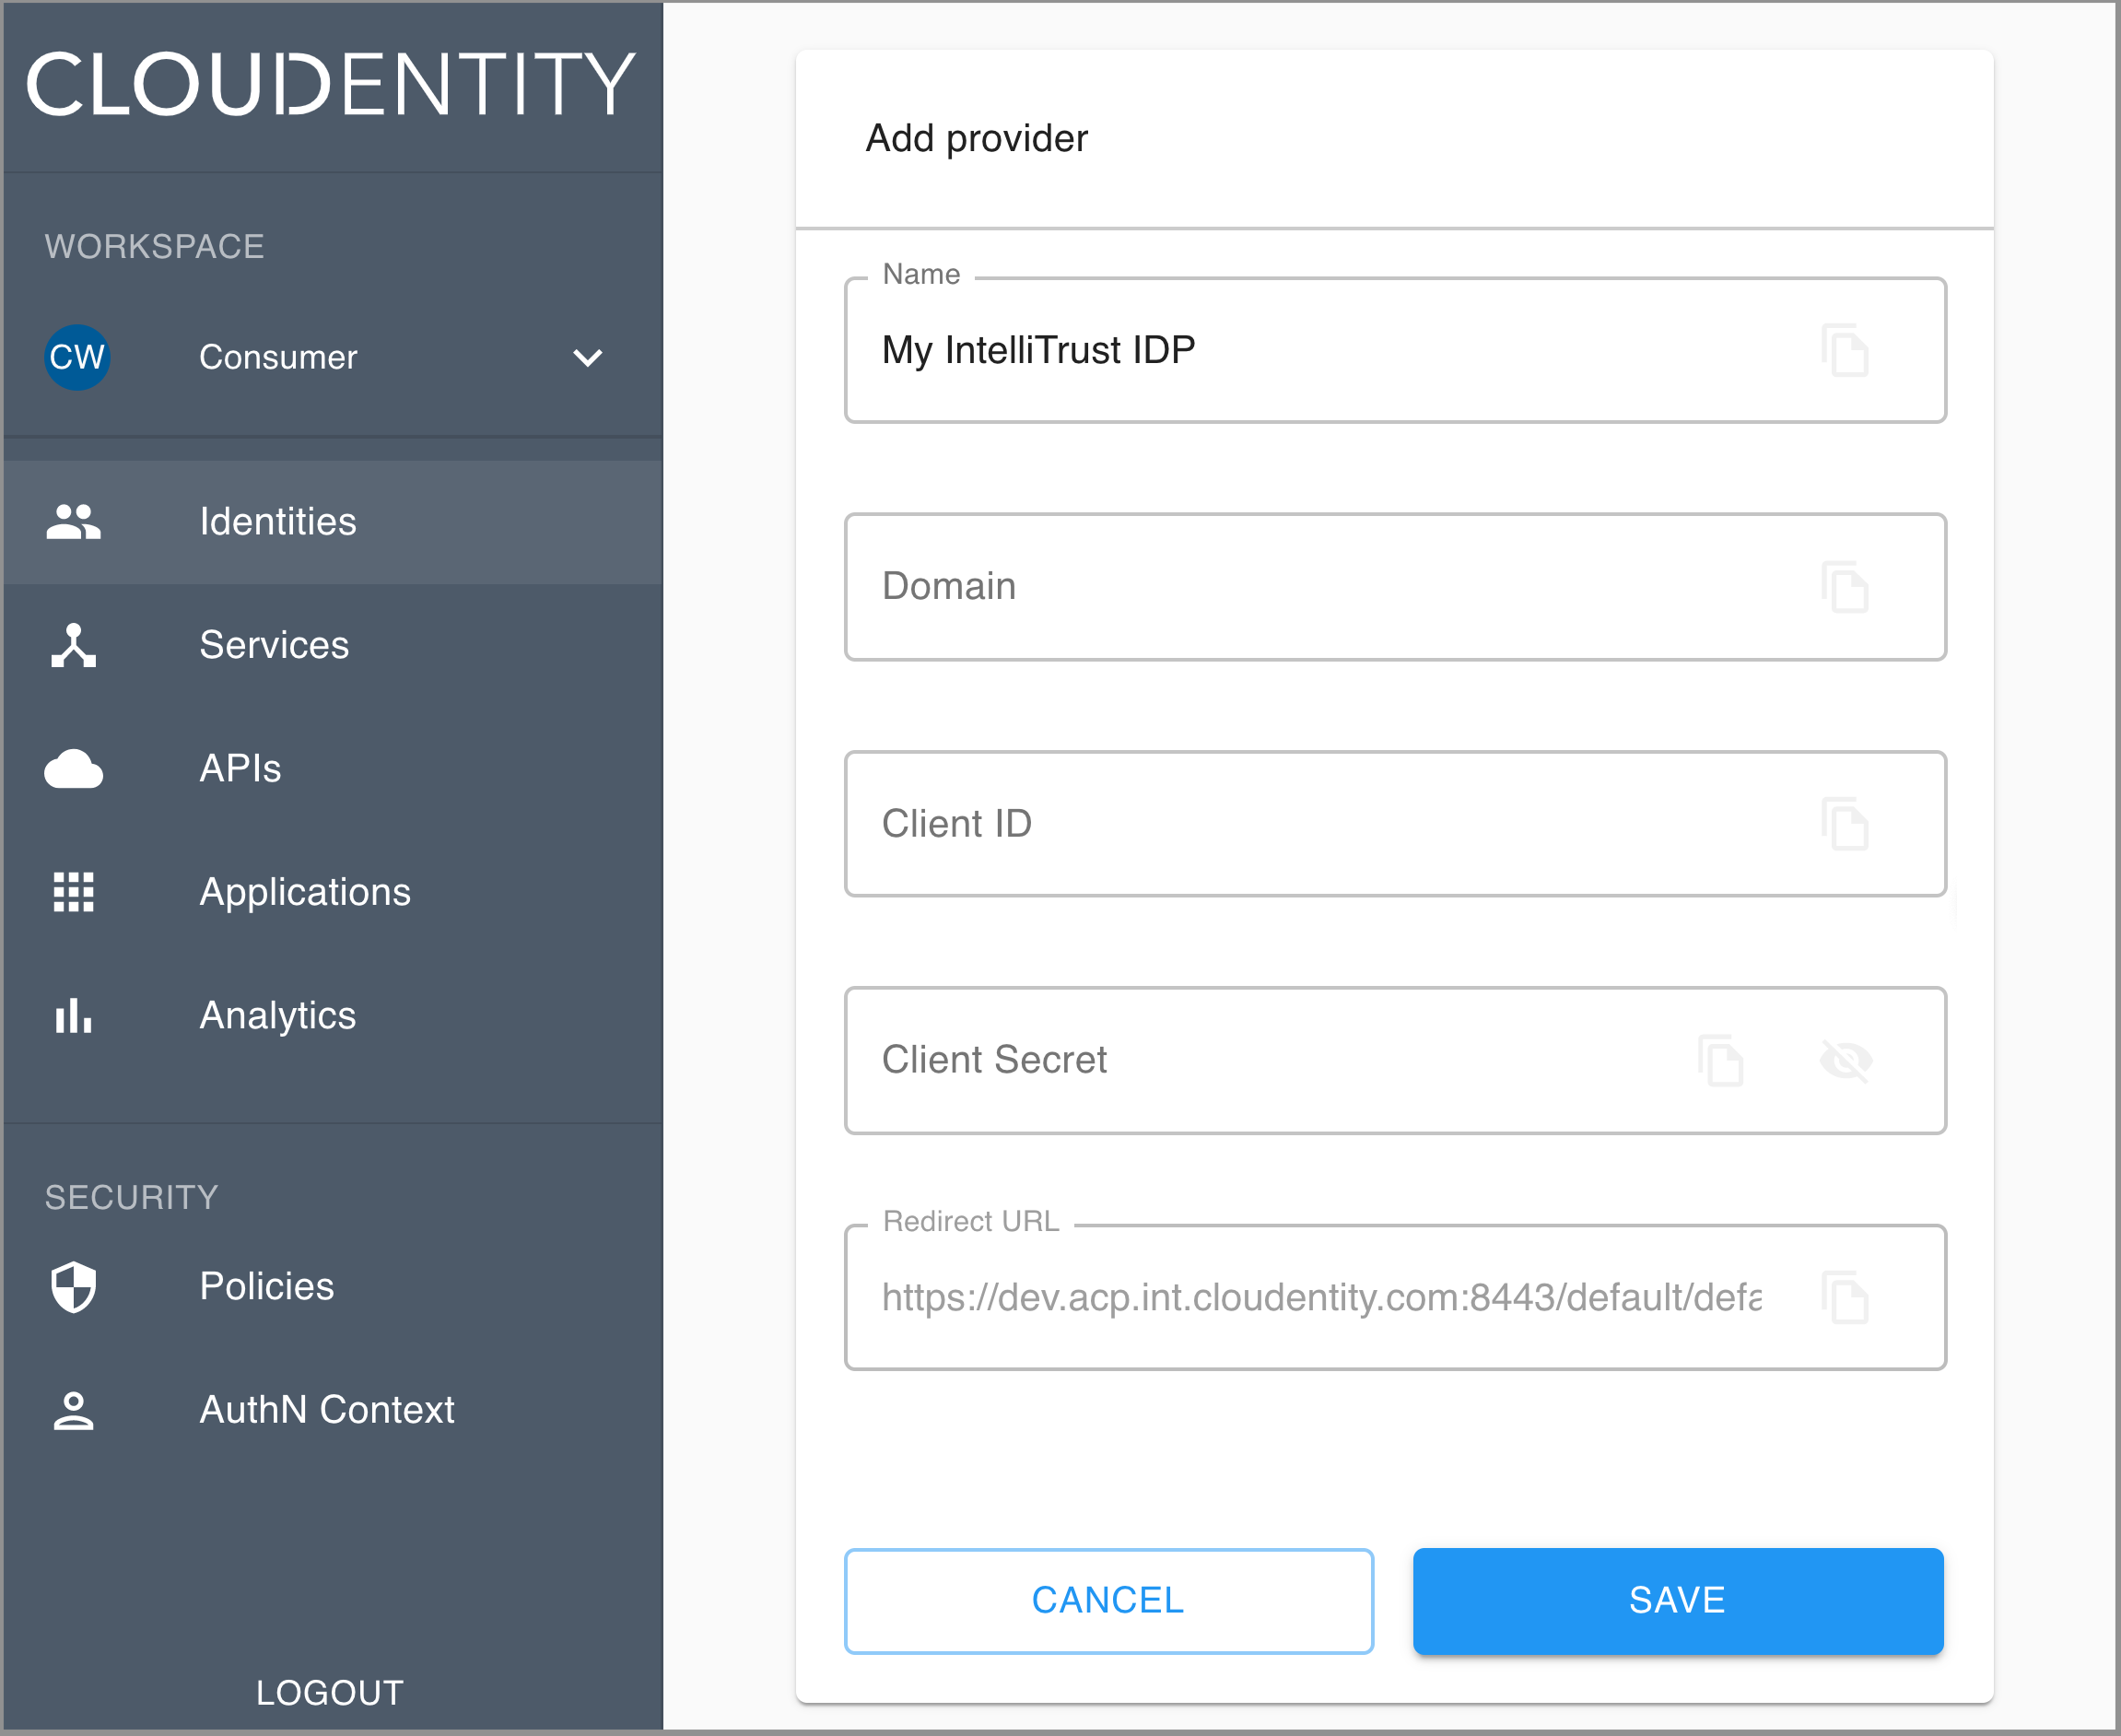
Result
The Register Intelli Trust fill-in form opens with the redirect URL for registering your application.
-
Copy the redirect URL provided in the form and use it while registering the OIDC application with your provider in step 4 of the Register application part.

-
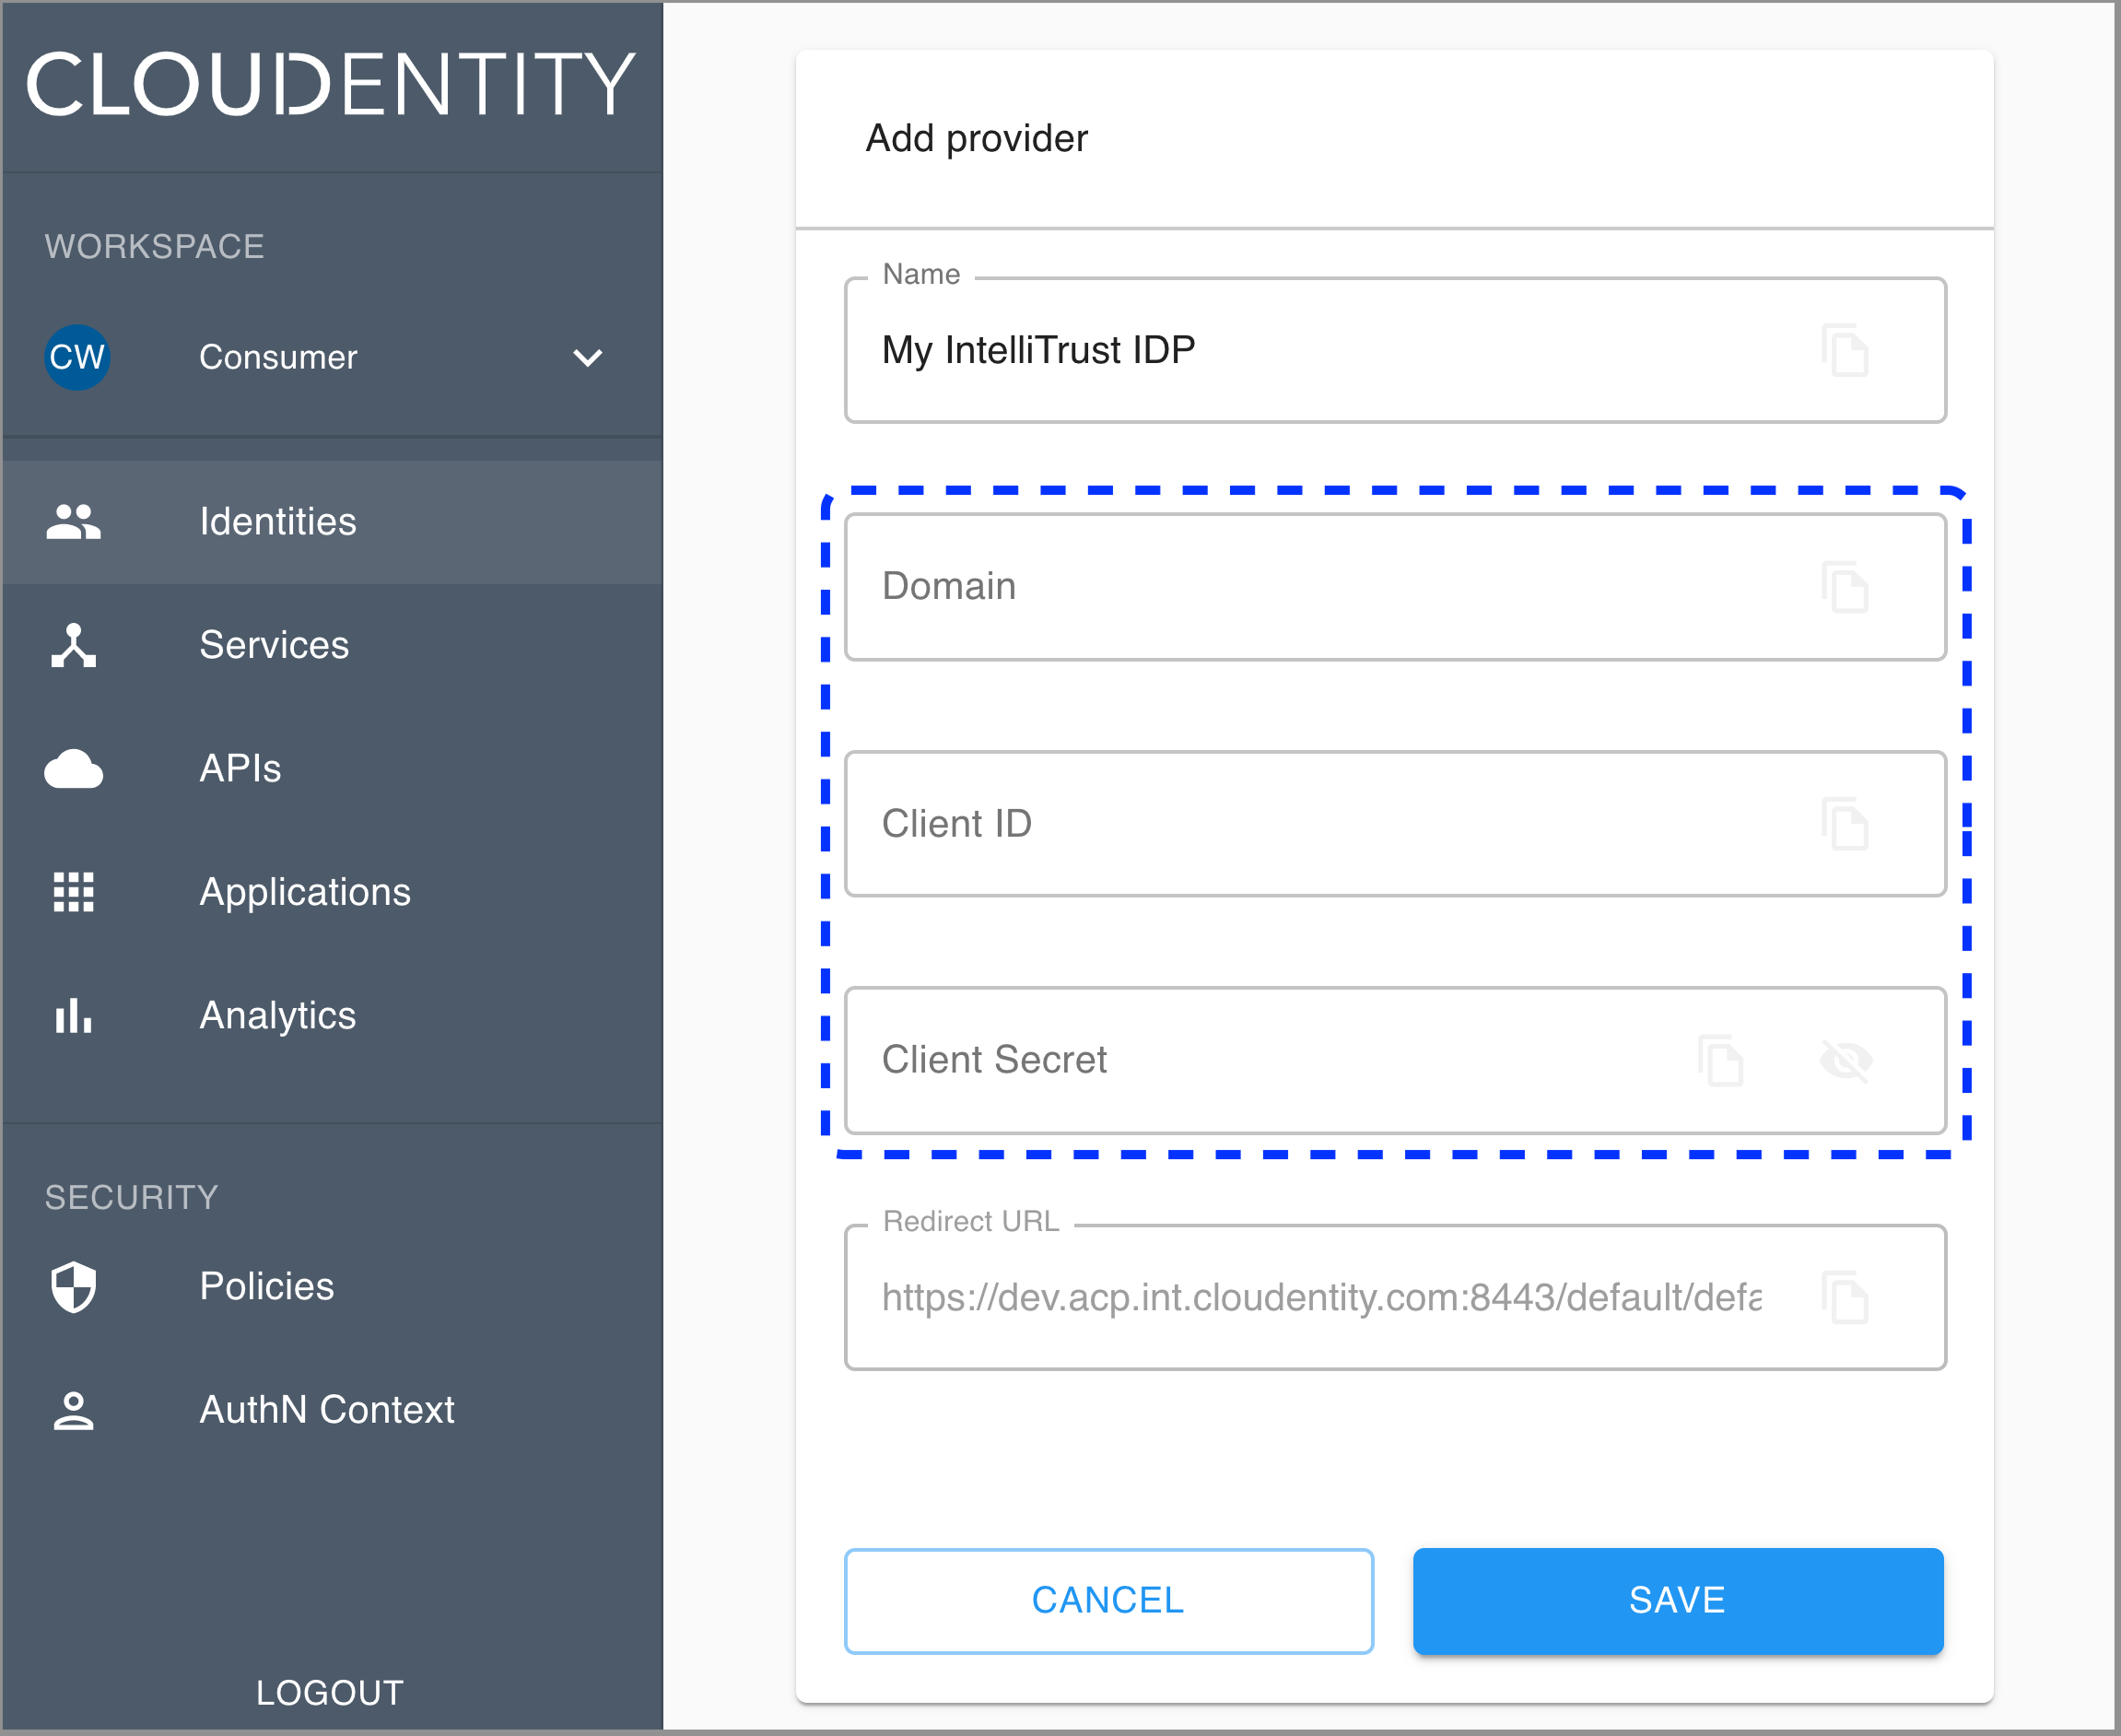
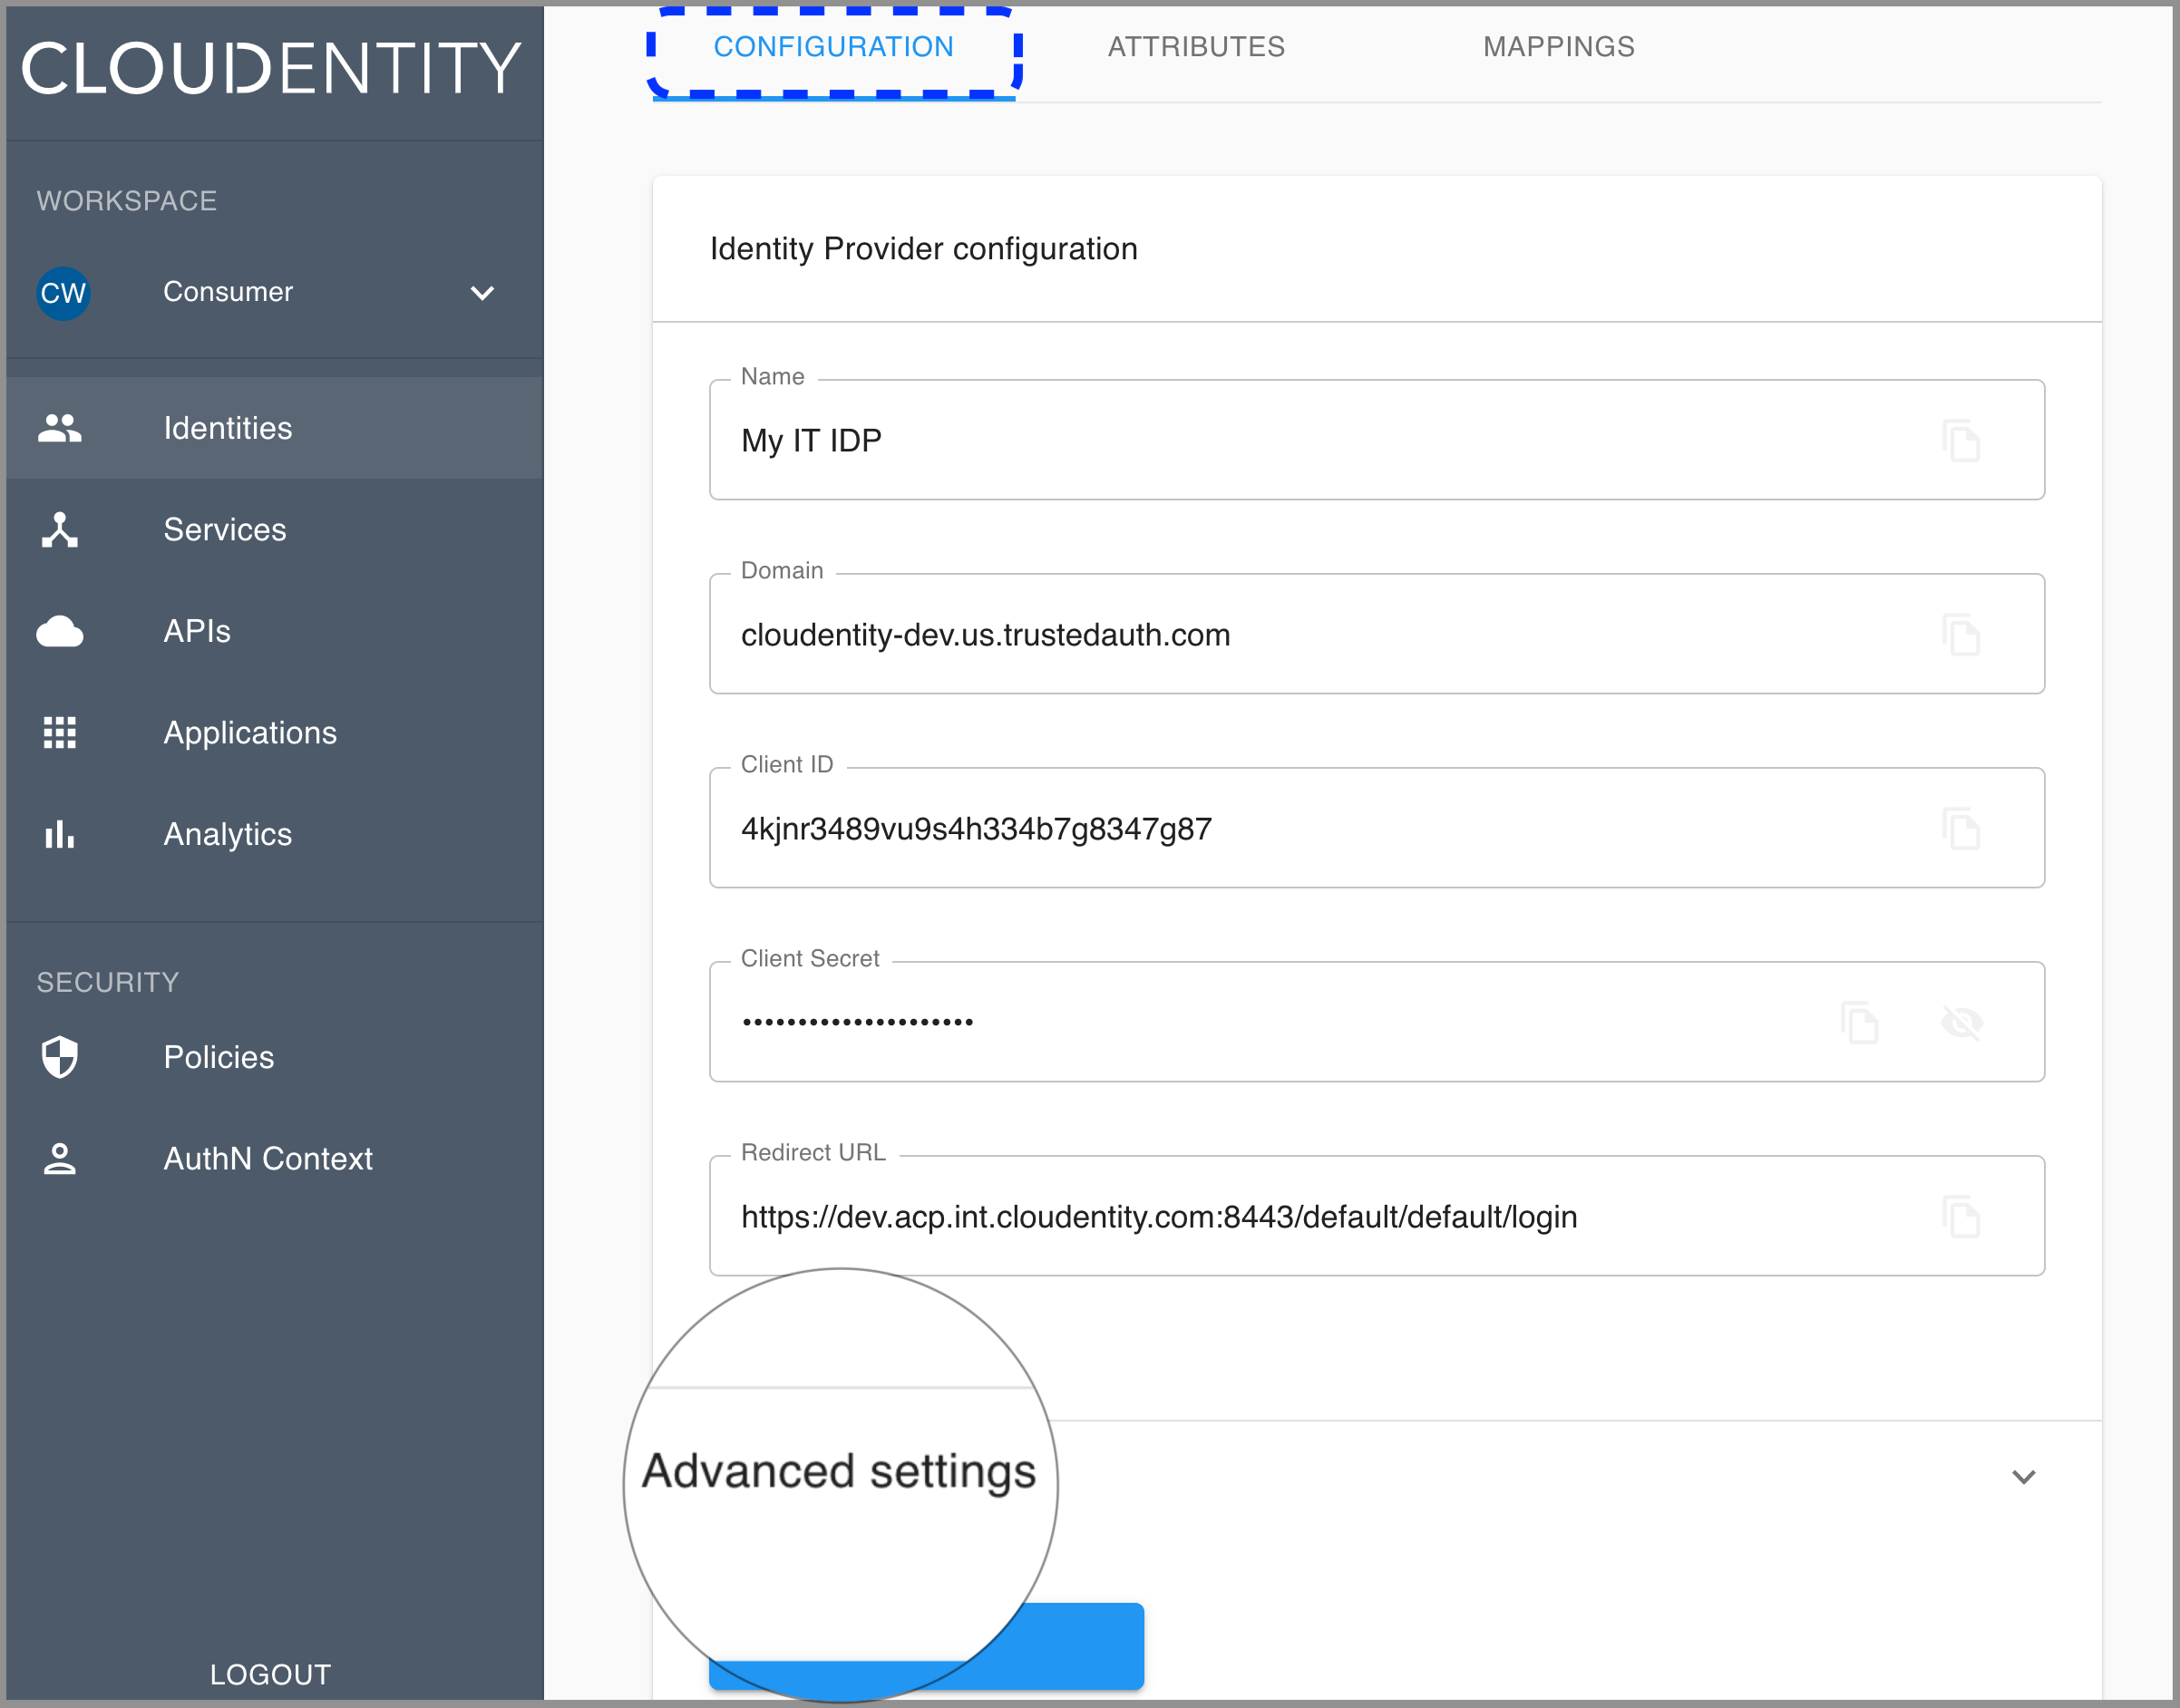
In the Register Intelli Trust form
-
Enter Domain, which is the domain of Entrust Datacard® IntelliTrust™ Authentication Service for your organization, for example,
cloudentity-dev.us.trustedauth.com. -
Enter Client ID and Client Secret of your application.
Note
Check your client ID and client secret in Entrust Datacard® IntelliTrust™ Authentication Service > General Settings for your application (see step 7 of Register application).
-
-
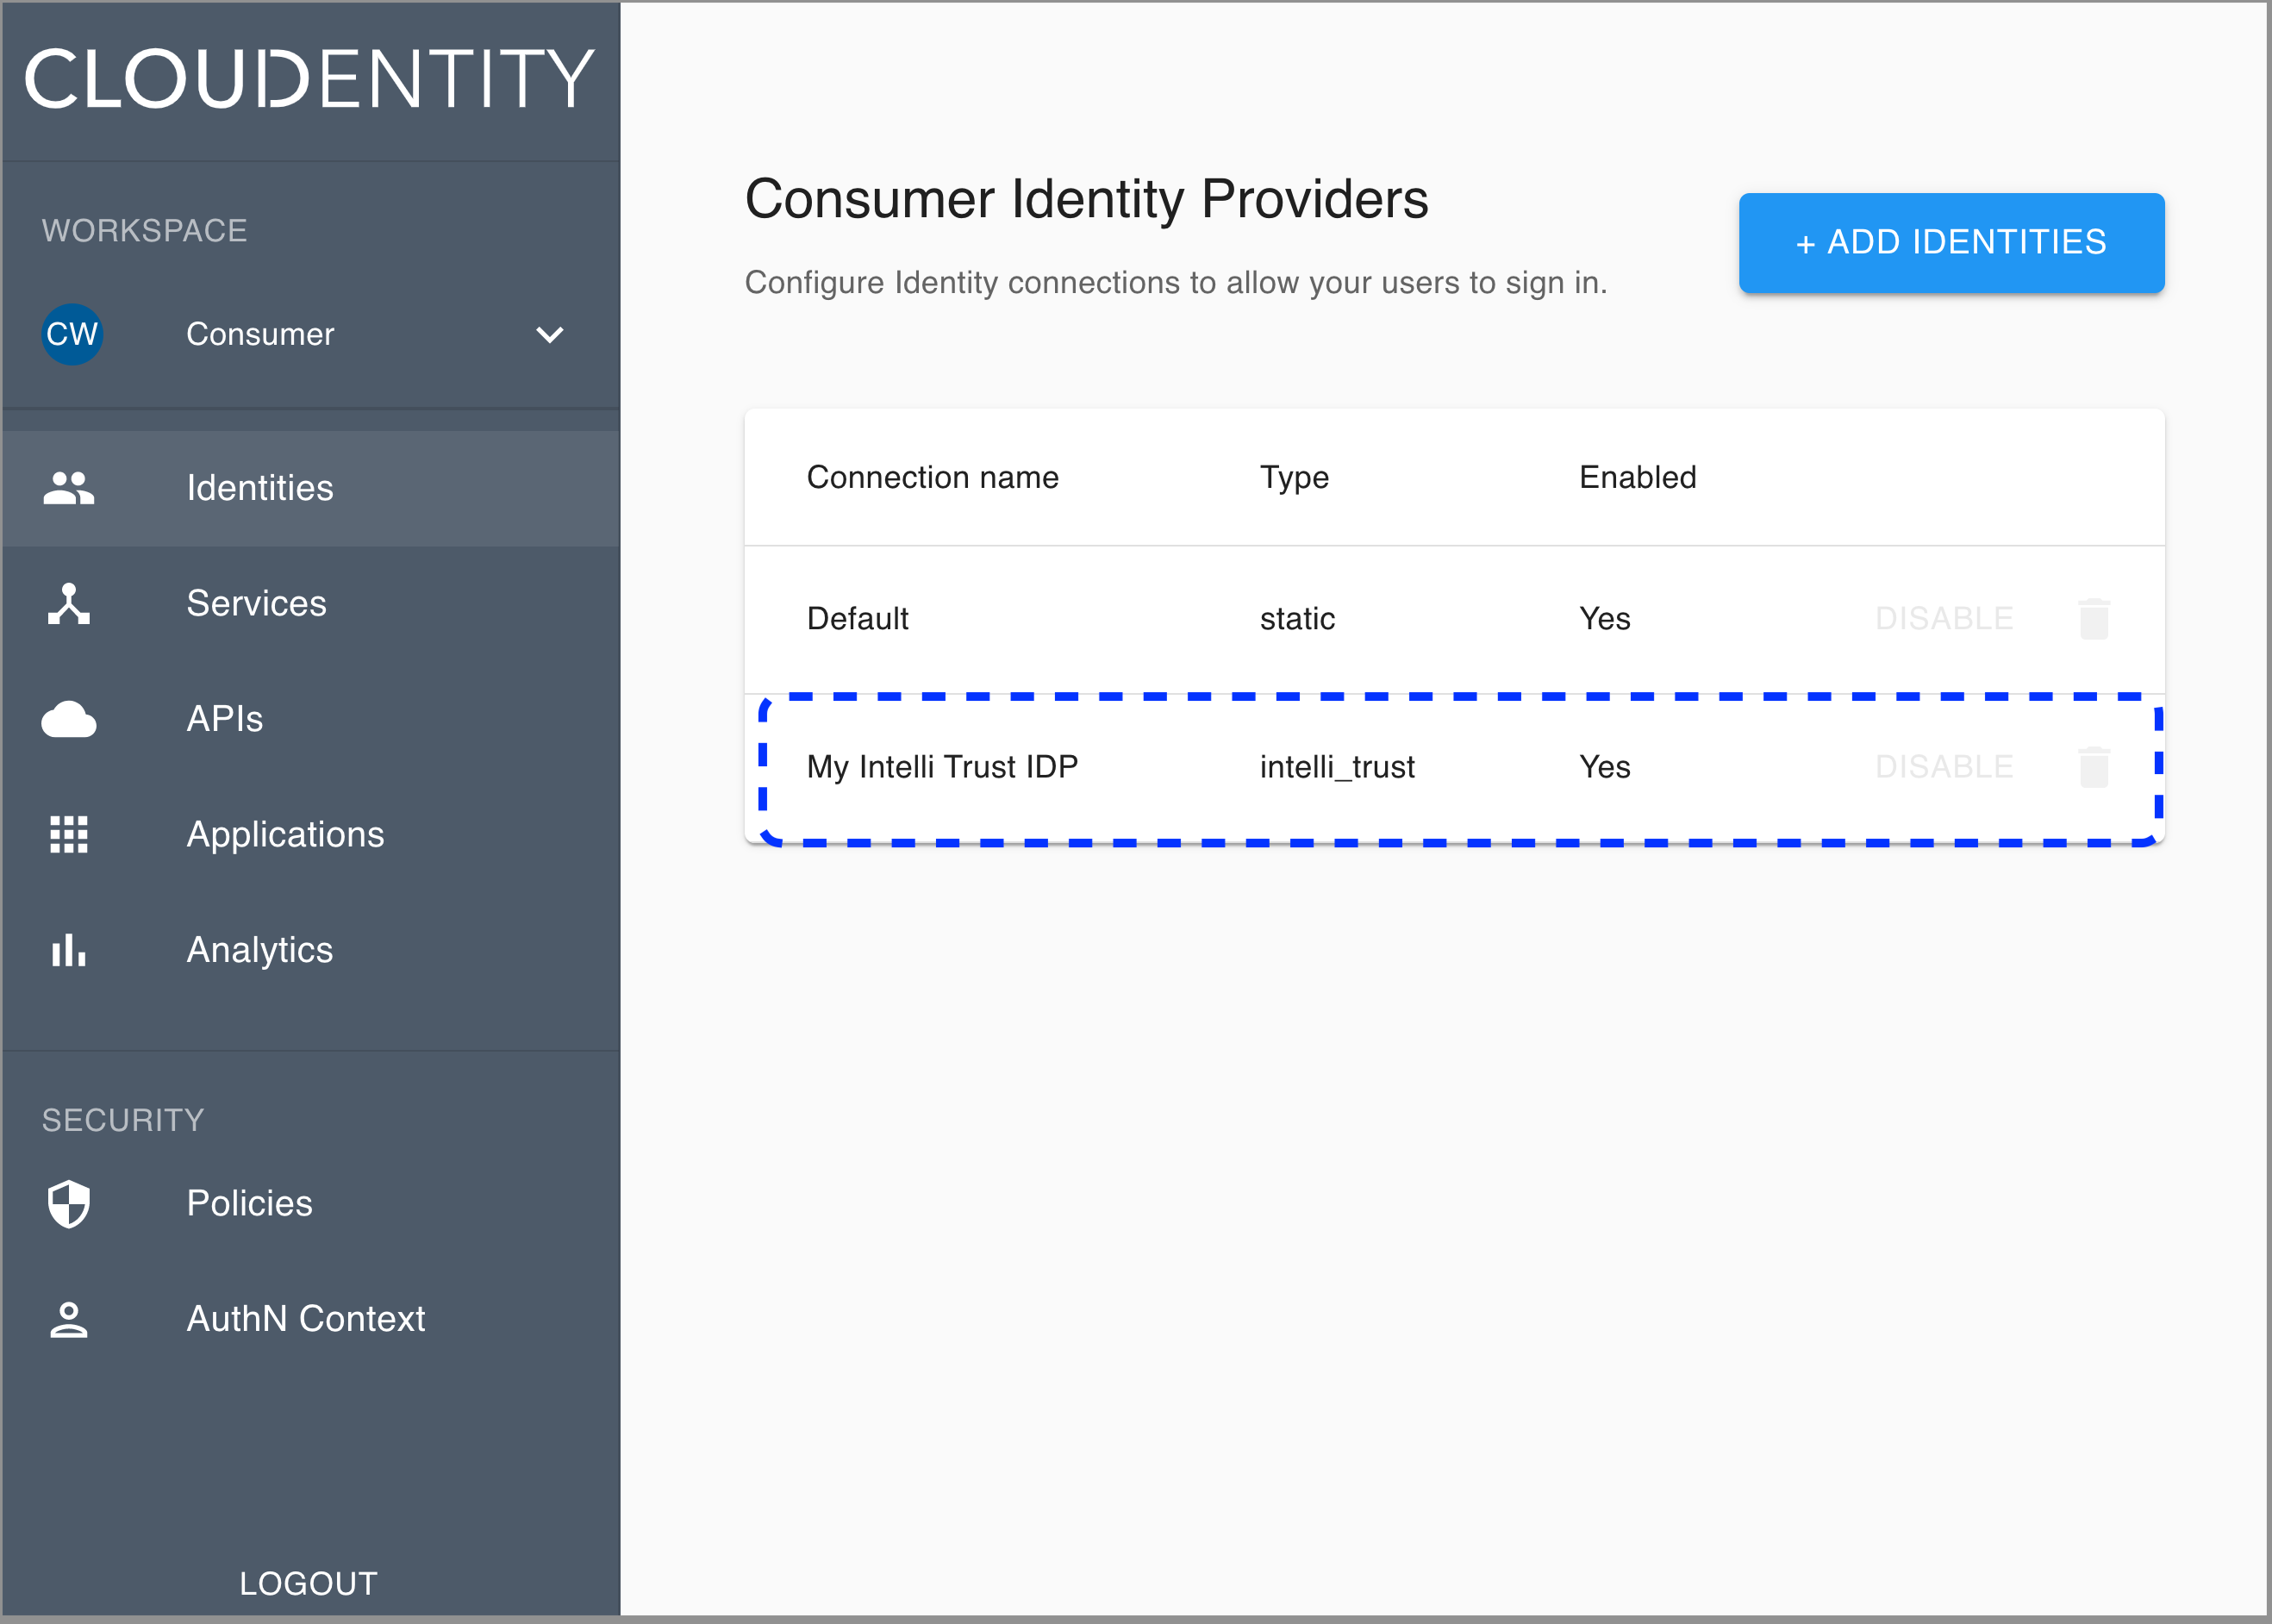
Select Save at the bottom of the page.
Result
Your new identity provider has been created and listed in the Consumer Identity Providers view.
Advanced settings
To configure your new IDP advanced settings
-
Go to Identities in the left sidebar and select your IDP from the list of available IDP connections.
-
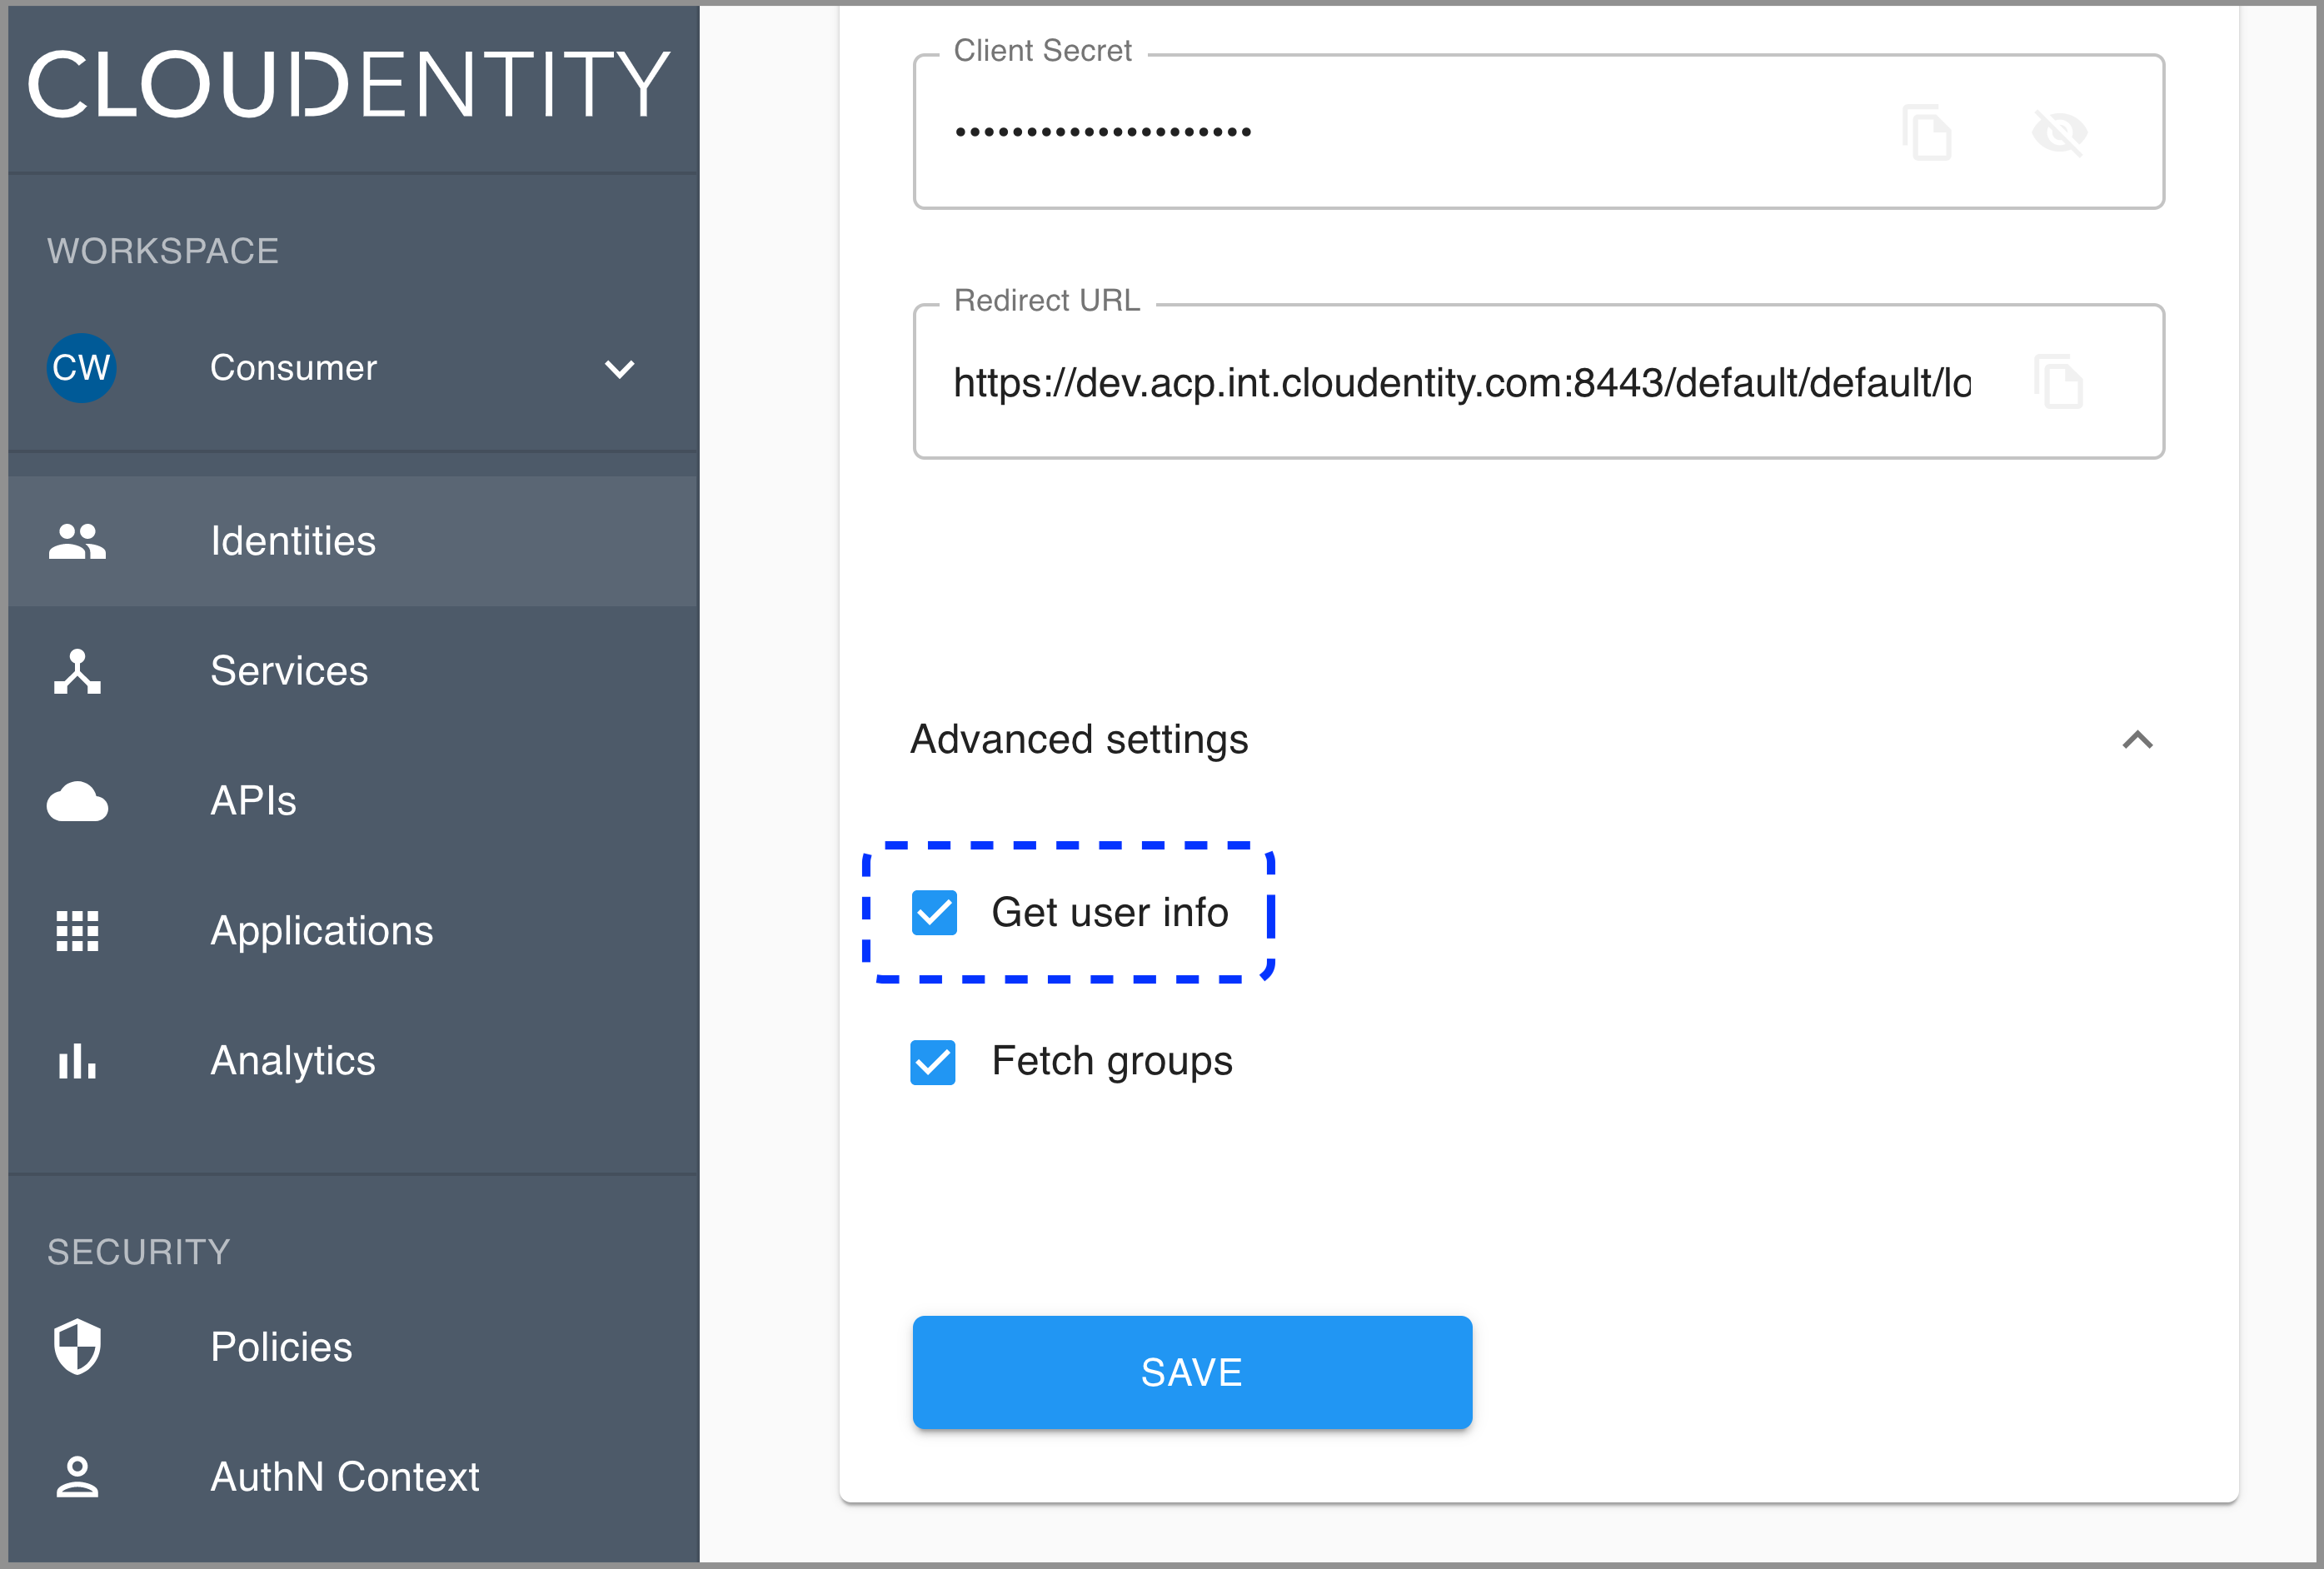
Make sure that you are in the CONFIGURATION view and select Advanced settings at the bottom.
-
Enable or disable the Get user info option.
If you enable the Get user info option, the connector calls the userinfo endpoint to retrieve additional user attributes.
-
Enable or disable the Fetch groups option.
Note
If you want to enable the Fetch groups option, you need to add the groups claim for your application on the IDP side (see step 8 in Register application).
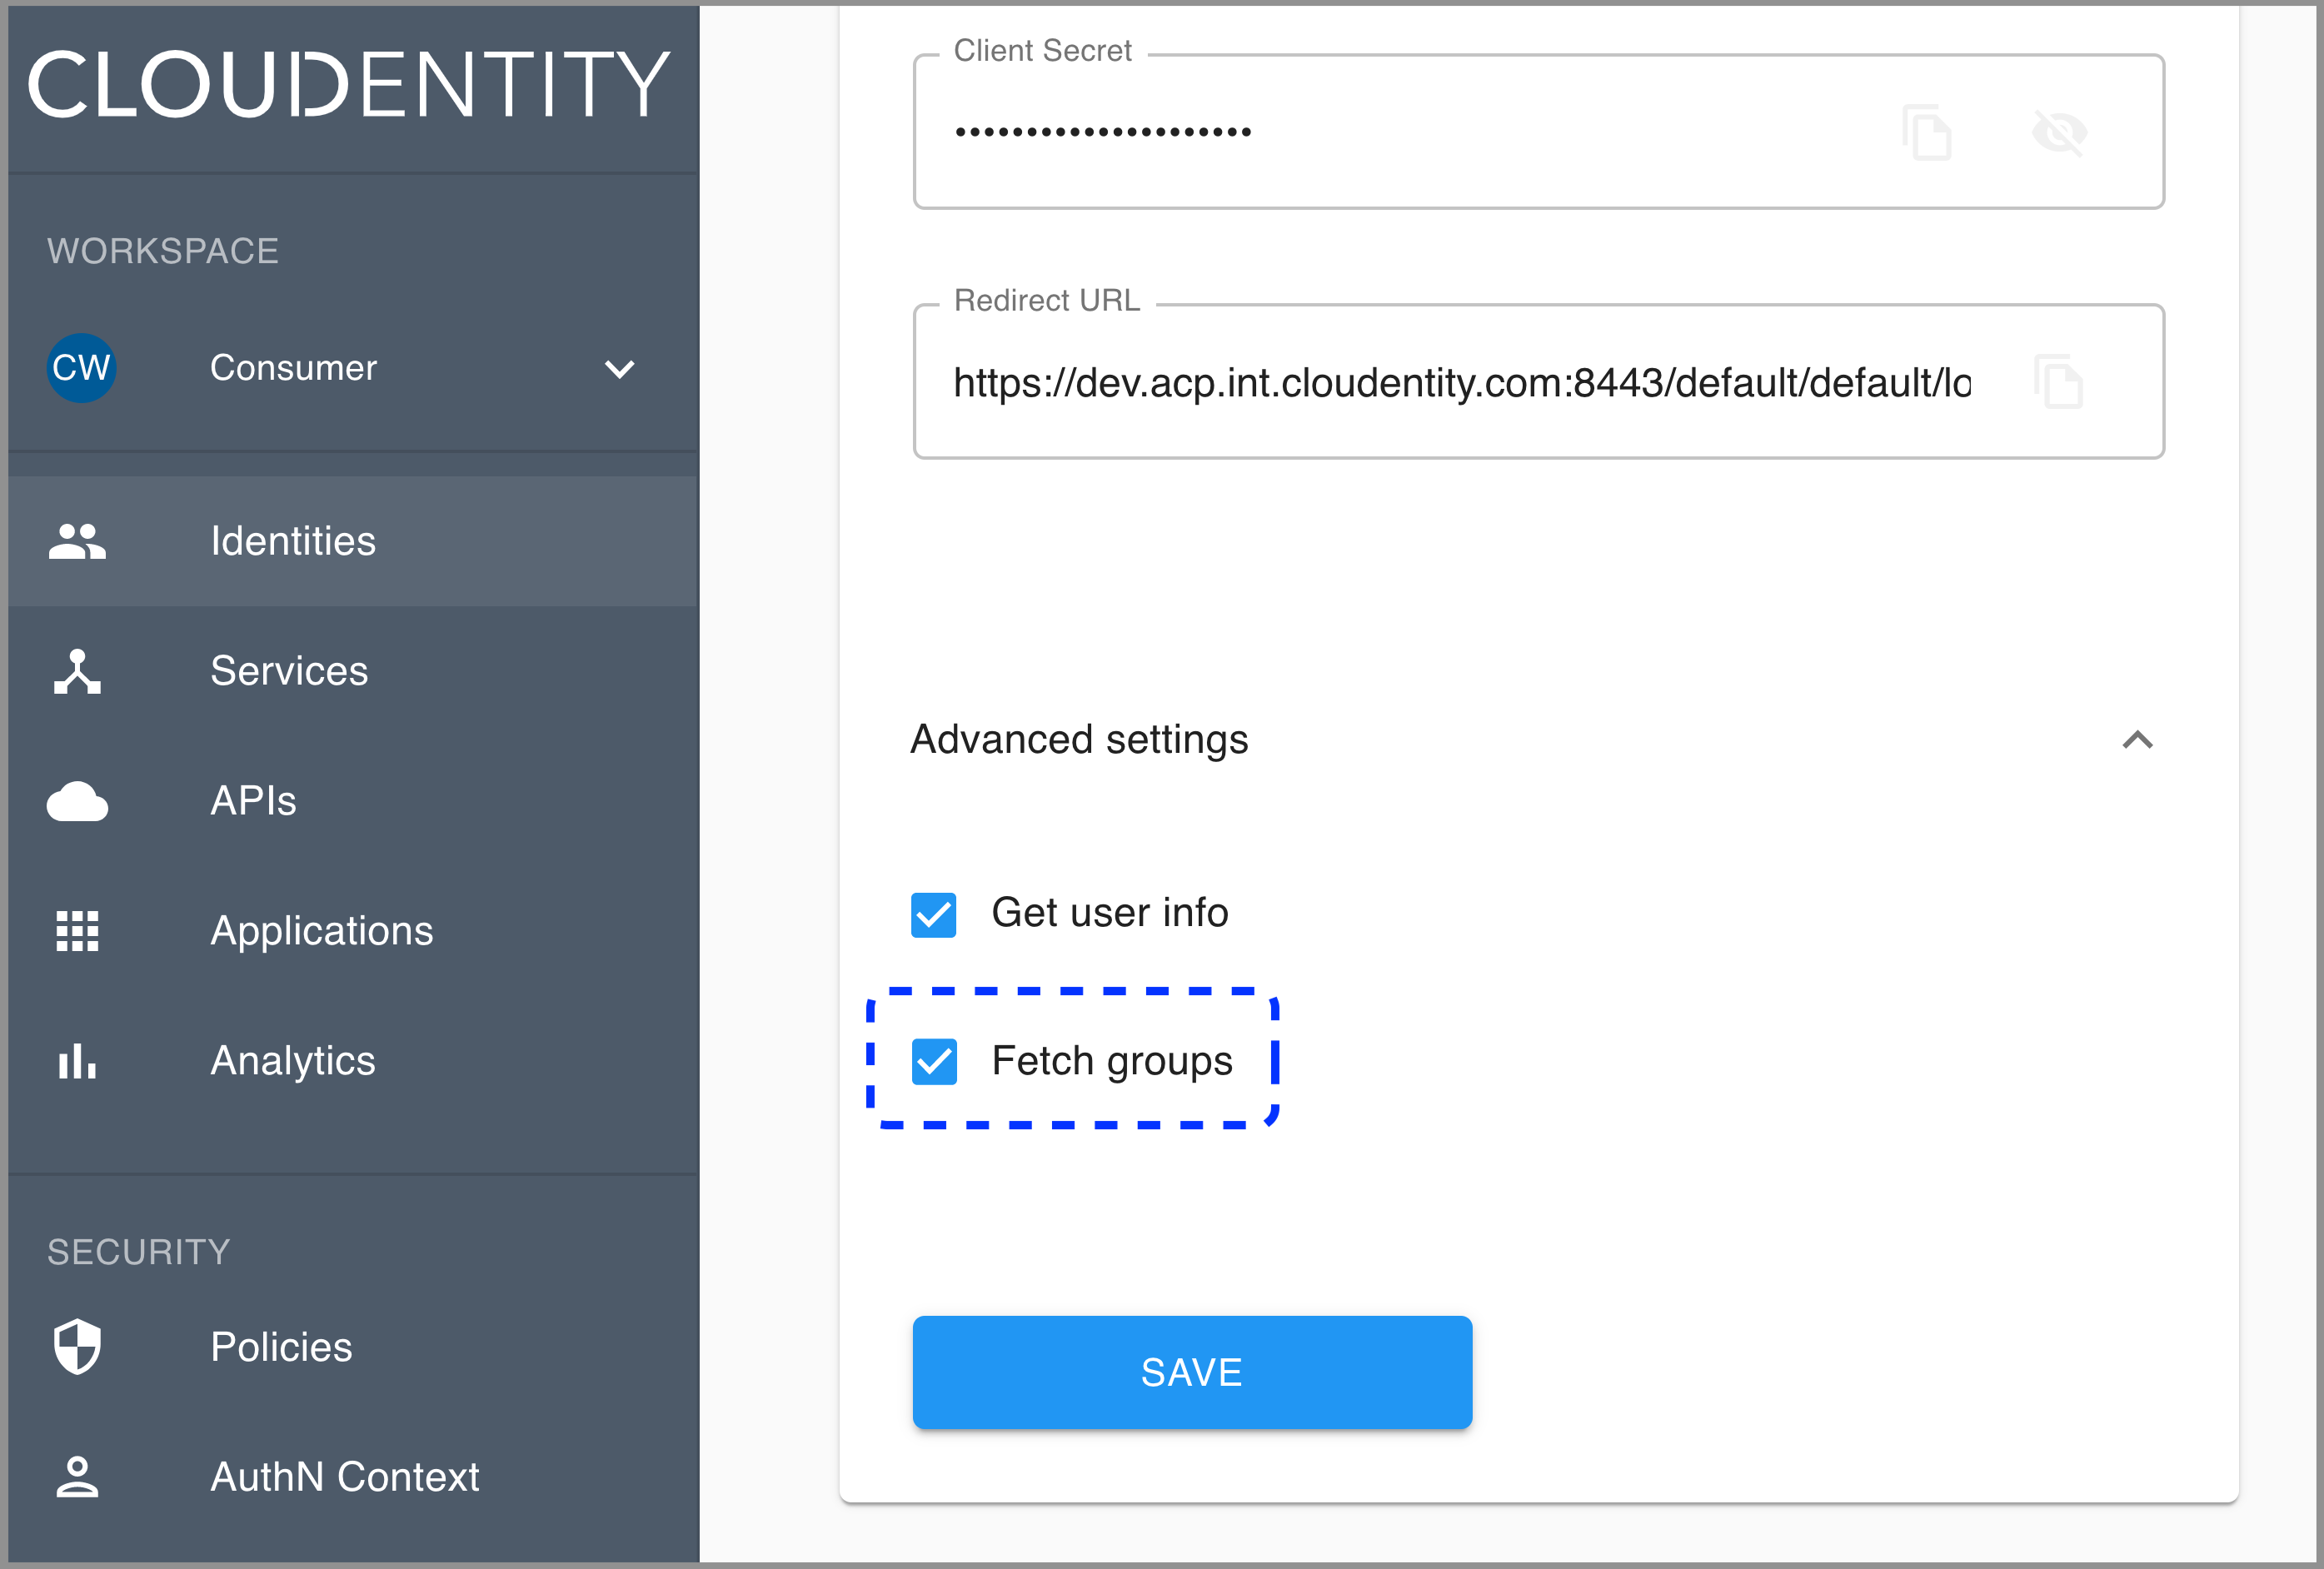
If you enable the Fetch groups option, the groups attribute (authentication context attribute available from the left sidebar in AuthN Context) gets populated with user’s groups and takes form
organization_id:group name. -
Select Save.
Mapping ACR to AMR
Here’s how the IntelliTrust IDP maps Authentication Context Class Reference (ACR) to Authentication Method Reference (AMR):
"urn:oasis:names:tc:SAML:2.0:ac:classes:Password" -> "pwd"
"urn:oasis:names:tc:SAML:2.0:ac:classes:TimeSyncToken" -> "swk"
"urn:oasis:names:tc:SAML:2.0:ac:classes:MobileTwoFactorContract" -> "mfa"
"urn:oasis:names:tc:SAML:2.0:ac:classes:SmartcardPKI" -> "sc"
"urn:oasis:names:tc:SAML:2.0:ac:classes:unspecified" -> "pwd"
Enable the stateful authorization
This step is optional.
To have the user’s data cached in ACP and avoid re-authenticating within one use’s session, follow the instruction in Enable the stateful authZ in ACP.
User’s test
Purpose
Test your new IDP as a user
Prerequisite
Your provider is configured as a user-authentication method by your administrator.
Test
-
Go to https://localhost:8443/default/default/demo and select LOG IN TO DEMO APP.
-
Select your configured IDP (if you have multiple ones) and, next, authenticate in IDP.
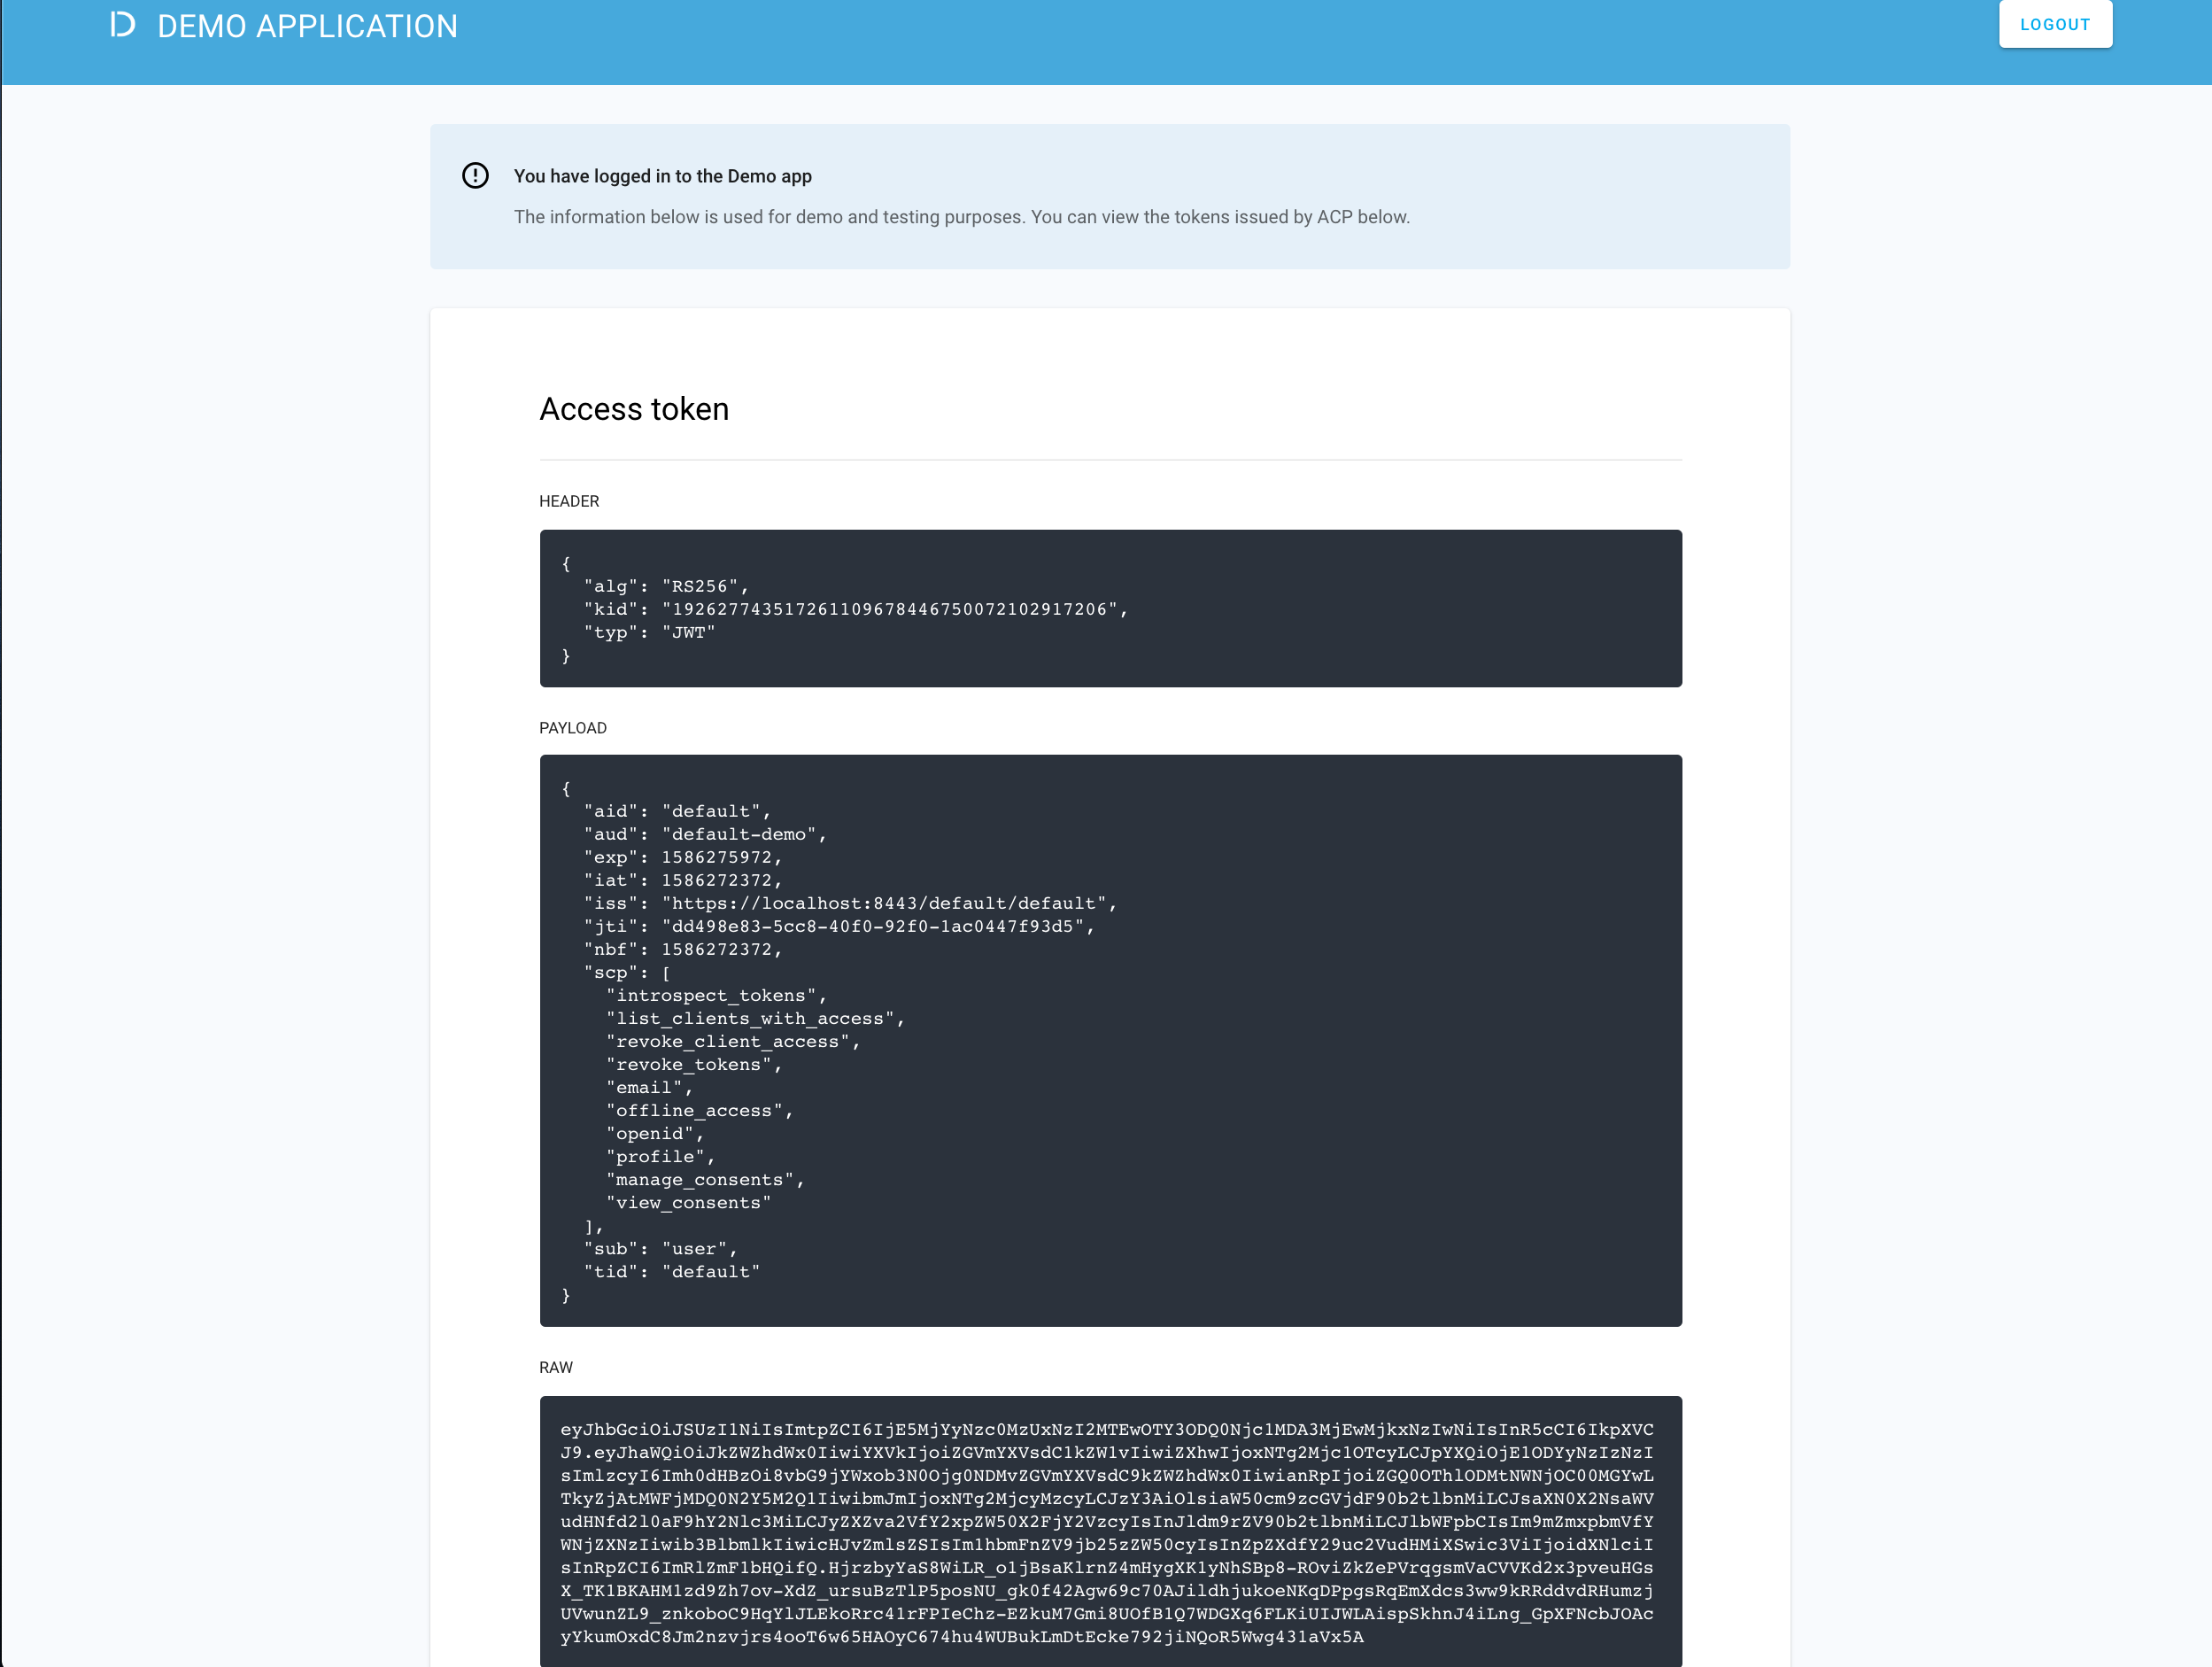
Result
ACP displays the consent page that lists data scopes to be shared with the application. When you proceed to the application (ALLOW ACCESS), the PII data coming from IDP is delivered through the access token and the ID token generated by ACP.
Read more
For information on granting and managing ACP consents, see ACP OAuth consents.
Developer’s test
Purpose
Test your new IDP as a developer
Prerequisite
Your provider is configured as a developer-authentication method by your administrator. To register your IDP for the developer, follow instructions in Connect IDP, this time selecting the Developer workspace in step 2.
Test
-
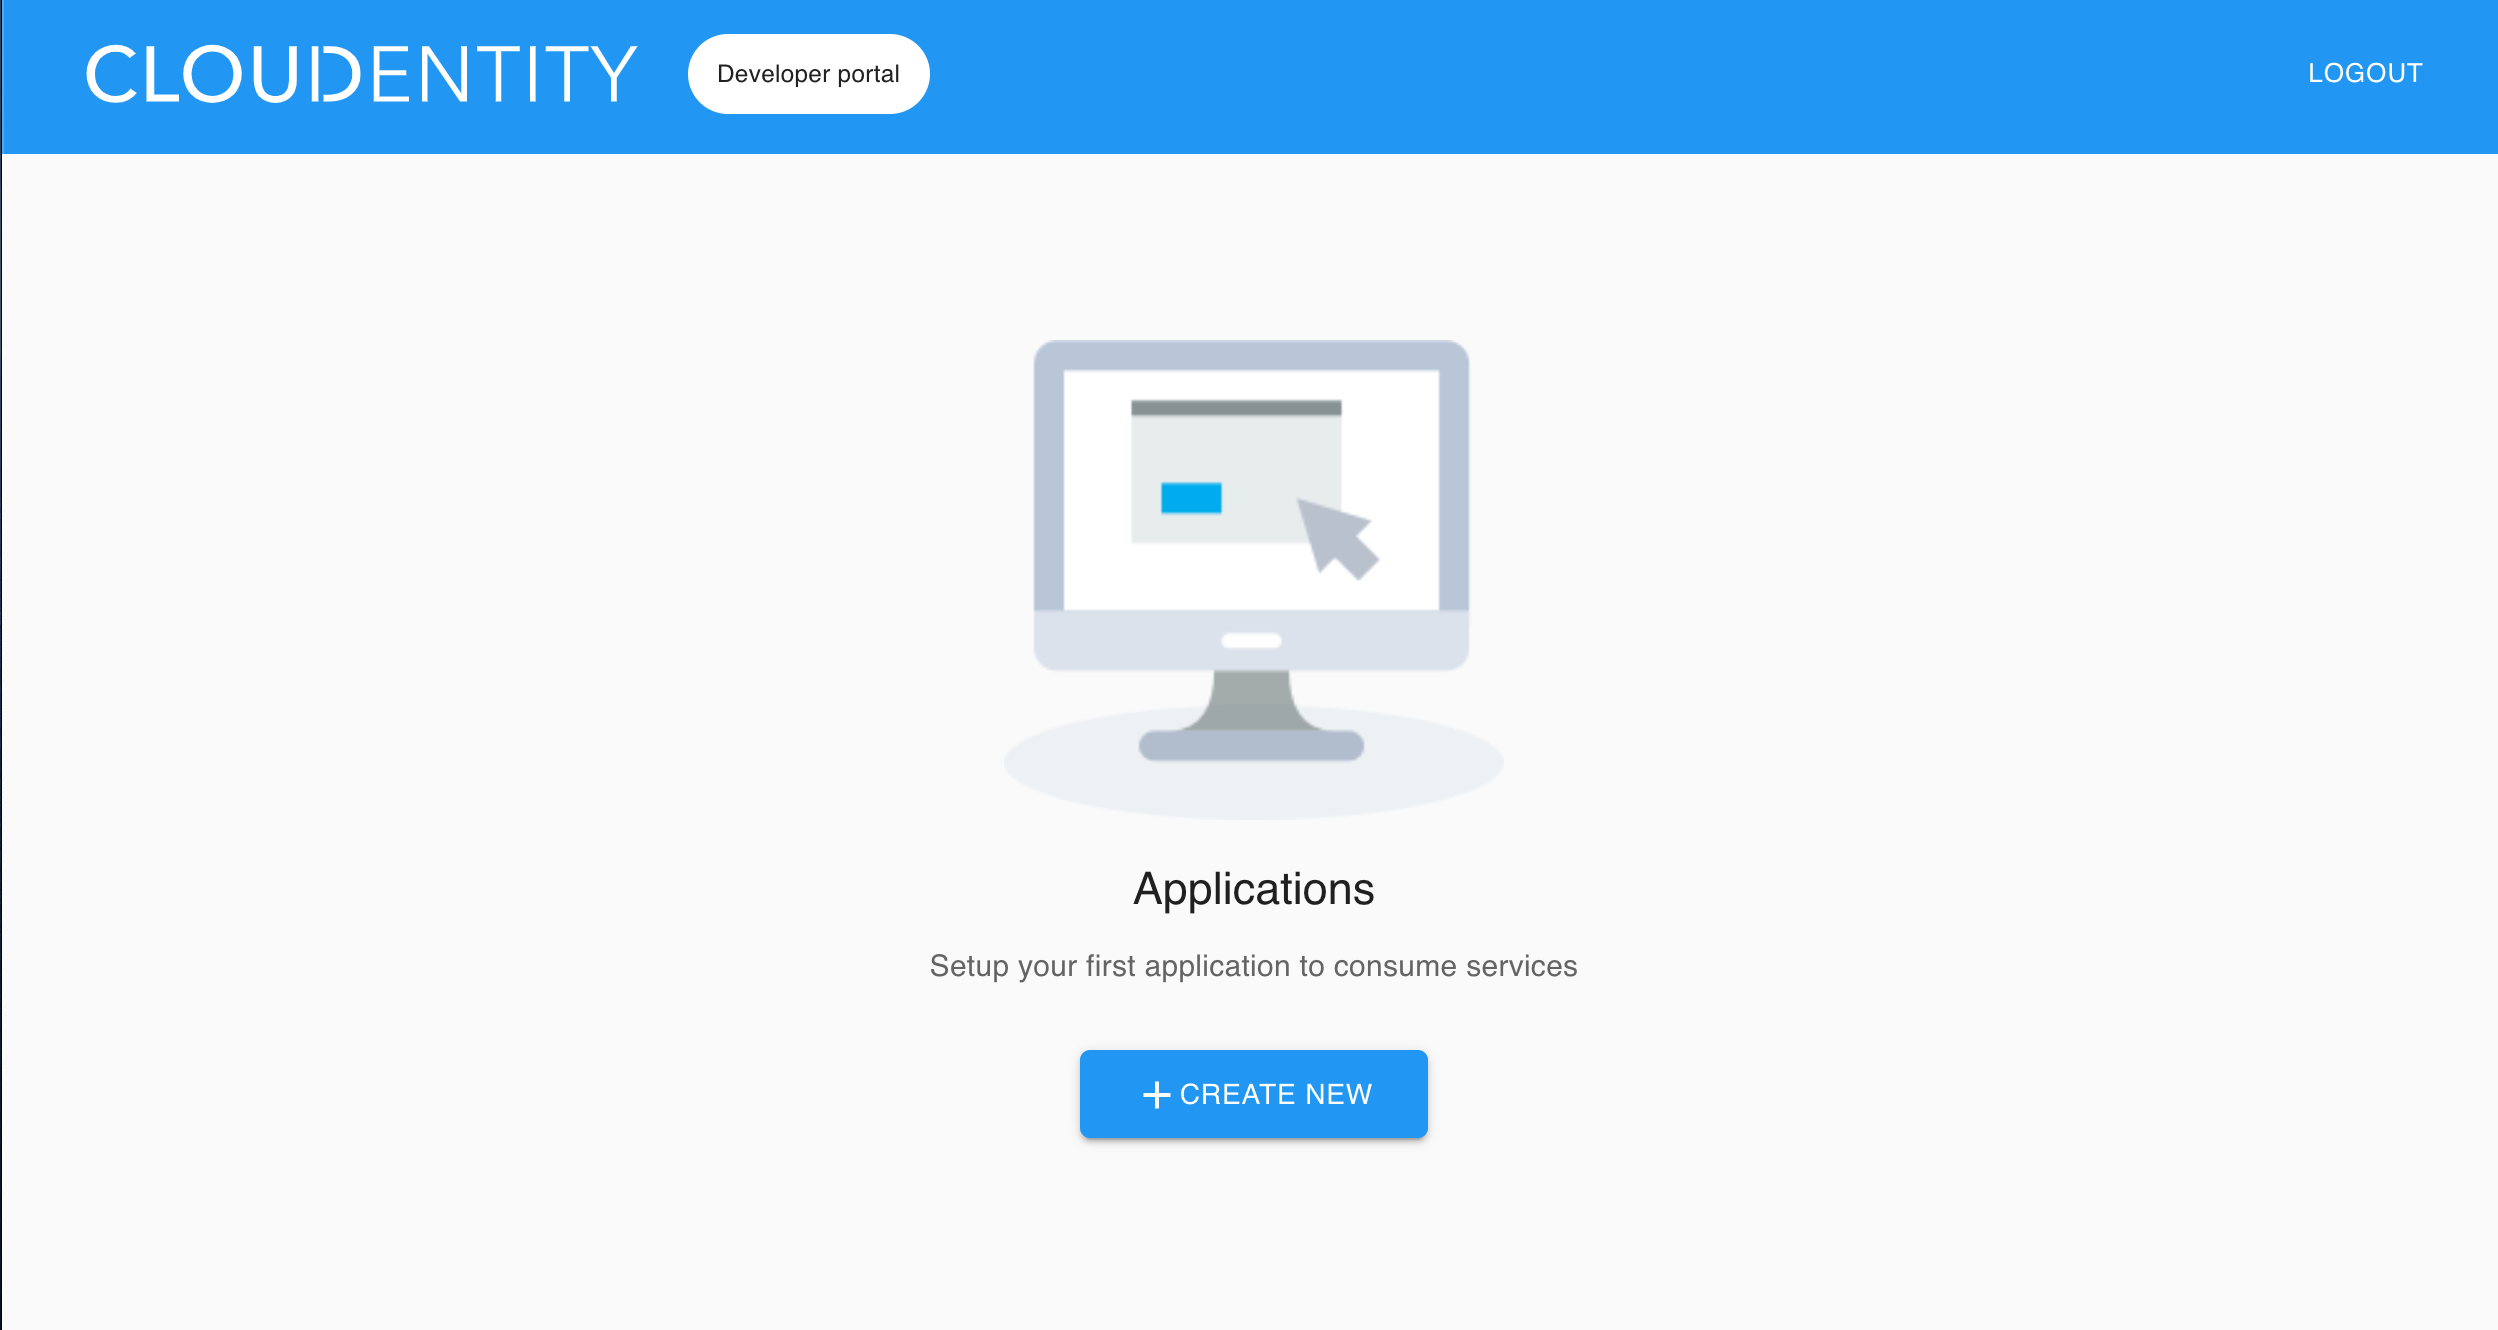
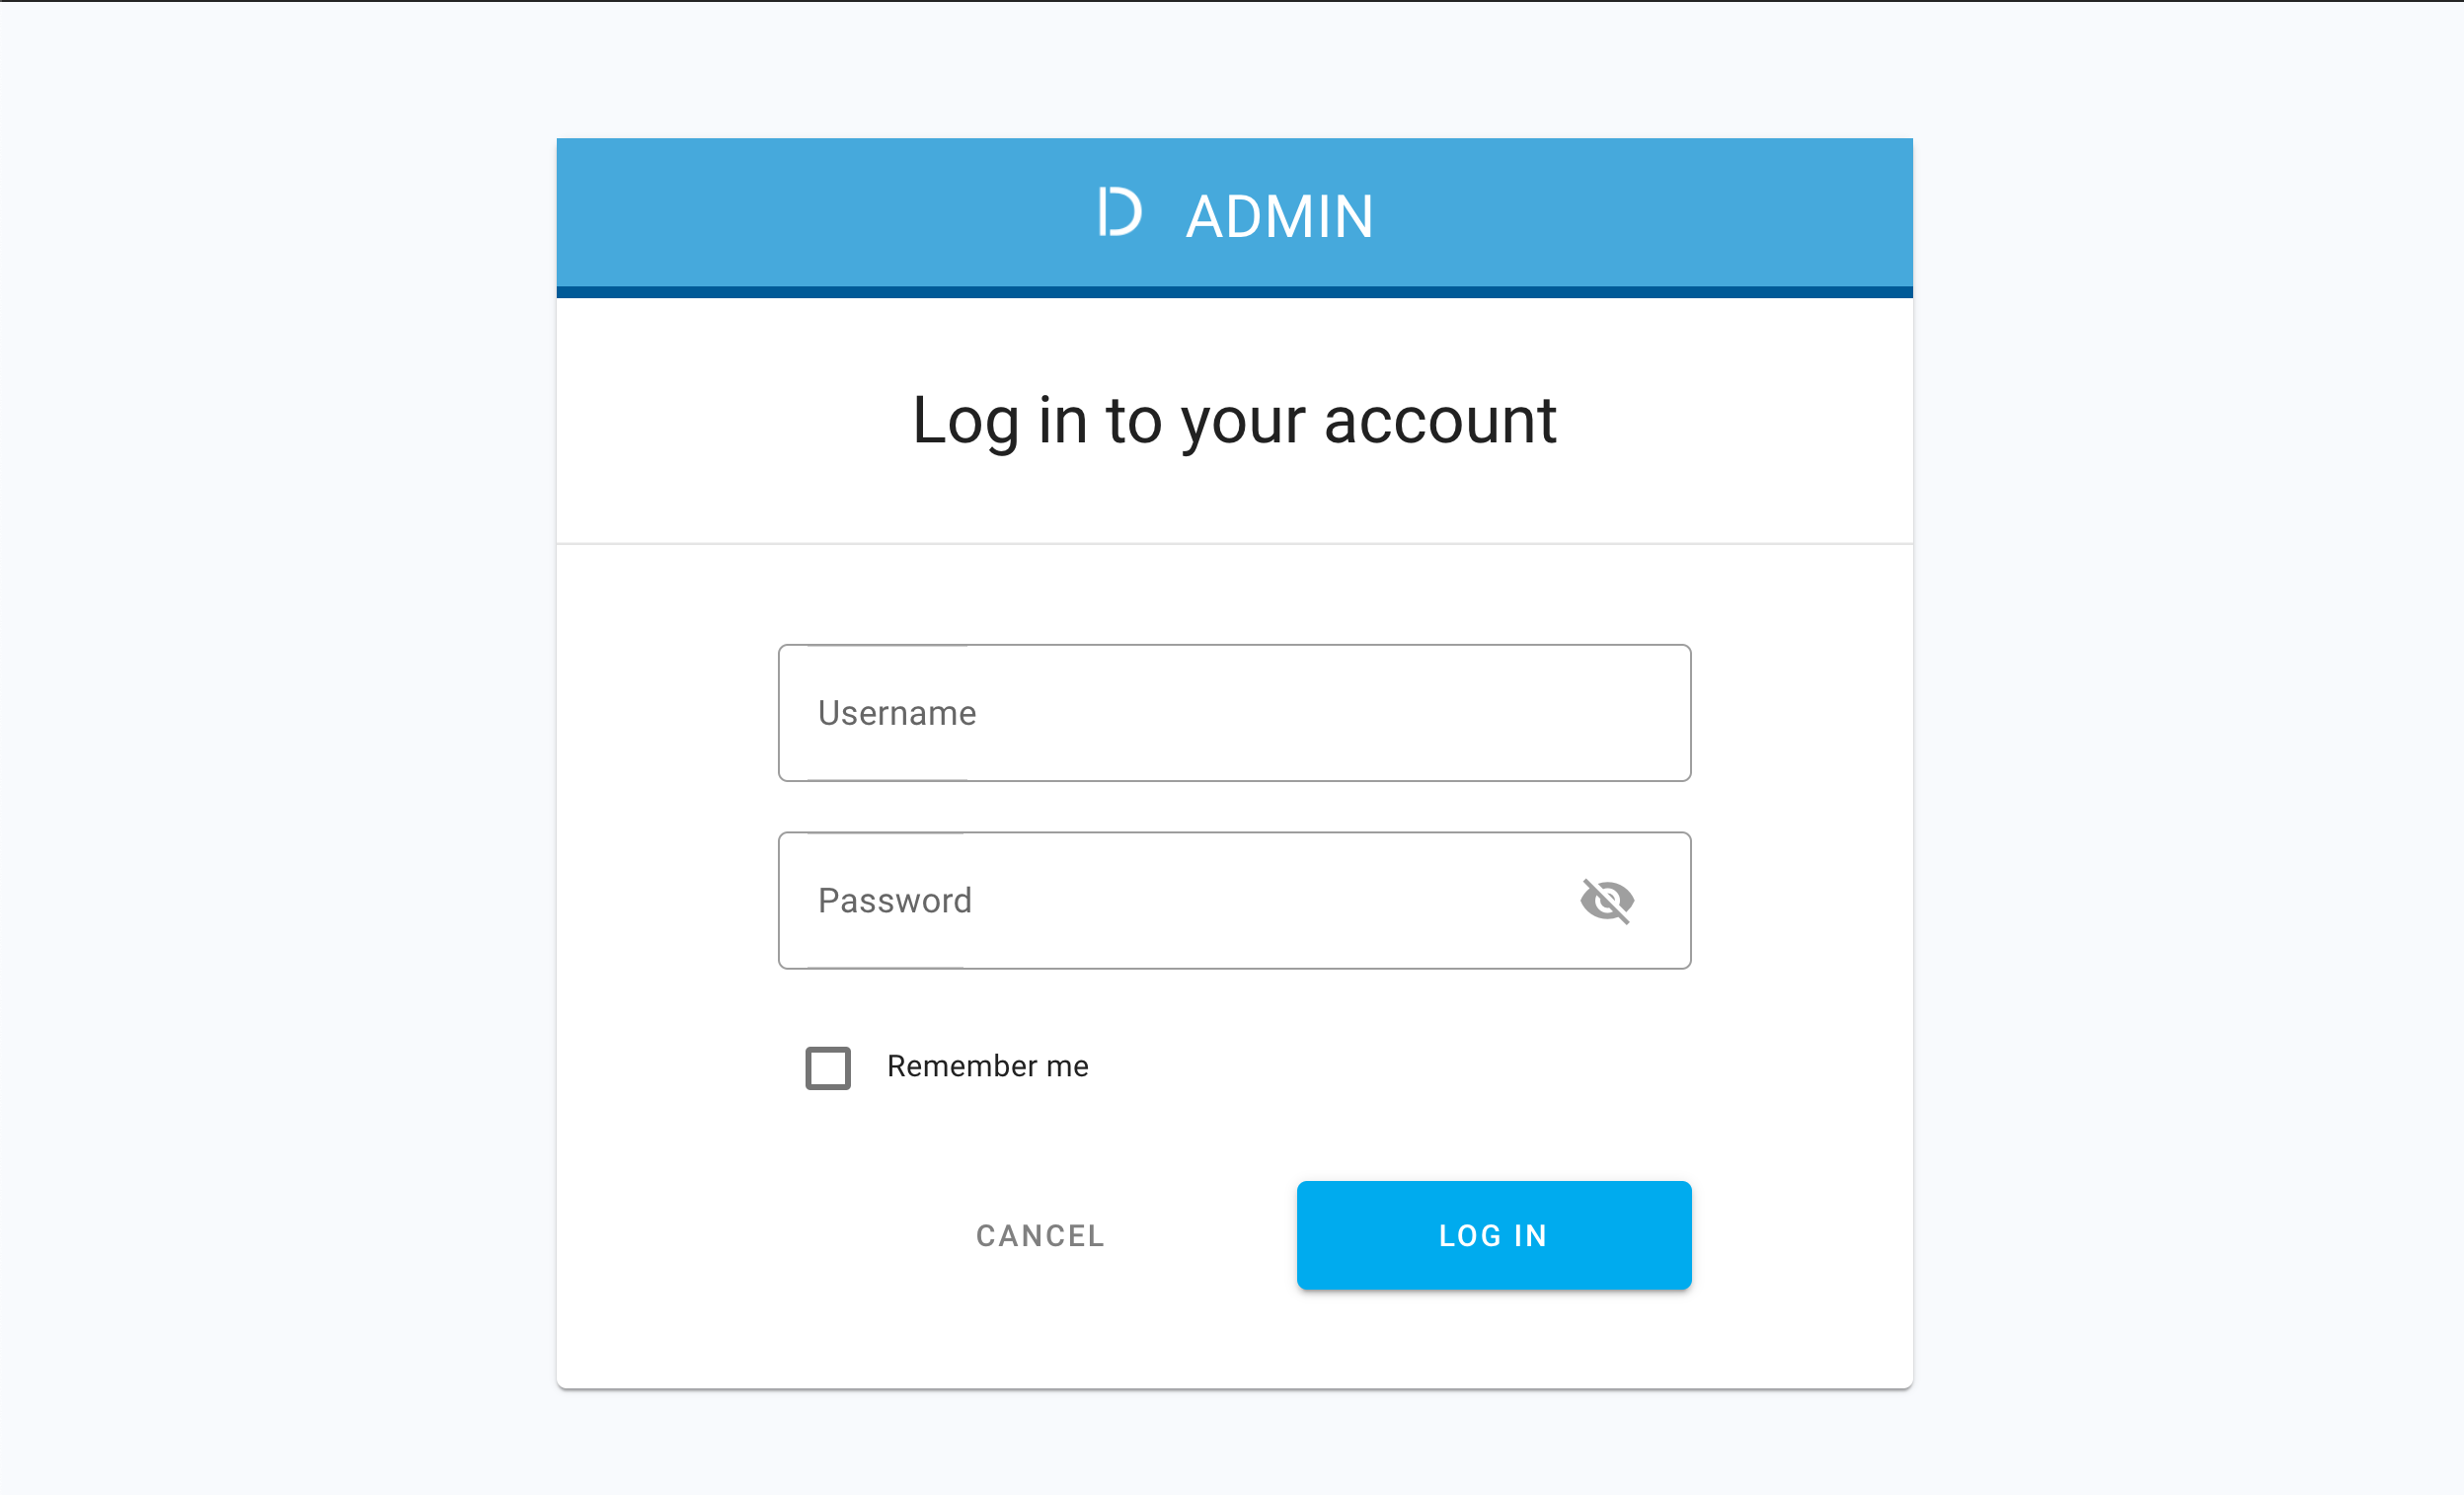
Go to https://localhost:8443/app/default/developer to access the ACP developer portal.
-
Log in to your account by entering your login credentials and selecting LOG IN.
Result
You are logged in to the ACP developer portal with the newly-configured IDP.